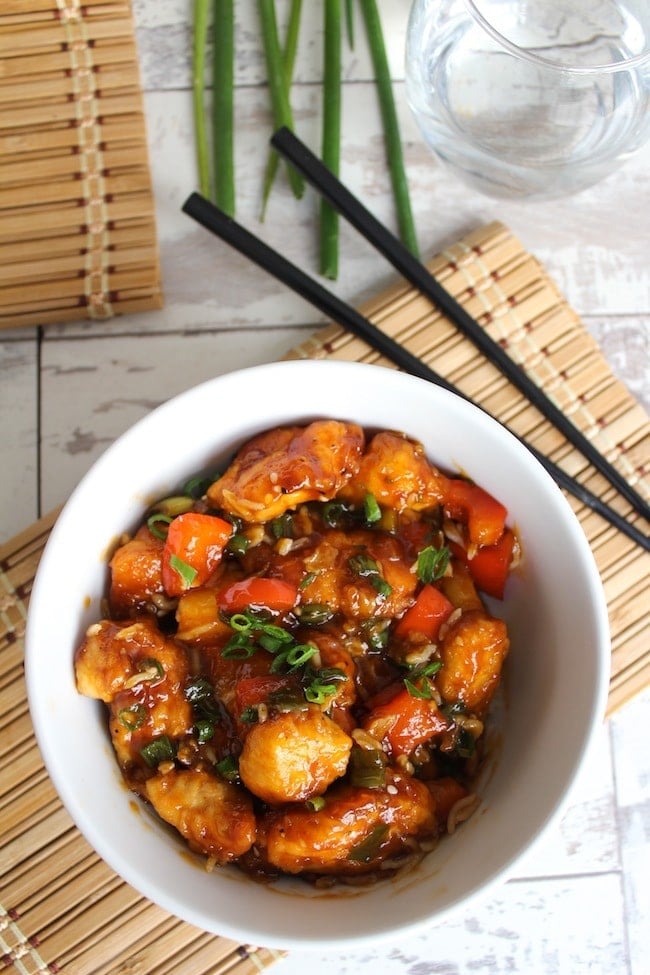
Sweet and Sour Chicken made healthy with low fodmap, paleo ingredients free of additives and full of flavor.
Did you know that it can take up 6 weeks to get over a gluten contamination? Blah.
A couple of weeks ago we had Chinese takeaway (including a killer sweet and sour chicken dish) for the last time for my father-in-laws birthday. We had eaten from this place a couple times before with no major issues that we could remember. I say for the last time because lo and behold – Mike got glutened. <–(that may or may not be a made up word). The day after our meal Mike broke out in a rash that he used to randomly get before being diagnosed with Coeliac Disease. Along with the return of the rash came a return of his old deep muscle aches and a number of other symptoms that used to be written off as side effects of having ME/Chronic Fatigue.
Conveniently, he already had a check up with his gastroenterologist scheduled for a week later. When we described his symptoms his doctor confirmed our suspicion that he was more than likely exposed to cross contamination in the meal and reminded us just how long it could take to get over it. *Sigh*
The thing about healing from Coeliac disease is that a lot of the time it feels like you take 2 steps forward, and 17 steps back. Unless you take food matters into your own hands you leave yourself wide open to cross contamination and further gut damage. Knowing how to cook your own food isn’t just a valuable skill, but a necessity. Basically everything above is just a really long and round about way to say that you should definitely try your hand at making your own food from scratch.
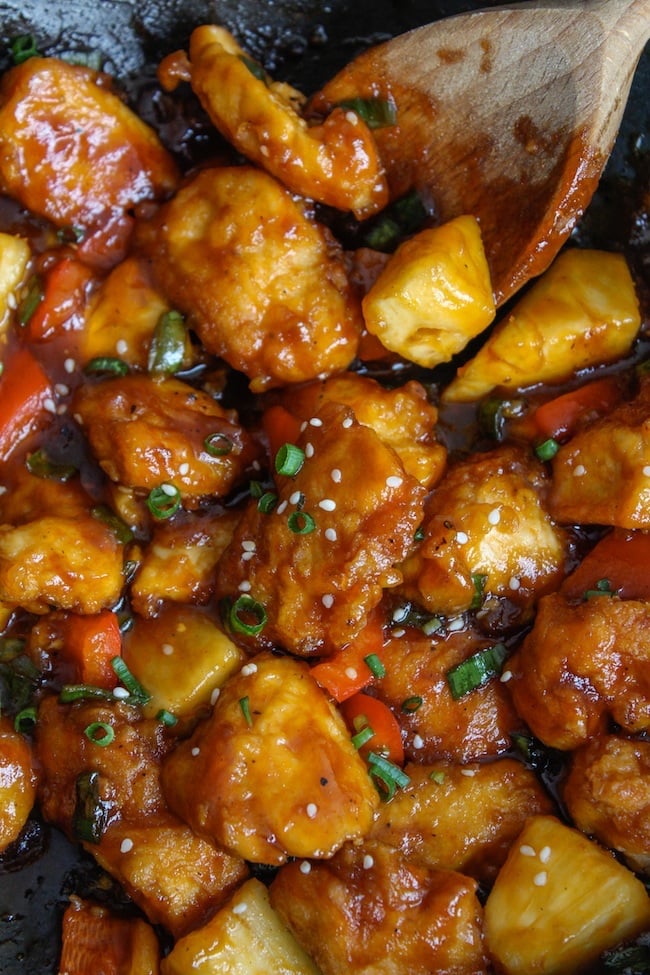
The good news – you can make healthier versions of pretty much anything, and you can even make it ten times better. *Hint* The secret ingredient is love….or salt….whichever. Seriously though, this sweet and sour chicken tastes identical to ones I have ordered in from takeouts and I guarantee it’s a hell of a lot healthier than anything I’d pay for. It took me a few goes to make it right – the first few sauces really took on the sour in sweet and sour. Just…no. I know I nailed this one in the end though because after Mike finished he plate he announced that instead of a cake for his birthday next month, he wants me to recreate his favorite Chinese takeout dishes including this recipe, my Whole 30 Cashew chicken, and a few others.
I adapted this recipe from the Sweet and Sour Chicken recipe from DamnDelicious to make it Paleo friendly and low FODMAP. I used the Low FODMAP ketchup that I made last week, but you can totally use your own store bought if that’s easier for you. I also used arrowroot starch to batter the chicken, but you can use cornstarch as a cheaper alternative that works just as well.
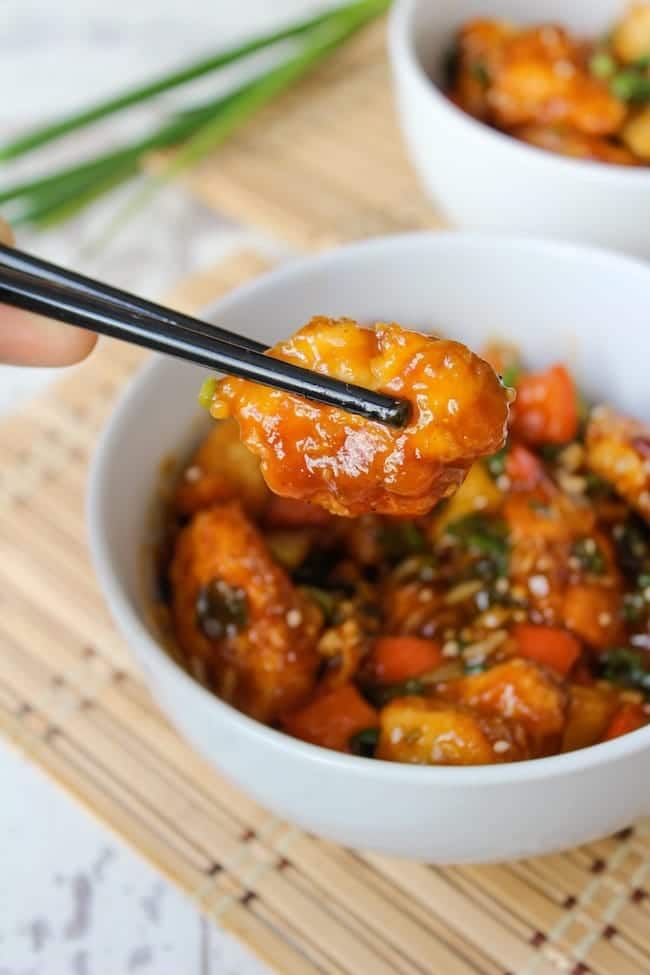
No need to order out with this Sweet and Sour Chicken takeout fake out in all it’s sticky glory. What’s your favourite takeout dish?
More Low FODMAP Dinners
- Low FODMAP Chili with Pumpkin and Sausage
- Dairy Free Quiche Lorraine
- Paleo Turkey Burgers with Spinach
- Low FODMAP Maple Mustard Chicken with Rosemary

Paleo & Low FODMAP Sweet and Sour Chicken
Sweet and Sour Chicken made healthy with low fodmap, paleo ingredients free of additives and full of flavor.
Ingredients
- 1 pound boneless, skinless chicken breasts, cut into 1-inch chunks
- 1/2 cup (65 grams) arrowroot starch or cornstarch
- 1 large egg beaten
- 2 tablespoons coconut oil
- 1/2 cup (100 gram) coconut sugar or regular white sugar
- 1/4 cup (60ml) apple cider vinegar*
- 2 tablespoons Coconut Aminos, or gluten free soy sauce/tamari
- 1/4 cup (60 g) ketchup or Low FODMAP Ketchup
- 1/4 cup (60 ml) chicken stock
- 1 red pepper cut into chunks
- 1 cup (65 g) pineapple chunks
- 3 spring onions stalks, green part only for low fodmap
Instructions
- First prepare the sauce by adding the coconut sugar, vinegar, coconut aminos, chicken stock and ketchup to a medium sauce pan. Stir and bring to a boil. Reduce to a low heat and leave until later.
- Add chicken pieces and beaten egg to a large ziplock bag. Seal and shake to coat chicken. Then add the arrowroot starch to the bag, shaking again to lightly coat all the chicken pieces.
- Add coconut oil to a large non skillet. Add the coated chicken. Fry over medium heat, a couple of minutes on each side until the coating begins to crisp. Add pepper and pineapple chunks. Continue to saute over medium heat until chicken is browned and cooked through.
- Add the sauce to chicken and peppers. Cover and reduce the heat down to a simmer and allow the juices to soak into the chicken for a few minutes. Top with sliced green onions. Serve over rice and enjoy!
Notes
Apple cider vinegar is considered low FODMAP under 2 tablespoons, but if you would prefer another alternative just to be on the safe side you can also use white wine or rice vinegar instead
I recommend making your own chicken stock for low FODMAP or using this FODMAP friendly vegetable stock.
Low fodmap ketchup recipe: http://www.asaucykitchen.com/low-fodmap-ketchup-diy/




Robyn says
Okay…dumb question from a cooking novice: is the chicken supposed to already be cooked when you fry it?
Sarah Nevins says
Hi Robyn! Not a dumb question at all! The chicken starts out raw – so you start out by coating the raw pieces in the starch mixture and then you fry in oil until to crisp up the outside until it’s cooked through in the middle. Hope that helps!
Robyn says
It does, thank you! Trying this tonight.
Terry says
This is excellent.
Sarah Nevins says
Thanks Terry!
Nicole says
Can you replace cornstarch/arwoot with baking powder?
Sarah Nevins says
Hi Nicole! I definitely wouldn’t sub the starch for baking powder one for one as the taste would be quite unfortunate.
As far as using a small amount of baking powder to toss the chicken in instead of starch – I think it really depends on what you’re trying to achieve/what your expectations are. The starch is used here to create a breading around the chicken that will crisp up as it fries. If you want that crispy exterior that really holds on to the sauce then I wouldn’t sub for baking powder here.
If you’re wanting to use baking powder as a way to velvet the chicken (a technique often used in Chinese cuisine/takeout) then you could use baking soda here. Typically this is done with baking soda and not baking powder if I understand it correctly. Velveting with baking soda helps to create a silky, juicy chicken pieces. You would only need a small amount here – about 1 1/2-2 teaspoon of baking soda. For velveted chicken I would also recommend that you slice your chicken breast extra thin.
So again, it just depends on what you’re going for. For crisper chicken – keep the starch. For silkier chicken – use baking soda.
Hope that helps!
Kathy says
This is a go to meal for me. I usually have all the ingredients and it is fairly easy to make. Good for leftovers as well!
Sarah Nevins says
Hi Kathy! That makes me so happy to hear you’ve been able to enjoy it so much 🙂 Thanks for taking the time to come back and leave a review – I very much appreciate it!
Terry says
This was excellent. Will definitely be making for company.
Sarah Nevins says
Thanks Terry! So glad you enjoyed it!
Kayla says
I got diagnosed in February with allergies to dairy and gluten.your page has been a life saver. My boyfriend and I love this! The only thing I struggle with is getting the coating crispy and it drives me crazy! Any suggestions??
Sarah Nevins says
Hi Kayla! So glad you’ve found my recipes useful – that makes me so happy to hear!
As to your question, there are a couple of things that usually prevent the coating from crisping up properly:
1. Make sure that your oil is hot before adding the chicken. Wet the tips of your fingers with a small amount of water and flick a few drops into the oil. If the oil sizzles, you’re good to go. If it doesn’t then you need to wait a bit longer or turn the temp up just a bit. The oil needs to be hot enough to quickly cook the outside of the chicken to form a seal with the coating.
2. Make sure not to overcrowd the pan by cooking too many chicken pieces at one time. Chicken will release a small amount of steam/water as it cooks. If your chicken pieces are too close and touching each other, they’ll never get an opportunity to crisp due to the neighbouring steam. It might be best to cook the chicken pieces in 2 or 3 batches instead of all at once.
I hope that helps!
Sheila says
I have just discovered your site and everything I’ve tried has been fabulous.
I made this last week and it was just as good as a takeaway.
Thank you so much
Sarah Nevins says
Yay! So happy to hear you enjoyed it – thanks Shelia 🙂
Benna says
So delicious!
Sarah Nevins says
Thanks Benna!
Katherine says
Phenomenol! Even my picky eater who is a take out sweet and sour lover loved it!!
Sarah Nevins says
So happy to hear that! Thanks so much Katherine!
Belinda says
Possibly the best meal I’ve ever cooked 😆
Sarah Nevins says
Yay! Thanks so much Belinda!