Roasted pepitas make for an easy, delicious and nutritious snack! Simply mix together raw pepitas with your flavourings of choice, spread on a large baking sheet and bake for about 10-15 minutes until golden brown crunchy. Enjoy as an addictive snack you can feel good about eating, or sprinkle over your favorite fall salad for a bit of added crunch.
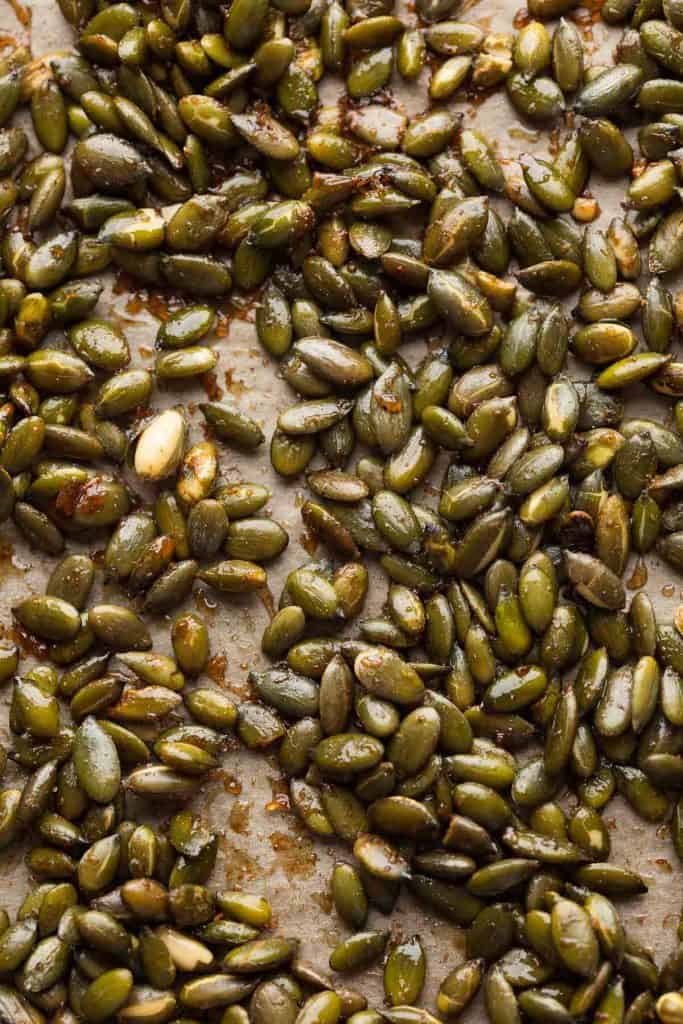
Fair warning to you – roasted pepitas are addicting! Fortunately, pepitas/pumpkin seeds also have a few health benefits worth noting: they are a great source of magnesium, healthy fats, and antioxidants making them an overall healthy snack. So by all means – grab a handful (or two) and enjoy!
What are pepitas?
The word pepita is actually a Spanish word for ‘little seed’ and they’re also known as ‘naked seeds’. Pepitas are not physically hulled (de-shelled), but grown without an outer shell. Only certain varieties of pumpkin (Styrian pumpkins) can grow hulless seeds.
So, contrary to popular belief, pepitas are not simply shell-less pumpkin seeds. They are a unique type of pumpkin seed.
Are pepitas Seeds and pumpkin seeds interchangeable?
Mostly yes, but this will depend on the recipe. Generally, pepitas can be used any time pumpkin seeds are called for. On the flip side, pumpkin seeds typically work best as a pepita substitute if you’re using them as a topping (like in a salad). The shells on regular pumpkin seeds can be quite hard which is why it’s not always a good sub.
In this particular recipe you can make roasted pumpkin seeds instead of roasted pepitas.
Make them Sweet or Savory
I’ve included a few different flavors and ways to season these pepitas, but please feel free to play around with the flavours as you like!
- Simple, salty roasted pepitas: this can be made with nothing more than a little bit of sea salt, oil and raw pepitas.
- Cinnamon-sugar roasted pepitas: I used pure maple syrup, but these can be sweetened with honey, agave, brown sugar, white sugar and coconut sugar.
- Herby-spiced roasted pepitas: This version includes garlic powder, paprika, thyme, salt and black pepper.
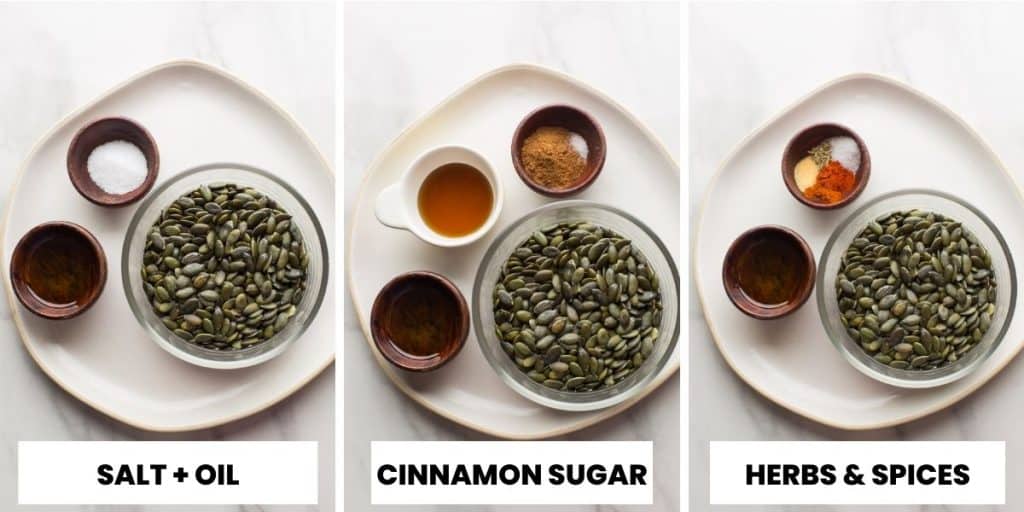
How to Make Roasted Pepitas
No matter how you flavor these pepitas – the method of making this recipe is the same.
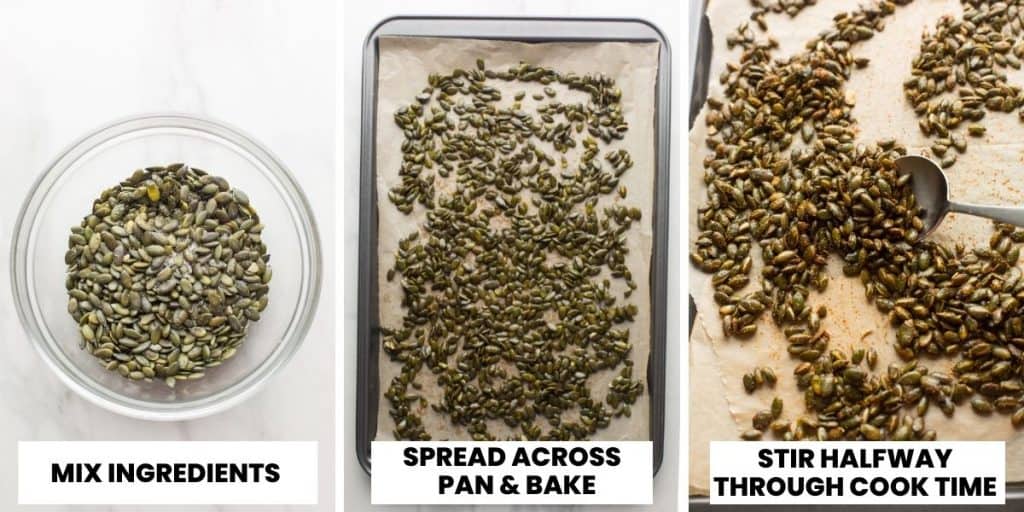
- Combine the pepitas, oil (or butter), and flavorings in a large bowl and mix together. Give everything a good stir until well and fully combined.
- Spread the seasoned pepitas across a prepared baking sheet lined with parchment paper. Spread everything out in an even layer so they bake evenly.
- Place in the oven and bake for about 12-15 minutes at 350°F (180°C). About halfway through the cook time, remove the pan from the oven. Stir the seeds with a spoon and then return to the oven the finish baking.
Variations and substitutions
There are so many ways to enjoy roasted pepitas! Make the sweet, savory or spicy – whatever you like. Here are a few ideas on how to adapt this recipe:
- Oil or butter: I like to use coconut oil for sweet pepitas and olive oil for savory pepitas. Melted butter works well in both sweet and savory instances. If you use salted butter you may want to reduce the amount of salt you add to the seeds.
- Seasonal spices: Instead of cinnamon use can use seasonal spices like pumpkin pie spice, apple pie spice or gingerbread spice (to name a few options).
- Sweeteners: Maple syrup, honey and coconut sugar are good options if you want to stick to refined-free sweeteners. Keep in mind that honey is not suitable for a vegan-diet. Brown sugar and white sugar are also great options that are also affordable.
- Fresh Herbs: Warm the butter or oil over a medium-low heat. Add a few sprigs of fresh herbs like rosemary or thyme and warm for a few minutes to infuse the oil then mix with the pepitas as usual. This will add a very subtle, earthy flavor. You can also add fresh herbs to the pan to roast, but it won’t impart quite as much flavor.
- Make them cheesy:
- Grated parmesan: After you take the pan out of the oven to stir, add a bit of grated parmesan before you return the pan to the oven.
- Nutritional yeast (vegan): Nutritional yeast is a great dairy free and vegan way to add a cheesy flavor to your roasted pepitas. Add this along with the other seasonings when you mix the pepitas before roasting.
- Soy Sauce or Tamari: Add a couple teaspoons of soy sauce (gluten free if needed) or tamari before roasting your pepitas. This is a great way to make for an interesting, umami packed flavor. Decrease or omit any added salt otherwise you might accidentally make these too salty. See also: tamari roasted pumpkin seeds.
Storage & Use
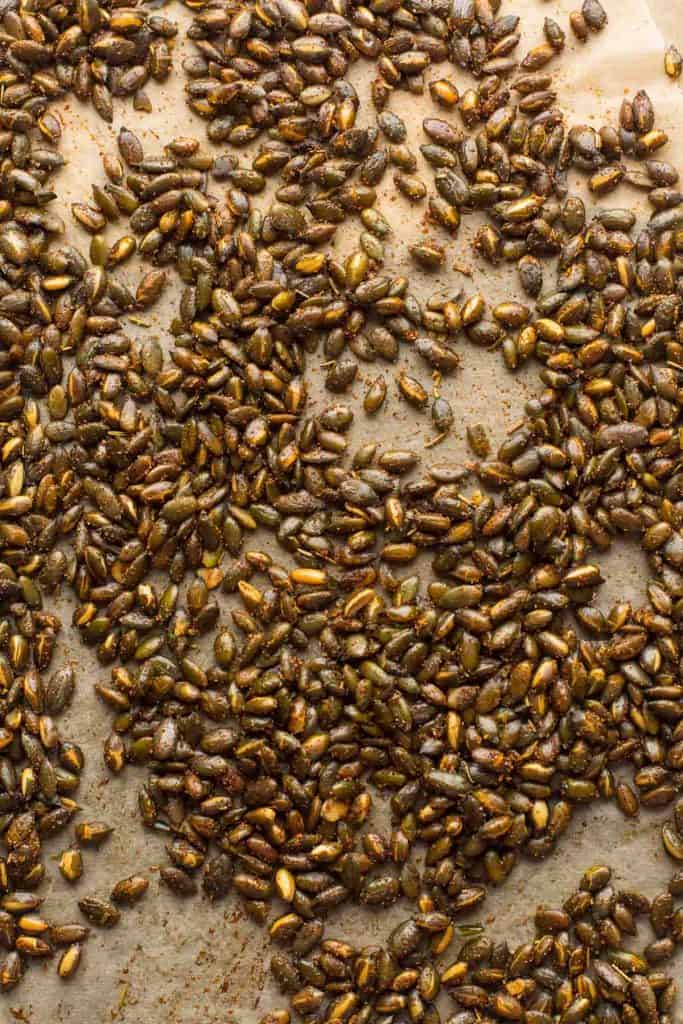
Once made, let roasted pepitas cool completely, then store in an airtight container. These will keep at room temperature for about a week. I find that savory pepitas can last closer to two weeks.
Eat by the handful as a simple, crunchy snack or save to use a healthy topping in your favorite salad – like this Spiced Chickpea Kale Salad. However you choose to have these – enjoy!
More Recipes with Pepitas
- Roasted Cilantro Pepita Dressing
- Leek And Sweet Potato Soup With Sweet & Spicy Roasted Pepitas
- Spiced Chickpea Kale Salad & Creamy Lemon Dressing
- Homemade Pumpkin Butter Recipe
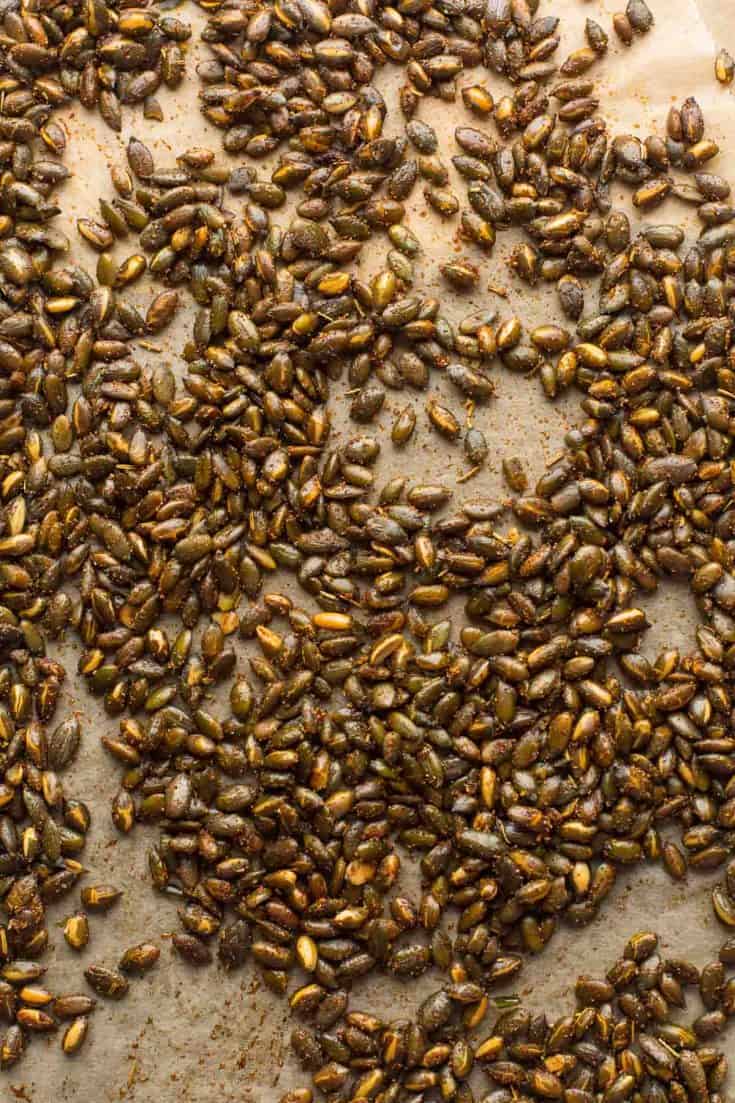
Roasted Pepitas (Three Ways)
Roasted pepitas make for an easy, delicious and nutritious snack! Simply mix together raw pepitas with your flavourings of choice, spread on a large baking sheet and bake for about 10-15 minutes until golden brown crunchy.
Ingredients
Salty Roasted Pepitas
- 2 cups | 300 g raw pepitas
- 1 tablespoon | 15 ml olive oil
- 1/2 teaspoon sea salt (or to taste)
Cinnamon Spiced Roasted Pepitas
- 2 cups | 300 g raw pepitas
- 2 teaspoons | 10 ml melted coconut oil
- 1 teaspoon ground cinnamon
- 1 tablespoon maple syrup or honey
Herby Seasoned Roasted Pepitas
- 2 cups |300 g raw pepitas
- 1 tablespoon | 15 ml olive oil
- 1 teaspoon paprika
- 1 teaspoon dried thyme
- 3/4 teaspoon garlic powder
- 1/2 teaspoon sea salt
Instructions
- Preheat oven to 350°F/180°C. Line a large baking sheet with baking paper and set aside.
- In a large bowl: combine the pepitas, oil or butter, sweetener (if using) and seasonings of your choice. Mix together until well combined.
- Spread the coated pepitas across the baking sheet in a single layer.
- Place in the middle of the oven and bake for 10-12 minutes. About halfway through the cook time, take out the baking pan and stir the pepitas to ensure the seeds evenly cook.
- Let cool on the baking tray about 5 minutes. Roasted pepitas with added sweeteners will need about 10 minutes to cool on the baking sheet.
- Enjoy as a snack or use as a salad topping.
Notes
- You can use oil or butter.
- Make sure to use raw pepitas that have not already been roasted.
- Keep leftovers stored in an airtight container at room temperature for 1 week.
- For low fodmap option use maple syrup (not honey) and avoid using garlic powder as a spice.

Brenda says
Thank you for providing an ‘actual’ pepita roasting recipe! Seems you, and I, and perhaps a handful of others know the difference between pepita seeds and pumpkin seeds. I have 5 lbs of seeds and will enjoy trying each of your variations. Thank you again.
Sarah Nevins says
Thanks so much Brenda! I hope you enjoy everything you try 🙂
Julia says
These are SO tasty, my new favourite snack. Thank you 🙂
Sarah Nevins says
Yay! So happy to hear you’ve enjoyed them – thanks, Julia!
Dan Peterson says
Odd that there is no oven temperature in the recipe. Never come across that in a cook book before.
Sarah Nevins says
Hey Dan! I think you might have accidentally skimmed past it – the oven temperature is listed in the first step: 350°F (180°C)
Doreen says
I did not see oven temp either !!!!
Sarah Nevins says
Hi Doreen! Very strange! I’ve just checked on a few different browsers and devices and it’s listed in the first line of the instructions. What do you see listed as the first step if it’s not the oven temperature (350F/180C)?
Margie says
I had to look twice for the temp myself! It’s not in the first step by step instructions within the article, which includes all instructions except the oven temp, but in the actual Jump To Recipe instructions. There it is clearly in the first line.
Sarah Nevins says
Ooh, I see! I don’t usually go into full detail in the steps in that section as it’s meant to be a more simplified summary. I can see why that would be confusing though so I’ve added the temperature there now. Thanks for point that out to me!