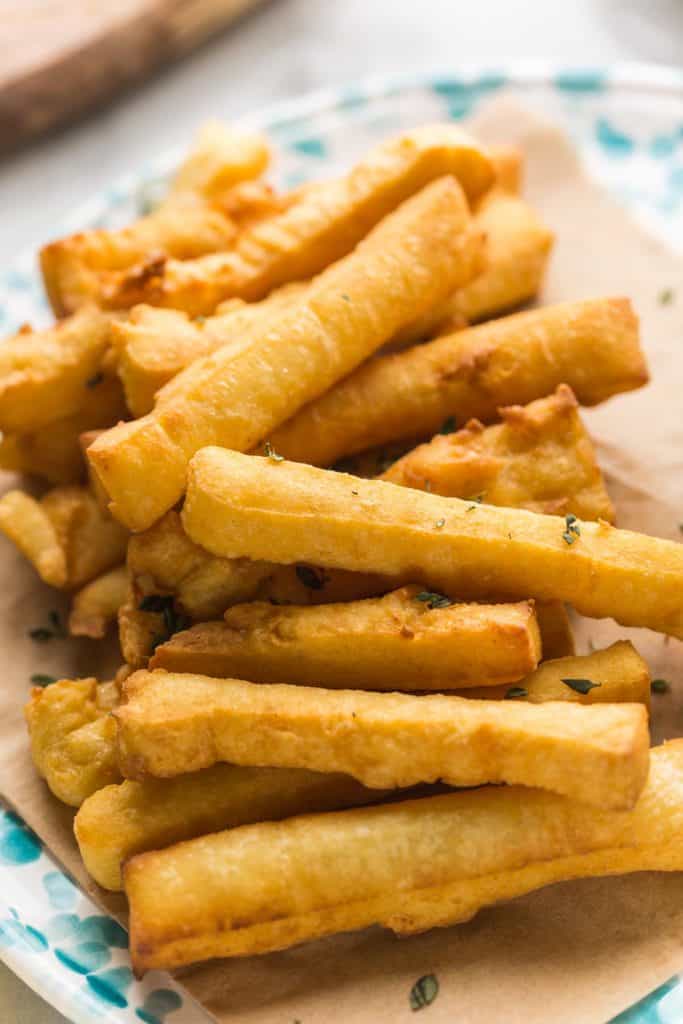
If you’ve never tried panisses before then you’re in for a treat! With their light, crisp exteriors and smooth, creamy interior they’re kind of like posh french fries made with chickpea flour. For best result, panisses should be fried to achieve their signature crispy finish. Check out the recipe notes for lighter cooking alternatives (baked & air-fried).
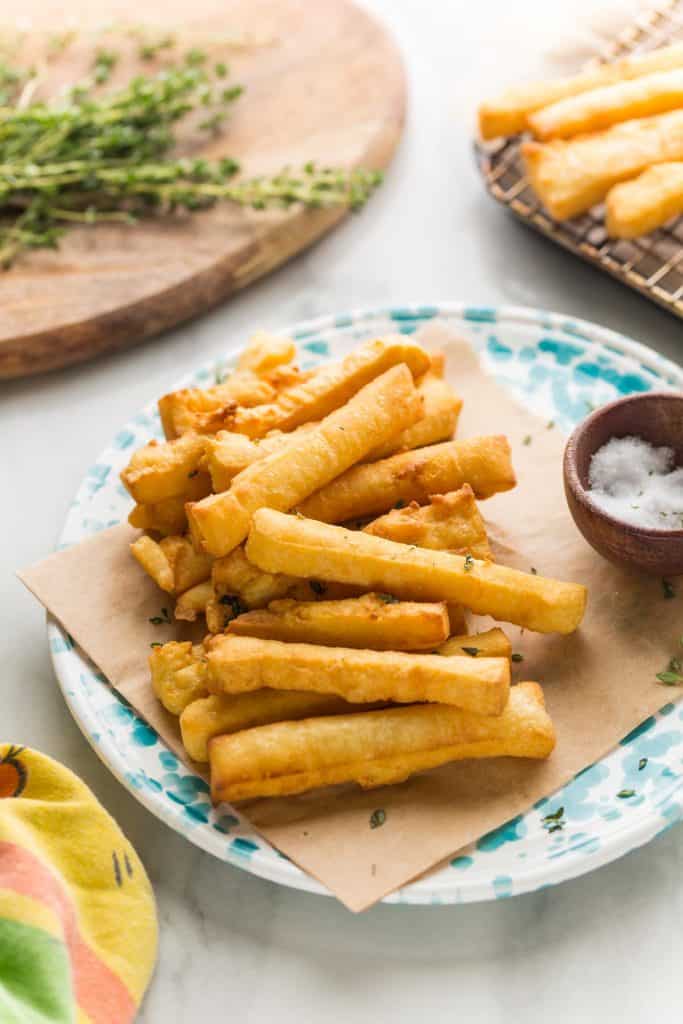
Do yourself a favour and run out to grab a bag of chickpea flour! Made with only a handful of fairly basic ingredients, these panisses are definitely worth trying. Just be warned that you’ll very likely end up wanting to eat the whole plate!
Panisses – What Are They?
Basically, panisses are French chickpea fritters! They’re a popular street food that’s sliced, fried and served on-the-go, often found in the South of France.
Methods of making panisses vary slightly depending on where you are in Provence. Some vendors slice their fritters up into fry-like pieces while others may cut out round discs and triangles instead.
Ingredients
- Chickpea flour – Chickpea flour is one of my favourite flours to work with. Not only is gluten free, but it’s grain free as well. It’s an especially excellent flour to use when comes to gluten free, vegan recipes because it has a lot of natural binding power. This flour is a non negotiable in this particular recipe. You may find limited success using other flour alternatives here instead, but then at that rate these wouldn’t be panisses.
- Water – I have seen a few panisses recipes that use chicken stock or vegetable stock in place of water. While that will certainly infuse a lot more flavour into your chickpea fries, it’s not necessary so long as you add enough salt. Feel free to try it out though!
- Salt – I urge you not to go too light on the salt. The difference between the end result being ‘alright’ and ‘wow’ truly comes down to how well these are salted. I recommend that you salt the water and sprinkle salt over panisses immediately after frying. Flaky sea salt or kosher salt are ideal.
- Oil– Depending on your method preference you may need two types of oil here: olive oil (to make the panisses mixture) and oil for frying. Olive oil has a low smoke which makes it generally unsuitable for frying. That being said, I understand that many people don’t like using traditional frying oils (vegetable, peanut, rapeseed, etc). Avocado oil is a good (though pricey) option if you want to avoid certain refined oils.
- If you choose to use avocado oil or olive oil for frying you may want to shallow fry the panisses as opposed to deep fry. This will allow you to use less oil.
Shopping Tip
Chickpea flour can be sold under many names including: garbanzo flour, besan flour or gram flour. You should also ensure that your flour is free from cross contamination. While chickpea flour is naturally gluten free, certain brands may be unsafe for Celiac consumption depending on how and where it’s processed. Bob’s Red Mill is a great option is available to you.
Panisses vs Socca
Though they are made with the exact same ingredients required to make socca, the end result is quite different. Panisses are cooked into a thick porriage-like mixture, chilled then fried. Socca, on the other hand is simply whisked and baked.
Step-By-Step
This recipe can be broken up into three main stages:
- Prepare the dough/ panisses mixture.
- Spread into a prepared pan and refrigerate until hardened (about 2 hours).
- Slice and fry until crisp.
Chickpea Fries Batter
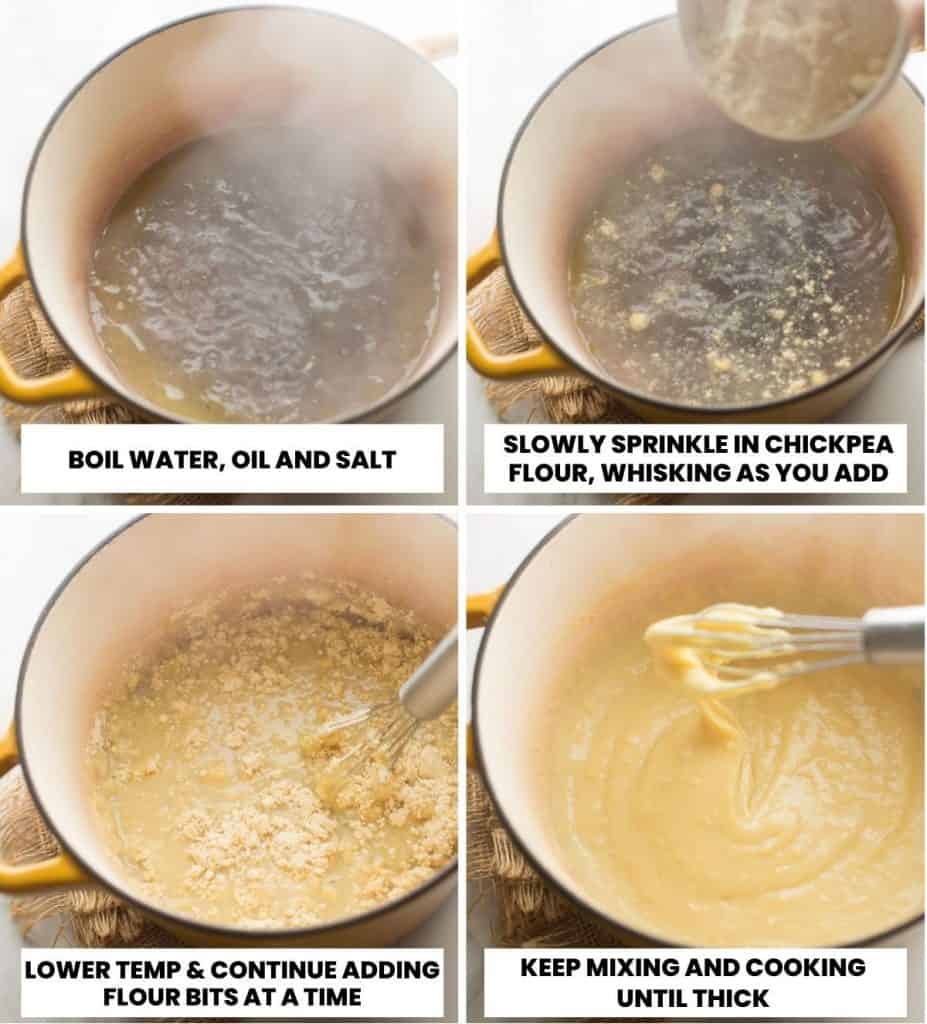
- Start out by adding 2 cups water, 1 teaspoon olive oil and 3/4 teaspoon salt to a medium or large saucepan. Place the pot over a high-heat and bring the contents to a boil.
- Once you’ve reached a boil, lower the temperature down to a medium heat so that the boiling water slows into a gentle simmer.
- Slowly start stirring in the chickpea flour a little bit at a time. Make sure to whisk as you add. Adding the flour slowly and carefully will lead to less lumps in your mixture.
- Time for the arm workout. Keep stirring the chickpea mixture even after the chickpea flour has been fully incorporated (about 7-10 minutes). This part may feel tedious, but it’s important that you stay present and mix as the mixture cooks. Use a wooden spoon or a heat safe spatula to mix so that you can safely scrape the bottom of the pan as needed. In the end, your panisse mixture should be thick and slightly glossy. It will resemble something like a lumpy porridge or polenta.
- If your chickpea mixture starts to bubble up and spit, take the pot off the heat for a minute and adjust to a low heat and speed up your mixing a bit.
Spread & Chill
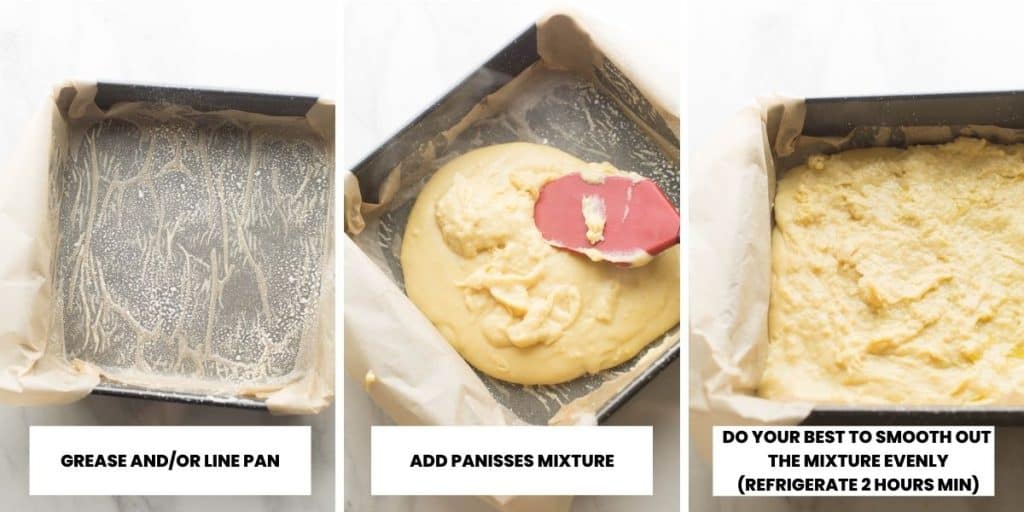
The first step in this recipe is to prepare your baking tin. You need this to be done before anything else so that you can quickly transfer and spread the mixture into your pan of choice. You can line your pan with parchment paper, plastic wrap or simply spread a thin layer of oil evenly across the surface. The panisse mixture really shouldn’t stick to the pan, but I lined and greased mine just to be safe.
Once your mixture is mixed and cooked, pour the batter into your prepared pan and quickly being spread it evenly across the pan. This will become more difficult as it cools so you really want to work fast here.
That being said – don’t worry if you can’t get a perfectly smooth top. As you might be able to see from my pictures, my chickpea fries came out very uneven. Stopping to take pictures of the process along the way was enough to slow me down making for all kinds of misshaped fritters. In the end, it makes little to no difference on the final product. If anything, the added texture on the panisses only made for a crispier finish.
Leave the panisses mixture out until it cools down to room temperature then cover with a clean dish towel and place in the fridge to set for at least 2 hours.
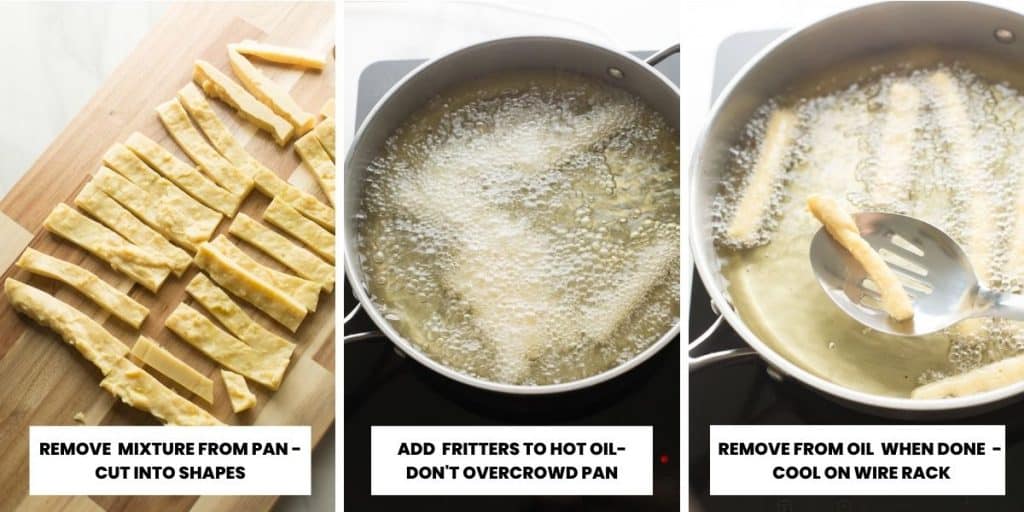
Deep Fry Vs Shallow Fry
Deep frying is when food cooks as it is fully submerged in oil. Shallow frying is when food is only partially submerged as it cooks. According the this wiki article I found, the oil absorption rate is technically the same no matter which method you use. You can use either method here, each method has its own pros and cons
- Deep Fry: The panisses will have a crispier exterior with a juicier interior. They’ll also cook much faster with less fussing (no need to turn and fry each side). You will need to use more oil.
- Shallow Fry: You’ll use much less oil and you’ll be able to get away with using olive oil if you prefer. It will take make a little more time to flip over each and every side.
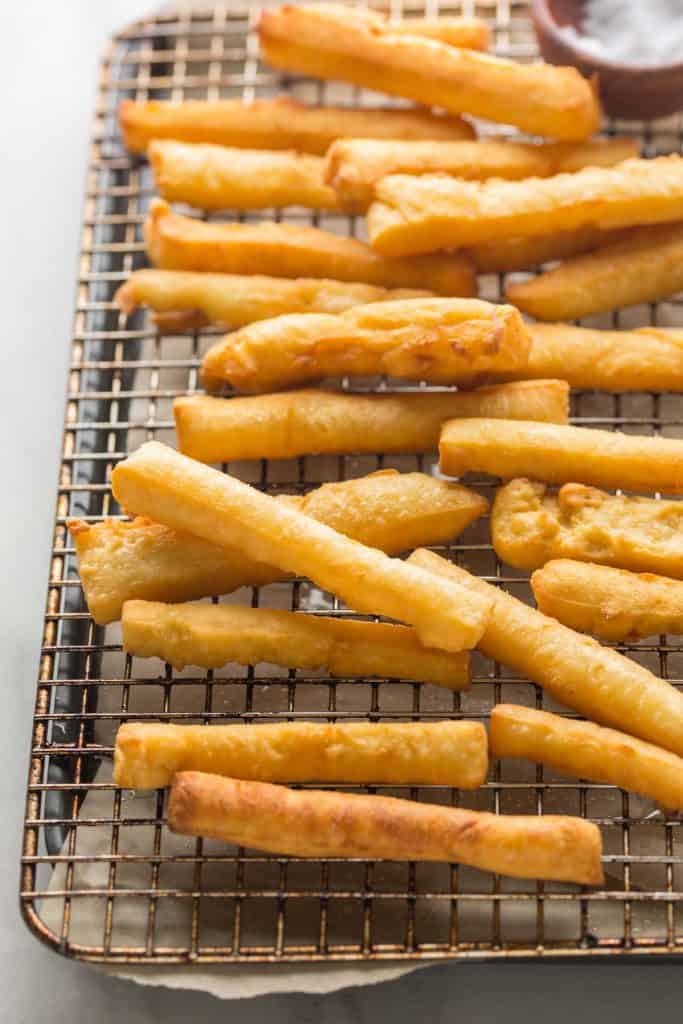
Serving Suggestion
Panisses are traditionally served with nothing more than salt and pepper and maybe some lemon wedges. Before making these I thought I might need to make a dip to go along with it. After making them, I am convinced that they are perfect as is! That being said, you can’t go wrong serving these with a side of marinara or aioli.
I think these would also make a tasty side to these Sun Dried Tomato Chickpea Burgers!
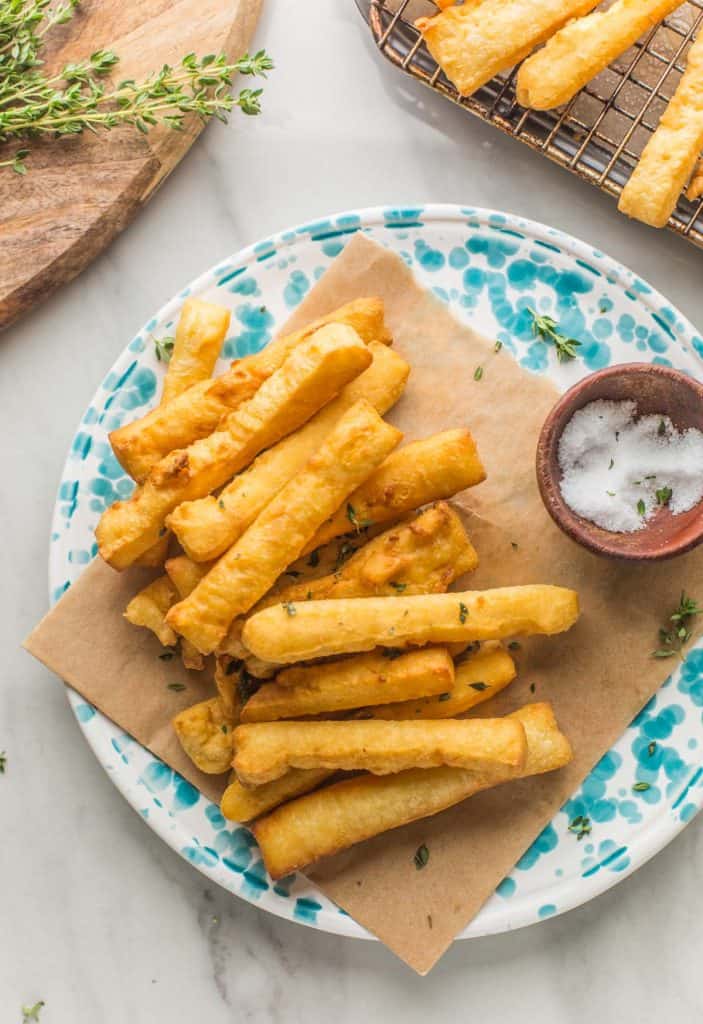
Additions and Alterations
- Dried herbs like parsley, oregano and thyme can be mixed into the dough for an extra pop of flavour.
- Instead of slicing these into fry-like shapes you can use a cookie cutter to cut them into round discs with or slice into square or triangles. This is a great option if you want to spread a dip or sauce on top.
- I once made a Rick Stein version of this recipe where the panisse was sliced into small rectangles (like small toast). It included dried fennel mixed into the batter and was served with pan fried halloumi – absolutely divine!
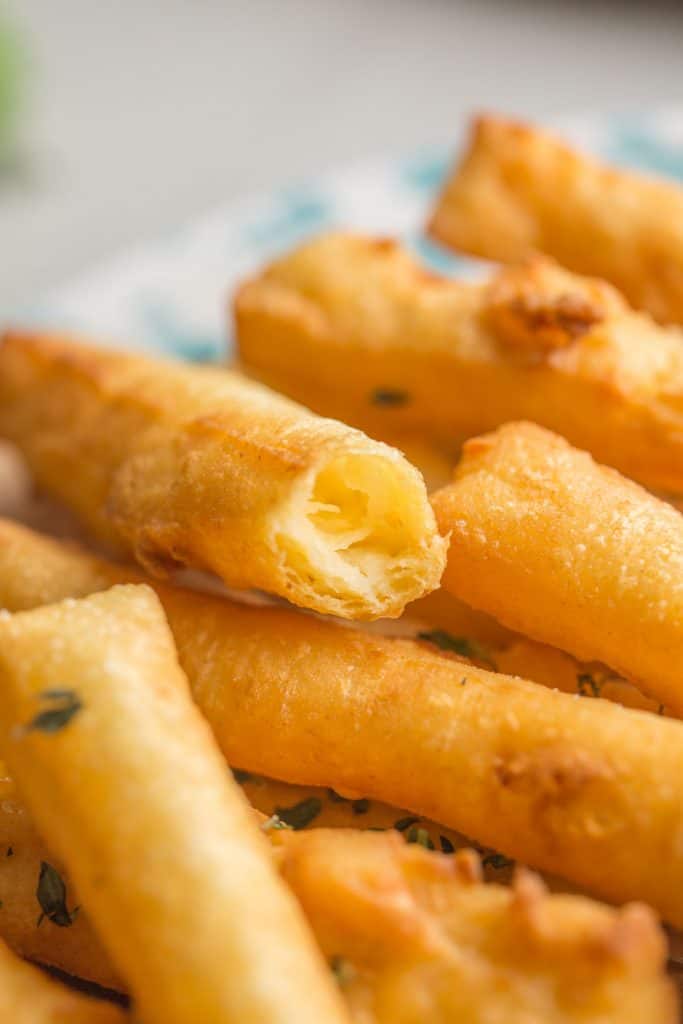
Let me know if you try these how it goes! Enjoy!
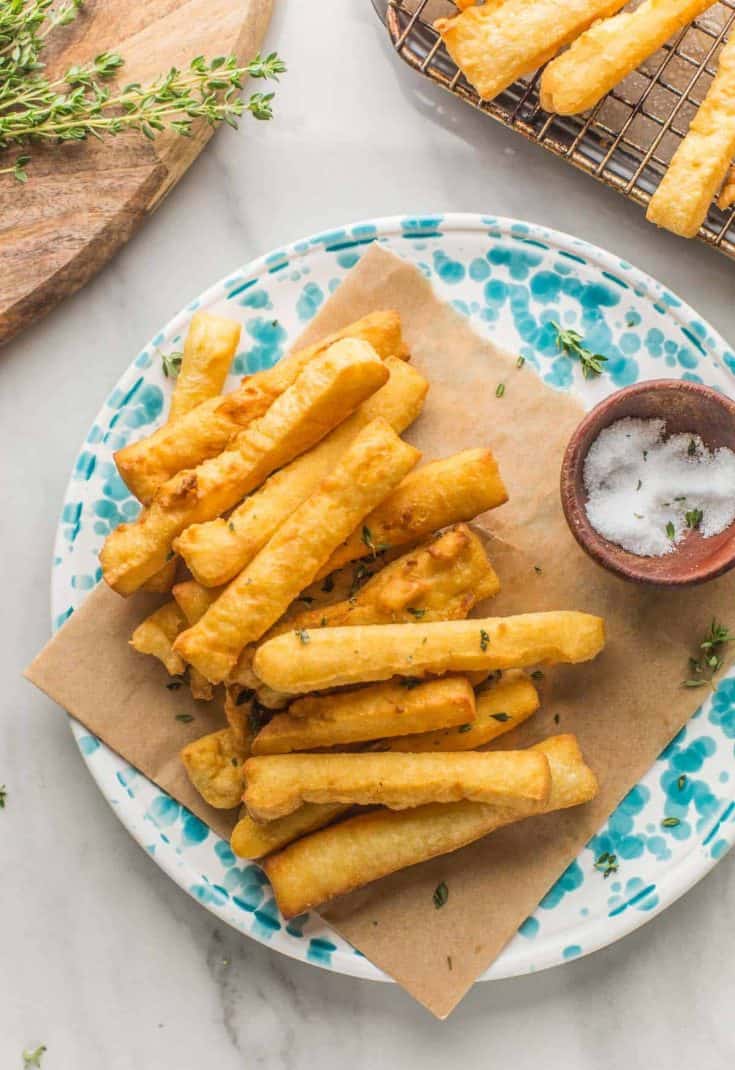
Panisses (Chickpea Fries)
If you've never tried panisses then you're in for a treat! With crisp exteriors and creamy interiors they're kind of like posh french fries!
Ingredients
- 2 cups | 480 ml water
- 1 teaspoon olive oil
- 3/4 teaspoons sea salt + more for serving
- 1 cup | 98 g chickpea flour, sifted
- Freshly ground black pepper, optional
Instructions
- Grease and line an 8x8 inch baking dish with baking paper. Grease the baking paper will a small amount of oil. Set aside.
- In a medium-sized pot over a high heat add the water, oil and salt and bring to a boil.
- Once boiling, reduce the temperature to maintain a gentle simmer. Whisk in the chickpea flour.
- Use a wooden spoon or heat-safe spatula to stir over a medium heat for 7-10 minutes. You must be present and stir the entire time to keep the mixture from burning to the bottom of the pot. As it cooks, your mixture will thicken until it resembles a very thick, slightly lumpy porridge.
- Turn off the heat. Pour the mixture into the prepared baking pan and smooth out the 'dough' evenly across the pan. The mixture will be thick and stubborn but you should be able to spread it if you work quickly.
- Transfer the dough to the fridge and let chill at least 2 hours.
Fry
- Add the frying oil to a large skillet or pot so that it's about 1-2 inches deep. Turn the heat to medium-high and let the oil get hot as your prep the patties. If you have a cooking themometer you want the oil to be somewhere between 350°F-375°F (175°C 190°C).
- While the oil is heating: remove the solidified panisses from the pan and transfer too a cutting board. Cut the mould into shapes as you like. I cut in half and then sliced across the other way into 12 fry-like strips (making 24 total).
- When the oil is hot enough, gently lower the paniesses into the pot. Work in batches so the pan doesn't overcrowd. Let fry about 4-5 minutes until golden and crispy. Use a metal slotted spoon to fish out the finished fritters and transfer to a wire cooling rack. Sprinkle generously with salt (and pepper). Repeat until each fritter has been fried.
- Optional: For extra crispy fries, add the cooked panisses back to the oil to fry once more. Only fry 1-2 minutes the second time around.
- These are best served warm but leftovers can be kept in an airtight container and kept in the refrigerator up to 3 days.
Notes
Bake:
- You can bake these instead of frying but they won't come out nearly as crispy.
- To bake: brush with oil then spread across a large, lined baking sheet and bake for 25 minutes at 425°F/220°C. Flip the fries over halfway through the cook time.
- If you're interested in a low-oil version of this recipe you might prefer making socca instead. It's made with almost identical ingredients but is baked instead of fried.
Air Fry:
- Spray the panisses with oil and the spread evenly across your air fryer (make sure to leave space inbetween). Cook at 400°F/200°C for about 6 minutes, then flip over and cook another 6 minutes.
- You will almost certainly need to cook in multiple batches to fit everything in.


Peter McIntyre says
How much quantity of flour, do you add?
Sarah Nevins says
Hi Peter! The recipes needs 1 cup or about 100 grams chickpea flour. Are you having issues seeing the recipe card?
Bill says
Love the recipe – a healthier alternative to potato fries. Thank you.
Being a lazy so-and-so I use a silicon mould for finger biscuits to cool the batter in – it provides uniformity of profile, plus quicker cooling, and conveniently does enough for the two of us as a main veg.
Sarah Nevins says
Hi, Bill! I’m so glad you enjoy these! Love your idea to use silicon moulds to form the fries. I’ll be trying that the next time I make these.
Thank you so much for taking the time to come back and let me know what you think 🙂