Paleo Zucchini Bread – moist, tender, and naturally sweetened. Enjoy along side a cup of coffee or as a light snack any time of day! Gluten Free + Dairy Free
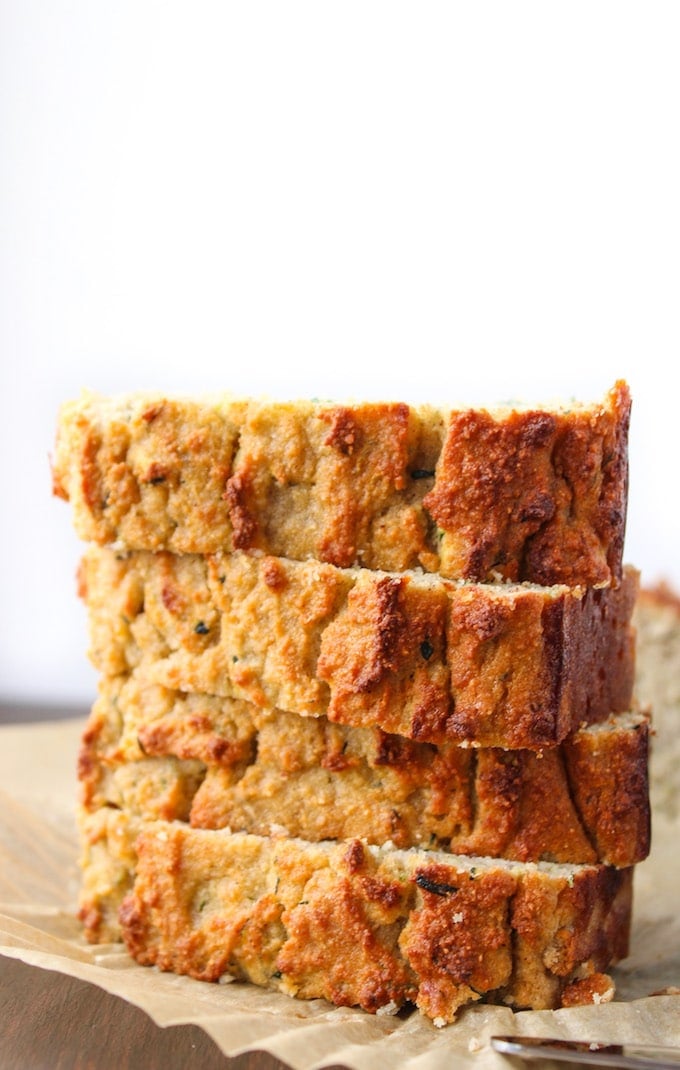
Homemade Paleo Zucchini Bread
I’ve been making this paleo zucchini bread recipe every zucchini season for years since I originally shared it back in 2016.
Though this has been a favorite in my home and in many of yours throughout the years – I figured it was a good time to revisit the recipe and tweak a few things based off the feedback I’ve been given.
What’s changed?
- Pan Size: I now recommend using an 8×4 inch loaf pan instead of a 9×5. The loaf doesn’t rise much in the end, so the smaller pan allows it to bake up into a neater, taller loaf.
- More Almond Flour: The old recipe asked for 1/2 cup almond flour. I’ve increased it to 2/3 cup. The extra flour adds a bit more fat (moisture), flavor and texture to compliment the coconut flour.
- More Cinnamon: One of the biggest comments I have received over the years is that many readers loved the bread, but wished it had more cinnamon. Frankly, I agree and don’t know why I made it so low before!
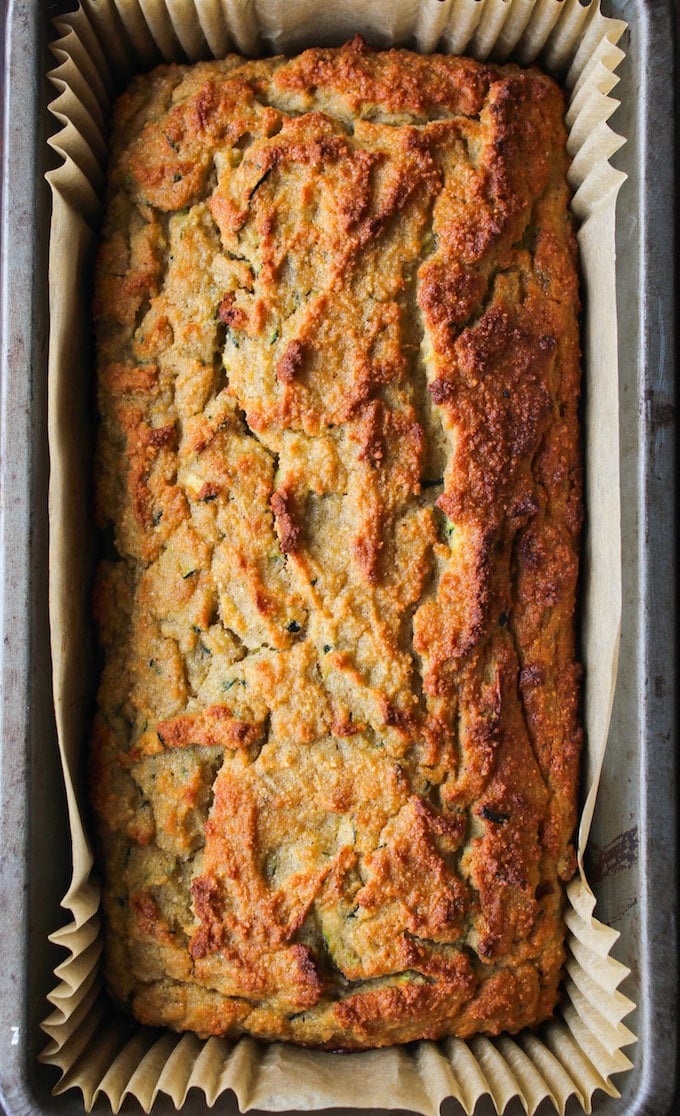
- Oven Position: I now recommend baking the bread in the lower third of the oven to keep the top of the bread from browning too quickly (this happens with almond flour baked goods).
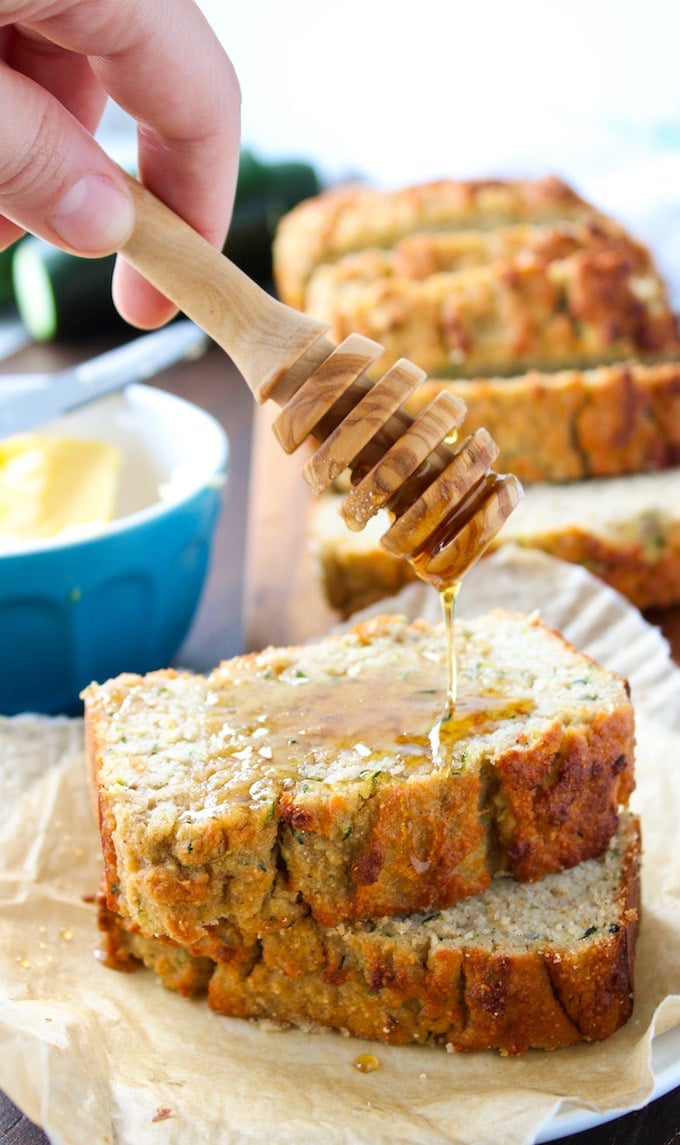
Key Ingredients
- Coconut Flour: Coconut flour is an extremely absorbent flour and need a lot of moisture to work. If using cups to measure the flour, I recommend you spoon the flour into the measuring cup instead of scooping.
- Almond Flour: Almond flour provides a nice texture and flavor balance along side the coconut flour.
- Eggs: This recipe needs the moisture and binding of the eggs to work with the coconut flour. If you’d like to see some egg free zucchini bakes I recommend you check out some of my other vegan friendly recipes: Gluten Free Chocolate Zucchini Bread, Banana Zucchini Muffins, Vegan Zucchini Brownies
- Coconut Oil: You can use butter in place of coconut oil if desired.
- Maple Syrup or Honey: Either work! You can try a combo of maple and honey.
- Fresh Zucchini: The star of the show! Check out the tips before for zucchini selection and prep.
Steps
Altogether this is a super easy recipe to throw together. The process basically comes down to three main steps:
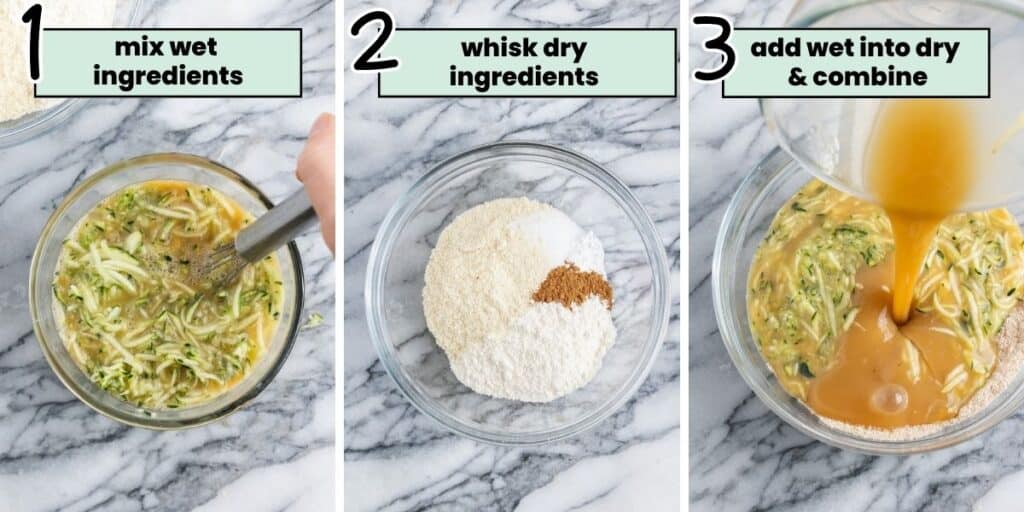
- Mix the wet ingredients: Whisk together the eggs, oil, sweetener and vanilla extract until combined then stir in the grated zucchini.
- Mix the dry ingredients: In a different, large mixing bowl whisk together the flours, baking powder, salt and cinnamon.
- Combine & bake: Pour the wet ingredients into the bowl of dry ingredients. Mix until no pockets of flour remain, then transfer to the prepared bread pan and bake.
Tips for Baking with Zucchini
A few final tips and notes when working with zucchini:
Weigh the Zucchini
For best results, a kitchen scale will give you the most accurate zucchini amount. If you don’t have a scale, a good old fashioned measuring cup will still do the job.
As a general rule of thumb: One loosely-packed and blotted cup of zucchini weighs about 4 oz or 115 grams. You may find that this amount vary depending on the recipe creator, but this is the amount I use in all my zucchini recipes.
Select the Right Zucchini
- Size: Look for small to medium zucchinis, about 6-8 inches. Large zucchinis are typically more watery, and pulpy. They also are more likely to have large seeds inside.
- Stem: Choose a zucchini that still has the stem attached. Zucchini with longer stems will last longer.
Prep the Zucchini
- Skin: No need to peel the skin. Just wash and dry the outside and you’re ready to peel.
- Seeds: Unless you’re working with a large zucchini with large seeds inside, you don’t need to worry about removing the seeds.
- Grate: Use a regular box grater (cheese grater) or food processor with a fitted grating attachment.
- Blot: Don’t worry about squeezing out the excess moisture before baking. A quick blot with some paper towels is more than enough.
How to Store Homemade Zucchini Bread
After baking, allow the zucchini bread to cool completely before storing.
Once cooled, store the bread in an airtight container or wrapped up tightly in plastic wrap/aluminum foil. Leave it out at room temperature for about 2-3 days or store in the fridge for up to a week.
Freeze for Later
You can make the bread ahead of time and store for a later date. Bake, cool, then wrap in foil and freeze the loaf as a whole. Thaw overnight in the fridge and bring to room temperature. Once thawed, go ahead and cut into slices before serving.
Alternatively, you can freeze individual slices of bread for fast and easy storage and defrosting. Wrap each slice tightly in plastic wrap and or foil then store in a freezer safe bag. Let thaw at room temperature or reheat in the microwave until warmed through.
Enjoy
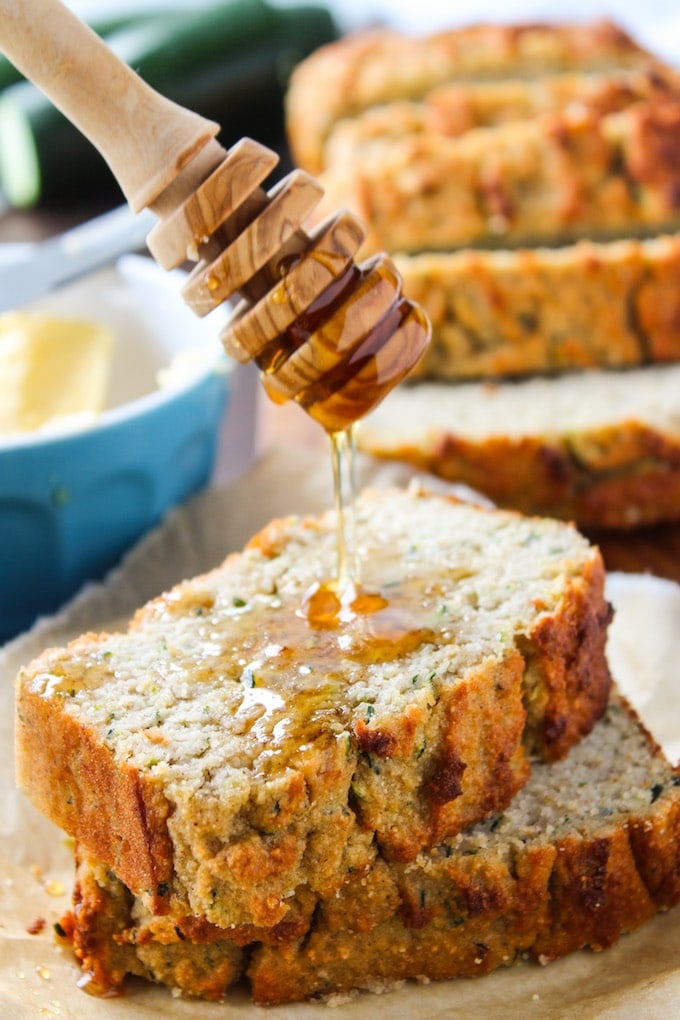
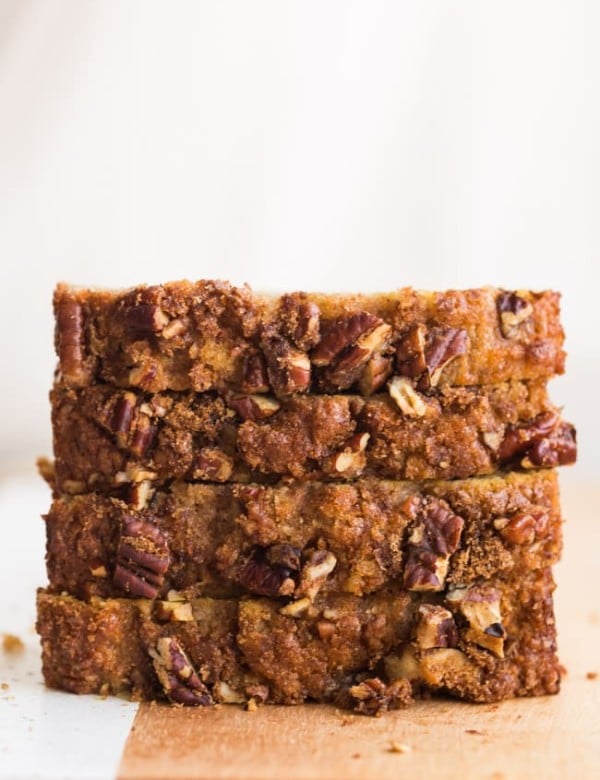
This bread makes for a great healthy dessert or snack! Enjoy a thick slice with a spread of nut butter. I recently tried this with some homemade hazelnut butter and it did not disappoint!
More Delicious Zucchini Recipes To Check Out
If you still have spare squash hanging around I have plenty more zucchini bread recipes and bakes to choose from!
- Zucchini Oatmeal Cookies – GF & Vegan (all purpose gluten-free flour & oats)
- Banana Zucchini Muffins (all purpose gluten-free flour)
- Gluten Free Zucchini Bread (all purpose gluten-free flour)
- Chocolate Chip Almond Flour Zucchini Cookies (almond flour)
- Almond Flour Paleo Zucchini Brownies (almond flour)
- Vegan Zucchini Brownies (chickpea flour)
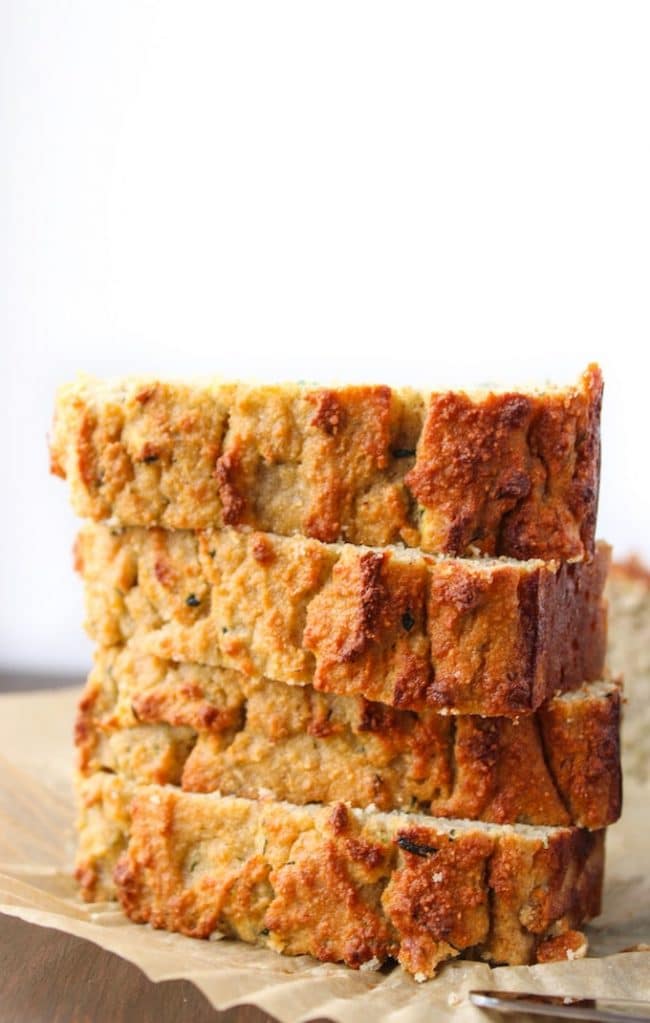
Paleo Zucchini Bread
Paleo Zucchini Bread - moist, tender, and naturally sweetened. Enjoy along side a cup of coffee or as a light snack any time of day!
Ingredients
- 4 eggs
- 1 teaspoon vanilla extract
- 6 tablespoons pure maple syrup (120g) or honey (125g)
- 1/2 cup coconut oil, melted & cooled (105g)
- 1 1/2 cup shredded zucchini, lightly blotted dry (170g | 6 oz)
- 2/3 cup almond flour (65g)
- 1/2 cup coconut flour (55g)
- 1 teaspoon baking powder
- 1 1/2 teaspoon cinnamon
- 1/4 teaspoon sea salt
Instructions
- Place an oven rack in the bottom third of the oven then preheat your 350°F (180°C). Grease an 8x4 inch loaf pan, or line with parchment paper. Set aside.
- In a medium sized mixing bowl whisk together the eggs, vanilla, maple syrup (or honey), and oil until combined. Stir in the shredded zucchini.
- In another large mixing bowl whisk together the dry ingredients.
- Pour the wet ingredients to the dry ingredients. Mix until well combined and no pockets of flour remain. Make sure to scrape down the sides and bottom of bowl as needed.
- Pour the batter into the prepared pan.
- Place in the oven and bake for 55-65minutes, or until a knife going into the center of the loaf comes out mostly clean (no raw batter, only crumbs). About halfway through the bake, turn the loaf pan around so ensure the top colors evenly. If you notice the top of the loaf starts to look too dark, loosely cover the pan with some foil.
- Remove the loaf from the oven and place on a wire rack. Let cool for about 30 minutes before removing the bread from the pan. Finish cooling on the wire rack then slice and enjoy.
- Storage: Store leftover bread in an airtight container, wrapped tightly in plastic wrap, foil or a sealable bag. Leave at room temperature for about 2 days, or keep it in the fridge for up to a week.
Notes
- Freeze for later: Leftover bread will keep in the freezer up to 3 months. Freeze individual slices of bread for fast and easy storage and defrosting. Wrap each slice tightly in plastic wrap and or foil then store in a freezer safe bag. Let thaw at room temperature or reheat in the microwave until warmed through.



Rachel says
I made it and the flavor was good but I guess the oil made the texture weird, it reminded me of wet meatloaf
Sarah says
Hi Rachel! Glad you liked the flavour at least! I’m wondering – have you done much baking with coconut flour before? Usually textural things like that have more to do with coconut flour than oil
Caroline says
I have an allergy to nuts. Can I use buckwheat flour or increase the coconut flour instead? Love the blog – your photos are brilliant.
Sarah says
Hi Caroline! Thank you so much 🙂 I’ve actually just been playing around with this recipe today trying to make a nut free version. So far I’ve just swapped out the almond flour for tapioca and it’s worked perfectly. I’m pretty sure buckwheat would also work here as a 1:1 sub for the almond flour. Hope you like it!
Carol Weber says
The texture of this bread is amazing. But I worried because the exterior darkened in the oven quite a bit — to almost black, yet it didn’t taste burned at all. It’s only my second Paleo bread. Does almond flour or coconut flour tend to burn real easily?
Sarah says
Hi Carol! So glad you liked it! Thanks for coming back to let me know what you thought! As for the browning – coconut flour does tend to darken quicker than other flours. It’s usually not an issue when baking cookies or muffins since it doesn’t need to bake as long but can be tricky with breads that are in the oven for awhile. In the future you can always cover baked coconut flour breads with aluminium foil to keep it from going too dark
Madeleine says
This is one of my favorite new things! It turned out super yummy! Thank you so much for sharing. I’m obsessed!
I had to modify a bit based on what I had on hand – used almond meal instead of almond flour, so my bread was a little more dense and didn’t rise as much. I used 4 tablespoons of honey instead of 6, and added a scoop of collagen peptides. Still turned out great!
Sarah says
Hi Madeleine! So glad you liked it! Thanks so much too for coming back to share what you did differently! I really like the idea of adding collagen peptides to this – such a great idea!
Pascascale says
Ello Sarah
Can this bread
Be made without any sugar?
Sarah says
I haven’t personally tried this without adding any sweetener yet but I have actually seen a lot of people sharing their savoury versions on instagram – from what I can gather it does seem like they just do it by not adding any sugar
Fabiola says
The video says to use baking powder and the recipe says baking soda, I did not see this until my loaf was in the oven and used basking soda 🙁
Would it make a big difference in taste and texture?
Sarah says
Oops! My mistake – must have been on auto pilot when editing the video. Baking soda is the one you need so you did it right!
Fabiola says
Thanks!
Monica P Prieto says
I wish you’d corrected the recipe and had put baking soda. I just wasted almond flour and good zuchini. Please correct this as this is ruining your recipe
Sarah says
Hi Monica – I’m sorry about the confusion but I do list baking soda in the written instructions where all the amounts are written. That being said I’m wondering if something else went wrong in the recipe because using baking powder vs baking soda shouldn’t be enough to ruin the bread. I’d expect if anything it might cause it to rise up too much and then fall after baking but not so much that it’s ruined
Kala says
My boyfriend and I made this last night! He’s a trooper when it comes to my crazy diet and offered up to help me make this! It was fantastic, our oven is a bit of a nightmare so I think next time I will have to try it in a larger pan and it will be more like brownies! Also I added chocolate chips!
Sarah says
Ooh love the addition of chocolate chips! So glad you guys both enjoyed it! Thanks so much for coming back to let me know what you thought 🙂
Rhonda Smith says
I used butter and it came out really buttery. Everyone has better luck with coconut oil? I liked it besides being greasy and to much butter tasting.
Sarah says
I think for the most part everyone I’ve seen make it on here and commenting on instagram has made it with coconut oil – if you wanted to try it again you might like it better that way
Lori says
This as amazing, I read some reviews about it being undone in the middle so I doubled the batch and baked it in a 9×12 glass pan. I added 1 TBLS pumpkin pie spice from Trader Joe’s in addition to the cinnamon. We loved it.
Sarah says
Ooh I love the idea of adding pumpkin spice for an autumnal twist! Thanks for sharing!
Betsy says
Thanks for sharing about the pumpkin spice, I’m going to try that! Betsy
Justine says
What a fun recipe! I just made this this morning. It’s easy to make and tasty. I found that the bottom half of the loaf didn’t cook nearly as fast as the top half. The top got really brown after 55 mins of baking, so I didn’t want to bake it much longer and burn it. Is there something I should have done differently?
Sarah says
Hi Justine! Glad you liked it! A few things that might help troubleshoot the issue: How deep was your loaf pan? I’ve got a couple of loaf pans that are technically the same size, but one if deeper and one is wider so sometimes my baked goods bake at slightly different times. I’m wondering if that might be a possible problem. Another thing – the oven temperature itself could be a little bit off. Over time ovens need to be checked and recalibrated because they’ll begin to run too high or too low. Regardless – if you bake this again I’d recommend lowering the temperature slightly and baking for longer. Hope that helps!
Carol says
Just had my first taste of this bread and it was perfect!! In fact, I have a big bowl of shredded zucchini and I’m going to freeze it in 1 1/2 cup amounts so I can make it make this recipe many more times! Thanks!
Sarah says
That’s awesome! So glad you enjoyed it! Thanks for coming back to leave a comment/review letting me know how it went 🙂