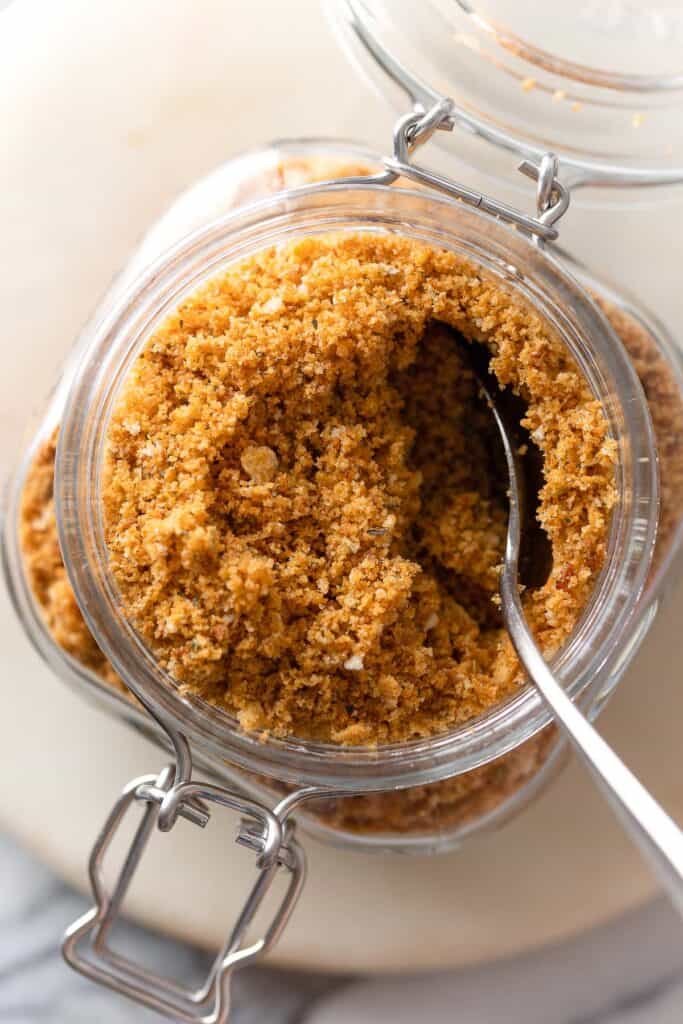
Learn how to make Homemade Gluten Free Breadcrumbs with just a few basic ingredients! This method is fast, simple and easy to adapt, making it a great go-to recipe to keep on hand when you’re low on store-bought bread crumbs.
⭐Gluten Free Breadcrumbs⭐
What’s great about these homemade breadcrumbs:
- Buttered then baked: It’s easy to prepare and ensures an even application of buttery goodness.
- Great use of stale bread: This recipe is a super easy way to reduce food waste by extending the life of your leftover bread by making your own breadcrumbs instead!
- Season as YOU like: You’re in control so feel free to add or subtract seasonings to better suit your tastes and dietary needs.
Recipe Steps
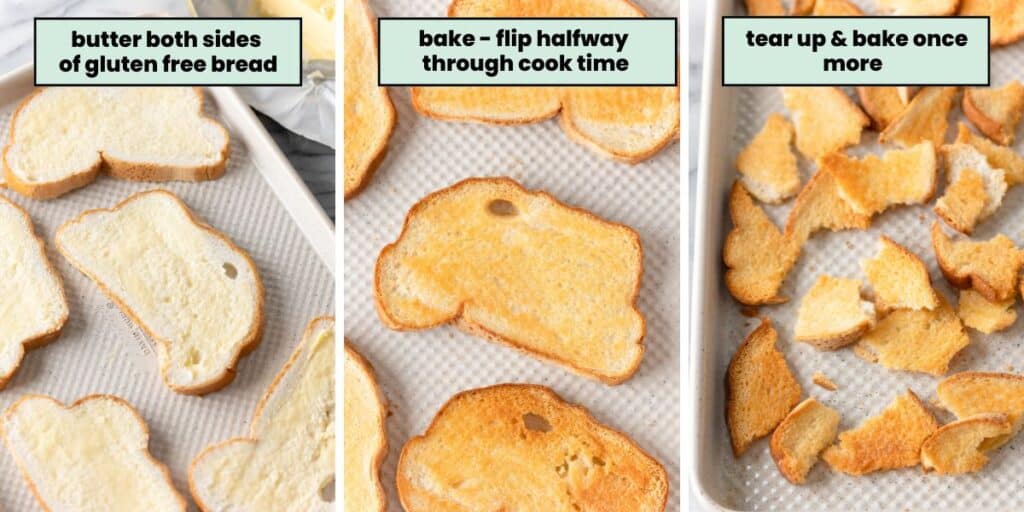
- Butter: Lightly butter your bread. Butter one side or both – it’s up to you.
- Space Out: Space the whole bread slices out across a large baking sheet. Use a second baking pan if it’s too crowded.
- Bake then Flip: Bake for about 5 minutes then carefully flip each bread slice and bake another 4-5 minutes.
- Tear Up: Tear up the slices into chunks then space out again once more on the pan.
- Bake Again: Return to the oven and bake another 2-3 minutes to crisp up a final time.
- Cool: Leave on the pan for about 5-10 minutes to cool.
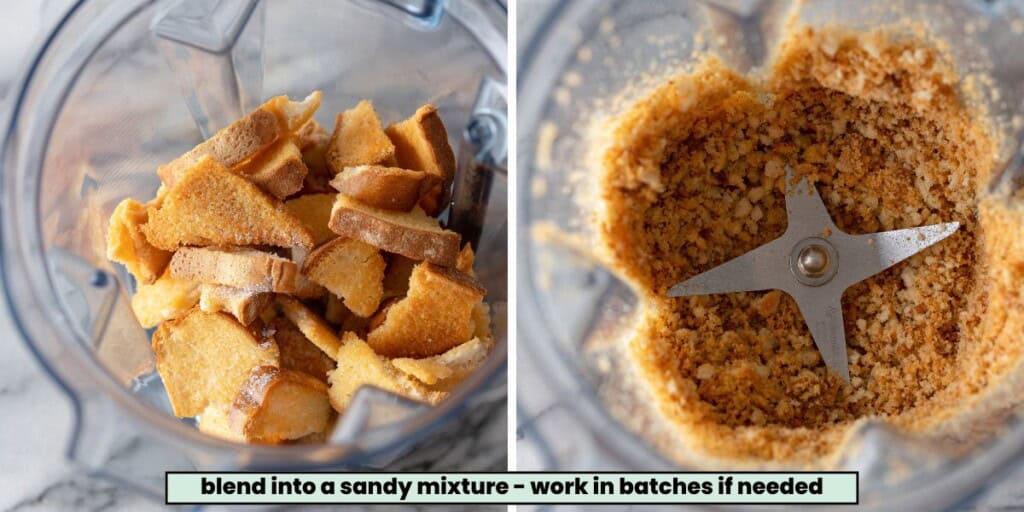
- Season: Transfer the bread pieces to a food processor or blender along with any additional optional seasonings.
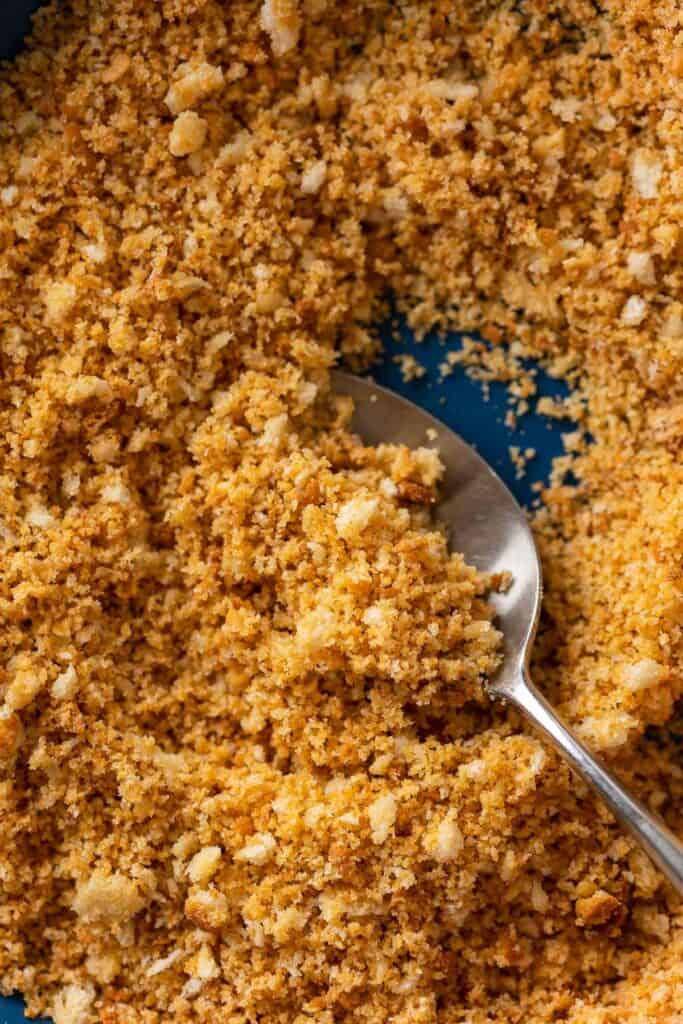
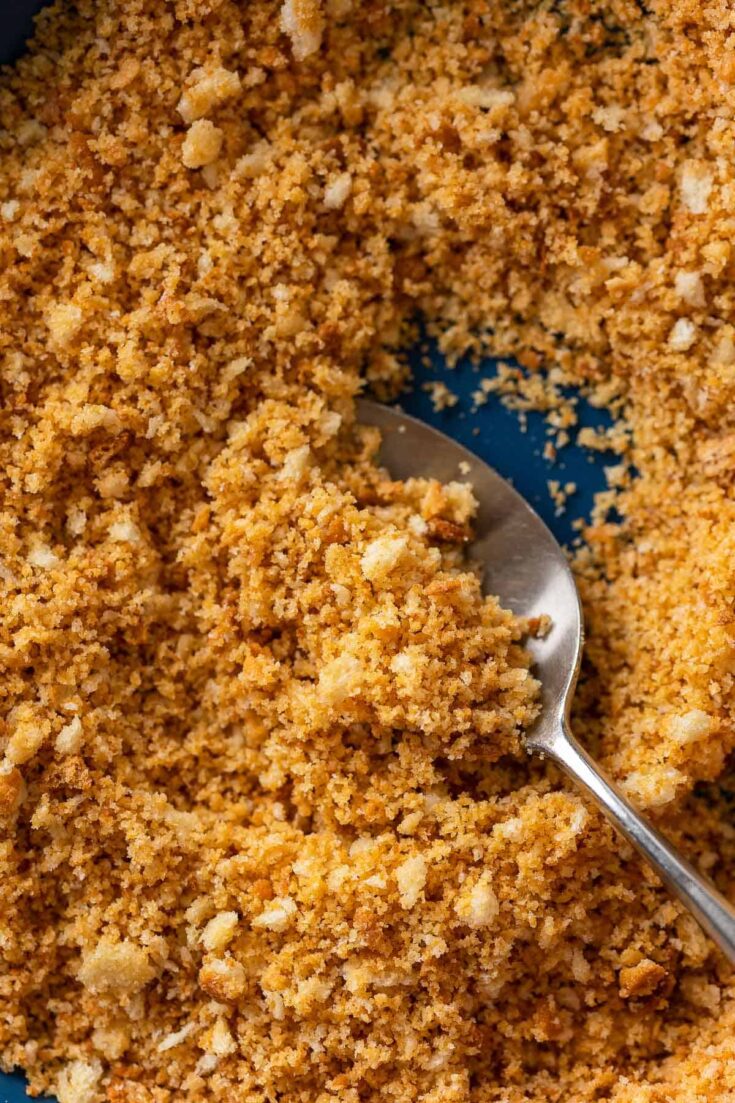
- Blend: Pulse together in short intervals until you get your desired texture. Blend longer into super fine crumbs or shorter for more crispy texture.
FYI: Panko vs Breadcrumbs
Traditional Panko is a specific, Japanese-style breadcrumb made from crustless white bread that’s steamed then further processed via electric current into crisp flakes.
They’re usually lighter in color, larger in shape and crispier in texture compared to regular breadcrumbs which can be made with any type of bread.
Though they do have a few main differences, you can often use panko breadcrumbs and standard breadcrumbs interchangeably when needed.
Tips
- Blend in batches if needed. If you’re using a blender (rather than a food processor) I recommend you blend the toasted bread in 2-3 batches so the crumbs blend up evenly.
- Make it vegan. Use dairy free butter or olive oil in place of dairy butter and choose vegan friendly bread loaf.
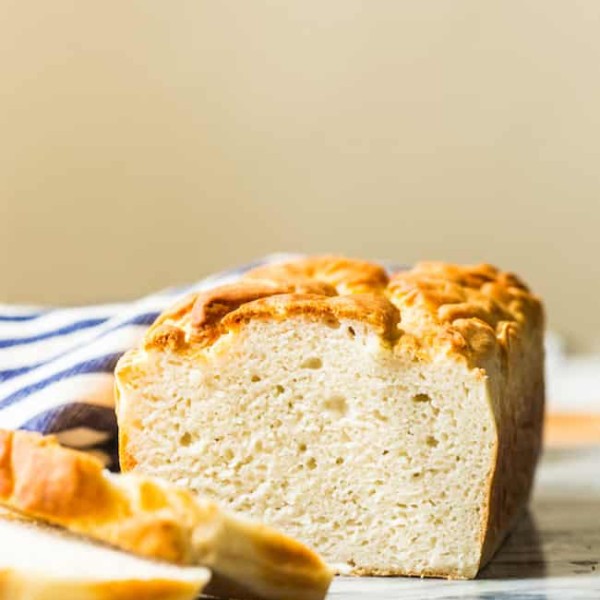
- Use any type of bread. Try it with your favorite gluten-free bread: white, brown, seeded, sourdough, etc. Homemade gluten free bread also works! Feel free to mix and match different types of gf breads.
- Make it without a blender or food processor: After baking and cooling, add the toasted bread pieces to a large bag. Seal, then smash with a rolling pin to bread a coarse, but crispy breadcrumb.
Freeze for Later
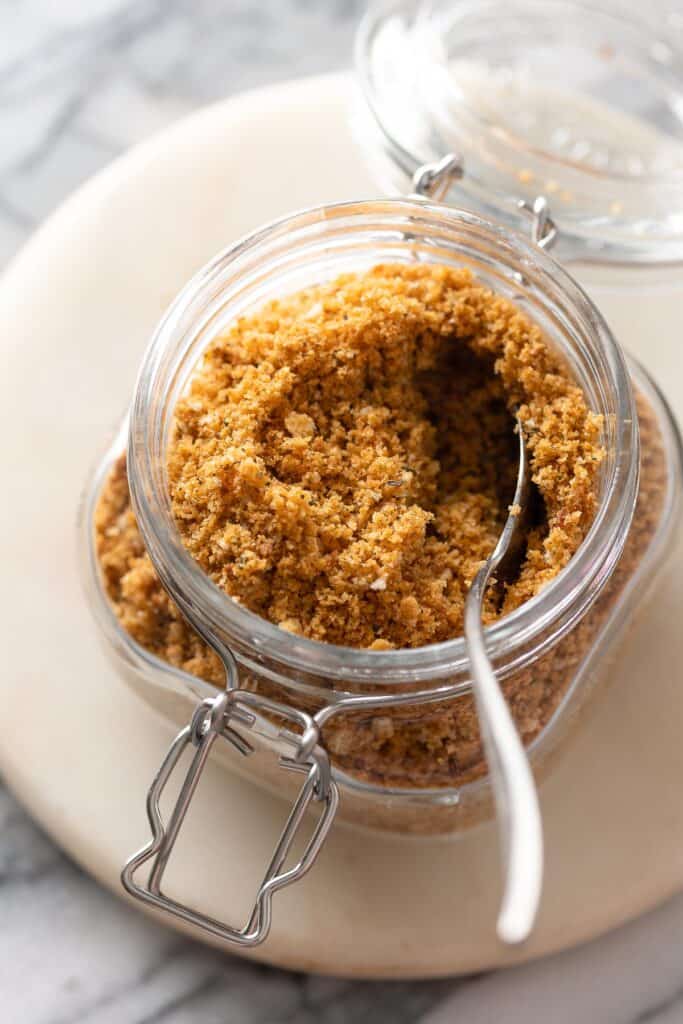
Transfer the homemade bread crumbs to a sealable freezer-safe bag or airtight container with the label and date noted. They will last quite a long time in the freezer, but for best results use within about 3 months. Any longer and the flavor will start to diminish.
Uses
Recipes to put your homemade gluten-free bread crumbs to use:
- Healthy Chicken Meatballs In Marinara
- Gluten Free Thai Salmon Cakes
- Greek Chicken Meatballs
- Chicken Broccoli Fritters
- Greek Salad With Fried Feta
- Gluten Free Oven Fried Chicken
Use this as a gluten-free bread crumb substitute in any recipe calling for traditional breadcrumbs!
Enjoy!
Let me know if you try following this homemade gluten-free breadcrumbs recipe! Leave a comment and review with your thoughts. I always appreciate the feedback and serving suggestions that you come up with!
Gluten Free Breadcrumbs
Put your leftover gluten free bread to use with this homemade gluten free panko recipe - great in meatballs, burgers, casseroles, stuffing and more!
Ingredients
- 8 slices gluten free bread (8oz)
- 1/4 cup softened butter (60g)
- 1/2 teaspoon salt (leave out or reduce if using salted butter)
Optional
- Italian herb seasoning
- garlic powder
- chili flakes
Instructions
- Preheat oven to 400°F (200°C). Set aside a large baking sheet.
- Butter both sides of each pieces of bread. Place the bread on the baking sheets - spread out in an even layer. If you can fit all the bread on one pan, use a second pan.
- Place in the oven and bake for about 4-5 minutes. Remove the pan and flip each piece of bread over. Return to the oven and bake another 3-4 minutes to crisp up the other side.
- Remove from the oven again. Tear up the bread into large chunks and carefully spread across the pan. Return to the oven once more and bake a final 2-3 minutes until golden and crispy.
- Leave to cool on the pan, about 5-10 minutes.
- Add the toasted bread pieces to a food processor or blender along with the salt and any additional dried seasonings. If you're using a blender, do this in 2-3 batches to prevent oven blending.
- Pulse in 2-3 second intervals until you reach your desired breadcrumb texture. Make sure to stop the blender at some point and scrape down the sides.
- Use breadcrumbs right away or cool to room temperature and transfer to an airtight container and store in the fridge up to one week or in the freezer 3 months.






Leave a Review!