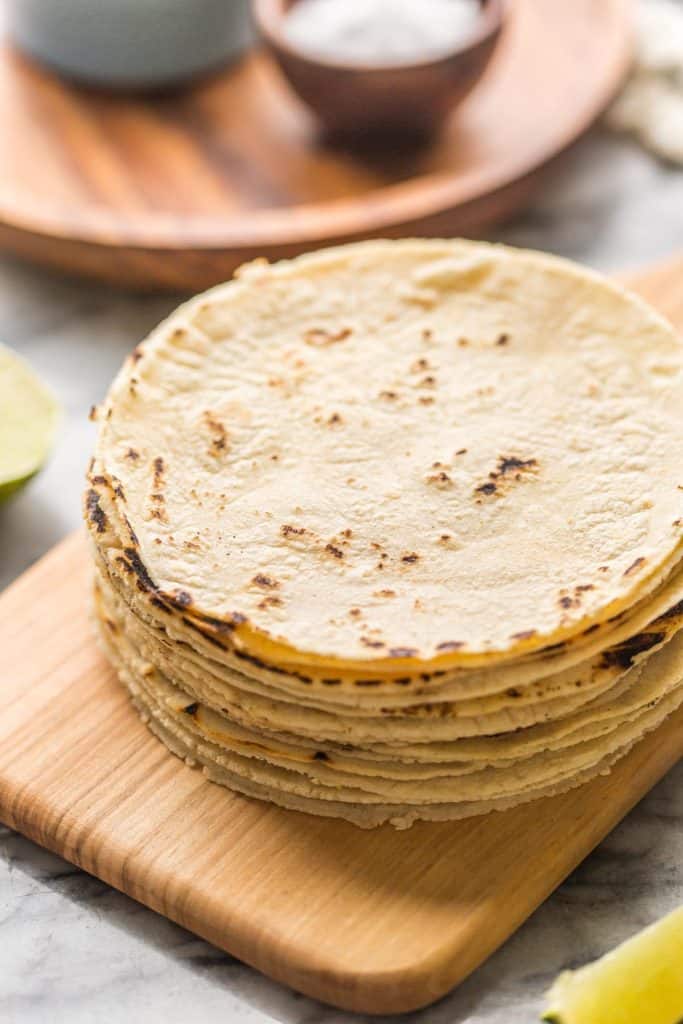
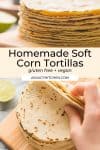
Learn how to make this Homemade Corn Tortillas Recipe! These soft, pliable corn tortillas are easy to make with only three ingredients needed. Though they do require a little time and patience to pull off, the end result is easily worth the effort! Make sure to read the post below for tips on how to keep your tortillas soft and how to prevent them from cracking or going hard. Once finished you’ll be all set to make enchiladas, tacos, taquitos and more! | Gluten Free + Vegan
There are a lot of things that I love about living in England. I love the landscape, the fact that pubs are almost always within walking distance, its proximity to the rest of Europe and general ease of travel. Loads of things. One thing that I do not love – is the selection of Mexican food and general lack there of.
Growing up in Arizona, I was spoilt for choice when it came to quality Mexican/Southwest cuisine. Between the restaurants, the grocers and my friends abuelas’ giving out literal bags full homemade tamales for free – I was set.
These days, my limited options for quality Mexican food are even more limited thanks to the gluten free restrictions. Store bought gluten free tortillas here are fine and they do the job technically, but they are still not quite right.
Which brings us up to speed with these homemade corn tortillas. Made with only three ingredients: flour, water & salt plus a little patience. I’d kick myself for waiting so long to finally make my own corn tortillas from scratch but I’m too busy snacking on my homemade tortilla chips – recipe to come!
How to Make Fresh Homemade Corn Tortillas
First things first – the flour. More specifically you need this Masa harina corn flour. What is masa harina? Bear with me here a minutes because this can get confusing.
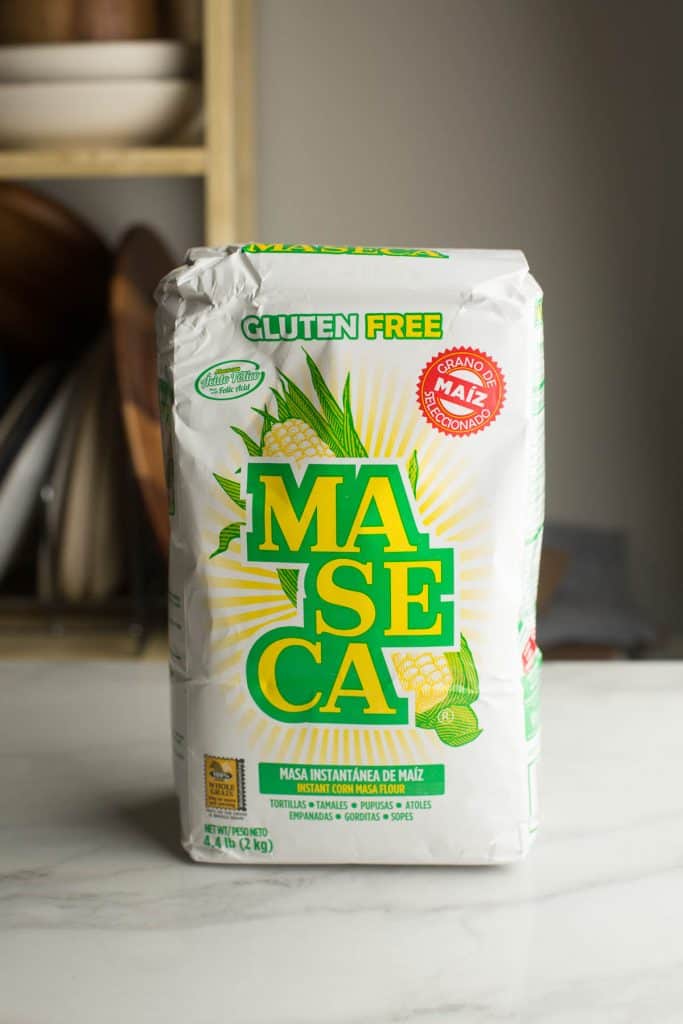
The literal translation means ‘dough flour’. In this case it’s dried corn dough made from corn flour. Masa harina is a flour that used to be a dough, but was then dehydrated and is now the flour used to make corn tortillas. So basically the process of making masa harina looks like this:
- Start out with dried field corn (corn kernels).
- Grind up the kernels into a coarse flour. Congrats, you now have cornmeal.
- Soak that cornmeal in an alkaline agent like lime water. This makes it taste better and dissolves the outer skin making it softer and more nutritious.
- You now have masa dough! In order to sell it commercially this dough is then dehydrated and it becomes masa flour or dough flour.
Can you make homemade tortillas with corn flour or corn meal instead of masa harina?
No – they not interchangeable. As you can see from the process of how it’s made above, cornmeal and masa are different even though they come from the same thing. Because it’s been treated and soaked in an alkaline agent, masa has a distinct taste and characteristics that you can’t get from cornmeal. Masa will stick together to form tortillas. Cornmeal will not.
This is also not the same as masarepa used to make arepas. Masarepa is precooked cornmeal that has not been treated with an alkaline solution (nixtamalization).
What type of masa harina to use? Is corn masa flour gluten free?
Masa harina is naturally gluten free, but do double check that the type you’re buying is free from cross contamination and safe for celiac consumption (if that’s important to you). I like this Masa Harina that I bought from Amazon because it’s very clearly labeled gluten free on the front.
When it comes to the colour/type of masa – you might find white, yellow or blue masa in grocery store. White and yellow masa are slightly sweeter in taste but any colour will work. The colour is simply a reference to the type of corn that the flour came from (white, yellow or blue corn).
How to Make Homemade Corn Tortilla Dough:
This is the easy part. Now that you have your flour, in a large bowl simply whisk in a little bit of salt then add water. Cold water will technically work too, but warm water mixes in easier. Once mixed in, knead your dough for a good five minutes.
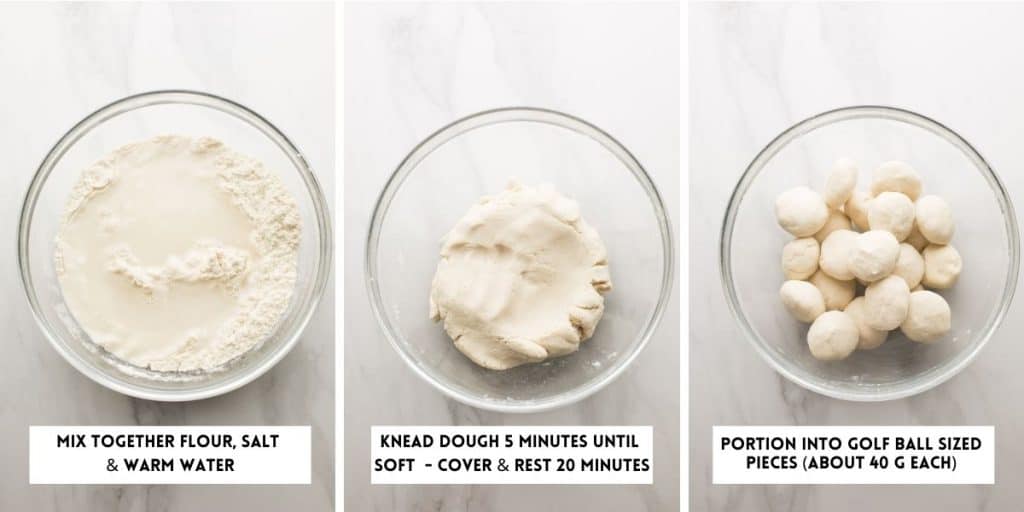
Why knead the tortilla dough? I explain this more detail below, but kneading the dough is an important step that ensures that the dough properly hydrates and softens. Knead together until soft and thick, like play-doh and comes together in a big ball of dough. More kneading = softer tortillas.
Next, cover the bowl with a damp towel and let the dough rest about 20-30 minutes. This is another crucial step that’s necessary for soft and flexible tortillas. Your dough needs enough time to rest and rehydrate before being pressed and cooked.
Finally, begin portioning out little balls of dough in preparation for pressing and toasting. Make all of your dough balls about the size of a golf ball (about 40 grams each if using a kitchen scale). You should end up with about 18-21 balls depending on how large you make them.
From this point you will work one at a time to press and cook. Make sure to keep your dough balls covered with a damp towel as you work to prevent the dough from drying out.
Press & Cook
No worries if you don’t own a tortilla press! You can still make fresh tortillas from scratch – it just might take a little more time and creativity.
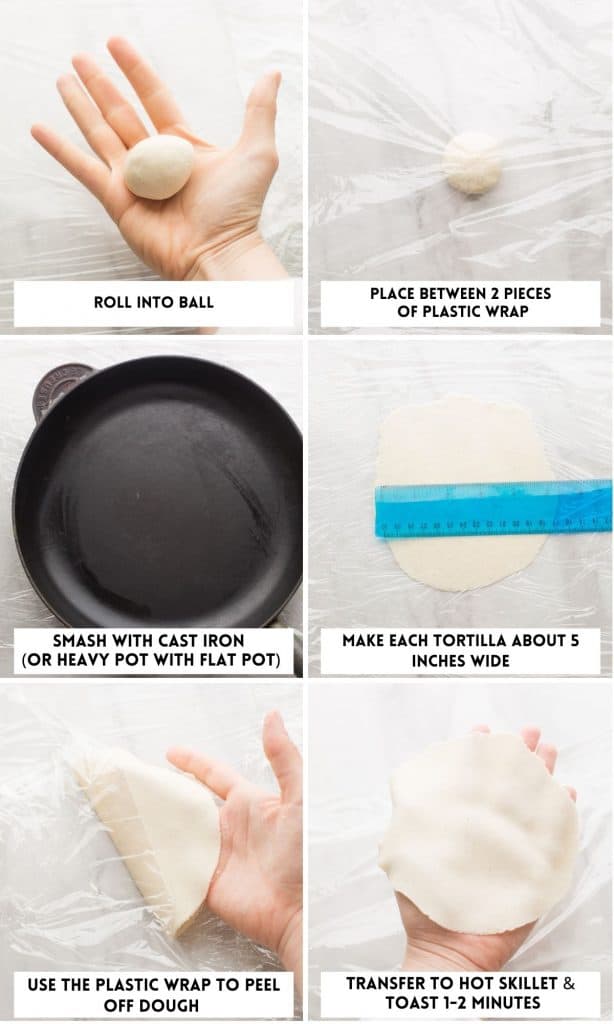
- Roll. Take a ball, one at a time and roll into an even, smooth ball.
- Place. Lay out a large piece of plastic wrap or baking paper and place the ball in the middle. Place another large piece of plastic over the top so that the dough is sandwiched between the two pieces of plastic wrap or sheets of parchment paper.
- Flatten. Take something heavy with a flat bottom like a cast-iron skillet, pie plate or baking dish and press the dough down to make a flattened tortilla. If your tortilla doesn’t look quite flat enough, use a rolling pin to flatten in further. Try to make each tortilla even in size, about 5-6 inches wide in diameter.
- Transfer. Slip your hand under the plastic or parchment to help you peel off the tortilla dough.
- Cook. Add to a hot, dry nonstick skillet or cast iron pan and cook about 1-2 minutes over a medium-high heat. Cook until little brown spots appear on the underside, then flip tortilla and cook the second side 1-2 minutes. You might notice the tortilla puff up in areas after the second flip – that’s a good sign!
- Warm. Place the cooked tortilla in a bowl lined with a kitchen towel and cover. Keep covered as you cook and add tortillas to the pile.
- Repeat. Repeat all these steps until every tortilla has been cooked.
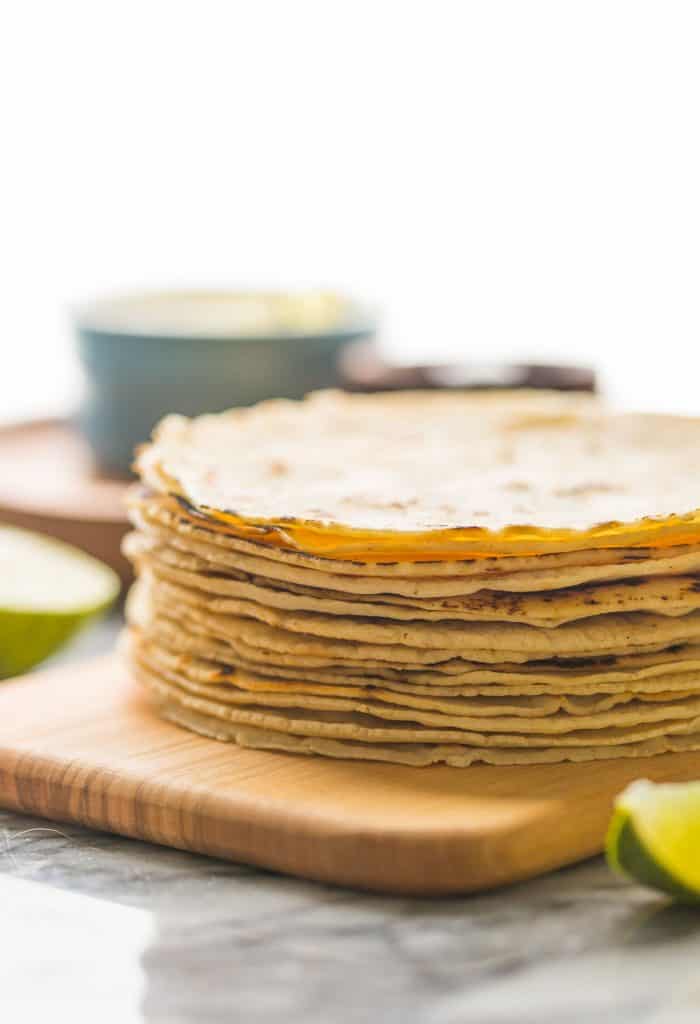
Troubleshooting & Tips
Why did my homemade corn tortillas Fall Apart or go hard and crack?
There are two main things you need to do properly to prevent your homemade corn tortillas from cracking or going hard:
- You need to thoroughly knead the dough.
- You need to give the dough enough time to rest.
Masa harina (like corn flour and other corn flour derivatives) does not easily absorb water. This dough needs time to properly hydrate. You’ll achieve that by kneading and resting the dough. Kneading the dough aerates and hydrates it by forcing water and air into every particle. The more you knead it – the softer the dough becomes. Resting gives it time to fully absorb all the moisture it can get.
I do not recommend trying to rush these two steps. (Believe me, I tried!)
How do you know when you’ve kneaded enough? Mix and knead your masa dough for at least five minutes. The longer you knead, the softer and less sticky the dough will become. Press the dough together and form a ball. Slap the ball hard with the palm of your hand. If your palm comes out clean – that’s enough. If it sticks to the dough, keep going.
How long do you have to let the dough rest when making these corn tortillas? I’ve seen a lot of recipes online recommend about 10 minutes. I find 20-30 minutes to be a safer bet. Coming from someone who is not a patient person and certainly not a patient cook – if you’re going through the trouble of making homemade corn tortillas from scratch you may as well do it properly. What’s an extra 15 minutes at the end of the day? Take that rest time to tidy up your kitchen so you’ve got less work to do later!
How to keep the tortillas fresh & soft
The easiest way to keep corn tortillas soft and pliable is to keep them stored in a tortilla warmer. If you’re working without a tortilla warmer then you can wrap up your stack of freshly made tortillas in a clean kitchen towel, and then place that towel inside a large ziplock bag. This will help the tortillas retain their heat and moisture necessary for keeping them soft and flexible.
If you end up with leftover tortillas that you want to keep past one day, keep them stored in a large sealable bag and keep in the fridge for about 7-10 days.
Are Corn Tortillas Gluten Free?
The answer here might seem obvious (especially if you’ve gotten this far into the post) but it’s actually an important question to consider for those with celiac disease or gluten allergies.
While corn is inherently gluten free, corn flour and masa harina is often processed alongside wheat and other gluten containing grains (much like oats and oat flour). This process can make it unsafe for celiac consumption if too much wheat flour ends up mixing into the corn flour. This is why you should always double check the labels of corn tortillas bought in store.
When making homemade corn tortillas or anything that contains corn products (like gluten free cornbread) you should check the labels of your flour to ensure that the product you’re using is in fact gluten free.
🌟Make this Next🌟
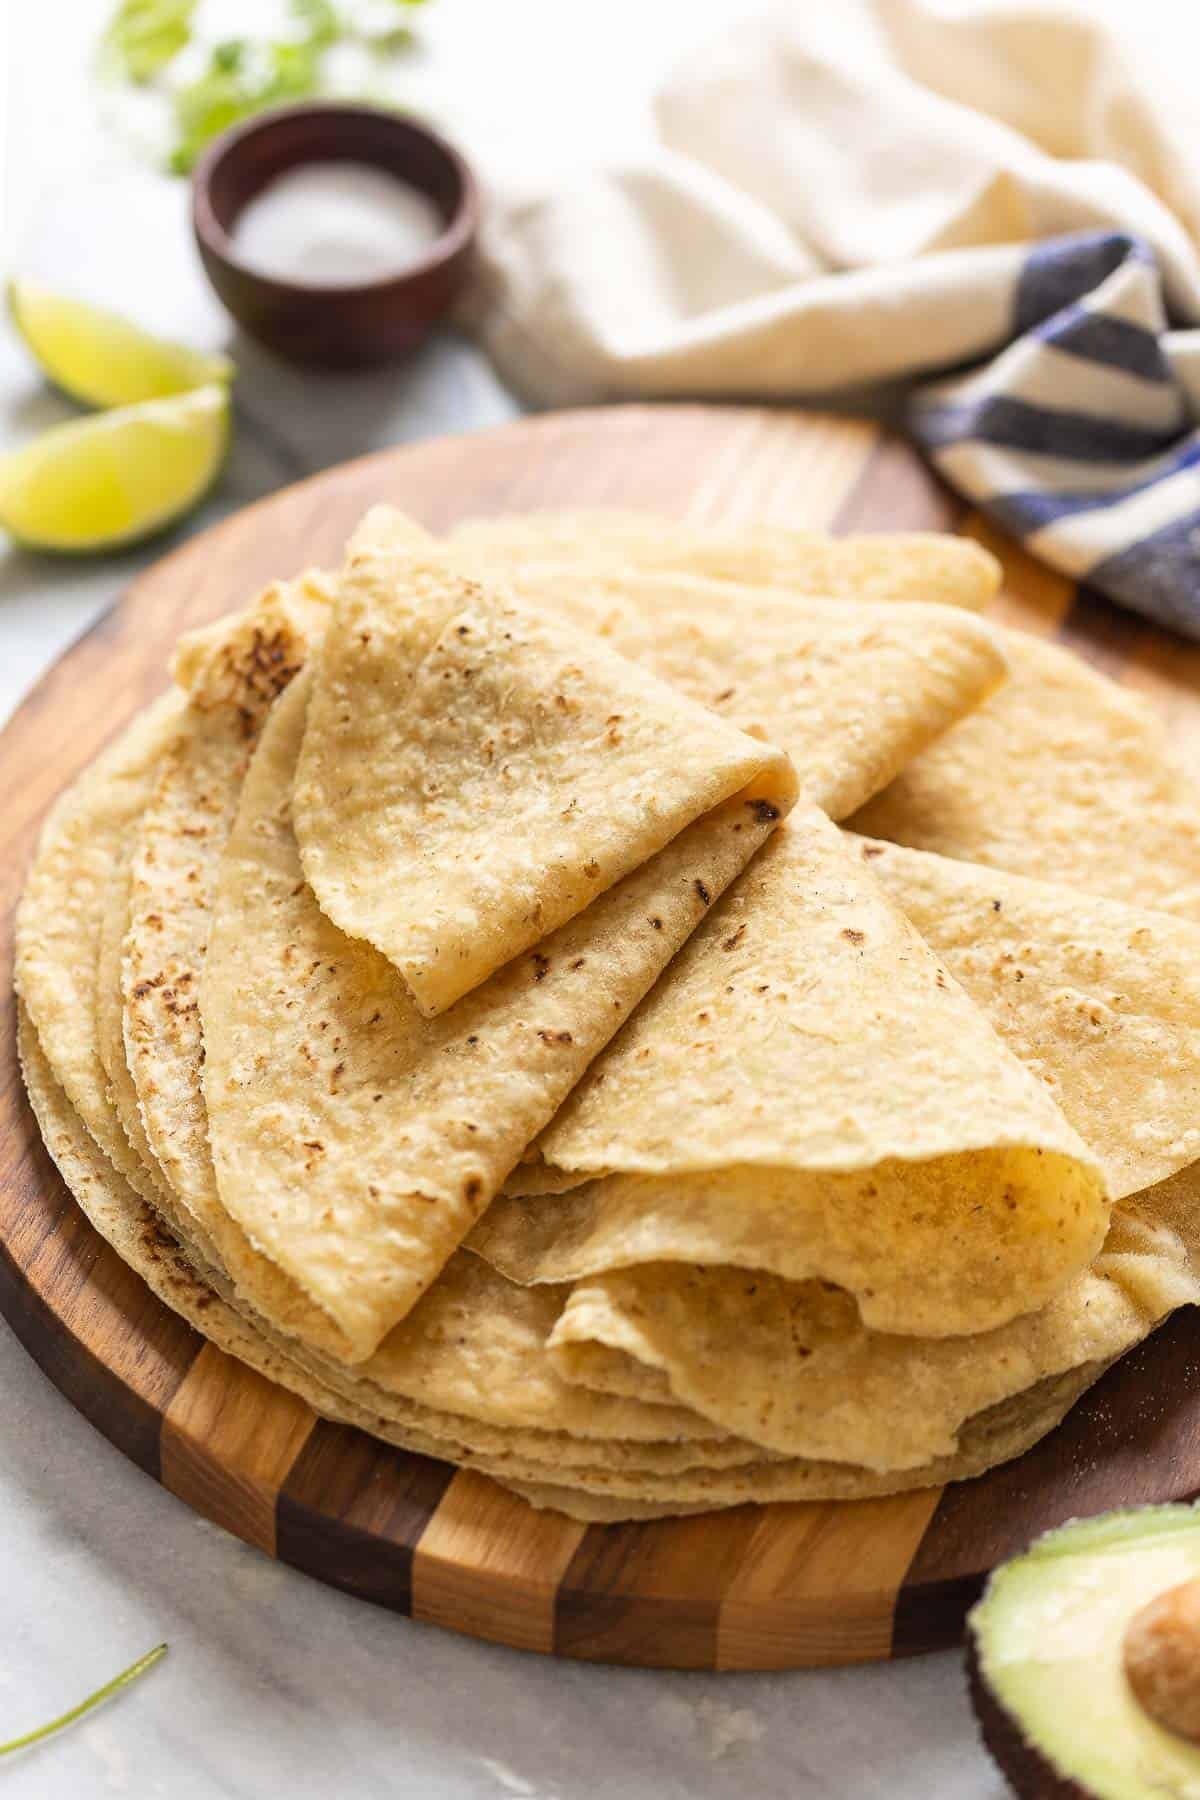
Homemade Gluten Flour Flour Tortillas
Instead of xanthan gum, this recipe uses whole psyllium husk to create homemade tortillas that are super soft and flexible. They are great for rolling, folding and holding all your favorite fillings!
And that’s it! Despite the time and tedium this is still a fairly easy recipe that is absolutely worth making! If you like this recipe then make sure to check out some of these recipes below for ideas on fillings and serving suggestions to make with your new, fresh and delicious gf tortillas!
- Smokey Black Bean Tacos & Mango Guacamole (vegan)
- Sweet Potato & Black Bean Quesadillas (vegetarian)
- Portobello Mushroom Fajitas (vegan)
- One Pot Taco Skillet
- Skillet Chicken Fajitas
- Instant Pot Chicken Carnitas
- Beef Instant Pot Carnitas
- Baked Jackfruit Taquitos (vegan)
- Instant Pot Chicken Tinga
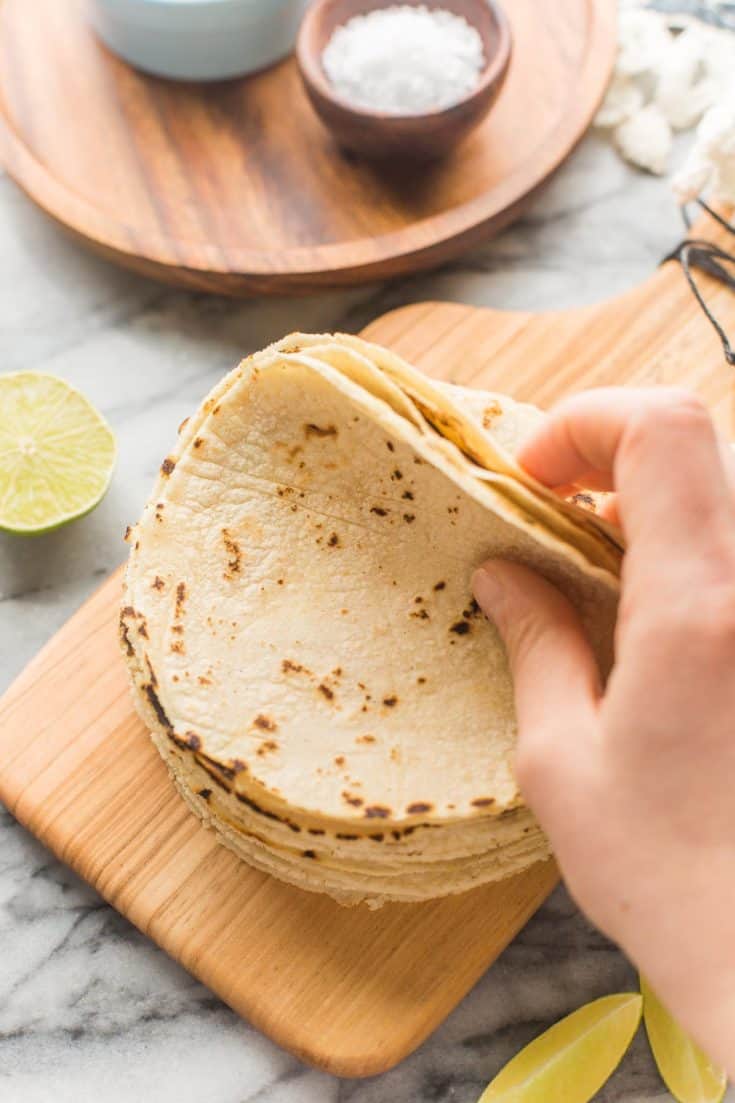
Corn Tortilla Recipe (without a tortilla press)
Learn how to make this Homemade Corn Tortilla Recipe! These soft, pliable corn tortillas are easy to make with only three ingredients needed. Though they do require a little time and patience to pull off the end result is easily worth the effort!
Ingredients
- 2 cups | 240 g masa harina
- 1 teaspoon sea salt
- 1 1/2 cups | 360 ml warm water
Instructions
- Mix dough. Whisk the flour and salt together in a medium-sized mixing bowl. Add warm water to the flour and mix together with a wooden spoon or spatula until a thick dough forms. Use your hands to knead the dough, about 4-5 minutes. The dough might start out feeling dry but will soften the longer you knead it. By the end the dough should feel soft and not sticky, similar to play-doh. Slap the dough with the palm of your hand. If the dough sticks to your palm, keep mixing. If it doesn't stick you're done kneading.
- Let rest. Cover the dough with a warm tea towel and let rest 20-30 minutes. Don't skip this step - your dough needs to rest and hydrate before you move on or you will end up with hard tortillas.
- Divide & roll. After resting, begin portioning out the dough. If you have a kitchen Divide your dough into 20 equal portions about the size of a golf-ball (weighing about 40 grams each). Roll each portion into an even ball.
- Prep & press. One at a time, place each dough ball in between two large sheets of baking paper or plastic wrap. Gently smash or press down the dough with a large cast iron skillet, pot or plate. Make sure to use something with a flat bottom. If the dough isn't flat enough use a rolling pin to finish flattening out the dough until it's about 5 inch wide in diameter. To remove, lift up the bottom plastic wrap/baking paper and peel back to release the dough.
- Cook. Warm a large skillet or non-stick pan over a medium-high heat. When hot, transfer the dough to the warmed skillet and cook in the dry pan about 1-2 minutes (until you can see little brown spots across the surface) then flip and cook on the other side 1-2 minutes.
- Transfer & Repeat. Transfer the cooked tortillas to a large bowl or plate lined with a damp tea towel (this will help prevent it from drying out too soon). Repeat this process until all of the dough has been cooked.
Notes
- Tortillas are best served fresh. To keep them warm and soft as you make them, you can either keep them stored in a tortilla warmer or wrapped up in a kitchen towel so that they hold on their warmth and moisture.
- Leftover tortillas should be kept stored in a plastic bag in the fridge for about 7-10 days.
- Reheat & soften: Warm in a skillet over a medium heat until warmed through. Reheat & soften in the microwave by wrapping the tortillas in a damp paper towel and heating for about 10 seconds.
Looking for gluten free tortillas without corn? Try my gluten free wraps! They’re naturally vegan and made with only three ingredients!

Kylie says
Making homemade tortillas has always seemed really intimidating, but these came out AMAZING! Better than store bought. Thank you 🙂
Sarah Nevins says
Thank you so much, Kylie! I’m so glad you enjoyed them in the end! 🙂
Annie says
These are fabulous, I’ve made corn tortillas before but these are wonderful! Thankyou!
Sarah Nevins says
So thrilled you enjoyed them! Thanks for taking the time to come back and leave a review 🙂
Torri says
Can the dough be frozen and thawed out for use at a different time?
Sarah Nevins says
Hi Tori! So sorry it’s taken awhile to get to your comment – it got caught in my spam filter and I’m just seeing it now!
Yes, you can freeze the dough. I recommend wrapping it tightly in plastic wrap or foil then placing in an airtight container or bag. Before you’re ready to use it, place it in the fridge and to thaw. If the dough feels dry after it thaws, just spray or sprinkle it with a little water to moisten it up again.
Bryan says
2 cups | 240 g masa harina
1 teaspoon sea salt
1 1/2 cups | 360 ml warm water
360ml is basically 360g of water, which is half again the amount of masa, but 1.5 cups is less than 2 cups. Which is it? Wouldn’t 1.5 cups of water be really dry?
Sarah Nevins says
Hi Bryan! That’s the right amount listed for both water and flour. If you compare this recipe to other homemade corn tortilla recipes you’ll find this is consistent with many other recipes listed.
I usually find it’s ideal to start with a lower, set amount of water to make the dough. After you mix it all together, you can always add a bit more water if the dough is still too crumbly and dry.
Caroline says
Hi Sarah,
Love your recipes.
Can use sour dough starter to add in the dough. It would be more healthy, wonder if CAN USE as I love to give it a try.
Caroline
Sarah Nevins says
Hi Caroline! LOVE that question – you’ve given me something new to try out!
I don’t have a lot of experience personally using sour dough, but I’ve done a bit of digging and it definitely sounds doable here. You might have better success if you follow this recipe here as it’s made with sourdough starter in mind: https://www.butterforall.com/traditional-cooking-traditional-living/homemade-sourdough-corn-tortillas/
It looks like you really just need to decrease the amount of water used to about 4-6 tablespoons and add 1 cup of sourdough starter at 100% hydration. Everything else looks pretty much the same.
Hope that helps!
Sabrina says
thank you. gave always wanted to make these from scratch and no, don’t have a tortilla press. so really appreciate the cast iron bash method!
Sarah Nevins says
They’re definitely worth making from scratch at least once if you can!