Smooth, creamy and simply delicious! Learn how to make your own homemade almond butter with nothing more than a good blender, raw almonds and a pinch of salt!
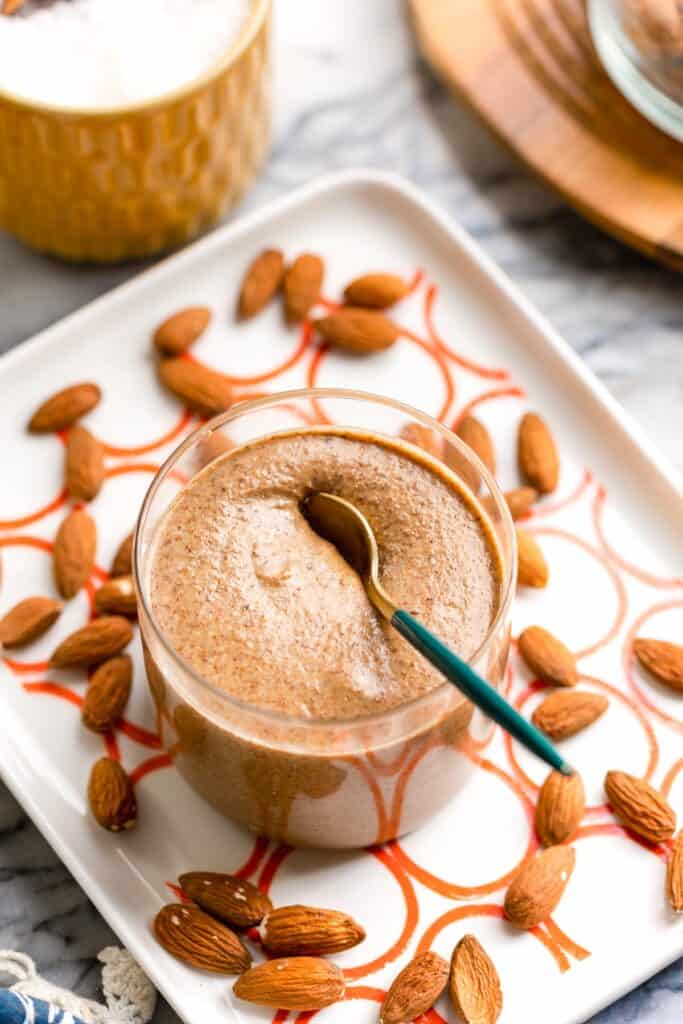
Originally shared this recipe on February 10, 2016 – updated February 13, 2023 with improved photos, recipe, tips and ingredient explanations.
Homemade almond butter (or any nut butter, really) is something every foodie should try making at least once! Or at the very least – try it for a special occasion.
You’ll earn yourself a bit of well deserved bragging rights and you’ll get to enjoy what will probably the best almond butter you’ll ever have!
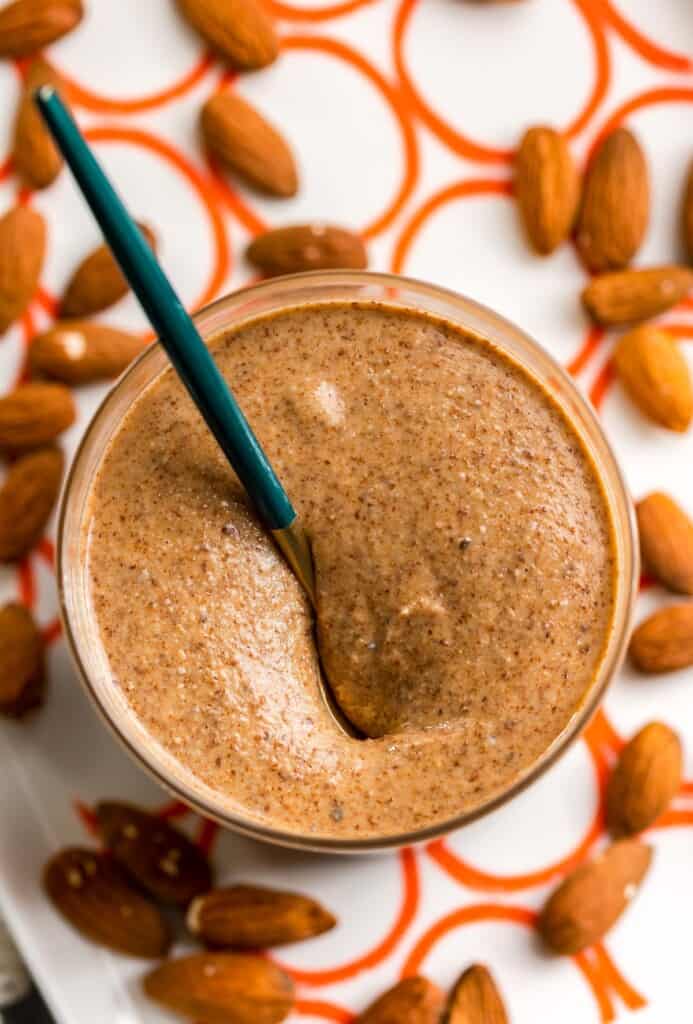
Homemade Almond Butter vs Store Bought
Don’t get me wrong, I still buy and will continue to buy almond butter from a grocery store. It’s easy and convenient and still does the job.
That said, when I have the time and occasion, homemade really is worth it and even better than the alternative!
So why bother with homemade almond butter?
- It’s healthier. Store-bought almond butter usually come with added oils, preservatives and sugar while homemade needs nothing but the nuts and maybe a sprinkle of sea salt.
- It’s versatile. If you’re up for playing around with the flavors, it’s incredibly easy to spruce up your nut butter with your choice of sweeteners and spices.
- It’s cost-effective. In the long run you can save money making your own almond butter if you bulk buy your nuts.
- It’s so much fresher. Underrated, but this is so noticeable once you try making homemade nut butters!
How to Make Homemade Almond Butter
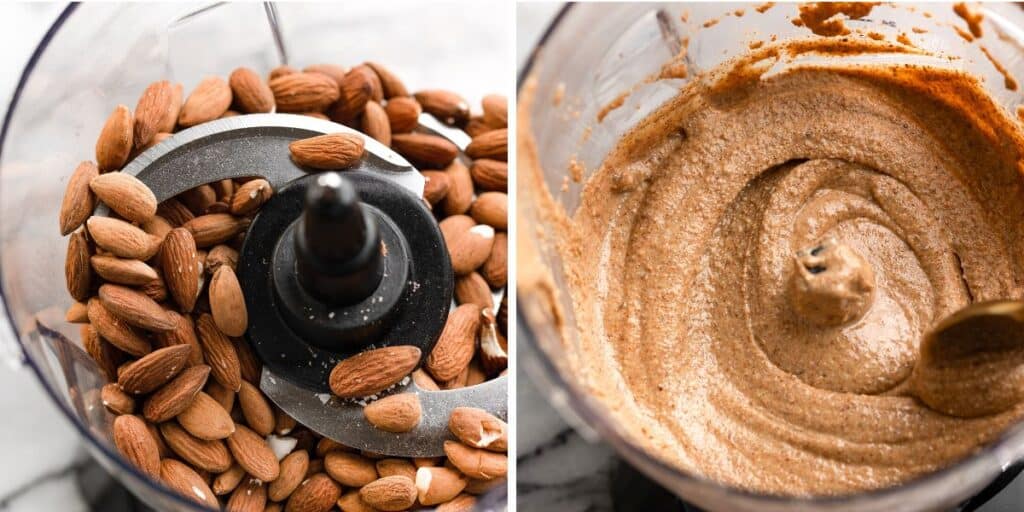
So long as you have a strong enough blender or food processor, it really is quite easy to make your own nut butter at home.
Tools and Ingredients
- High-Speed Blender or High-Speed Food Processor – Food processors generally make nut butters with a more creamy consistency while blenders tend to make drippy almond butter. Blenders typically work much faster than food processors which is ideal if you’d concerned about time. With enough time and power, both will get the job done so it’s up to you and your preference here!
- Whole Unsalted Almonds – You’ll need about a pound of raw almonds – skin on or off is fine. Start with raw almonds so you can roast them yourself before blending. Freshly roasted nuts will create a better flavor and blend easier than cold, raw nuts.
- Salt – You don’t need much here so I don’t recommend leaving it out. Salt is a big flavor enhancer – a big pinch in a pound of nuts is just enough to do the job.
- Large Rimmed Baking Tray – One big tray should be enough to hold all the almonds. Make sure it’s rimmed so they don’t spill as you place it in and remove it from the oven. Feel free to line the tray with parchment paper if you like, but the almonds hardly leave a trace when you’re done.
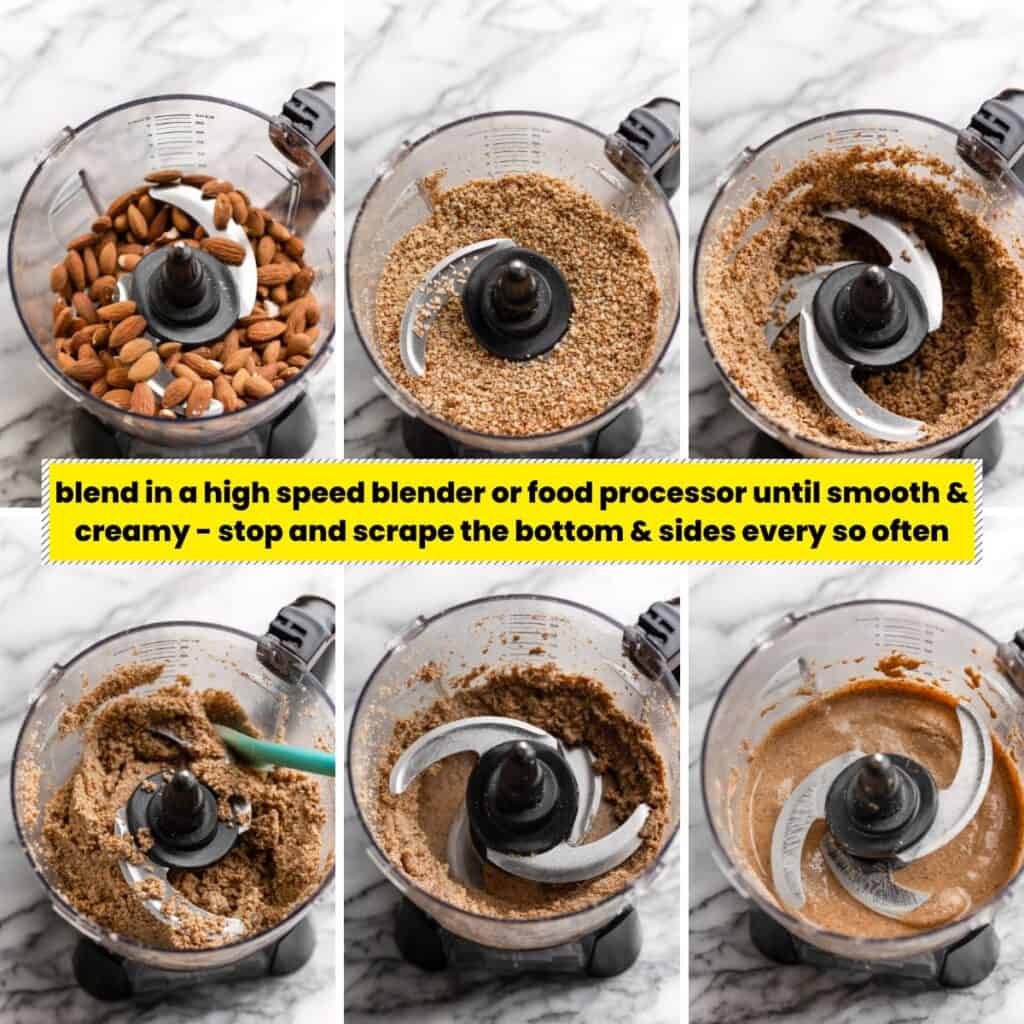
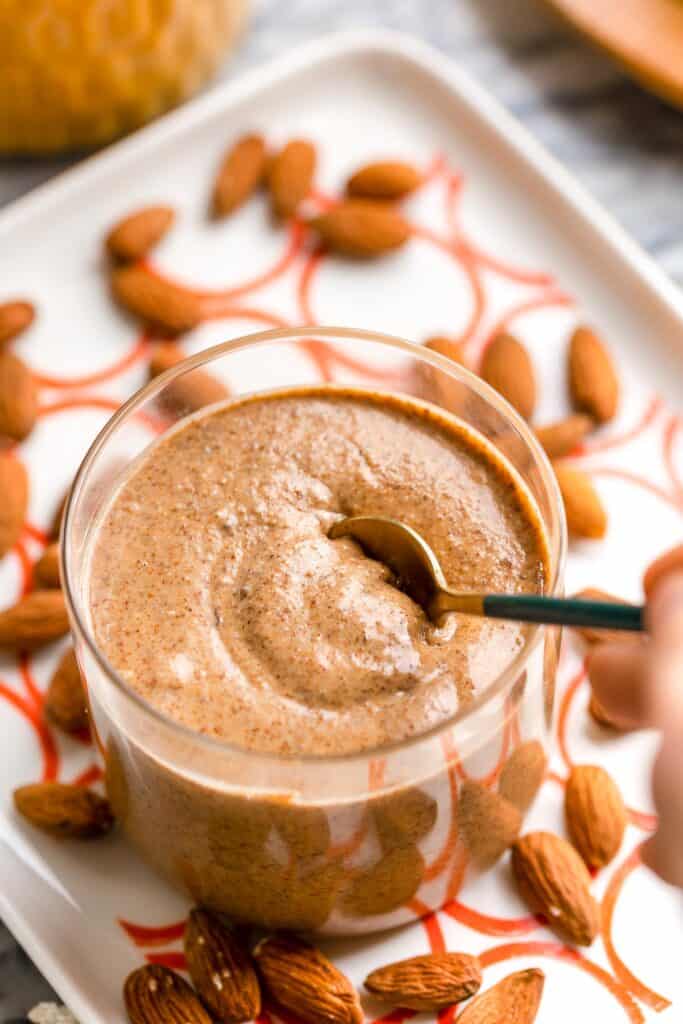
Almond Butter Blending Stages
- whole almonds >> gritty almond mixture >> almond flour >> thick, dry almond paste (this stage usually lasts the longest) >> almond paste starts to look more wet and oily >> very dry looking nut butter >> smooth and creamy almond butter >> drippy almond butter
Most desired consistency is somewhere in the smooth/creamy stage or drippy butter stage.
Patience is key
Patience isn’t an ingredient in this simple homemade almond butter recipe, but it probably should be!
A super strong blender will transform your nuts into a smooth and creamy butter in minutes. Some blenders and food processors need a bit more time than that.
The first time I made homemade almond butter I thought I had wasted a pound of almonds for nothing. About 20 minutes later – it was done! If you find yourself wondering whether or not you made a mistake, try not to worry and just keep going. Give your blender a break for a few minutes here and there if needed so it doesn’t overheat, but it should get there!
Storage
Store bought nut butters come with added preservatives to give it an extra long shelf life. Homemade nut butters like this should be used within 2 weeks before it spoils.
Make sure to store it in an airtight container and keep in the fridge. If you’re not crazy about cold nut butters (I don’t blame you!) just remember to take it out of the fridge for about 10-15 minutes before using so it warms up to room temperature and is easier to spread.
What Next
And that’s it! Simple, delicious almond butter you made yourself!
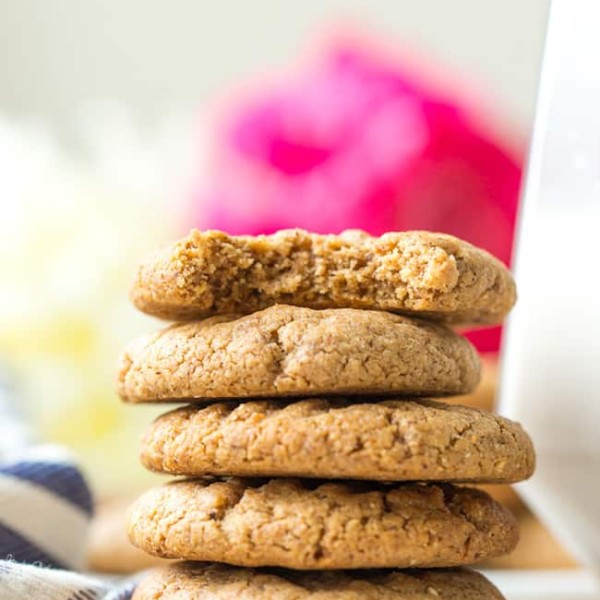
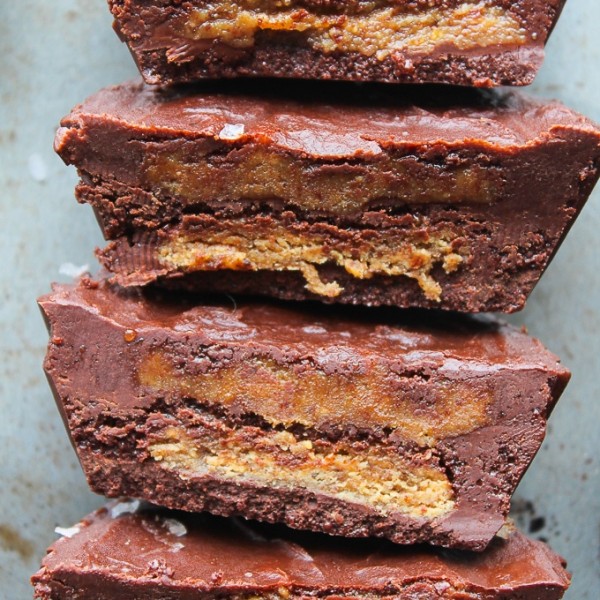
Spread it over a piece of toast or banana bread, bake some almond butter cookies or flourless almond butter brownies, or blend in a smoothie for the extra protein.
Then you can move on to make hazelnut butter, cashew butter or pumpkin seed butter next!
There are so many different ways to play around with this recipe – let me know what you end up trying!
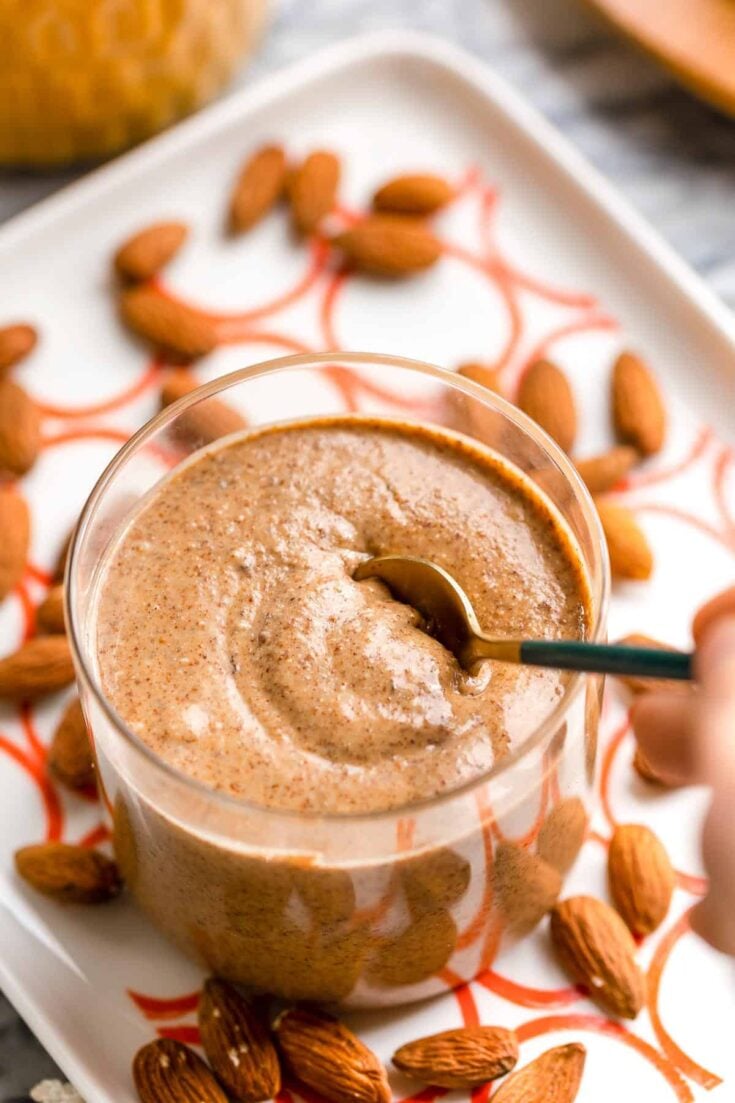
Homemade Almond Butter
Smooth, creamy and simply delicious! Learn how to make your own homemade almond butter with nothing more than a good blender, raw almonds and a pinch of salt!
Ingredients
- 3 cups whole raw almonds (430 g or about 1 pound of almonds)
- 1/4 teaspoon salt or more to taste
- 2-3 teaspoons neutral flavored oil for blending optional*
Instructions
- Preheat oven to 350°F/180°C.
- Spread almonds across a large, rimmed baking sheet in a single layer. Place in the middle of the oven and bake for 8-10 minutes. Make sure to stir the almonds about halfway through the cook time. The almonds should be lightly golden and smell toasty. Remove from the oven and let cool about 5-10 minutes in the baking tray. They should be warm, but not too hot to touch.
- Transfer the almonds to a high-speed blender or food processor. Add the salt. Cover and blend on high to breakdown the almonds. The almonds will go through many stages before it turns into a smooth and creamy almond butter. Stop the blender every so often and scrape down the sides of the blender.
- Continue blending until you end up with a smooth and creamy almond butter. This can take anywhere from a few minutes to 20 minutes depending on the strength of your equipment so just be patient if it takes awhile! If you want to speed up the process, add 2-3 teaspoons oil to the almonds and keep blending.
- Once your almond butter is smooth and creamy you can add any flavor additions (more salt, cinnamon, maple syrup, etc) then blend again until everything is evenly mixed.
- Pour the almond butter into an airtight container and let cool to room temperature. Once cooled, use as you like and enjoy!
- Keep almond butter stored in the fridge for up to 2 weeks or until you begin to notice signs of spoilage (black or brown spots appearing in the jar or a sour smell).
Notes
How will it take to blend?
This depends on the strength of your food processor or blender. I recommend a high-powered blender if possible - in a powerful blender this could take as little as 5 minutes. However, I have take had some nut butters take closer to 20 minutes.
If it's taking awhile to break down your almonds: blend and rest in intervals. Blend for 60-90 seconds, scrape down the sides of the bowl with a rubber spatula and give the blender/processor a break for a minute then repeat as many times as needed.
Add a small amount of neutral oil (like avocado oil or vegetable oil) to help blend speed up the blending. Melted coconut oil also works, but it will impart a stronger flavor.
How to Make Crunchy Almond Butter
Save about 1/4 cup almonds after roasting. While the remaining almonds are blending, roughly chop up the reserved almonds into small pieces. Mix in (by hand) at the very end until well mixed.
Optional Flavor Variations
- Sweeten your nut butter with 1-2 tablespoons liquid sweetener like pure maple syrup or honey
- Add 1/2 teaspoon vanilla extract or seeds from a vanilla bean
- 1/2-1 teaspoon ground cinnamon (or other ground spice blends)



Alina says
Hi Sarah,
Thank you for the wonderful recipe and the ton of others you have on your website. I look forward to trying so many of them I cannot decide where to start LOL
Regarding the almond butter, I would like to make it from raw almonds (for the health benefits) However you mention: ” Freshly roasted nuts will create a better flavor and blend easier than cold, raw nuts.” Hmm… should I try anyway or not bother?
Would you know what nutrients are lost due to roasting?
Thank you!
Sarah Nevins says
Hi Alina! I think it’s still worth making even with unroasted nuts. Roasted nut/nut butters in general have a more robust flavor, but they are still great even raw!
From what I’ve read online, it seems that you do lose some nutrients after roasting, but the general nutritional profile remains the same. However, I did read that almonds maintain most of their nutrients if roasted at 170F or less. At that temperature you’d need to roast for about 30-40 minutes.
Ultimately I think it just comes down to you and what your preferences are. If you like the taste of raw almonds on their own then you’ll still enjoy almond butter make with raw almonds 🙂
Hope this helps!
Alina says
Thank you Sarah for getting back to me 🙂
What setting(s) do you use on your Blendtec when making nut butters?
Do you use the Twister Jar?
Sarah Nevins says
Hi Alina!
I no longer have a Blendtec blender so it’s been awhile, but I do remember the Twister Jar being great for making nut butters. It definitely made it blend together quite quickly compared to the standard jars which I had to start using after the Twister Jar broke. I started with a few 5 second pulses to break things down/get moving then just blended on high for a minute or so then stopped to scrape down the sides. In the twister jar – the almonds broke down into butter in about 5 minutes. In the regular jar it took about 10 minutes with a small amount of melted coconut oil.
Alina says
Thank you for the detailed instructions Sarah :)I will follow them next time I make nut butter.
Why don’t you use Blendtec anymore?
How did the Twister jar break? That is not good.
Sarah Nevins says
No problem! Glad I can help 🙂
I can’t remember what happened exactly with the Twister Jar. The jar itself broke into two pieces unexpectedly – I think it was while I was as I was preparing to make a smoothie. Thankfully it wasn’t in use while it broke as I’m sure I’d remember the mess :D.
As for the blender itself, I had it for quite a few years and got a lot of use out of it. It still worked/works (I just gave it away to a family member), but I think I was just ready to try out a new one – especially after the Twister Jar broke.
I ended up with a Ninja 3-in-1 blender and food processor which is what I use now. However, the food processor bowl on that one recently broke too. The bottom of the bowl that connects to the blender jammed up and wouldn’t spin because some of the plastic connecting bits broke. I’m not too impressed with my Ninja in general to be honest. The engine seems to get tired more often and I have noticed on a few occasions that the motor starts to smell after a lot of use.
That all being said, I’m fairly certain my blenders break more often than most because of how much use I get out of them. I make/test recipes using the blender almost daily that I doubt most people would run into the same issues I do with either blender – at the very least not as soon. Even with all the problems I’ve had with both, I still got/get so much good use out of them that I can’t complain too much 🙂
Steven says
I bought a Blendtec recently but didn’t get much use out of it until now. Great recipe.
Sarah says
Thanks Steven!
Tami Toon says
I have a Vitamix and it is actually heating up the butter while blending/grinding. Is this normal during the process? Maybe I didn’t have enough nuts. I only did 2 cups then added about a TBL of maple syrup and then about 1 TBL of avocado oil. It was very thick. Super good, but thick. What am I doing wrong?
Sarah says
I’ve used both blentech & vitamix and both do start to get hot in the process. When that happens I’ll just turn off the blender for a few minutes to let it rest and then get back to it – just to be on the safe side. As for the consistency, that one’s kind of tough because every time I make nut butter I go through the same issue where I’ll be blending it for awhile and it never feels like it’s going to get any thinner and then all of a sudden it’s perfect. It may just be a case of needing to go for a little bit longer. Hope that helps!
Raia says
It’s amazing how easy it is! And it’s so nice to be able to have control over what goes in your nut butter. 🙂 Thank you so much for sharing it at Savoring Saturdays!
Sarah says
Yeah, I’d like to play around more and come up with different flavor ideas – and so much cheaper than buying it at the store!
Marsha | Marsha's Baking Addiction says
I love homemade butters. This almond butter looks so good! So simple, too!
Sarah says
Thanks Marsha!