This vegan vanilla cake recipe is a keeper! Whipped aquafaba makes for a soft and fluffy cake that’s light, delicate and perfectly moist without any eggs or tofu needed. It’s impressive enough to prepare for a special occasion yet easy enough to make just for fun!
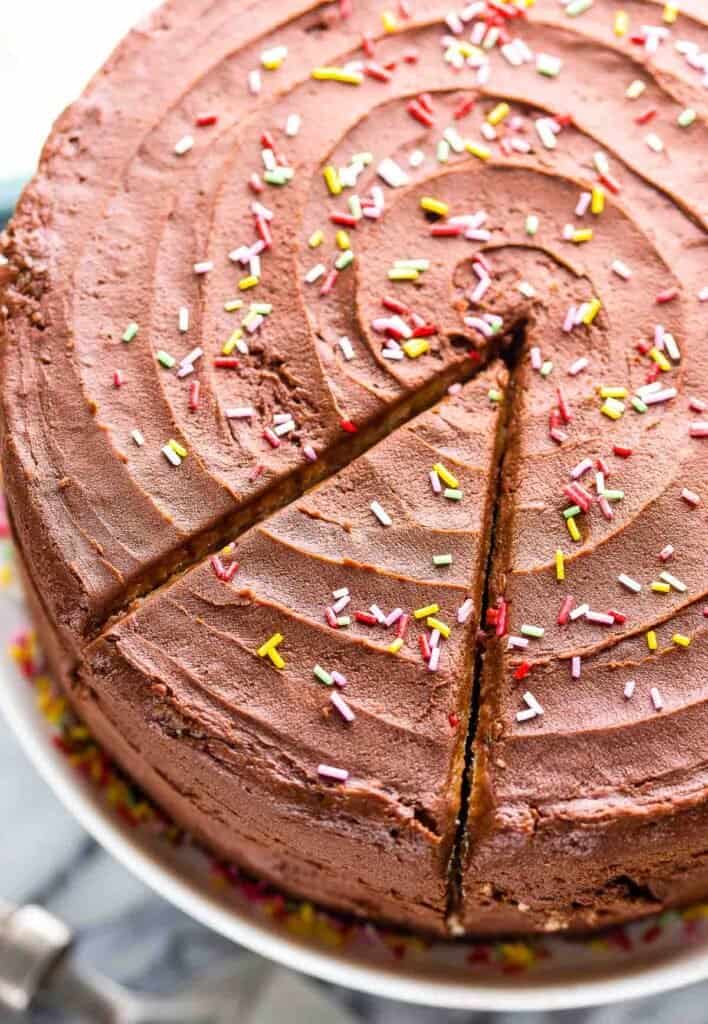
Finally!
I have been working on perfecting an aquafaba-based vegan vanilla cake on and off for ages.
No joke. I’ve made so many sad, soggy, sunken cakes over the years trying to get it right.
Now I am so thrilled to report that I’ve managed to combine parts of my gluten free vegan chocolate cake with parts of my Victoria sponge cake to create a vanilla version in the form of this Gluten Free Vegan Vanilla Cake.
Victory tastes so good.
How to Make this Eggless, Vegan Vanilla Cake
Before I get into the nitty gritty details of actually making this cake, I think it’s important to go over the basic ingredients and what their purpose is here.
Key Ingredients
- Gluten Free All Purpose Flour – Use your favorite gluten free flour blend here. Any general GF all purpose flour will work here whether it’s homemade gluten free flour blend or a store bought one.
- Starch – I used cornstarch (known as corn flour in the UK) because it’s cheap and easy. Potato starch and arrowroot starch will also work. The additional starch also helps provide additional binding properties (that eggs typically provide). You’re also making a sort of cake flour substitute which creates a softer texture and a lighter cake.
- Xanthan Gum – Xanthan gum does two important things in this recipe: it binds ingredients and locks in moisture. If your flour blend already contains xanthan gum you don’t need to add it again.
- Baking Powder & Baking Soda – I found a combination of the two gave me the best results in getting this cake to rise properly without sinking in the middle.
- Sugar – just use a regular granulated or caster sugar
- Vegan Butter – You need to use a vegan butter (on dairy butter) instead vegetable oil or coconut oil in order to get your cake soft and light. I go into more detail on the reverse cream method below.
- Non-Dairy Milk – I used an unsweetened almond milk, but you can check out my post on dairy-free milk substitutes if you want a little more info on choosing the right type for you. I go into the pros and cons of using oat milk, soy milk, coconut milk, etc.
- Dairy Free Yogurt – The acidity of the yogurt combined with baking soda react together in the heat of the oven to create pockets of air in baked goods. This provides height (think domed muffin tops) without leaving your with an overly dense cake.
- Salt and Vanilla Extract – The flavor enhancers!
- Aquafaba + Cream of Tartar – Whipped up aquafaba is used in place of eggs. Cream of tartar stabilises the whipped up aquafaba. Whip into soft peaks and then gently fold into the cake batter.
Steps
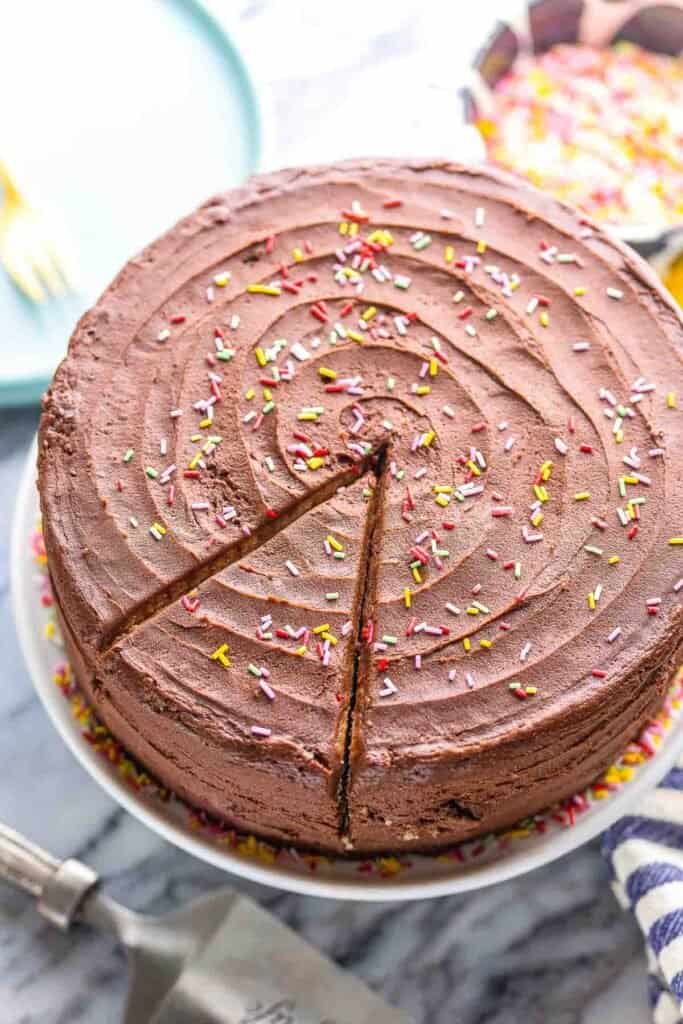
This cake might look a little complicated at first glance, but with the right tools and approach, it’s really quite easy! Read through the recipe fully and get everything organised in place and you’ll be all set.
Quick Summary of the Steps
- Preheat the oven and grease/line the cake pans.
- Prep the bowls:
- Bowl #1: Whip up the aquafaba, cream of tartar and some of the sugar in one large bowl.
- Bowl #2: Whisk together the dry ingredients (minus the cream of tartar) in another large bowl then beat in the softened butter (reverse cream).
- Bowl #3: Whisk the wet yogurt, milk and vanilla in a smaller bowl or large measuring jug.
- Pour the wet ingredients (bowl #3) into the flour mixture (bowl #2). Mix into a thick batter.
- Gently fold/mix the whipped up aquafaba (bowl #1) into the batter (bowl #2).
- Divide between the cake pans and bake.
What Exactly Is Aquafaba?
Aquafaba, which literally just means bean water, is exactly that – chickpea water! It’s the somewhat goopy water/liquid found in cans of chickpeas (also called garbanzo beans) and white beans.
Aquafaba is useful in vegan baking and even gluten free baking because it helps to bind and lighten up baked goods.
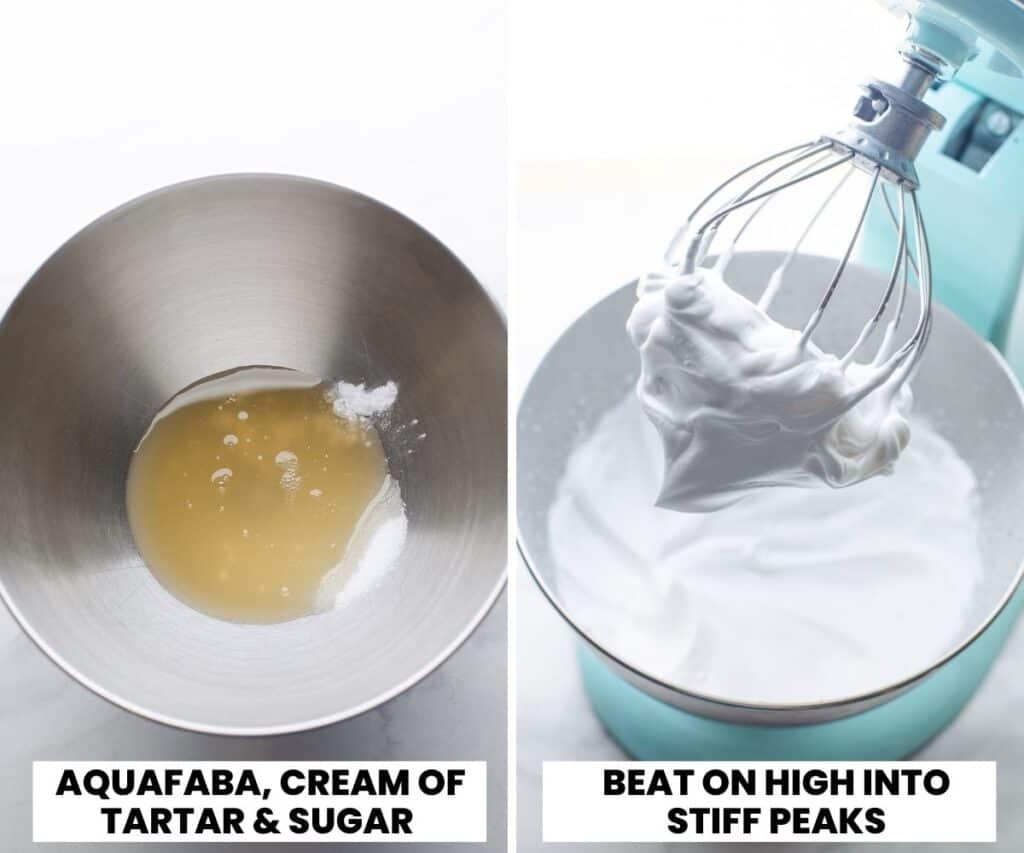
If you whip up aquafaba (ideally with cream of tartar and/or sugar to help stabilise it) you end up with a super light, voluminous, meringue-like mixture. In fact – you can make meringues with aqufaba!
Whipped up aquafaba can also be turned into royal icing and even vegan mayonnaise. Weird, but very cool.
Reverse Cream – What & Why?
Seasoned bakers, and even casual bakers are almost certainly familiar with the idea of creaming together butter and sugar. It’s the tried and true method of dissolving sugar and whipping up the butter to create a more airy result.
Reverse creaming is a method in baking that requires you to beat softened, room temperature butter into dry ingredients before you add any other wet ingredients.
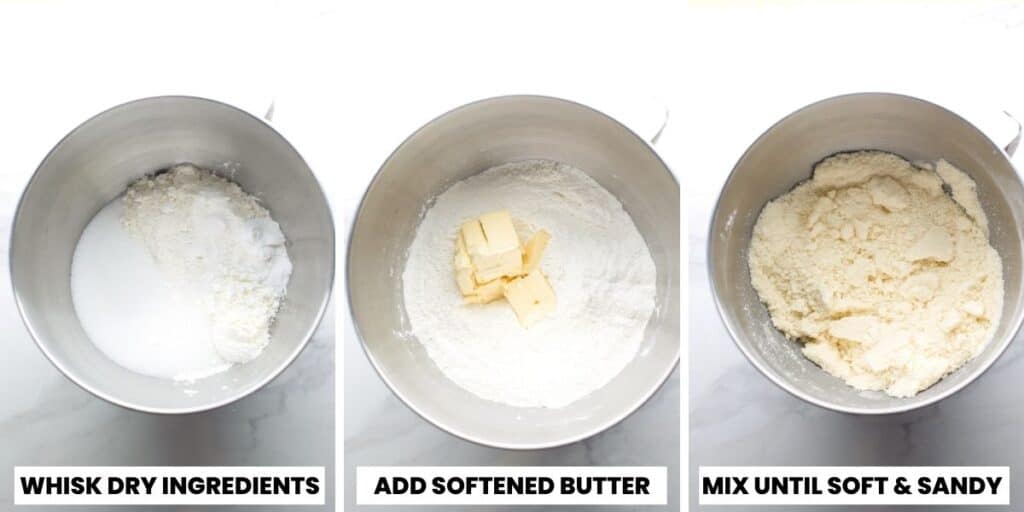
The idea is to create a moist, sturdy cake with a tender crumb by emulsifying the butter well into the flour. Through plenty of trial and error, I did find my vegan vanilla cakes made with the reverse creaming method were more stable and not prone to sinking in the middle – this is great for staking cake layers!
Add the Wet Ingredients
After you beat the butter into the flour mixture, add the whisked wet ingredients to the bowl and continue to beat together on a low speed until fully combined.
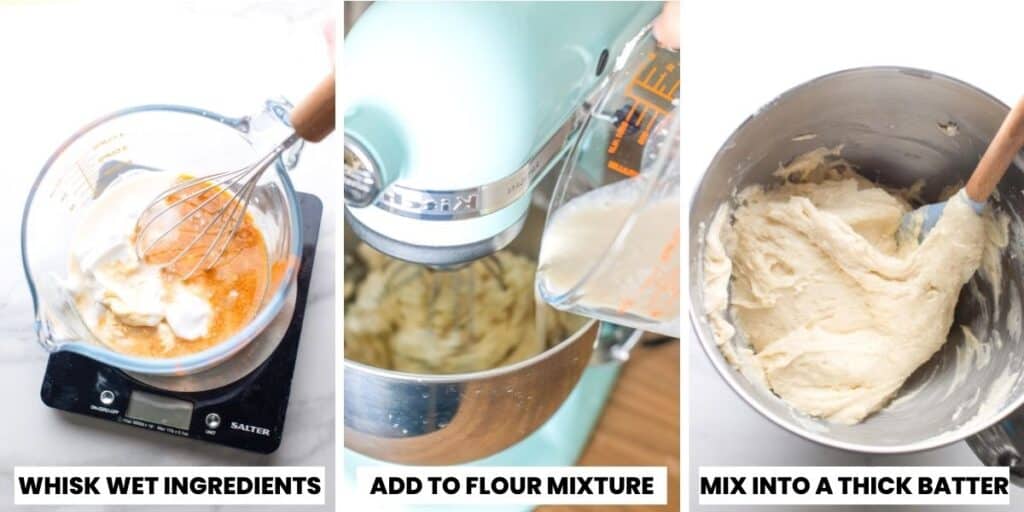
The end result here will be a very thick, but smooth batter. Make sure to scrape down the sides of the to get everything mixed well.
Add the Whipped Aquafaba
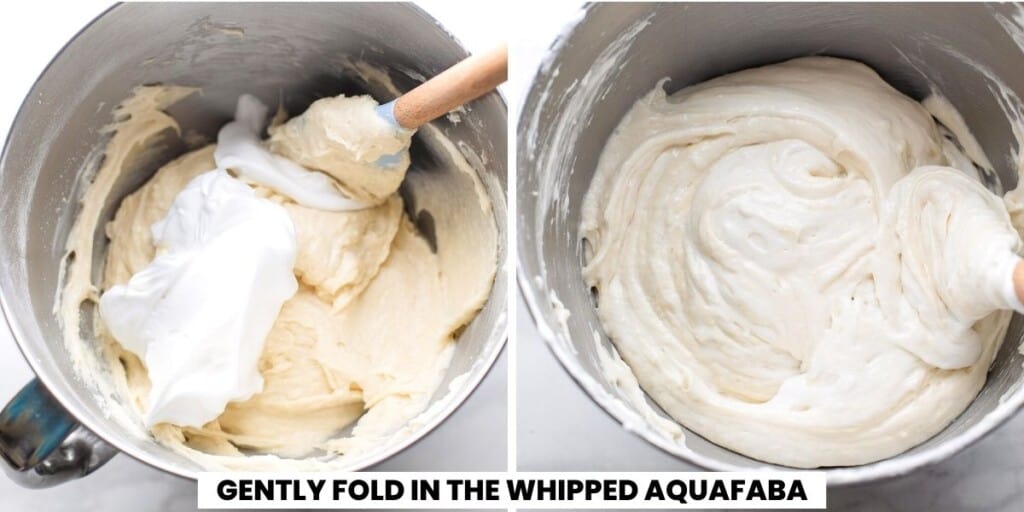
Finally, begin adding the whipped up aquafaba to the bowl. This step should be done by hand because want to avoid over mixing the ingredients.
You also want to make sure that you mix everything fully. Scrape the bottom of the bowl. If you’re using a glass bowl, make sure to look underneath to make sure no streaks are visible.
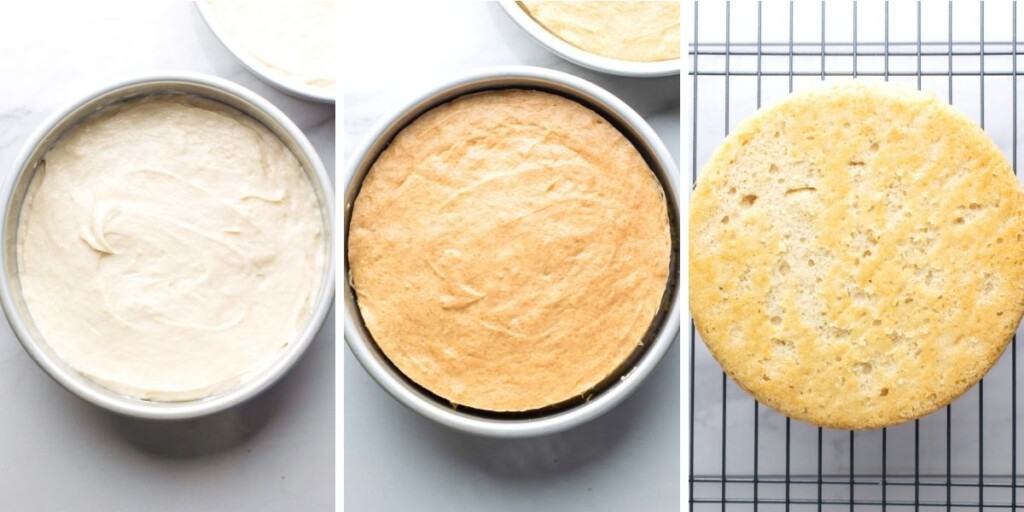
Once mixed, simply divide between two 8 inch cake pans, bake and that’s it! Cool on a wire rack and frost as you see fit.
Bake
Once mixed, divide the batter between the prepared pans and bake in the middle of the oven for about 40 minutes or so. The cakes will rise up slightly in the oven and the tops lightly goldened.
To check for doneness, insert a knife or tooth pick into the centre of the cake. If it comes out clean or with a few small crumbs, it’s done. If it comes out with batter, leave it in to bake longer.
Final Tips to Make the Best Vegan Vanilla Cake Recipe
- Try not to open the oven too soon or too often. Opening the oven door (especially in the first half of the bake) lets hot air out and cool air in. This temperature change in such a crucial point of baking will likely cause your cakes to collapse in the middle.
- Make sure the cake is fully cooked before you take it out of the oven. First, ensure the oven is fully heated up before baking. Also try not to get too impatient by taking the cake out early. It’s better to slightly over bake rather than under bake this cake.
- Use room temperature ingredients. Anything you keep in the fridge – eggs, butter, milk and yogurt out to come up to room temperature before baking.
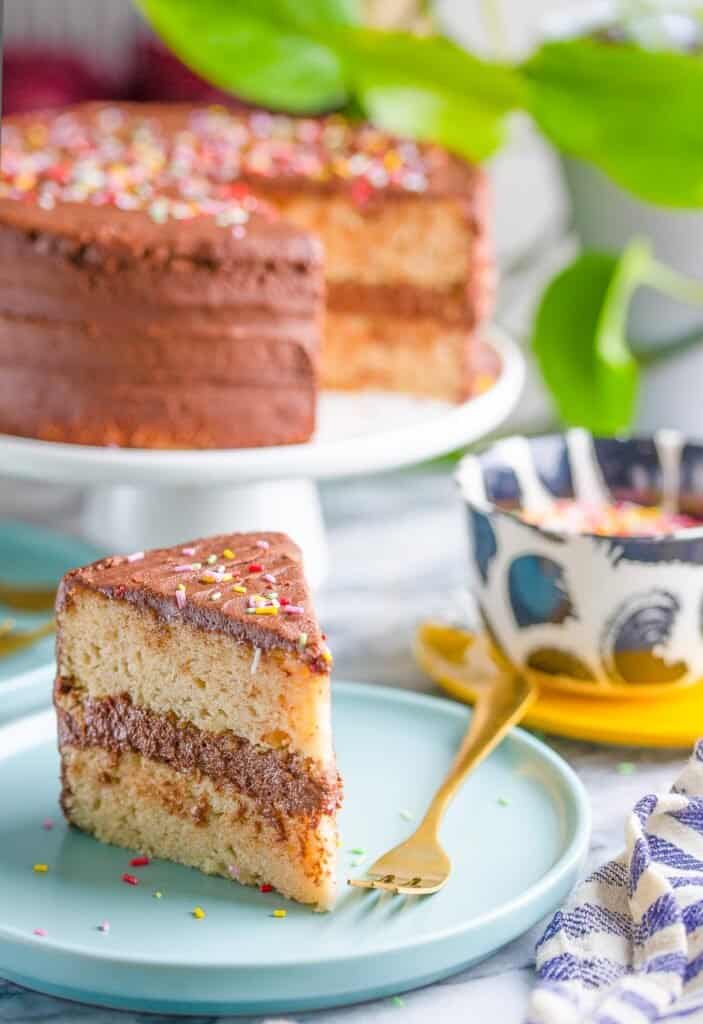
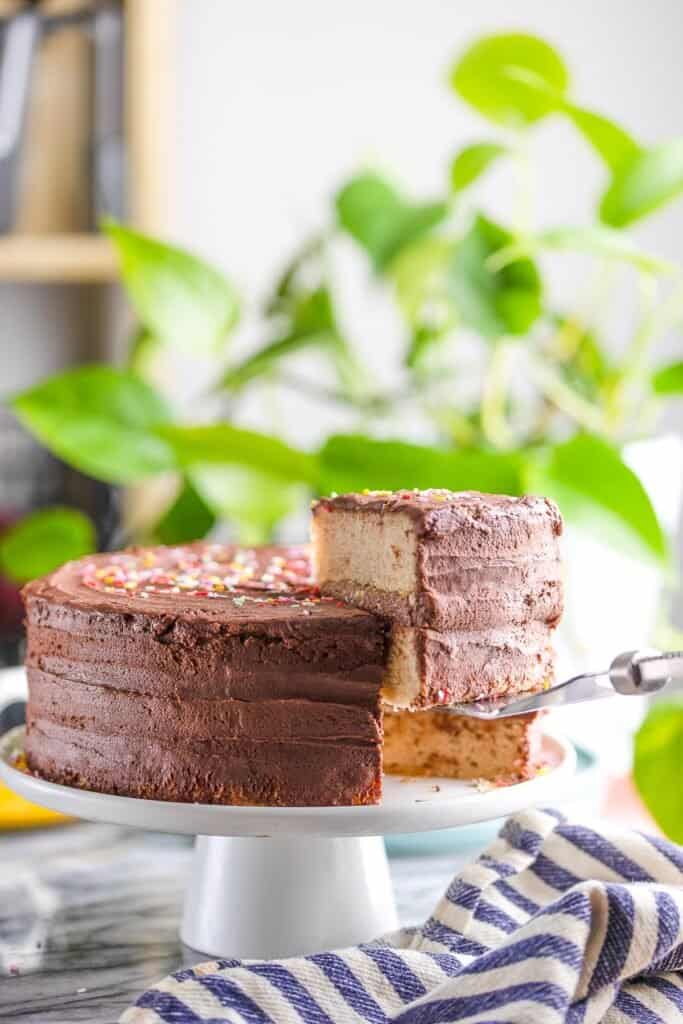
And that’s it – a two layer cake that’s undetectably gluten free and vegan vanilla cake!
Happy baking!
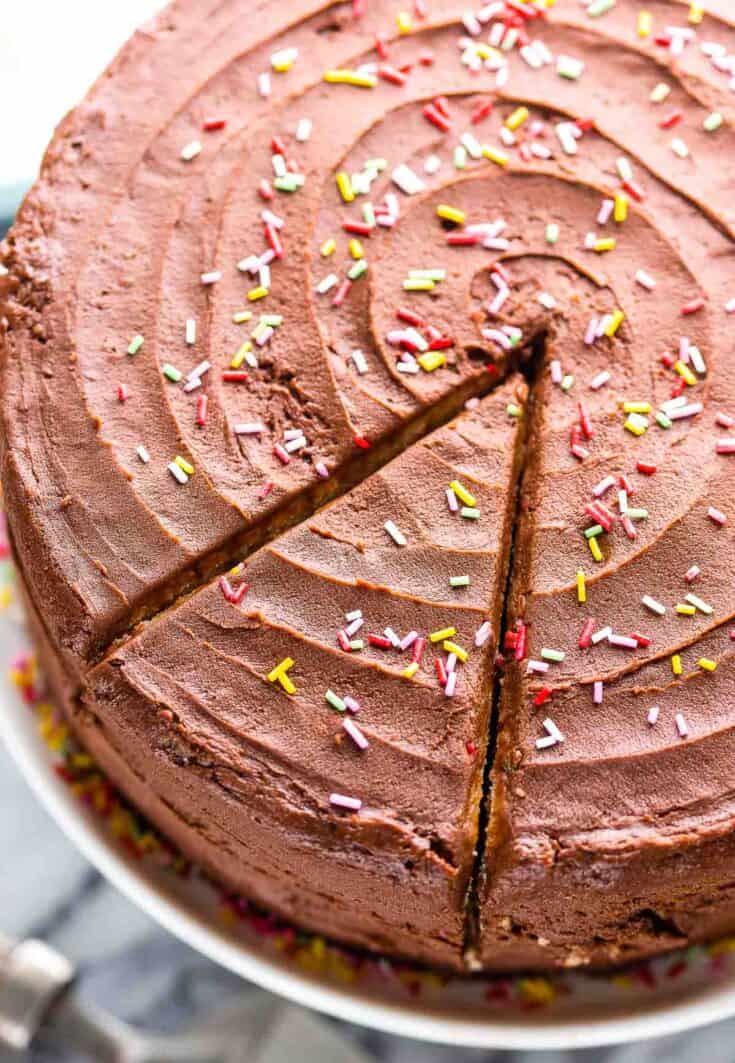
Gluten Free Vegan Sponge Cake
Whipped aquafaba makes for a soft cake that's light, delicate & perfectly moist without eggs!
Ingredients
- 6 tablespoons (90 ml) aquafaba (the liquid found in chickpea cans - use unsalted chickpeas)
- 1/2 teaspoon cream of tartar
- 1 1/2 cup (300 g) white granulated sugar, divided
- 2 1/4 cups (315 g) gluten free all purpose flour
- 2 tablespoons cornstarch
- 3/4 teaspoon xanthan gum
- 1 1/2 teaspoon baking powder
- 1/2 teaspoon baking soda
- 1/2 teaspoon salt
- 1/2 cup vegan butter, softened
- 2/3 cup (190 g) plain dairy free yogurt
- 1/2 cup (120 ml) dairy free milk
- 2 teaspoons vanilla extract
Instructions
- Preheat oven the 325°F/170°C. Grease and line the bottoms of two 8 inch round cakes. Set aside.
- Aquafaba prep: In a large bowl or stand mixer bowl combine the aquafaba, cream of tartar and 1/4 cup (50 g) sugar. Use a handheld electric mixer or stand mixer fitted with a whisk attachment to beat on high until this aquafaba transformed into a white, voluminous, whipped up mixture. This can take anywhere from 3-10 minutes depending on the speed and strength of your mixer. Sometimes take a bit longer depending on the quality of the aquafaba. Set aside for now.
- Wet Ingredient Prep: In a medium or small bowl mix together the yogurt, milk and vanilla extract until combined. Set aside.
- Dry Ingredient Prep: In one more large mixing bowl whisk together the gluten free flour, starch, xanthan gum, baking soda, baking powder, salt and remaining sugar (1 1/4 cup | 250 g).
- Add the softened butter to the flour mixture. Beat the butter into the dry ingredients using a hand mixer or a stand mixer on a medium speed until fully combined. You should end up with a soft, sandy looking flour mixture.
- Pour the milk mixture into the flour mixture and mix on a low speed to combine. You should have a very thick batter at this point.
- In three stages, add the whipped aquafaba to the rest of the batter. Use a wooden spoon or rubber spatula to fold in the aquafaba. Make sure to scrape the sides and bottom of the bowl to fully mix everything together. The cake batter should be be thick and smooth.
- Evenly divide the cake batter between the two greased cake pans. If you have a kitchen scale, each cake tin will hold about 550 grams each. Smooth out the batter evenly over the top. Gently lift up the tins and drop them on a counter/table surface to get rid of air bubbles.
- Place in the middle of the oven and bake for 40-42 minutes. To check for doneness, insert a knife or tooth pick into the centre of the cake. If it comes out clean it's done.
- Let the cakes cool in their pans for about 5 minutes, then flip over on to a cooling rack. Let cool completely before frosting or filling.
- Once cooled you can frost and decorate with your preferred frosting as you see fit and enjoy!
Notes
- Cake will keep 3-4 days at room temperature before it starts to dry out. It can keep at least a week covered and kept in the fridge.
- If you don't have any cream of tartar you can use 3/4 teaspoon lemon juice, apple cider vinegar or white vinegar in place. This will help make the whipped up aquafaba more sturdy.
How to Make the Chocolate Vegan Buttercream Frosting
- 1/2 cup (113 g) softened vegan butter
- 3 cups (375 g) powdered sugar/ icing sugar
- 1/2 cup (60 g) unsweetened cocoa powder
- 1/4 cup (60 ml) aquafaba
- 1/4 teaspoon cream of tartar
- 1 teaspoon vanilla extract
- In a large mixing bowl: add the softened butter, powdered sugar (also known as icing sugar or confectioner’s sugar), and cocoa powder. With a hand held mixer or in a stand mixer, beat on high until the sugar/cocoa is fully mixed into the butter.
- I recommend you sift the sugar and cocoa powder first to prevent lumps from forming in the butter/frosting.
- Add the aquafaba, cream of tartar and vanilla to the bowl. Beat on high about 5 minutes or until the aquafaba whipped up into a thick frosting.
- If the frosting is too dry: add a small amount of dairy free milk to the bowl. Add 1 teaspoon at a time and blend after every addition. Keep adding milk until you get your desired consistency.
- If the frosting is too wet: add more powdered sugar or cocoa powder to thicken it up. Add one tablespoon sugar OR cocoa until you get the right consistency.
- Use as you would normally use a buttercream frosting. This makes just enough to frost a 2-layer 8-inch cake. If you want to the creative with your frosting (piping/designing) I recommend you double this recipe.




Trina says
Hi, do you think Dairy free sour cream would work, instead of yoghurt?
Thanks, Trina
Sarah Nevins says
Hi Trina, I think that would work!
Fatima says
Hi! Is there any other substitute for the dairy-free yogurt? It’s difficult for me to come by that. And what gluten free flour blend do you recommend for this recipe? Thanks!
Sarah Nevins says
Hi Fatima! I haven’t tried it with this yet so I can’t say for sure, but I think you could probably try using coconut milk from a can (I think a lighter coconut milk if possible).
If you’re up for trying it, I also recommend that you add a tablespoon of lemon juice, apple cider vinegar or white vinegar/white wine vinegar to the coconut milk. The idea here is to add a bit of acid to the milk (similar to yoghurt) so that you still get the same kind of reaction between the baking soda and yoghurt which will help the cake rise in the oven and create a softer cake texture.
Hope that helps!