Hands down this is likely the easiest gluten free tiramisu recipe you’ll ever try! Dip your gluten free ladyfingers in the coffee + liqueur combo then sandwich between layers of the thick and creamy mascarpone whipped filling. No dealing with raws eggs or pastry cream! Simple mix, layer, chill and enjoy.
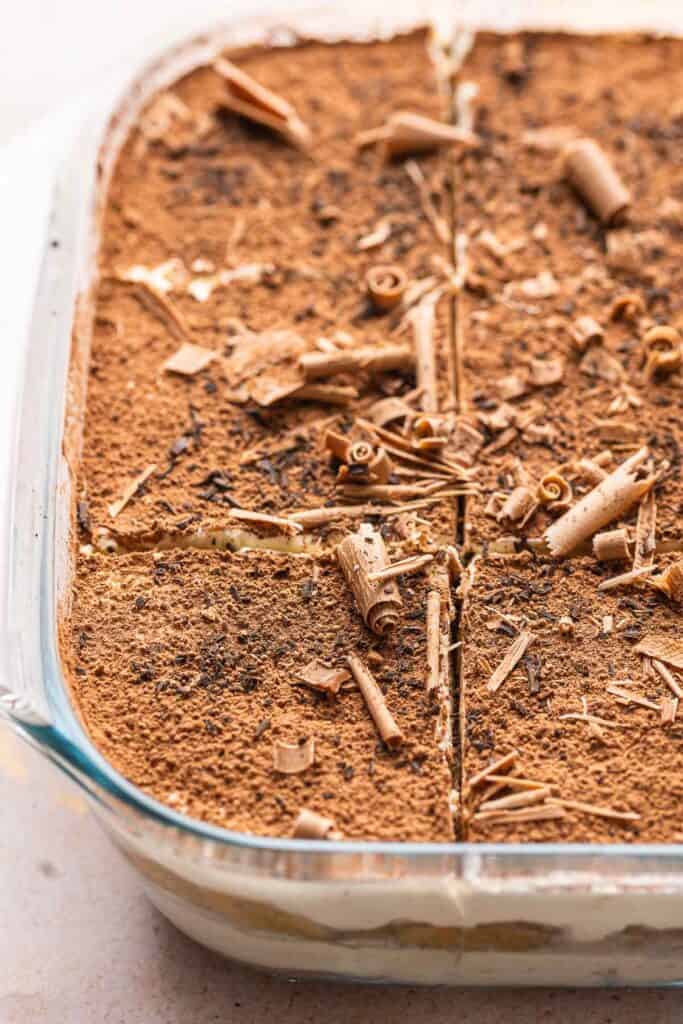
⭐Gluten Free Tiramisu Highlights⭐
- Easier than you think: This recipe keeps it sweet and simple with a thick and creamy, rum infused mascarpone whipped cream. Bake your gluten-free ladyfingers in advance or use store bought biscuits to make it even easier!
- It’s a crowd pleaser: Despite how easy this is to make, the end result is a stunning dessert that tastes divine!
- A great make-ahead dessert: Want a delicious dessert to impress for an upcoming event? Make and freeze this gluten free tiramisu to pull out and enjoy on a later date.
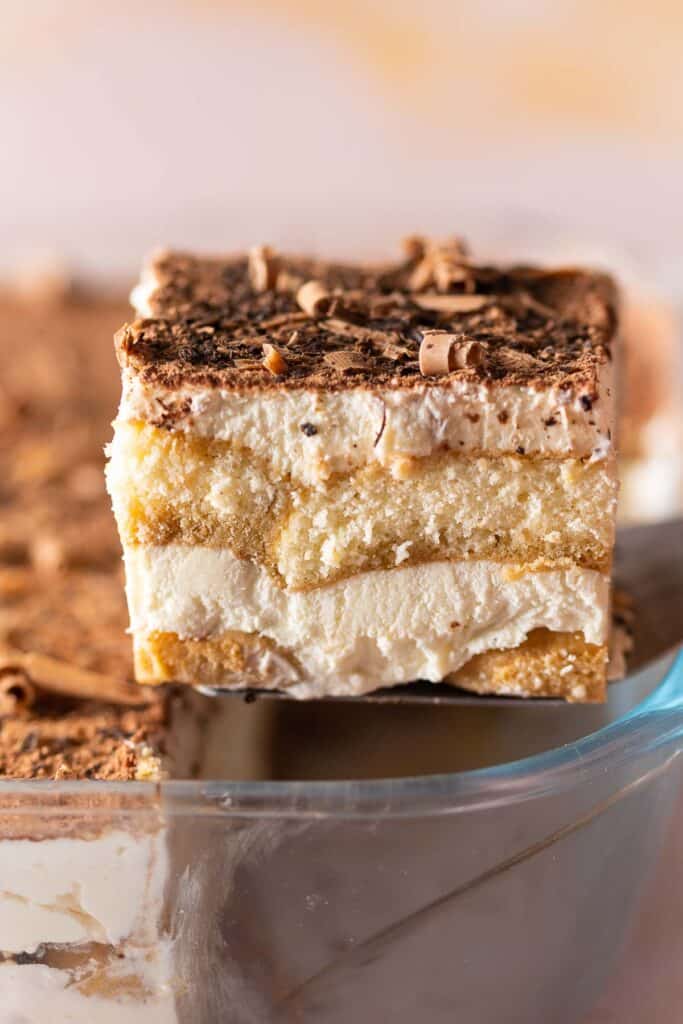
What’s Inside:
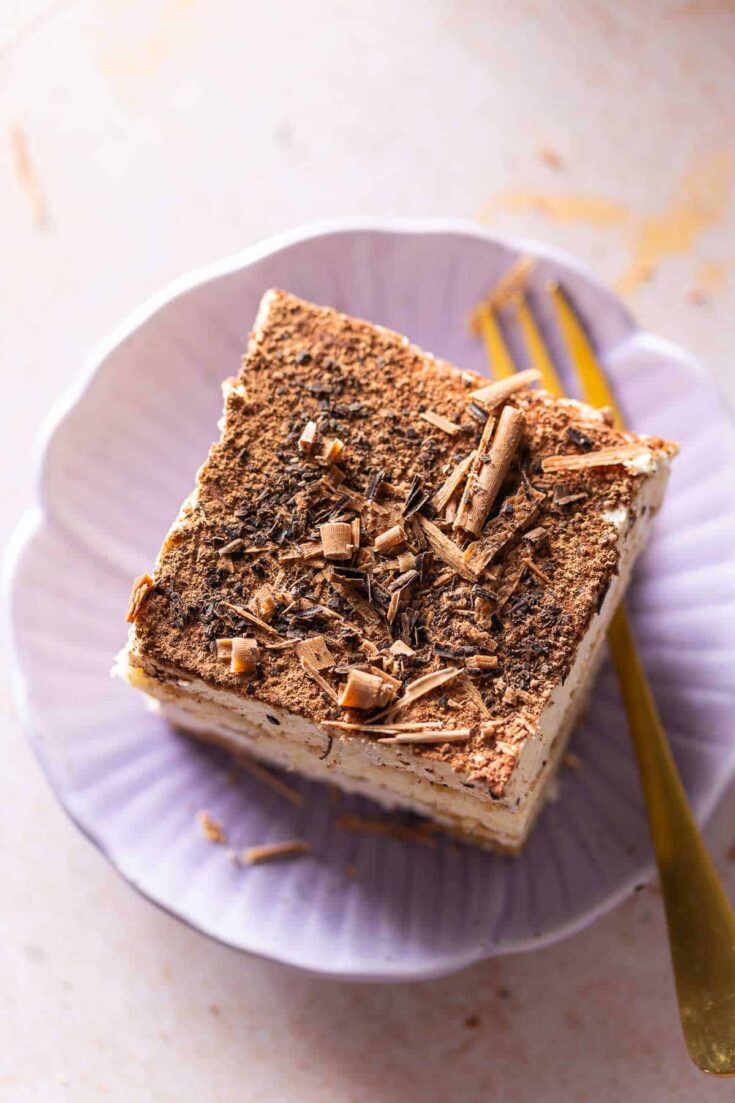
This tiramisu is essentially made up of two alternating layers with a dusting of cocoa powder on top.

- 1st Layer (bottom): coffee + liqueur dipped ladyfinger biscuits
- 2nd Layer: creamy mascarpone filling
- 3rd Layer (middle): coffee + liqueur dipped ladyfinger biscuits
- 4th Layer: creamy mascarpone filling
- 5th Layer (top): cocoa powder + optional chocolate shavings
Mascarpone Whipped Cream
Ingredients: Mascarpone cheese, white sugar, heavy cream, vanilla extract, rum (optional).

Steps:
- Beat together mascarpone and sugar with an electric mixer or in the bowl of a stand mixer until the sugar has mostly dissolved.
- Add the vanilla and rum (optional) on a low speed followed by the heavy whipping cream.
- Keep mixing on high until it’s thick and airy.
More Dreamy Mascarpone Dessert Recipes
Coffee Dipped Ladyfingers
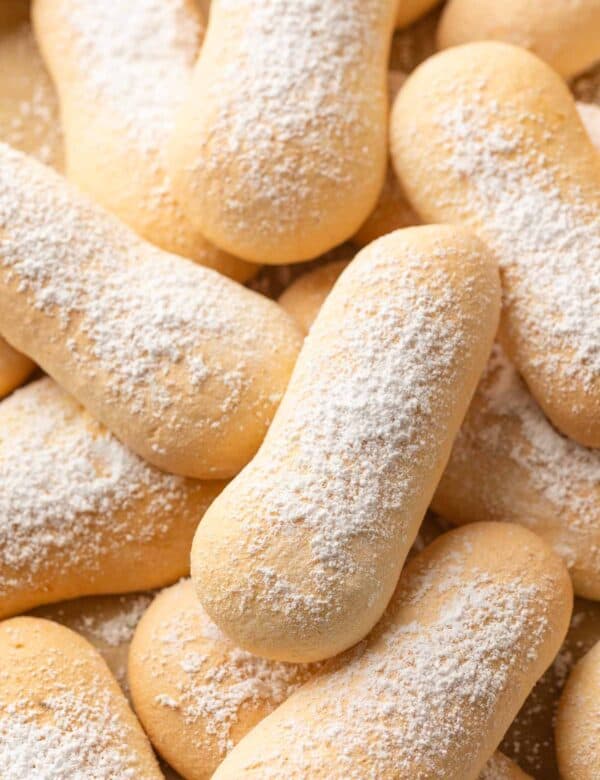
If you can’t find gluten free ladyfingers in grocery stores near you, try make your own homemade gluten free ladyfingers. These can be baked and stored up to 2 weeks at room temperature or frozen for 2 months.
Steps:
- Add the coffee (make it a strong coffee or use espresso) and liqueur to a shallow bowl.
- Dip the sponge fingers in the coffee mixture – flip to coat both sides.
- Transfer the dipped ladyfingers to your baking dish. Arrange in a single, even-layer.
💡Tip💡
Only dip a couple of ladyfingers in the coffee mixture at a time. The idea is to quickly dip (not soak) the biscuits before moving them. If left to soak for too long, they’ll go soggy and fall apart too easily.

Can I make it without alcohol?
Yes! Though traditional tiramisu does usually include some sort of alcohol (rum, masala wine, brandy, etc) you can absolutely make it without. The alcohol is here to enhance the overall coffee flavor, but it’s still delicious without.
Can I make it without coffee?
Sure, why not! I am always a fan of adapting recipes whenever possible to better suit your personal dietary needs and preferences.
Will the overall flavor totally change without coffee? Yes, definitely. However, you can absolutely swap out the coffee for a different type of drink or flavor mixture.
A few ideas of what you can use instead of coffee: Chai tea, earl grey, hot chocolate.
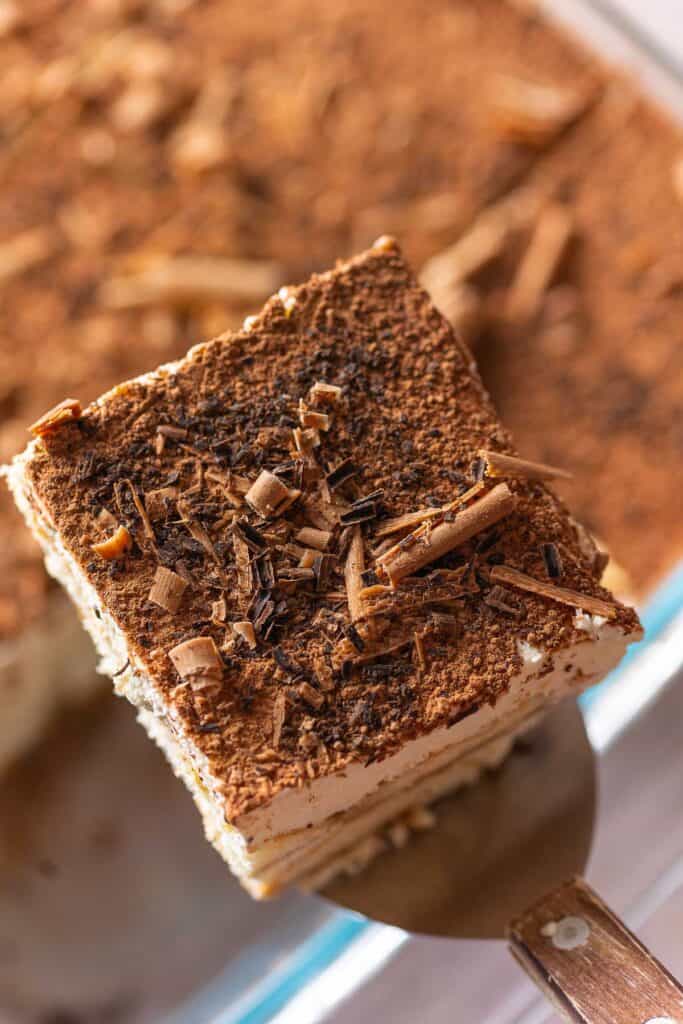
Make Ahead & Freeze for Later
This really is a perfect make-ahead dessert!
For best results, I recommend you wait to add cocoa powder and chocolate shavings to the top of the tiramisu until after it’s been frozen/right before serving.
You can also freeze leftover individual portions to enjoy at a later date.
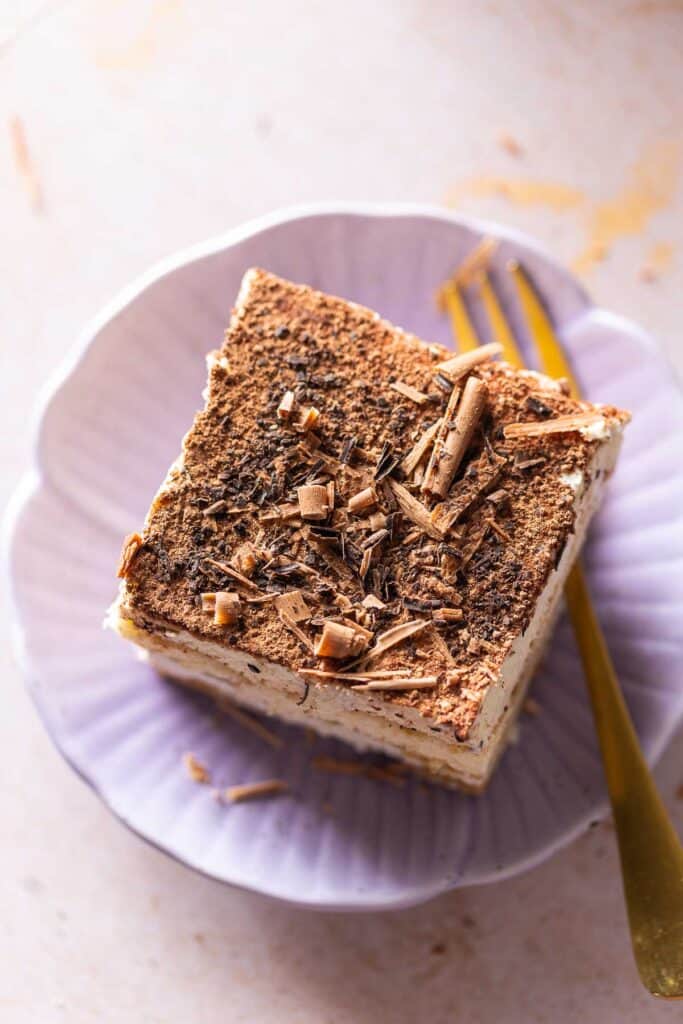
More Gluten Free Dessert Recipes To Try
Enjoy!
Let me know if you try this Gluten Free Tiramisu recipe! I’d love to hear what you made with it and how it turned out! Please leave a comment and review with your thoughts and suggestions for me and future readers.
Gluten Free Tiramisu
Gluten free ladyfinger biscuits dipped in coffee then sandwich between layers of the rich and creamy mascarpone whipped filling.
Ingredients
Cream
- 1 cup mascarpone cheese (240 g)
- 1/3 cup granulated sugar (70g)
- 1 1/2 cups heavy cream [whipping cream in the UK] (360ml)
- 2 tbsp spiced rum - ensure gluten free (30ml)
- 1 teaspoon vanilla extract
Soaked Ladyfingers
- 1 1/2 cups cold espresso or strong coffee (360ml)
- 4 tbsp coffee flavored liqueur - ensure gluten free (60ml)
- 18-20 gluten free ladyfingers
- Cocoa powder for dusting on top
Instructions
- Add mascarpone and sugar to a stand mixer bowl with the whisk attachment or a large mixing bowl with an electric hand mixer. Beat 1-2 minutes on a medium-high speed. Add the vanilla extract and rum.
- With the mixer on a medium-low speed, slowly pour the heavy cream into the mascarpone mixture in a steady stream. Once added, increase to a high speed and beat another 1-2 minutes soft peaks form. Make sure to stop and scrape the bottom of the bowl as needed. Set aside.
- Add coffee and coffee liqueur to a shallow bowl. Briefly dip the lady fingers in the coffee mixture - just enough to get them wet, then lay them in a single layer on the bottom of an 8x8-inch dish or similar size pan.
- Smooth half of the mascarpone mixture over the top of the lady fingers. Add another layer of dipped lady fingers over the mascarpone. Spread the remaining cream on top in a smooth, even layer.
- Dust cocoa powder generously over the top through a fine mesh strainer. Cover with plastic wrap (making sure not to let the wrap get in contact with the top of the Tiramisu. Refrigerate for at least 3-4 hours to firm up or up to overnight before serving.
Notes
- Alcohol: Make your tiramisu with or without alcohol. Feel free to omit both rum and/or coffee liqueur if needed. You can always swap out the coffee liqueur for rum, brandy, bailey's or marsala wine - ensure gluten free.
- Coffee: Use espresso, cold brew or strong brewed coffee. Let it cool a bit before using. Use decaffeinated coffee to make it caffeine free.
- Storage: This tiramisu will keep well covered and kept in the fridge up to 3 days. I recommend making it a day in advance so the layers have time to set.
- Freeze: You can always freeze the whole thing or individual slices up to 3 months. Cover tightly in an airtight container. If freezing the whole tiramisu, wait to add the cocoa powder until after freezing.
- Chocolate Shavings: Use a potato peeler to make chocolate curls to add to your tiramisu. I found that milk chocolate shaved into more visually appealing curls than dark chocolate, but results may vary depending on your chocolate type/brand.






Leave a Review!