No time for waiting? Try these melt-in-your-mouth, classic sugar cookies! Simply mix, roll, cut and bake – no need to chill in the fridge or freezer before baking. Made with simple ingredients often found in basic gluten-free bakes and tested with vegan friendly options. Make this your new go-to gluten free sugar cookie recipe this holiday season or whenever you need reliable cutout cookies! The end result? A soft and chewy cookie with crispy edges that just so happens to be allergy friendly!|| Tested with egg free + dairy free alternatives!
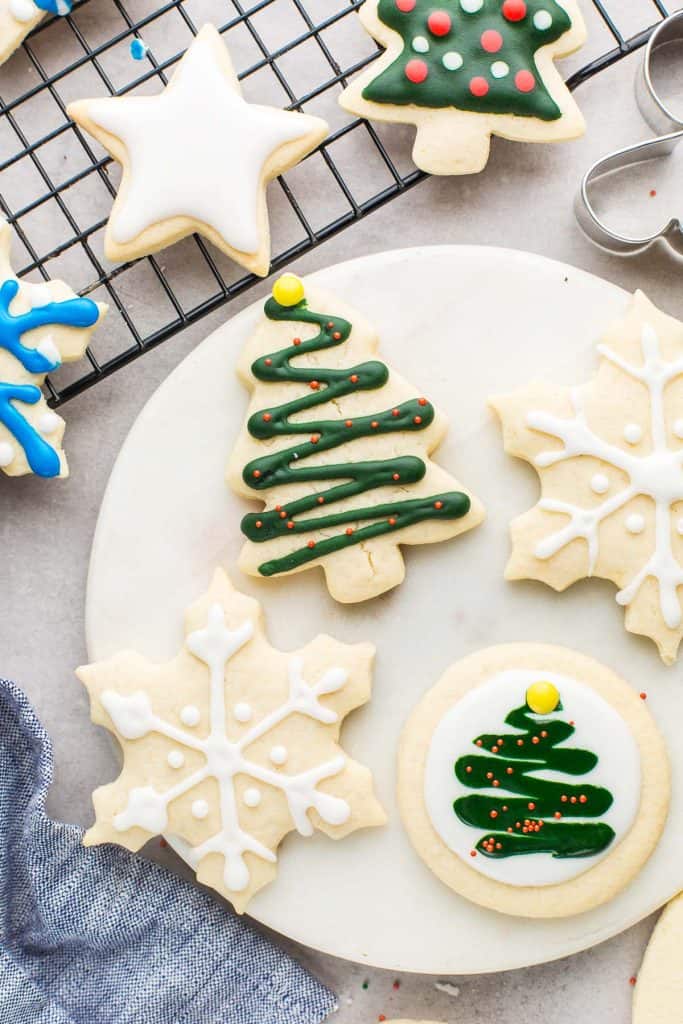
What’s so great about these cookies? They are:
✔️Soft, thick with the just the right amount of chew
✔️Irresistibly buttery – even the dairy free/vegan version!
✔️Perfect for decorating with frosting or royal icing
✔️Quick & easy to prepare without refrigeration or chill time needed
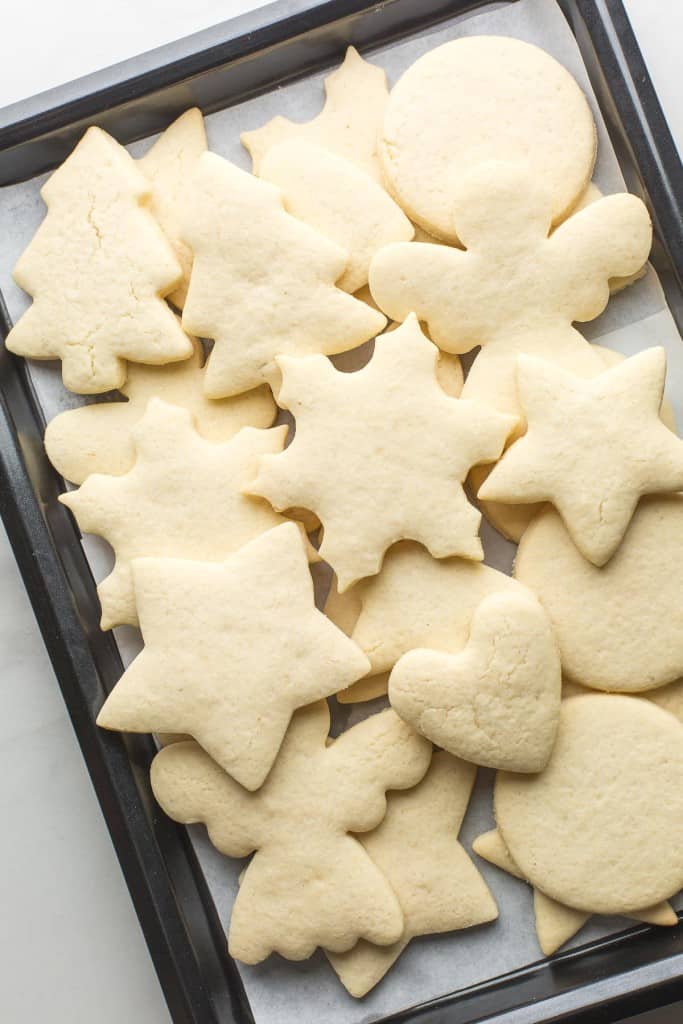
Aquafaba Egg Replacement
These sugar cookies can easily be made egg free with one simple swap: aquafaba!
What is aquafaba?
Aquafaba, which literally just means ‘bean water’, is exactly that – chickpea water! It’s the somewhat goopy water/liquid found in cans of chickpeas (also called garbanzo beans) and white beans.
As it turns out, this weird bean-water makes for pretty fantastic egg substitute for vegan and allergy friendly bakes. It’s not 100% fool-proof, but you can usually get away with using aquafaba instead of eggs when the recipe only calls for 2-3 eggs at most. Since these gluten free sugar cookies only need one egg, this recipe is the perfect candidate for using aquafaba as an egg substitute!
More Gluten Free Recipes that Use Aquafaba Instead of Eggs
How to Use Aquafaba as an Egg Substitute?
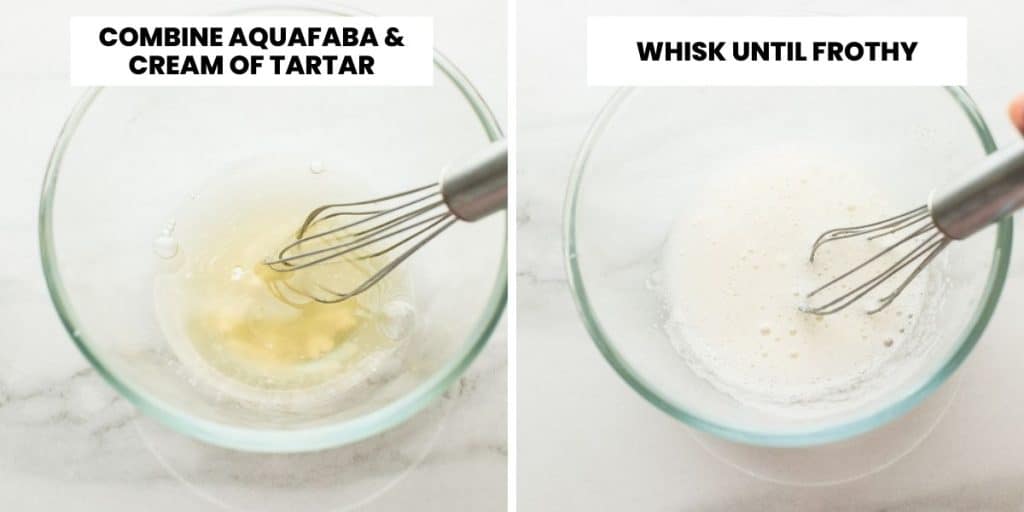
Easy! Whisk together 3 tablespoons aquafaba and 1/2 teaspoon cream of tartar until a bit frothy. The cream of tartar lightly whipped along with the aquafaba helps to stabilise the aquafaba. From here, simply add to the cookie dough and that’s it!
Gluten Free Sugar Cookie Dough Steps
Altogether you’ll need:
- A small mixing bowl to mix the aquafaba (only needed if you make these cookies egg- free)
- A stand mixer or an electric mixer with a large bowl so that you can properly cream the butter and sugar
- A prepared baking sheet (or two)
- Rolling pin
- Cookie Cutters
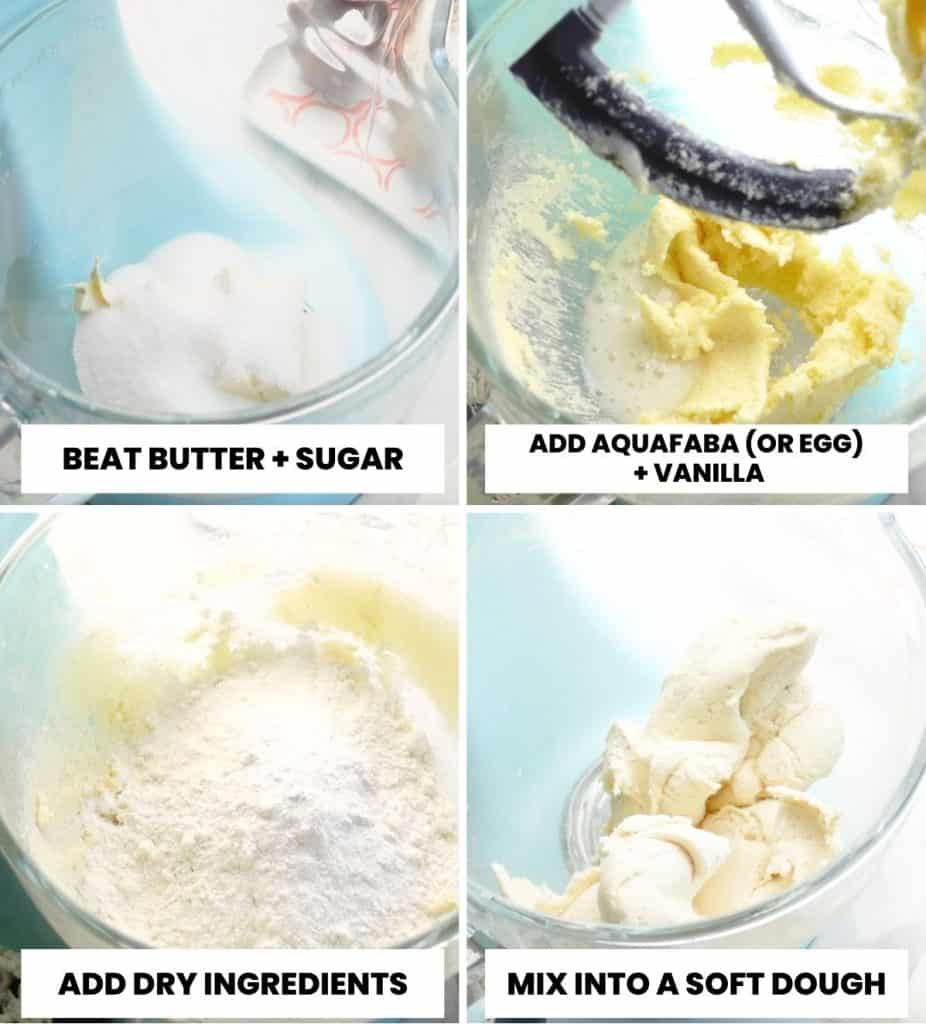
As for the steps, the preparation is simple and straight forward:
- Cream butter & sugar. Mix on high for a few minutes until the butter and sugar are pale-yellow and creamy. Creaming the butter and sugar aerates the butter with tiny air pockets. The moisture inside the air pockets turn to steam and the steam helps the cookies puff up slightly in the oven and stay soft.
- Whisk aquafaba + cream of tartar (optional). This step is optional if you need to make vegan cookies, otherwise proceed to the next step. Mix in a smaller, separate bowl and then add to the butter.
- Add aquafaba (or egg) and vanilla extract. Mix in to the butter mixture and beat on high another minute or so.
- Add the dry ingredients. Mix in the flour mixture, baking powder, xanthan gum and salt. Add salt if you use unsalted butter. If using salted butter, no need to add extra. Start mixing on a low speed to incorporate the flour then mix on a higher speed until a thick, soft dough forms. Make sure to stop and scrape down the sides of the bowl as needed.
Roll, Cut & Bake Your Gluten Free Sugar cookies
Once you’ve got the dough prepared you can move straight to rolling and cutting.
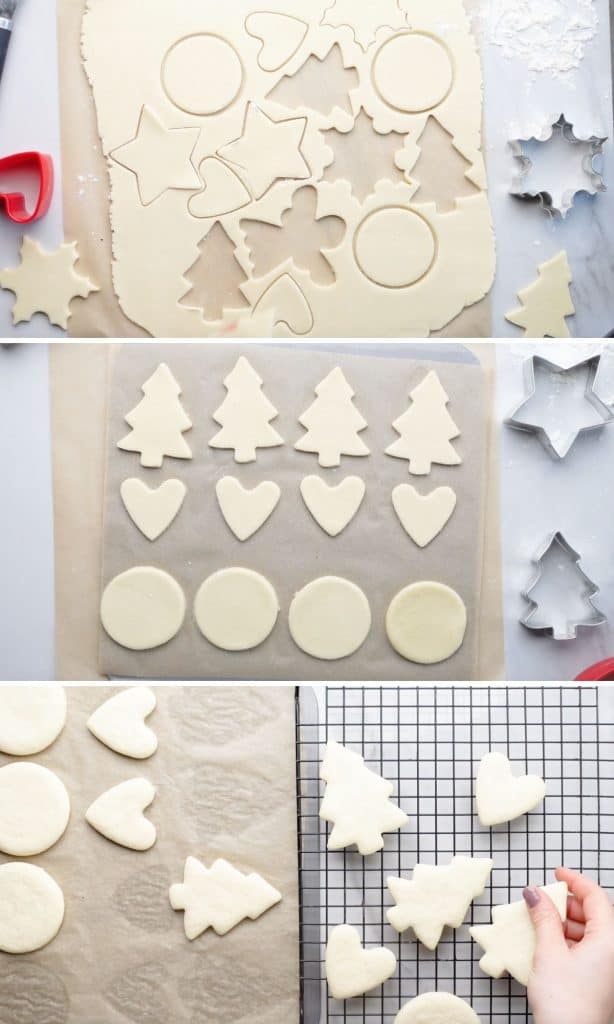
Rip out a large piece of parchment paper. Place on a flat work surface and sprinkle with a good amount of flour. Add the dough, sprinkle with a bit more flour to coat the outside and roll dough.
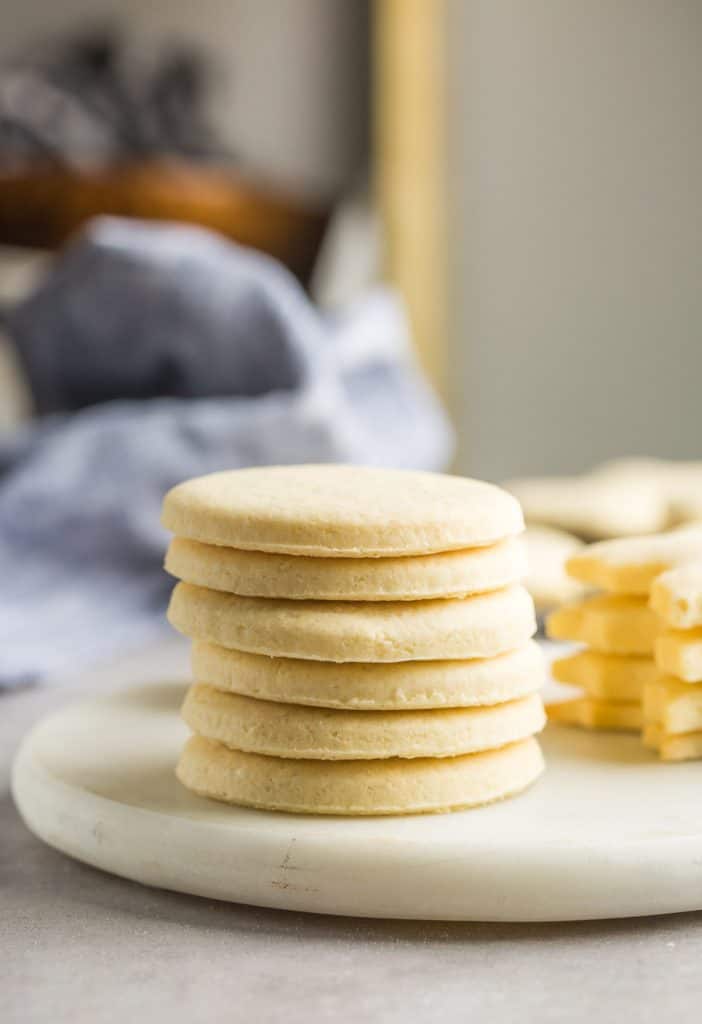
Roll the dough out to be about 1/4-inch thickness then use cookie cutters to cut out the dough. Transfer to a lined or greased cookie sheet. Leave about a 1/4 inch of space in between each cookie. The shouldn’t spread much but they will puff up slightly as they bake.
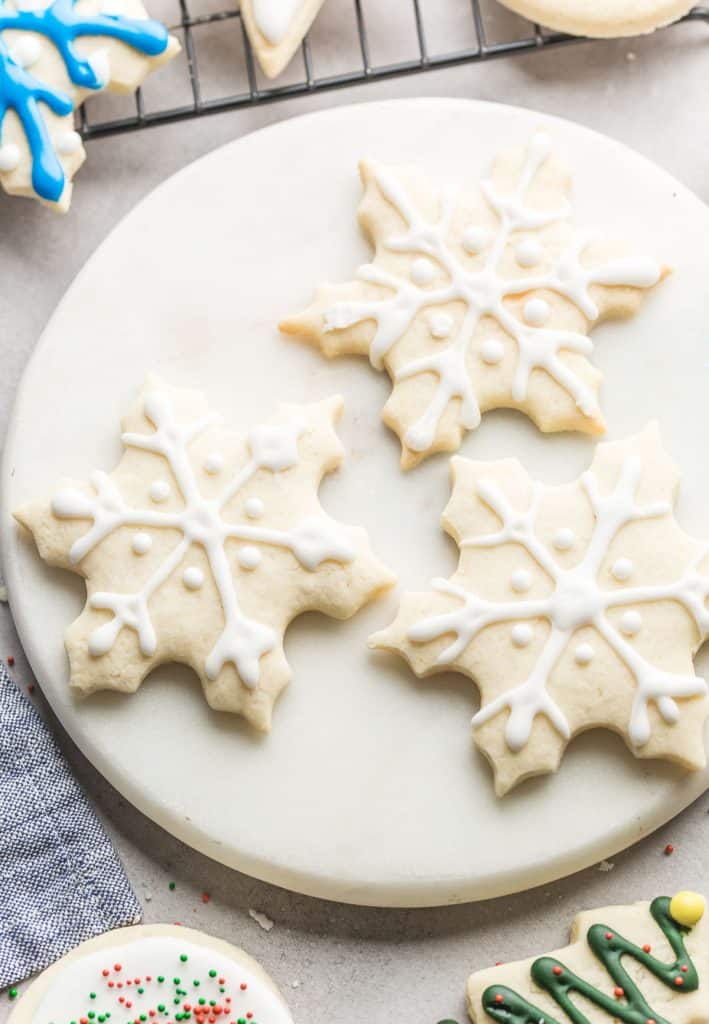
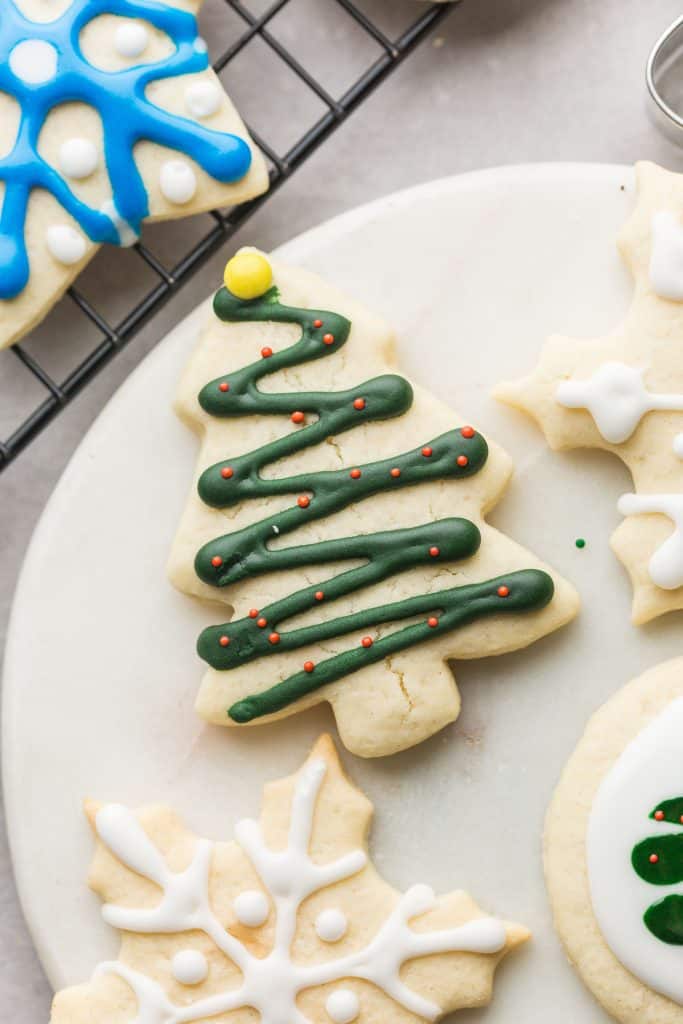
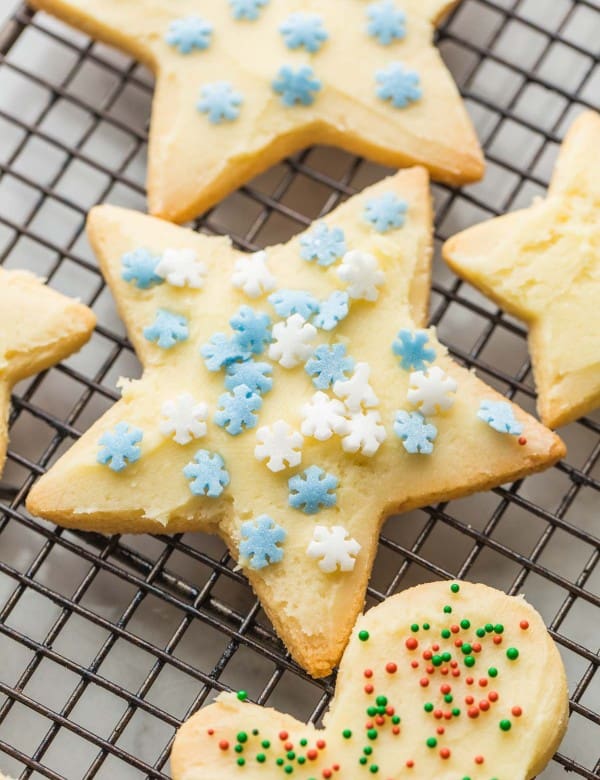
Finally, place your gluten free sugar cookies in the oven and bake for about 9-10 minutes and that’s it! Let them set on the tray for a few minutes before transferring to a wire rack to cool fully. From here you can decorate as you’d like with a buttercream frosting (like in these almond flour sugar cookies) or a vegan royal icing.
Gluten Free Sugar Cookie FAQ’s
What type of flour should I use?
- This recipe was created and tested to be one that uses any generic all purpose gluten-free flour blend.
- I live in the UK so I most often bake using Dove’s Free From Plain Flour and Schar’s Universal gluten free flour.
- Bob’s Red Mill 1:1 flour is always reliable if you can get it.
- I also have a homemade gluten free flour blend if you want a DIY option.
- If you’re interested in a grain free recipe you might prefer my almond flour sugar cookie recipe or my almond flour chocolate sugar cookies. These recipes use almond flour and coconut flour.
Do I have to add xanthan gum?
- Yes! Xanthan gum is an important ingredient in this recipe because it really helps create structural support and binding that you’d normally get from gluten. If your flour blend already contains xanthan, you can skip it here.
- If you’re averse to xanthan gum I recommend checking out my post on baking with xanthan. You might be able to try one of the recommended substitutes like guar gum or potato starch that works for you.
Freeze for Later
To freeze the dough: Wrap the dough up tight in plastic wrap and then seal the wrapped dough in a freezer safe bag. Dough will keep well in the freezer for 3 months. To defrost, leave the dough in the fridge overnight to thaw. Once thawed, roll out the dough and proceed with the recipe normally from there.
To freeze the baked cookies: I recommend freezing the cookies unfrosted. Once fully cooled place the cookies on a baking sheet you can fit in the freezer. Place in the freezer until solid and then transfer the cookies to a bag or Tupperware container – place a small sheet of baking parchment in between each cookie to prevent cookies from freezing together. Cookies will keep up to 3 months in the freezer.
For Best Results
Use a kitchen scale to measure ingredients
Have your ever tried a cookie recipe that had tons of positive reviews and feedback only to end up with flat and greasy, pancake-like discs? The usual culprit: your ingredients weren’t properly measured.
When it comes to baking (especially gluten-free baking) it is crucial that you measure out your ingredients as precisely as you can for best results. This is a pretty easy task when it comes to measuring out liquids, but it can be tricky with dry ingredients like flours and nuts. This is because the density of your measuring cup will change depending on how you measure it. A tightly packed cup gluten-free flour will hold more mass than a lightly packed up.
You can easily avoid this problem altogether by investing in a kitchen scale. It doesn’t have to be fancy, just accurate. Bonus: you’ll have less equipment to clean if you don’t need to use measuring cups.
No Kitchen Scale? Measure your flour properly
The next best solution: measure your flour using the spoon and level method. Instead of scooping out the required flour directly into your measuring cup, you spoon the flour into the measuring cup until full and then use the back of a knife to level off the excess flour.
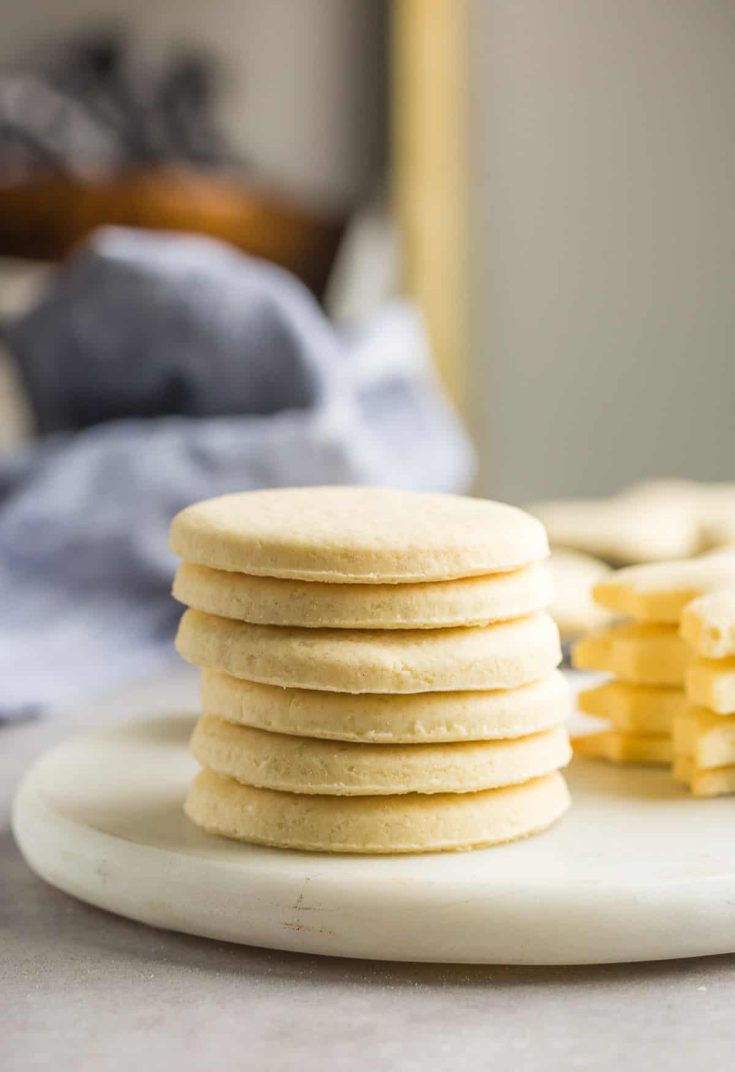
Gluten Free Sugar Cookies (No Chill)
Simply mix, roll, cut and bake - no need to chill in the fridge or freezer before baking. Made with simple ingredients often found in basic gluten-free baking and tested with vegan friendly options.
Ingredients
- 1/2 cup | 113 g butter, salted dairy or nondairy, softened to room temperature
- 3/4 cup | 150 g white granulated sugar
- 2 teaspoons | 10 ml vanilla extract
- 3 tablespoons | 45 ml aquafaba (or one regular egg)
- 1/2 teaspoon cream of tartar (omit if using an egg instead of aquafaba)
- 2 1/2 cups | 355 g gluten free all purpose flour
- 3/4 teaspoons xanthan gum
- 3/4 teaspoon baking powder
Instructions
- Preheat oven to 350°F/175°C. Line or lightly grease a couple of large baking sheets. Set aside.
- In a large mixing bowl with an electric or bowl of a stand mixer: beat together the butter and sugar on high until smooth and creamy - about 3-4 minutes. Stop and scrape down the sides of the bowl as needed.
- In a small mixing bowl: add the aquafaba and cream of tartar. Whisk until frothy, about 30 seconds. This can be done by hand with a balloon with or with electric beaters.
- Add the whisked aquafaba and vanilla extract to the butter/sugar mixture. Beat on high another minute.
- Add the dry ingredients: flour, xanthan gum, baking powder and salt (if needed). Mix on a low speed to incorporate the dry ingredients then switch to a medium speed until a soft, slightly sticky dough forms.
- Rip out a large piece of parchment paper and dust with a good amount of flour. Add the dough, sprinkle with a bit more flour to coat the outside and then roll out to be about 1/4 inch thick.
- Use cookie cutters to cut out dough. Transfer to the prepared baking sheets. Leave about 1/4 inch of space in between each cookie. Re roll and repeat with excess dough until all gone.
- Bake for 9-10 minutes until set. Let the cookies cool on the tray for a few minutes before carefully transferring to a wire rack to cool fully.
- You can enjoy unfrosted or decorate with a buttercream frosting or royal icing.
Notes
- This recipe will make about 2 dozen cookies, but the amount will vary depending on the size of your cookie cutters.
- Leftover cookies should be kept stored in an airtight container for up to 1 week.
- Add 1/2 teaspoon salt if using unsalted butter
- No cream of tartar? Use 1 teaspoon of lemon juice or white vinegar instead.
- You can use one regular chicken egg in place of the aquafaba + cream of tartar combination. Simply add the egg in with the vanilla extract and proceed with the recipe as usual.
- If possible I recommend using a kitchen scale to weigh out your ingredients for best results.
- Aquafaba is the goopy water found in cans of chickpeas /white beans. Make sure to use unsalted chickpeas/beans. Most cans of chickpeas contain about 1/2 cup (120ml)of aquafaba which is just a bit more than what you would need to make these cookies and a batch of vegan royal icing to decorate.
- If using vegan butter: Make sure to use a vegan block butter and not a spreadable butter from a tub.



Christi says
Not successful for me. I followed the ingredients and the dough was dry, crumbly and would not come together at all.
Sarah Nevins says
Oh no! Can I ask how you measured the ingredients (measuring cups or kitchen scale)? If they came out dry and crumbly it sounds like there could have possibly been too much flour/dry ingredients to wet ingredients. This can sometimes happen when measuring cups are involved – if too much flour gets packed into the cups it throws off the balance of everything else. Also, just to check – did you make sure to add xanthan gum? The crumbliness sounds like it might have been either missing or not enough added.