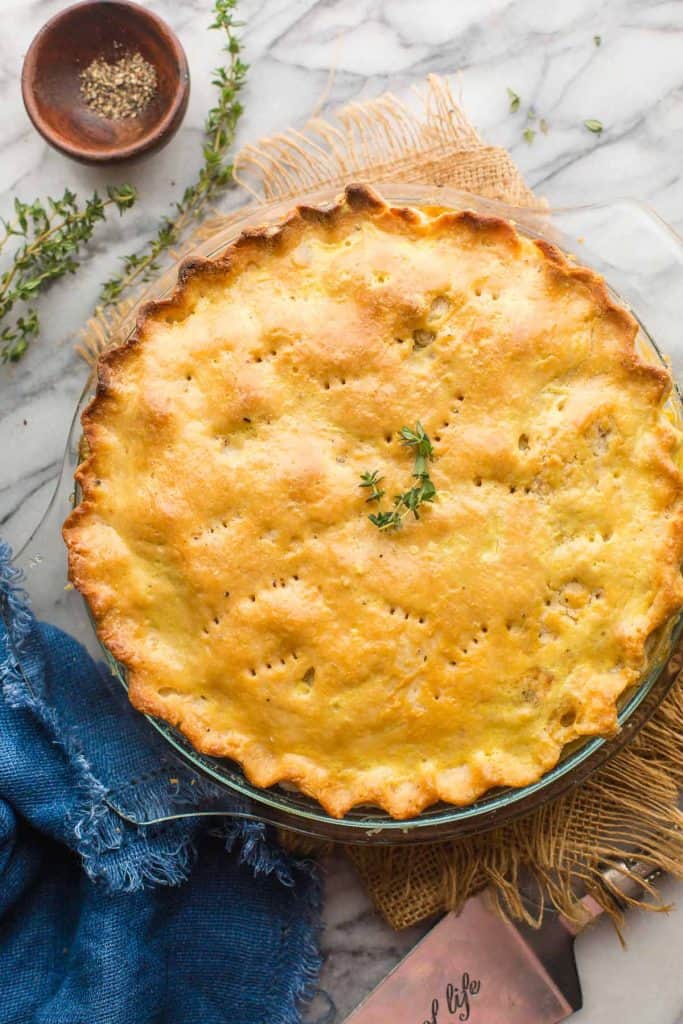
This Gluten Free Leftover Turkey Pot Pie is the perfect way to enjoy leftover roast turkey! Chopped and shredded turkey pieces added to a rich and creamy vegetable filling then cooked in a flaky, gluten free crust!
The Gluten Free Pie Crust
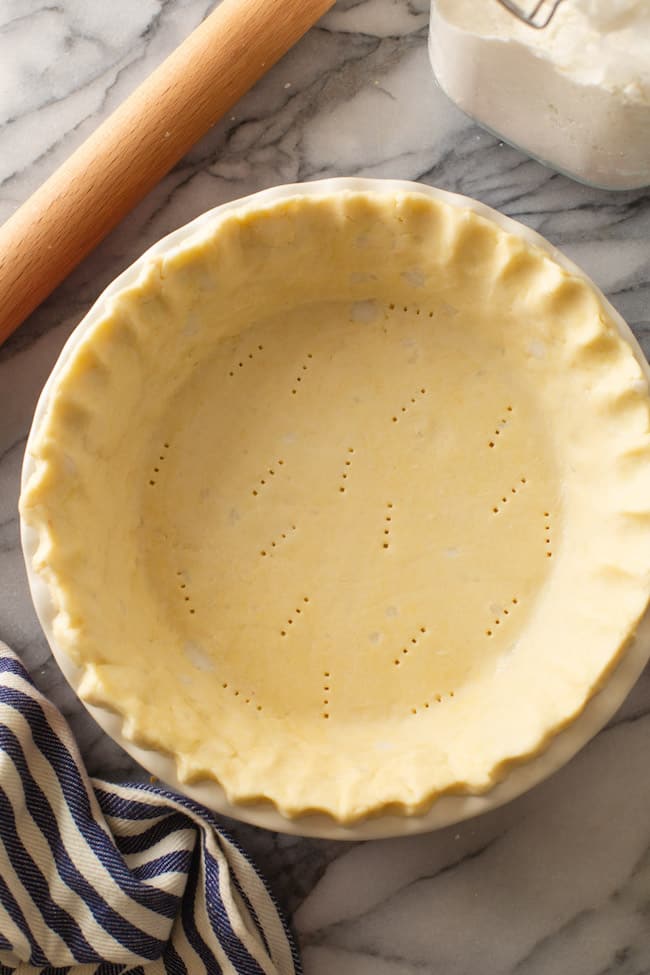
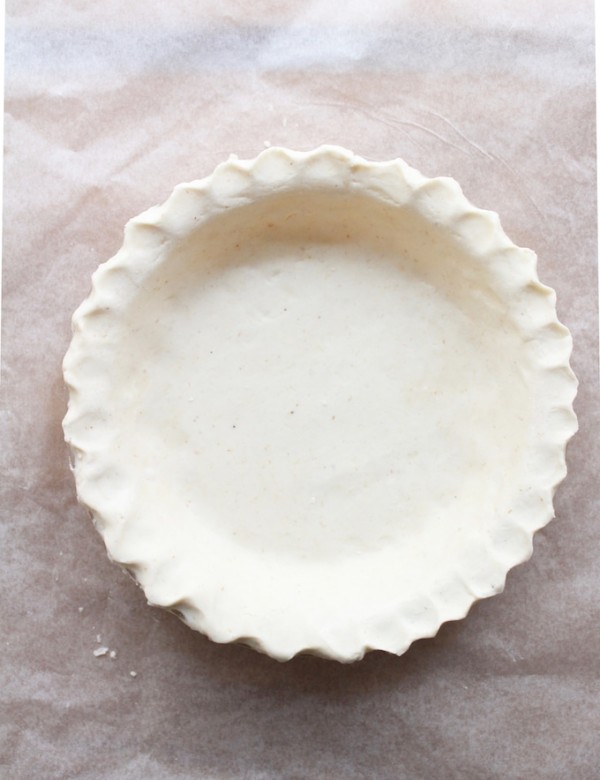
The pie crust used here is my tried and true flaky gluten free pie crust recipe. It makes enough for a top and bottom pie crust big enough to fit a 9-inch pie plate and it’s my go to crust whenever I need a basic crust for all things sweet and savoury.
If you’d like a more in-depth run down of how to to make this crust along with a few tips you might find handy then I recommend you check out that recipe by clicking on the image below.
Filling & Assembly
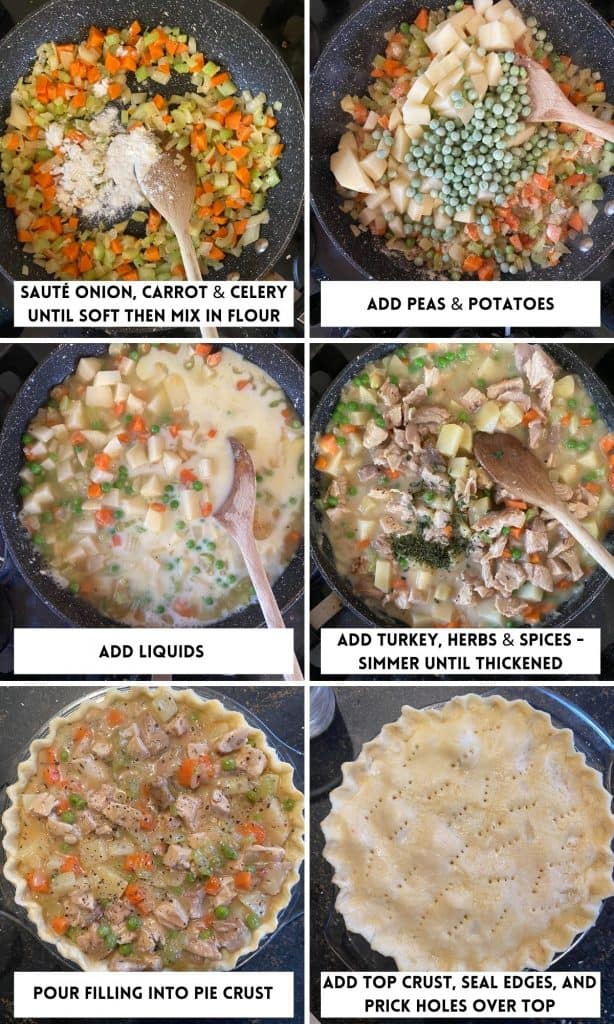
- Sauté the onion, celery and carrot in your choice of butter or oil until the begin to soften.
- Cook the veg over a medium heat until the begin to soften, then stir in a few tablespoons of flour to thicken the sauce later.
- Add the potatoes and peas.
- Mix in the stock, milk and sauce, mixing well into the vegetable medley.
- Add the turkey + spices and cook until your mixture thickens and the potatoes begin to soften. Taste and season with more herbs and spices as you see fit.
- Add the filling to your pie plate already prepared with your bottom crust then cover with the top crust. Make sure to cut slits or poke holes in the top crust to allow steam to release as the crust bakes.
- Pop your pie in the oven and bake!
Leftover Turkey Pot Pie Tips & FAQ’s
How to make an extra flaky crust:
Use butter & shortening. Using a combo of half butter/half shortening (1/3 cup each) makes for an even flakier crust. Shortening has a higher steam point than butter which makes it nice and flaky but butter adds a better flavour.
- I know someone will inevitably want to leave a comment telling me to never use shortening because it’s bad for you – just remember that we’re making PIE and life’s too short not to indulge a little every now and then. This is also simply a suggestion – using an all butter crust is totally fine and will still result in a delicious crust!
Do I need to par bake the bottom crust before adding the filling?
- No – at this temperature and cook time your bottom crust should be plenty cooked. No need to add an extra step here.
Can I freeze this pie for later?
Yes – you can freeze this pie baked and unbaked:
- To freeze an unbaked, assembled pie: Wrap the pie in plate well in foil and place in the freezer until frozen solid, then pop the frozen pie out of its container. I recommend lining your pie plate with baking paper for an easy removal. Once removed from the pie plate, wrap well in plastic wrap and foil and keep in the freezer for up to 3 months.
- When you’re ready to bake you can cook from frozen for about 50-60 minutes or until the internal temperature of the pie is at least 165°F/74°C. You may need to cover the crust in foil as it bakes to keep it from going too dark.
- To freeze a baked pie: Cool the pie completely. Once it’s cooled you can follow the same steps above for freezing an unbaked pie. When you’re ready to reheat your pie you can reheat it in the oven for about 35-40 minutes or until the internal temperature of the pie is at least 165°F/74°C.
Let the pie cool before cutting into it
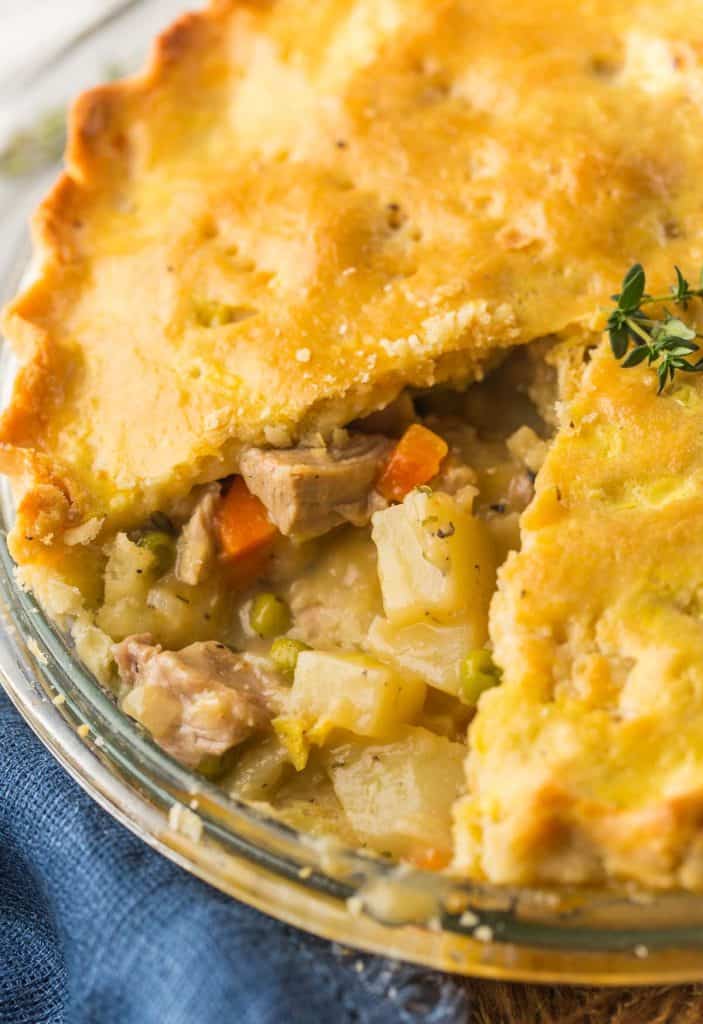
- Let the pie rest for at least 10-15 minutes before slicing and serving. It will be too hot to eat it any sooner and by letting it rest you’re also giving the filling time to set so it doesn’t spill out as much when serving.
Hungry for more savory gluten free pies? Check out these recipes:
- Gluten Free Chicken Pot Pie
- Healthier Gluten Free Chicken Pot Pie with Herb Crust
- Gluten Free Homity Pie
- Almond Flour Crust Spinach Feta Pie
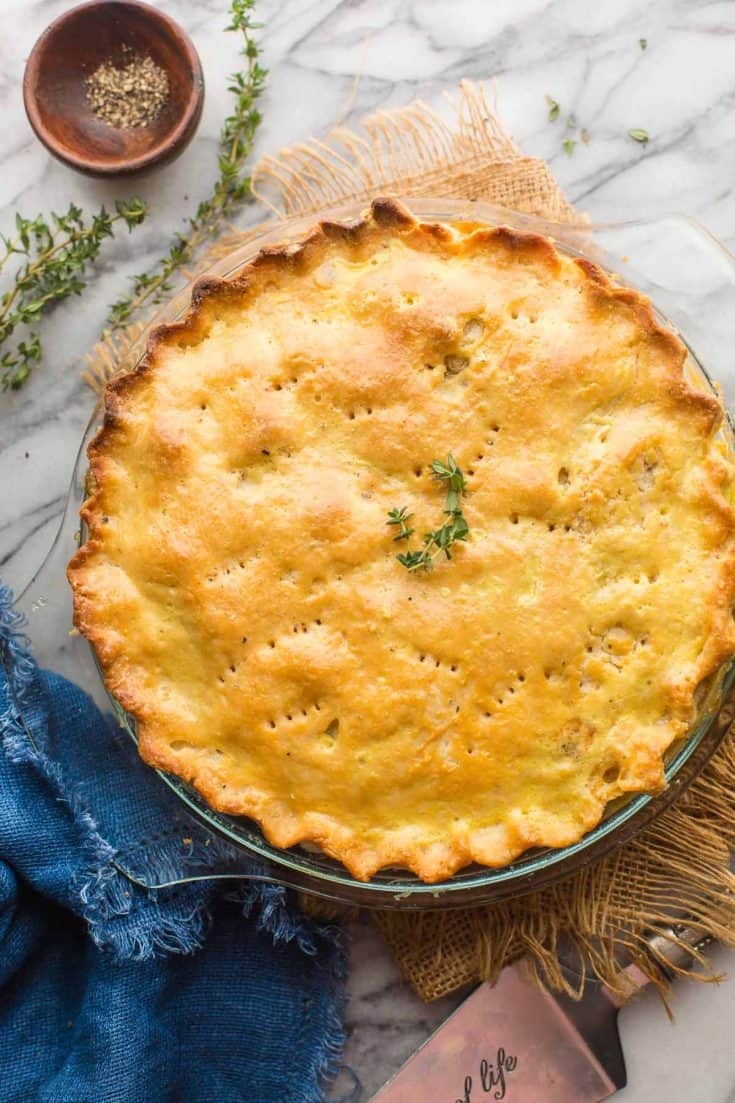
Double Crust Gluten Free Turkey Pot Pie
This Gluten Free Leftover Turkey Pot Pie is the perfect way to enjoy leftover roast turkey! Chopped and shredded turkey pieces added to a rich and creamy vegetable filling then cooked in a flaky, gluten free crust!
Ingredients
- 1 gluten free pie dough - enough for top and bottom crust
- 2 tablespoons butter or oil
- 1 white onion, diced
- 1 large stalk celery, diced
- 1 carrot, diced
- 2 tablespoons gluten free all purpose flour
- 1 potato, peeled and diced
- 1/2 cup frozen peas
- 1 cup chicken stock (240 ml)
- 1/2 cup milk (120 ml)
- 1 tablespoon Henderson's or another Worcestershire sauce (ensure gluten free)
- 2 cups cooked turkey - cubed or shredded
- 1 teaspoon parsley
- 1 teaspoon thyme
- 1/4 teaspoon nutmeg
- 1/4 teaspoon cayenne
- 1/2 teaspoon black pepper
Instructions
- Prepare the pie crust as directed in my flaky gluten free pie crust recipe. Prepare up to the point of chilling the dough. While the dough chills, prepare the filling.
- In a large skillet, warm the butter/oil over a medium heat. Add the onion, celery and carrots along with a pinch of salt. Cook about 5 minutes until the onions begin to soften and turn translucent.
- Sprinkle the flour over the onion mixture and stir to combine. Stir in the peas and potatoes.
- Add the chicken stock, milk and Henderson's (orWorcestershire). Stir everything together and let simmer until a thick sauce forms. Add the turkey and spices: parsley, thyme, nutmeg, cayenne, black pepper and salt.
- Cover the pan with a fitted lid, turn the heat down low and let simmer for 10 minutes.
- Preheat oven to 425°F/220°C. Lightly grease a 9 inch pie dish and set aside.
- Preparing the crust: place one of the dough discs between two lightly floured sheets of parchment paper and roll out to be 1/8-1/4 of an inch thick.
- Remove the top layer of baking paper. Use the bottom baking paper to transfer your dough to the pie dish. Carefully transfer the rolled out dough to the pie plate. Slip one hand under the bottom layer of parchment paper to gently flip the dough over into the pan.
- Peel back the paper and sooth over any cracks or breaking points in the dough. Use the dough hanging over the edges of the pie dish to cover up the holes in the middle.
- Pour half of the filling into the pie dish and smooth out into an even layer. Cool and freeze the remaining filling to use for another pie later (use within 3 months).
- Roll out the second dough disc as instructed above, then carefully transfer to cover the filling. Seal the edges of the pie by crimping with a fork or your fingers.
- Optional Egg Wash: For a shiny crust, mix 1 tablespoon water with 1 egg yolk then brush that mixture across the top of your pie.
- With a fork, prick holes all across the surface of the crust and then place in the middle of the oven and bake for 30-35 minutes.
- Let the pie rest at least 10-15 minutes before slicing and serving and enjoy!
Notes
- The filling makes enough to fill two pies. You can make two pies at once and freeze the second pie, or save the filling to bake at a later date. Make sure to cool the filling completely before storing in a freezer-safe airtight container. Thaw overnight in the fridge before adding to a crust to bake.
- Feel free to use another pie crust of your choice.
- Chicken can be used in place of turkey.
- Leftovers can be kept in the fridge for 3-5 days or in the freezer for 3 months.
- You can use vegan butter and dairy free (unsweetened) milk to make this recipe dairy free.



Jack Hysell says
This recipe was awesome! It was my first try at a pot pie and I’ll definitely be making it again! I made the following tweaks based on what I had on hand:
1. The pie crust was from this cherry pie recipe: https://www.cup4cup.com/recipes/cherry-pie/# – although it has a bit of sugar, it worked out really well as I sprinkled the crust with coarse salt. Between that and the salt level of the filling, it made an amazing umami flavor!
2. I was out of celery and really didn’t want to go to the store, so I omitted that.
3. Instead of peas I used corn.
4. I omitted the parsley, thyme, and nutmeg and used 1/2 tsp. of Penzeys Poultry Seasoning instead.
5. I baked it at 425ºF for 15 mins and then dropped the temp to 350ºF for ≈ 30 mins (until the color was a nice golden brown. I did this to prevent over-browning and allow the filling more cooking time so the potatoes would be done.
6. I used a 9″ round pie plate and I was able to use the entire mix, so for me at least, this recipe only made one pot pie, but that worked out well as I only had enough dough for one.
I can’t wait to make this again!
Sarah Nevins says
So glad you enjoyed it! Thanks for sharing your adaptations too – I love hear what works/how different cooks put their own spin on things 🙂 Thanks so much for taking the time to come back and let me know what you think!
Eileen says
Hello – this looks delicious and I will make this soon. I have one question. Step No. 10 says to pour half of the filling mixture into the pie dish. I’m wondering what to do with the other half of the filling mixture. Maybe it’s to make a second pot pie? Please let me know. Thanks very much!
Sarah Nevins says
Hi Eileen! So sorry about that! I meant to include a note in the recipe about that but must have slipped my mind! You’re totally right – the filling makes enough to fill two pies so I recommend cooling and saving the remaining half to fill a pie at a later time if you don’t want two pies at once.
You can bake and freeze a second pie or freeze the filling and bake it later. If you freeze the filling to bake later, defrost it in the fridge overnight before adding to the crust. To reheat a fully baked pie from frozen, bake at 425°F/220°C for about 35-40 minutes. If you have a meat thermometer you can check internal temperature of the pie – it should be 165°F/74°C. Keep an eye on the oven as well. If the crust starts to look too brown while it reheats, cover with foil or baking paper from keeping the crust from getting too dark.
Sorry again about the confusion! I hope you enjoy the pie if you try it 🙂
BJ says
Excellent flavour. My family loved it.
I cooked it at a lower temperature so the crust didn’t get overly brown.
Sarah Nevins says
Thanks BJ! So glad your family enough it 🙂