Learn how to make homemade gluten free Ladyfingers – they are light, airy and so many better than store-bought versions!
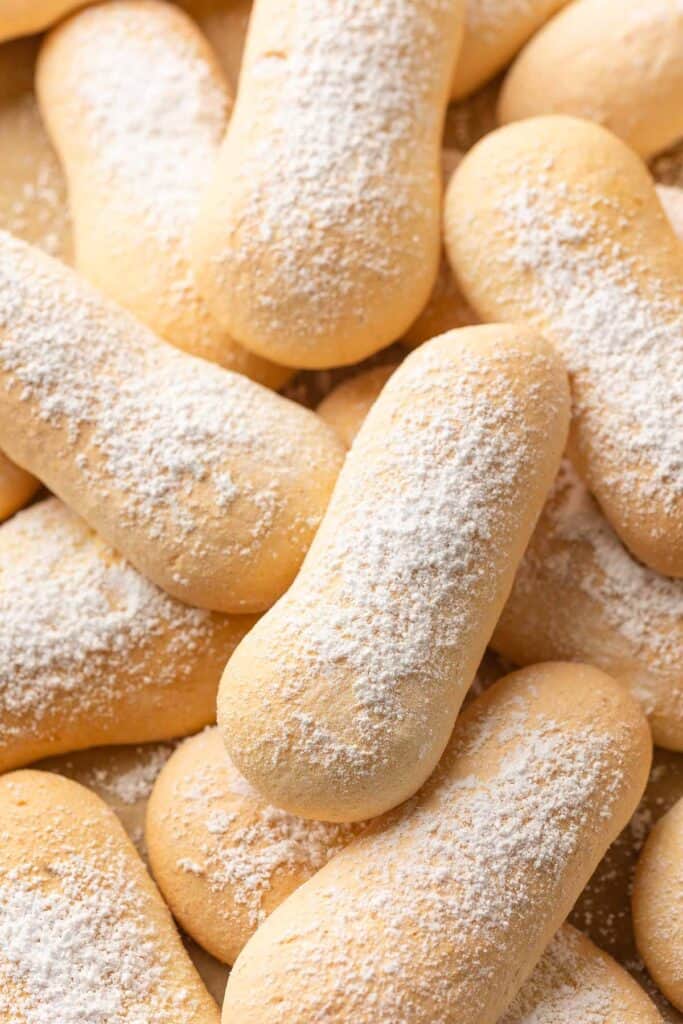
What are ladyfingers?
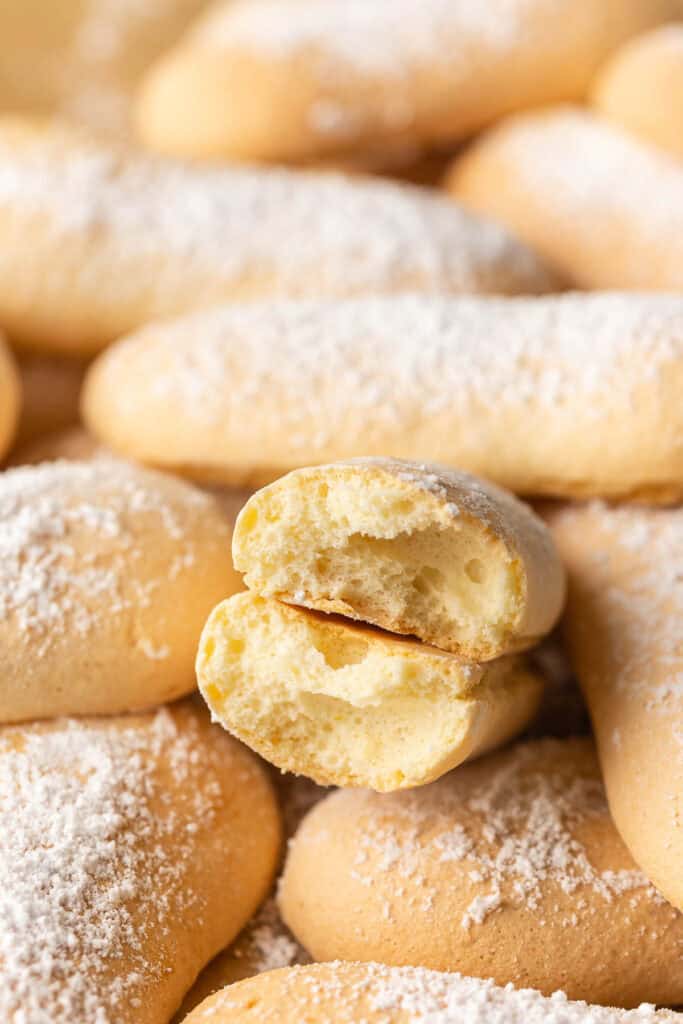
If a sponge cake and batch of meringue cookies could team up and make a food baby, you’d end up with ladyfingers (aka savoiardi biscuits).
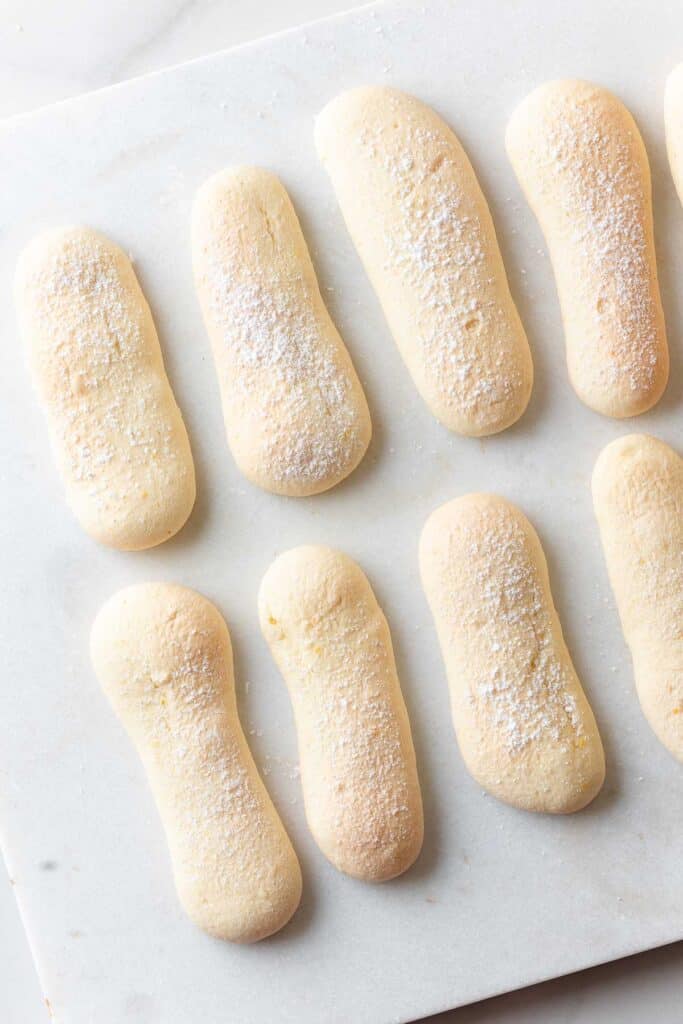
They’re light and airy sponge-based cookies that are shaped a bit like long fingers – hence the name ‘lady fingers’.
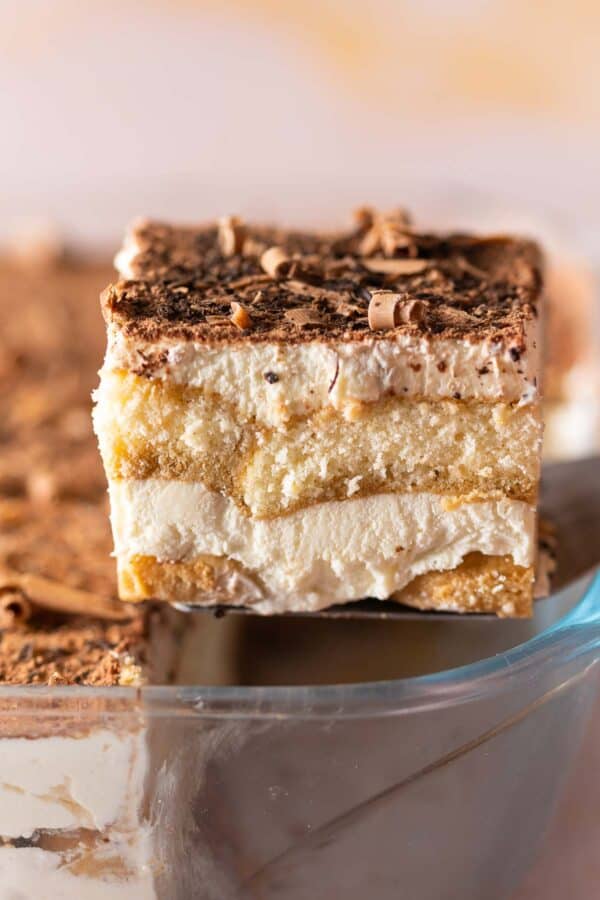
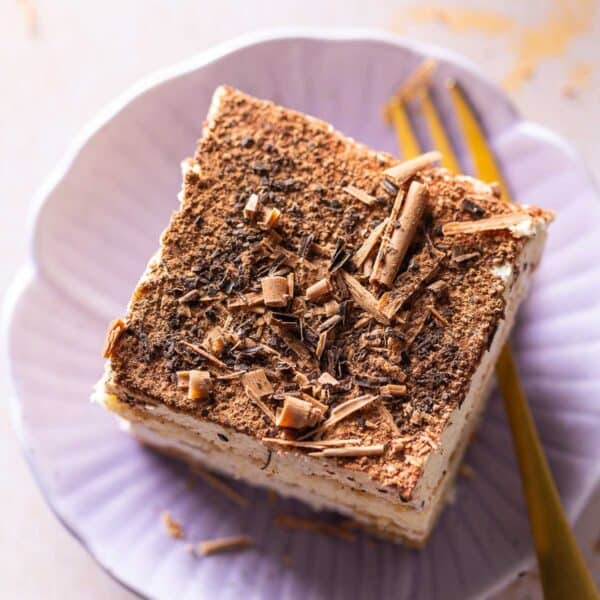
Though you can enjoy them all on their own as a light and delicate biscuit, they are often found as a main ingredients in trifle, charlottes, tiramisus where the soft sponge works by soaking up accompanied flavors.
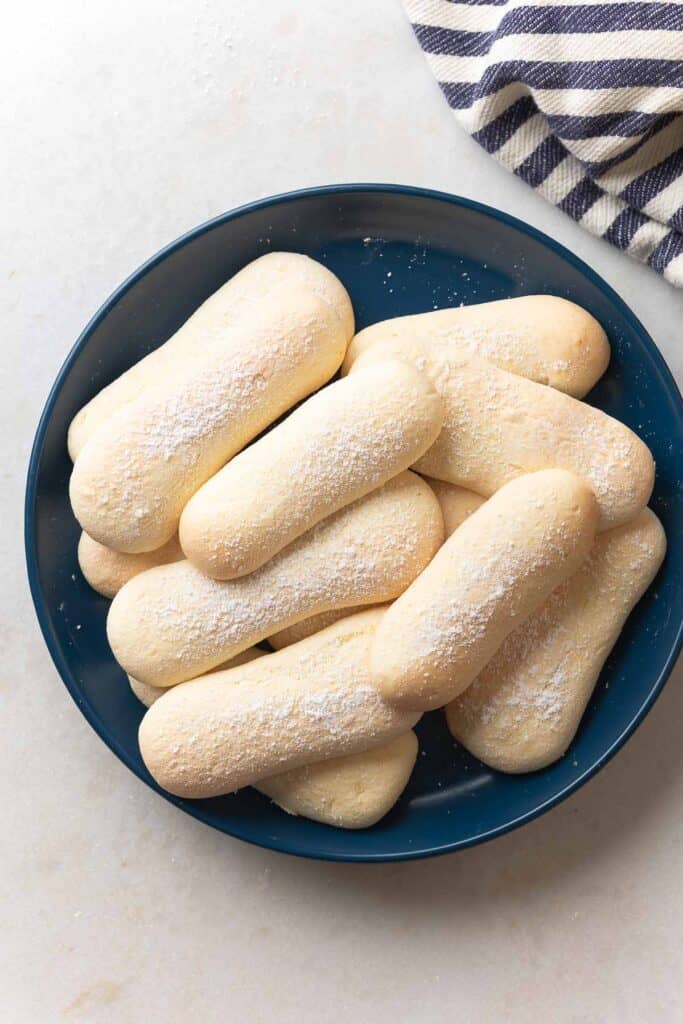
How to Make Gluten Free Ladyfingers
Gluten free ladyfingers are not difficult to make, but the recipe might look complicated at first glance.
Overall, you need a three mixing bowls including a stand mixer with the whisk attachment or a handheld mixer to prep the batter.
- Bowl#1: Whisk the flour mixture (flour, starch, xanthan gum, salt).
- Bowl#2: Whip egg whites (egg whites, cream of tartar, sugar).
- Bowl#3: Beat the egg yolks (yolks, sugar, vanilla extract)

Brief Summary of Steps:
- Combine flour, starch, xanthan gum and salt.
- Beat eggs whites, cream of tartar & sugar in a large bowl.
- Beat egg yolks, sugar & vanilla extract in a separate bowl.
- Mix flour mixture to the egg yolks to make a thick, dough.
- Add egg whites to form a thick, smooth batter.
- Transfer to a large pastry bag.
- Pipe onto on a prepared baking sheet.
- Bake & cool.
Eggs – Whip Whites & Beat Yolks
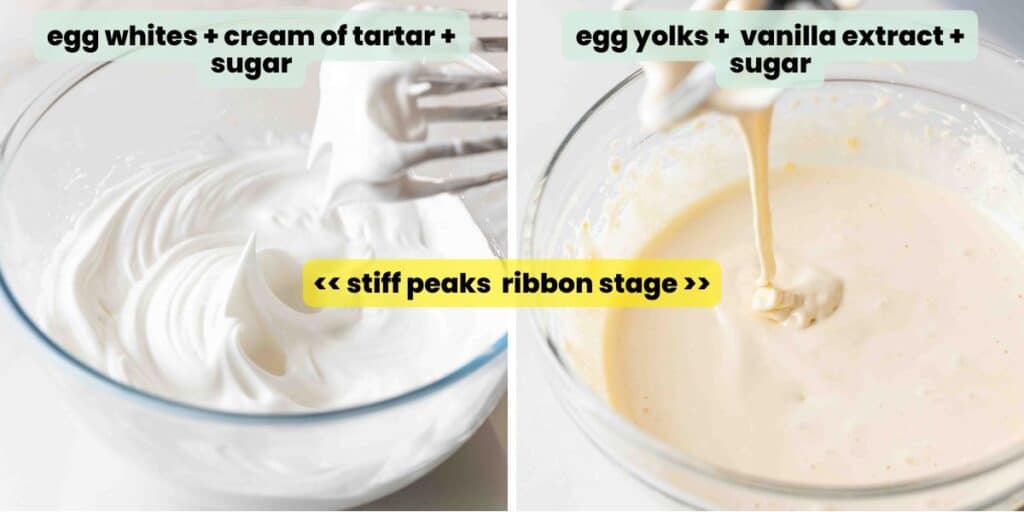
Egg Whites >> Whip into stiff peaks:
- Whip with cream of tartar and sugar to help stabalize the egg whites as they up into a light, voluminous mixture.
- Don’t add the sugar right away – gradually add it to the mixing bowl with the electricmixer on so the whites don’t deflate.
Egg Yolks >> Beat to reach the ‘ribbon stage:‘
- Beat the yolks with the remaining sugar on high to incorporate as much air into the egg mixture as possible. This also helps with structure and final texture.
Why prepare the egg whites and yolks separately
To sum it up: whipping the whites and beating the yolks separately before adding to the remaining batter makes for lighter, taller ladyfingers.
I did try to reduce the number of bowls by beating whole eggs like I do in my gluten free Victorian sponge cake, but found that the resulting ladyfingers were much flatter and less delicate than ladyfingers made by preparing the yolks & whites separately.
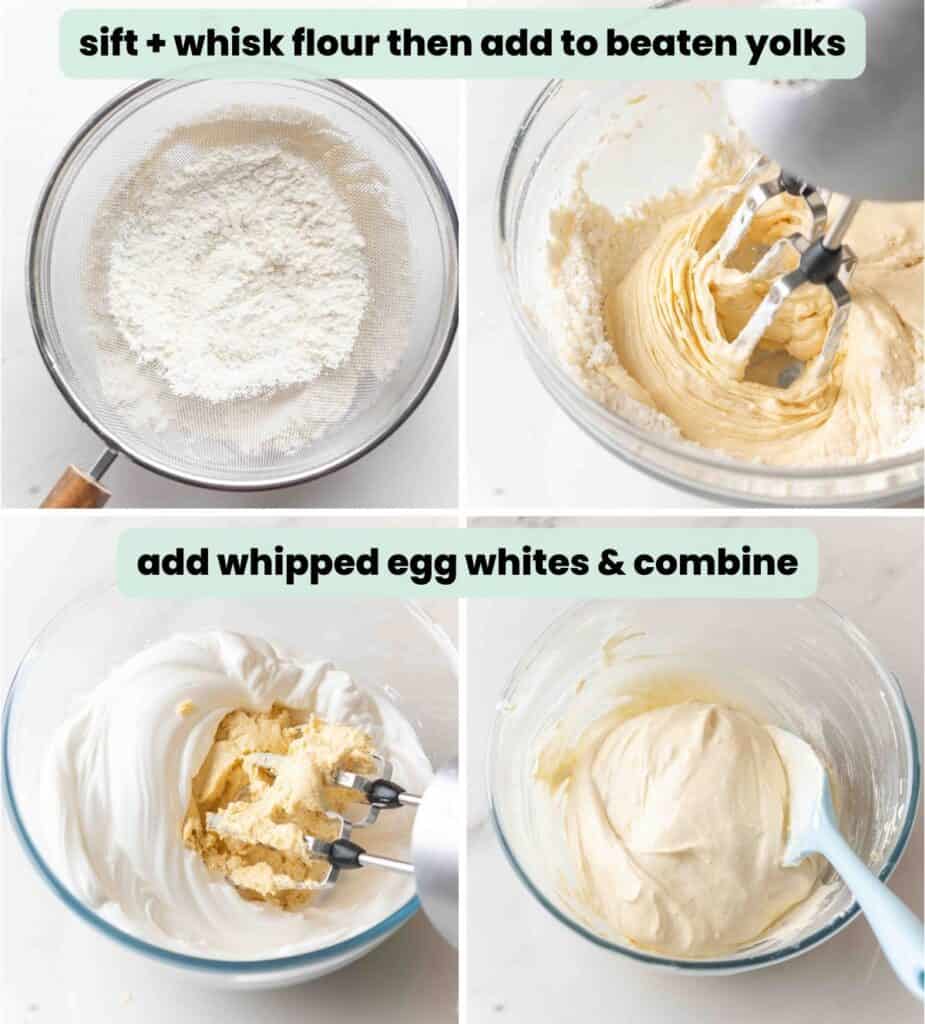
Combine Batter
Add Flour >> Egg Yolks:
- Add the whisked dry ingredients to the bowl with the egg yolk mixture.
- Mix on a low speed to start, then increase to a higher speed to mix well.
- The batter will be very thick and sticky – more dough-like at this point.
Add Egg Whites >> Sticky Dough
- Add the whipped egg whites to the bowl.
- Use the stand mixer or hand mixer to combine – beat on a medium-high speed until fully combined.
- The batter should be thick, a little shiny and mostly smooth.
Pipe & Bake
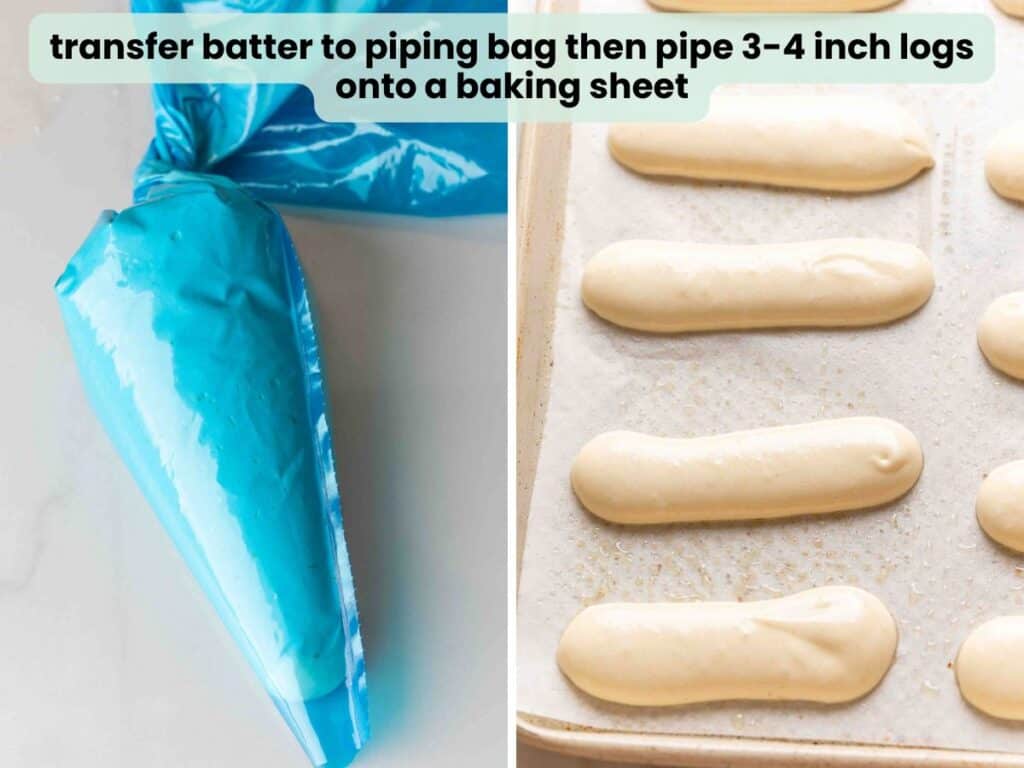
- Transfer the batter in a large piping bag. Fit the bag with a medium round piping (before adding the batter) or snip the tip off the top.
- Pipe the batter out into 3-4 inch long straight lines, about 1 inch wide onto your prepared sheet pans.
- Leave about 1 1/2 – 2 inch in between each portion to leave room for spreading in the oven.
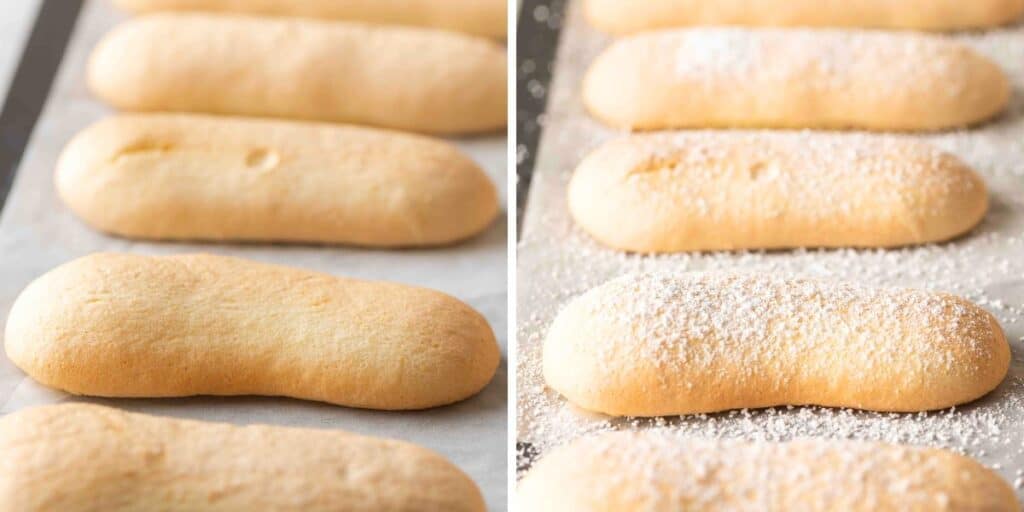
- Bake for 12-15 minutes until lightly golden then remove & let cool.
Powdered Sugar – When & Why?
Most ladyfinger recipes recommend dusting the cookies with powdered sugar before baking.
The goal is to reduce batter spread and to melt into the surface of the batter as it bakes to create a delicate crust.
Throughout the course of testing this recipe, I made well over 100 ladyfingers – possibly more.
In the end, I did not find that the sugar dusting had much impact on rise and spread for this particular recipe. It did add a slightly sweeter flavor, but that’s about it.
Feel free to do as you please here. Dust with sugar before and/or after baking for the look and taste – it’s up to you!
Gluten Free Ladyfingers Tips:
- Adjust cook time according to your goals:
- Less cook time = softer, lighter cookie. More cook time = crunchier, darker cookie.
- Weigh ingredients if possible:
- Invest in a reliable kitchen scale – it will make your life as a gluten free baker SO much easier.
- Bake in batches:
- Bake one baking sheet at a time to avoid overcrowding the oven. The more batter than bakes, the more steam that releases which raises the chance of the ladyfingers deflating. (don’t overcrowd the oven).
- Sift the flour:
- Use a sifter or fine sieve to break up flour clumps and ensure ingredients are well mixed.
- Room temperature eggs:
- Room temp eggs whip up much faster than cold, refrigerated eggs.
- Ensure your mixing bowls are clean/dry:
- This is especially important for whipping the egg whites into stiff, glossy peaks.
- Bake an extra 1-2 minutes:
- If you plan on using these to make a tiramisu or in a sponge cake (somewhere where a harder cookie will naturally soften).
- Make a chocolate version:
- Remove 2 tablespoons flour and replace it with 2 tablespoons cocoa powder.
Freeze for Later
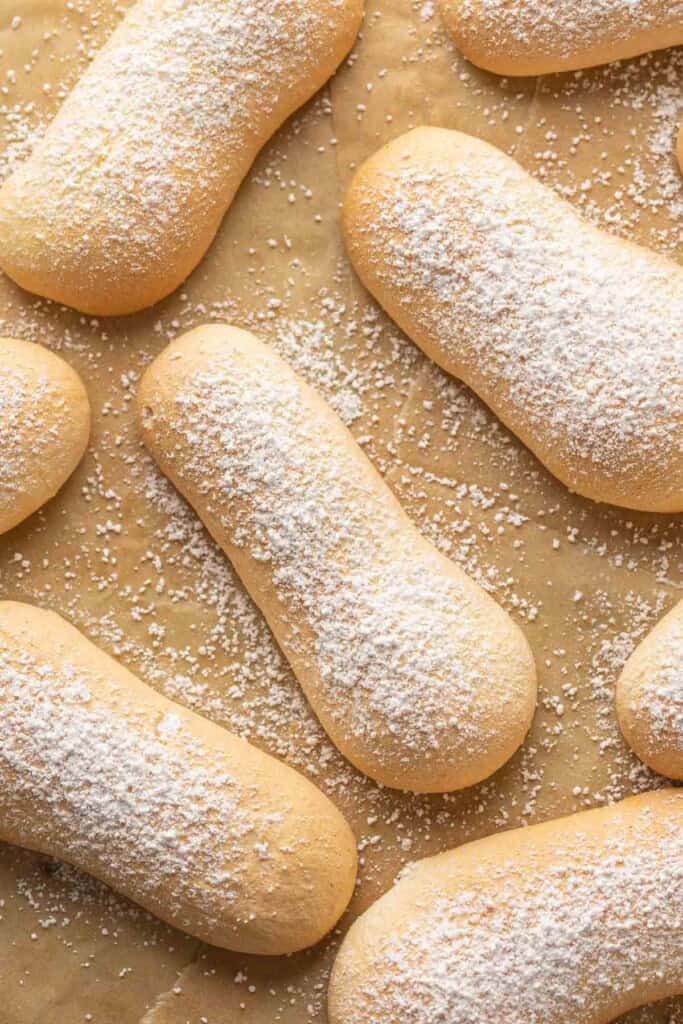
Bake now then freeze your homemade ladyfingers to use at a later time!
Cool the cookies fully, then store in a freezer-safe bag or container. For best results, freeze 2-3 months at most.
Defrost at room temp for about 30 minutes before using as you normally would.
More Gluten Free Bakes
- Gluten Free Swiss Roll With Strawberries & Cream
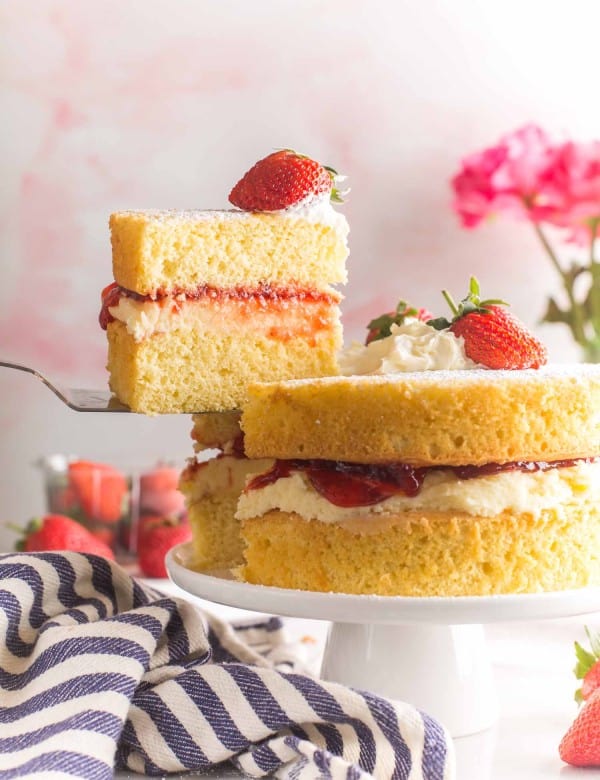
- Gluten Free Victoria Sponge Cake Recipe
- Gluten Free Chocolate Cake
- Gluten Free Pumpkin Roll & Whipped Cream Cheese Frosting
- Gluten Free Carrot Cake
Enjoy!
Let me know if you try making your own gluten-free ladyfingers! Leave a comment and review with your thoughts. I always appreciate the feedback and serving suggestions that you come up with!
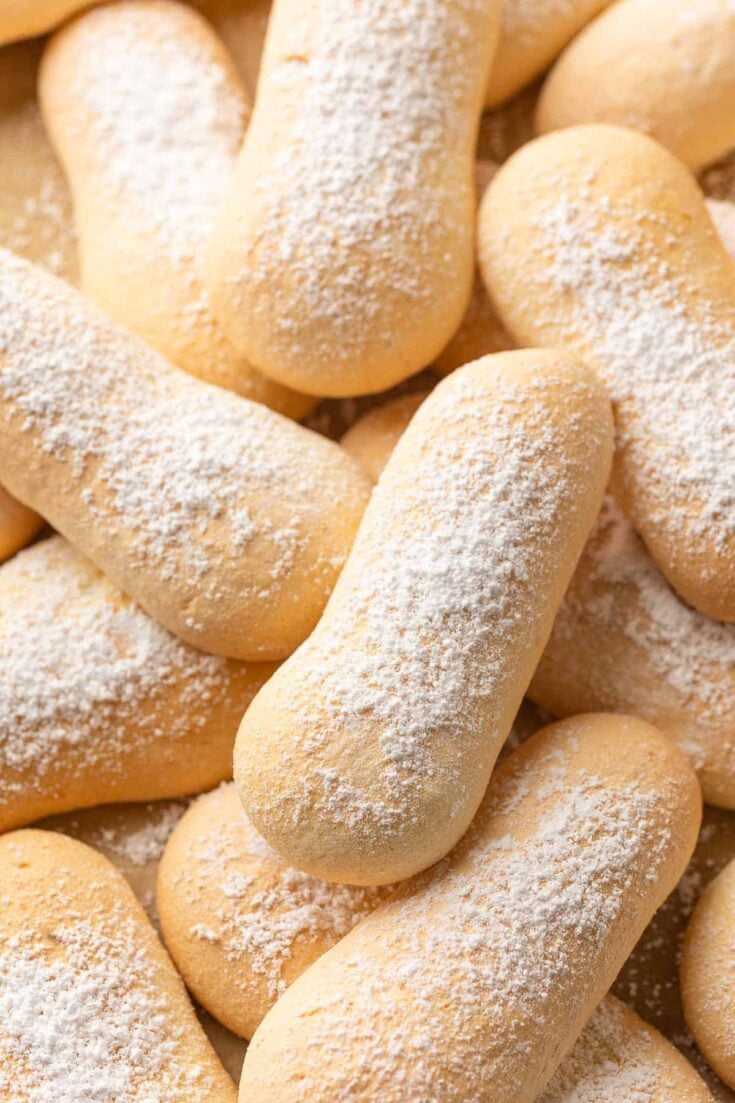
Gluten Free Ladyfingers
Gluten free ladyfingers are easy to make with simple ingredients. Enjoy as is or use to make gluten free tiramisu, trifles, cakes and more!
Ingredients
- 3/4 cup + 1 tbsp gluten free all-purpose flour (113g)
- 2 tbsp corn starch (20g)
- 1/4 tsp xanthan gum
- 1/4 tsp salt
- 3 large eggs, eggs & yolks separated
- 1/2 cup granulated sugar, divided (100g)
- 1/2 tsp vanilla extract
- 1/4 tsp cream of tartar
- powdered sugar for dusting
Instructions
- Preheat oven to 350°F (175°C). Line and lightly grease couple large baking sheets with parchment paper. Prep your piping bag with a large round tip or get a large ziplock bag for piping. Set aside.
- Bowl #1: Combine flour, starch, xanthan gum and salt in a medium bowl. Whisk and sift together. Set aside.
- Bowl #2: Add egg whites and cream of tartar. Beat on a medium-high speed for about 30 seconds. With the mixer still running, gradually add 1/4 cup sugar (50g). Adjust to a high speed and continue beating another 2-3 minutes or until shiny, stiff peaks form. Set aside.
- Bowl #3: Add the egg yolks, 1/4 cup sugar (50g) and vanilla extract to a large mixing bowl. Beat on a medium speed until pale and fluffy.
- Add the sifted flour from bowl#1 to the egg yolk mixture (bowl#3). Mix on a low speed at first to incorporate the flour without it going everywhere, then increase to a medium speed until well combined. The dough will be very thick and stick.
- Add the whipped egg whites to the bowl. Mix on a medium-high speed until combined into a thick, mostly smooth batter. Make sure to scrape down the sides of the bowl as needed.
- Transfer the batter to the prepared piping bag. Pipe batter into 3 1/2 inch long portions on one baking sheet. Leave at least 2 inches of space in between each portion. Dust baking generously with powdered sugar then place in the oven and bake for 12-15 minutes until lightly golden. Leave on the baking sheet to cool fully.
- Repeat with the remaining batter and baking sheet until all the batter has been baked.
- Use immediately or store in an airtight container or bag at room temperature for up to 2 weeks. Cool and store in a freezer-safe bag and freeze 2-3 months.
Notes
- If you plan on using these in a trifle or tiramisu, I recommend you bake them at least 15 minutes to make them a bit more crisp.
- Room temperature eggs whip up better/faster than cold eggs.
- Wait to pipe the batter on to each baking sheet just before baking.




Leave a Review!