See this gluten free chocolate cake recipe for the updated version & tutorial for this recipe! It’s the same recipe with extra tips, step-by-step pictures and tips for a normal 3-layer cake without all the wedding stuff.
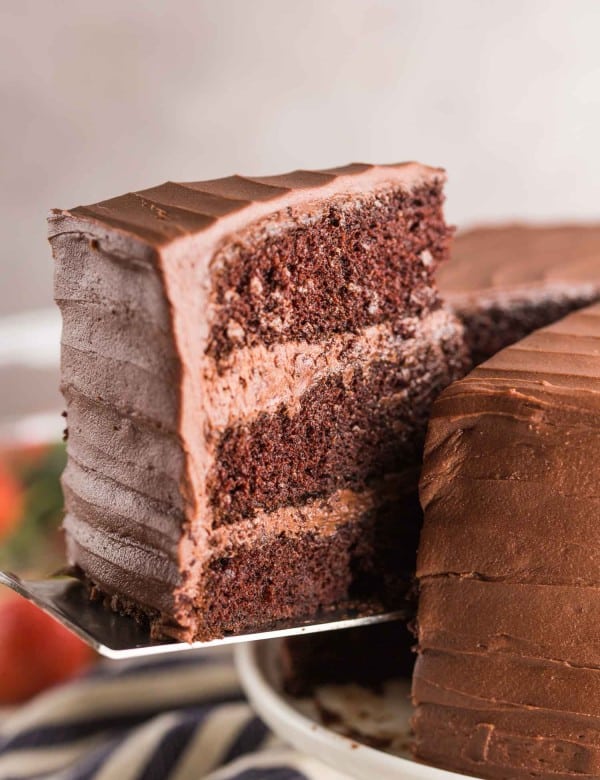
My go-to gluten free chocolate cake recipe adapted from the original, Hershey’s chocolate cake. Fast, simple, and out of this world delicious – you’d never know it was gluten free!
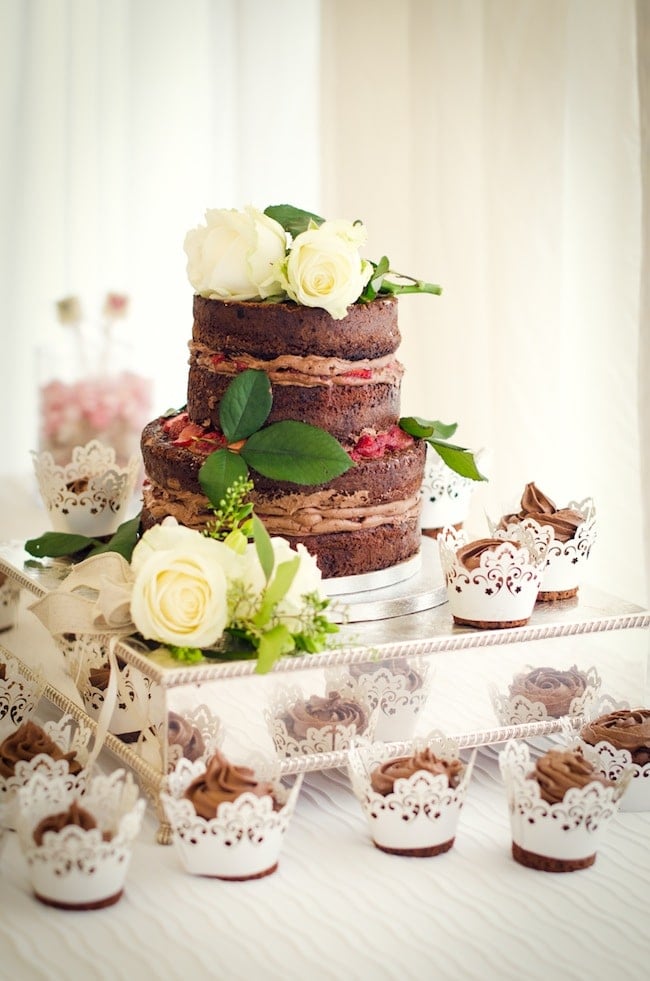
I can’t believe it’s been an entire year. One year ago today, I did one of the craziest, most sensible things I have ever done in my life. I moved 5,000 miles to a new country to marry a man with more health problems than I have ever had in my entire life I that I also happened to meet on the Internet. But hey, that’s love am I right? Before you think it – yes we did meet in person before hand. So many people ask if we met first which I find insane. I may be crazy, but I’m not that crazy. Or at least not that kind of crazy.
After almost four years of doing the whole Internet dating thing-which by the way really sucked and I would not recommend it to anyone – we finally tied the knot….jumped the broom…got hitched…insert marriage cliché of choice here. Not unless you like being miserable and lonely because the one person you want to spend time with lives in a time zone with an eight hour difference. Not fun. So after years of wishing and waiting for a time when we could actually, ya know, be together I finally got to say ‘I do’ and begin my life as a Mrs.
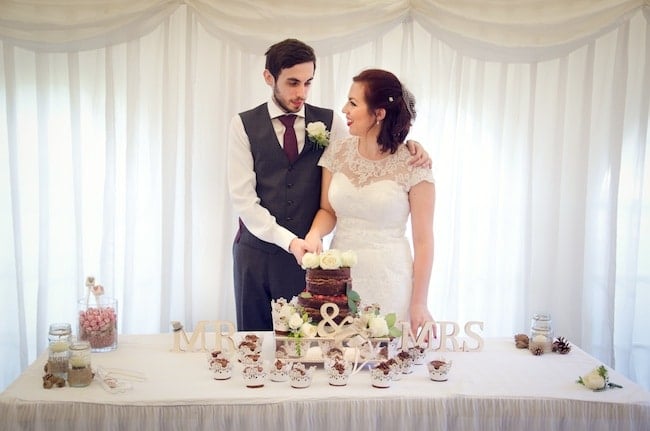
On a somewhat related side note – I actually kept my last name. Most people assume that I’m now a Boyden-Hare, but I just really like being a Nevins. Also I’m a cheapskate and I so did not want to have to go through the paper work of changing my name, paying for a new passport etc. I also think that being so far away from my friends and family in Arizona, the only place I had ever known before moving, keeping my last name helps me feel a little more like myself. It’s nice having something familiar to remind me of where I came from.
I have so many feels (as the kids say – what kids, I do not know) when I think about my wedding day. Obviously, I am completely elated to have been so lucky to find someone I care so deeply about at such a young age. To be completely honest, I think I knew after about a month or two of talking to Mike so many years ago that he was going to be an important person in my life. Our relationship started as nothing more than a friendship in which we exchanged music and pictures of our pets, but as time went on I guess you could say that we both ‘caught feelings’.
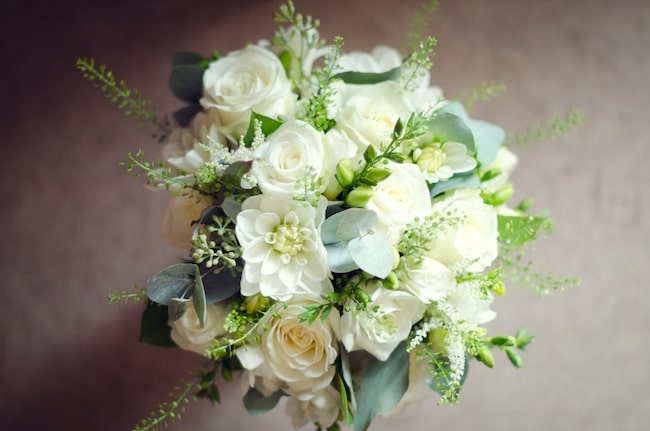
I’m also a bit heartbroken about the fact that I wasn’t able to share my wedding day with my most of my friends and family. Obviously, getting married so far away from home meant that a lot of people who matter to me weren’t able to go. My mom and my cousin were able to go, and I am so happy to be able to share that with them, but I’d give a lot to be able to have my dad walk me down the isle with my brothers there to see…..*crushes feelings under heel back where they belong* Anyways…
More than anything, I look back on our anniversary, smile, and breathe a huge sigh of relief that our days of Skype chats and Facetime calls are long gone. Now I get to wake up everyday next to someone who gets me excited about waking up. *Sap over*.
I’m really excited to share this recipe with you guys today – my homemade gluten free chocolate cake that I made for our wedding. I made an ungodly amount of cakes the weeks leading up to the day. I couldn’t exactly involve myself in the planning too much being that I was 5,000 miles away from the venue. Thankfully my now mother-in-law generously rose to the occasion to sort through the dirty details that is wedding planning. All I had to think about was cake – but I guess that’s nothing new for me.
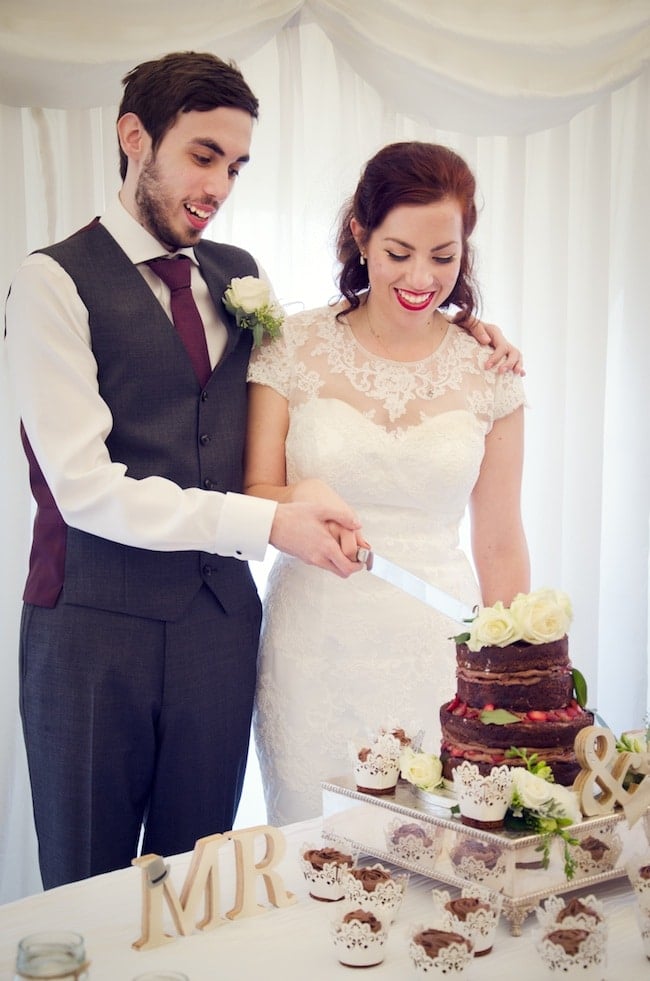
I think when I finally settled on this recipe my mom was more relieved than I was because that meant that I could put a temporary end to making chocolate cake after gluten free chocolate cake. I had always loved baking growing up, but since Mike’s diagnosis of Coeliac disease, I had to begin learning the ins and outs of gluten free baking. It turns out gluten is kind of one of the most important components of baking which is why gluten free goods can sometimes come out a bit sad and dense if you don’t use the right stuff. Boo.
I wanted to make sure that I got the recipe just right because I have far too much pride than to associate myself with a less than perfect cake. My goal then and still is to make food so good that you wouldn’t think it was gluten free, and I’m pretty sure I accomplished that with this recipe. I mean, it’s not like anyone would be dumb enough to tell a bride that her homemade cake tasted like dirt, but I don’t think the compliments would have come quite as frequently had it not been a hit.
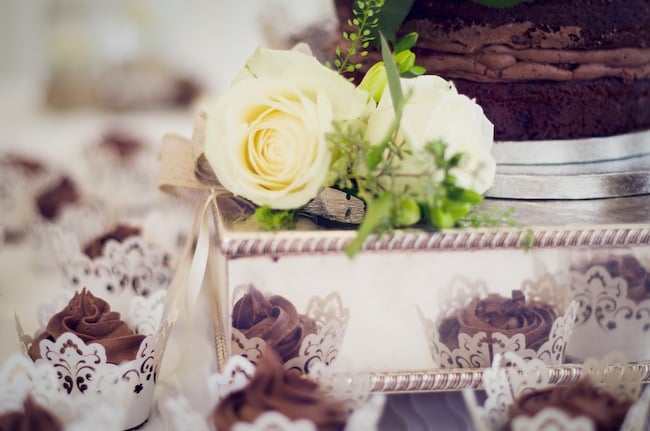
So I made the cake once as is. I made it again, but this time divided it into two 6inch tins and poured the spare batter into cupcake tins. I made one final batch of cupcakes using the recipe below. I used this guide here that demonstrates cake sizes based on the number of guests . I wasn’t sure how many people were going to be attending, but I knew there would probably be at least 30 guest, so I used the picture below to determine how big I wanted to make the cake, and what size cake tins to use. Based on the guide I would have been fine with a two tier cake (one 8inch cake and one 6inch cake), but to be on the safe side, I decided to make extra cupcakes as well. And who doesn’t like having extra cupcakes?
I would definitely recommend going the DIY wedding cake route for any baking enthusiasts, but first I think that it’s really important to ask yourself whether or not you have the time or patience for the entire process. I spent the night before and part of my wedding morning polishing off the finishing touches of my cake. To me that was perfectly fine – baking is something I’m so familiar with. It was perfect for keeping me cool, calm, and collect. However, as somebody who used to do wedding makeup for brides to be, I know that a lot of women spend the hours, days, and weeks leading up to their big days incredibly busy and stressed out. If that sounds like you it may not be the best idea to add one more thing to worry about to your list. For anyone planning a small, intimate wedding and hoping to have an affordable wedding though I think it’s a great idea!
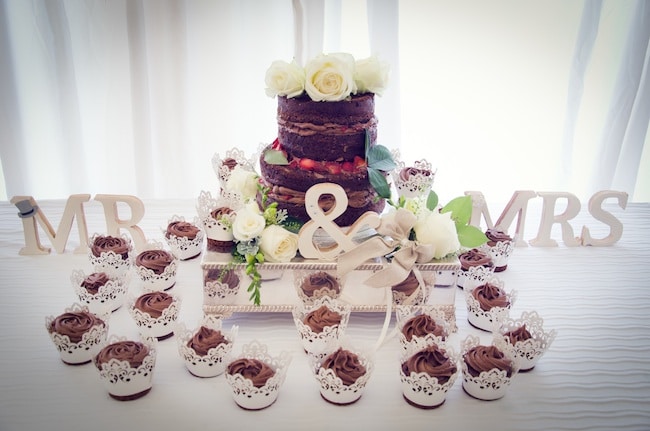
All in all, making that cake is one of the things I’m most proud of. It may not be the healthiest cake, and it may not be the most impressive cake, but it was my cake that I made for a very important day that will always mean a lot to me. It was me putting something of myself into that day that I was able to share with new family and friends and I would do all of it again in a heart beat.
I highly recommend using Cup4Cup’s gluten free all purpose flour blend if you need a fail proof flour. It is much more expensive than regular gluten free flour though, so I only use it on special occasions – like, ya know, weddings. As far as gluten free flour blends go this one can literally be used cup for cup to replace regular flour in most recipes. They also have a range of Cup4cup flours (pizza dough, brownies, etc) if you’re looking for something a little more specific. The thing I really like about this flour blend is that you don’t get that same slightly grainy texture that you get from most other gluten free blends. There were several times throughout the wedding reception that guests commented on how they would have never guessed they were eating gluten free cake. Just sayin’.
At the time I was able to find mine at Whole Foods for the same price it sells for on Amazon. Since you can’t buy it in the UK (sad) I actually packed a 3lb bag in my hang luggage when I flew to England with all my belongings because I was so afraid of losing it. I carried my wedding dress and this flour. That’s how much I was not messing around with my cake.
Gluten Free Chocolate Cake
My go to, gluten free chocolate cake recipe adapted from the original, Hershey's chocolate cake. Fast, simple, and out of this world delicious - you'd never know it was gluten free!
Ingredients
Cake
- 1 3/4 cup (245 grams) gluten free flour blend*
- 1 teaspoon xanthan gum, (omit if your gf flour has xanthan)
- 2 cups sugar, (400 grams)
- 3/4 cup (85 grams) cocoa powder
- 1 1/2 teaspoon baking powder
- 1 1/2 teaspoon baking soda
- 1 teaspoon salt
- 3 eggs at room temperature
- 1 cup (250 ml) milk (can be dairy free if needed)
- 1/2 cup (125 ml) vegetable oil*
- 2 teaspoons vanilla extract
- 1 cup (240 ml) hot coffee (or hot water)
Frosting
- 1/2 cup (95 grams) shortening/ vegetable fat** see notes
- 1/2 cup (55 grams) butter softened
- 3/4 cup (85 grams) cocoa powder
- 1 teaspoon vanilla extract
- 4 cups (500 grams) powdered sugar/ icing sugar
- 3-4 tablespoons (45-60 ml) cold coffee (or milk)
Instructions
- Preheat your oven to 350°F/180°C.
- In a large mixing bowl, combine all of your dry ingredients: the sugar, flour, baking soda, baking powder, salt, and cocoa powder. Whisk to combine. Then add the eggs, oil, milk, and vanilla and beat until smooth. Finally, stir in the hot coffee until combined. You will have a smooth, runny, batter
- Evenly distribute the cake batter between two, greased 8 inch cake pans and bake for 30-35 minutes or until a tooth pick comes out clean when inserted into the center. Allow the cakes to cool for 10 minutes before removing from the tins and and transferring to a wire cooling rack to cool completely before frosting.
- To make into cupcake: Fill lined cupcake tins about 2/3 of the way full and bake for 22-25 minutes. This will make about 30 cupcakes. To make into two six inch round cakes bake for 25-30 minutes.
Frosting
- In a large mixing bowl cream together the shortening and the butter with an electric mixer until smooth. Add in the cocoa and vanilla. Begin adding the powdered sugar and coffee one at a time, alternating between one cup of sugar and one tablespoon of coffee. Beat on medium speed until light and fluffy. Keep covered and stored in the refrigerator until ready to use.
Notes
I used to make this only with vegetable oil, but since I stopped using vegetable oil I have since made it with coconut and it works just the same
*If you're outside of the US, look for Flora White or Trex for the vegetable solids which can be found near the butter at your major super markets. It's a lot more solid than shortening in the US, so allow it to reach room temperature on your counter to get it to mix properly. You can also just use all butter and no shortening.

Sonya says
Ugh! I just sent you a comment and question, then found the answer to my own question. Sorry…. again this is a delicious cake!
Sarah Nevins says
No worries! I do that all the time 🙂 So glad you’ve enjoyed this!
Sonya says
I have made this cake and it is delicious! I do have a question, because I made it over a year ago, does this make enough batter for 2 -8” & 1 -6” cake? I thought that i read somewhere how many cakes you made with it but I’m not seeing that now. Thanks in advance! 😊
Katrina says
I’ve always found something unappealing about gluten free cake…. until I’ve tried this! I was making 2 14″ square cake for an anniversary party and one had to be gluten free. I tried this recipe but was unable to actually taste it to see if it tasted good……. that is until my dog got the corner of one of the layers. With one layer scrap and having to make another I figured at least I get to taste it now. I was surprised by how tasty it is. I will definitely make this cake again.
FYI to make a 14″ cake you’ll need 3 layers and 3 recipes
Sarah says
That makes me so happy to hear! Thanks so much for coming back to let me know what you thought!
Jackie says
Hi Sarah, this cake is absolutely delicious! However, when I tried to flip it out of the pan it broke into four pieces 🙁 Luckily I made it just for a social event so I am turning it into a trifle. Do you have any tips for removing it from the pan in the future? I definitely will be using this recipe again!
Sarah says
Hi Jackie! Nice save with the trifle!
Usually when I make cakes I start by greasing the tins really well with a little oil and then lining the bottom with a round piece of parchment paper like how they do it in this video: http://www.goodtoknow.co.uk/recipes/429172/Video–How-to-line-a-round-cake-tin
When I’m ready to flip I take a knife and run it along the sides of the cake to make sure nothing stick. Then I place the cake in its tin down on a flat surface and lay a wire cooling rack over the top so that the top of the rack is positioned facing towards the top of the cake. Once that’s over the top you can just flip the cake over so that the rack is now on the bottom and the cake is on top. If you notice that the cake tin is feeling heavy when you try to lift it up just tap the bottom of the tin to help release the cake and that usually does the trick. If you need a visual of what that looks like this youtube video is exactly what I do.
Really glad you enjoyed it despite it breaking! Thanks so much for coming back to let me know what you thought!
Catherine says
I hope you respond to this please please read this!!! How does this cake freeze and unfreeze? Did you freeze your layers? I’m a new baker and trying to do my wedding on a budget! Thank you so much!!
Sarah says
Hi Catherine! Congrats on your wedding!
To freeze: Bake the cake as you normally would and let the layers cool completely on a wire rack. After the cake layers are completely cooled you’ll want to wrap them up in plastic wrap. Wrap the individual, unfrosted layers – try to make sure it’s wrapped up nice & tight so there are no areas left exposed. I’d even recommend wrapping in two layers of plastic wrap. Then you’ll want to wrap them up in one or two layers of foil for good measure and then just pop them in the freezer.
To defrost: Take the cake out of the freezer and let it thaw still wrapped up at room temperature for a couple of hours. I starting frosting while the cake was still a little bit frozen. I made my frosting the night before and just kept it in the fridge until I needed it.
Don’t worry too much if you see a lot of conflicting info online about the BEST way to freeze/unfreeze because a lot of people do it successfully in different ways. If you can I recommend doing a test run at least once just so that you feel more comfortable doing it on the big day. You don’t even need to make the whole cake – just one layer so you get a good idea of what you’re doing.
Congratulations again on the wedding! A lot of people told me I was crazy for making my own cake but I’m so happy I did – it made it even more special and I lot of people were impressed when they realised it was homemade (and gluten free!) Not to mention I was SO happy about the money I saved by making my own cake.
If you have any more questions feel free to come back and pick my brain some more!
Alison Fenton Borel says
Do you think Bob’s Red Mill all purpose GF flour would work or should I order the flour you suggest?
Sarah says
Bob’s Red Mill will work! Cup4Cup is the closest gluten free all purpose flour in my experience as far as texture goes, but Bob’s Red Mill is also great & will definitely do the trick. Hope you like the cake!
Alison Fenton Borel says
Sarah I made my test cake and it was lovely, even with Bob’s Red Mill flour. I used a cream cheese white chocolate icing I already had which was a total hit. Can’t believe how amazing it is! Thank you for the great recipe, I nearly forgot to add milk at the end, but remembered at the last minute minute and even with my little mistake the cake turned out perfect. Love this
Tania Woolford says
Hi, I’m making this cake for a friend’s wedding and wondering how many days in advance could I make and ice it? I was thinking of making it the Thursday before a Saturday wedding.many thanks
Sarah says
I actually did that myself! I made it a couple of days in advance and then froze it so that I wouldn’t have to stress about getting it all done the morning of. Here’s a link to a youtube video that shows the best way to freeze cake – the trick is to make sure it’s wrapped up completely so as not to let it get any frost bite. It was still super moist and no one could tell it had been frozen. https://www.youtube.com/watch?v=O6azm5CATF4
Congrats to your friend! I bet your cake is going to look gorgeous!