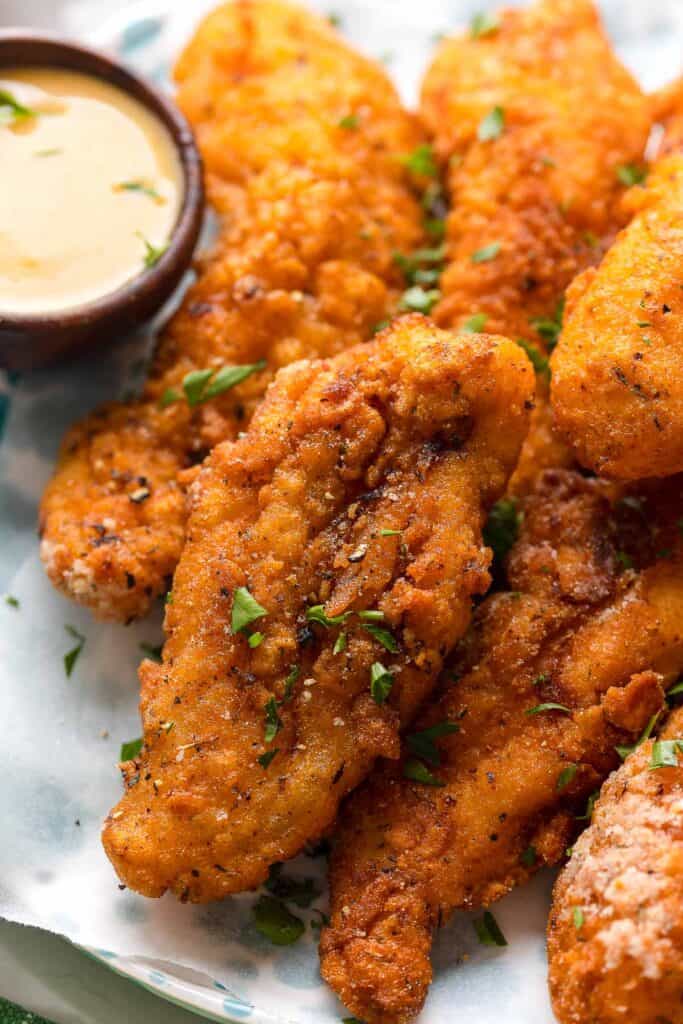
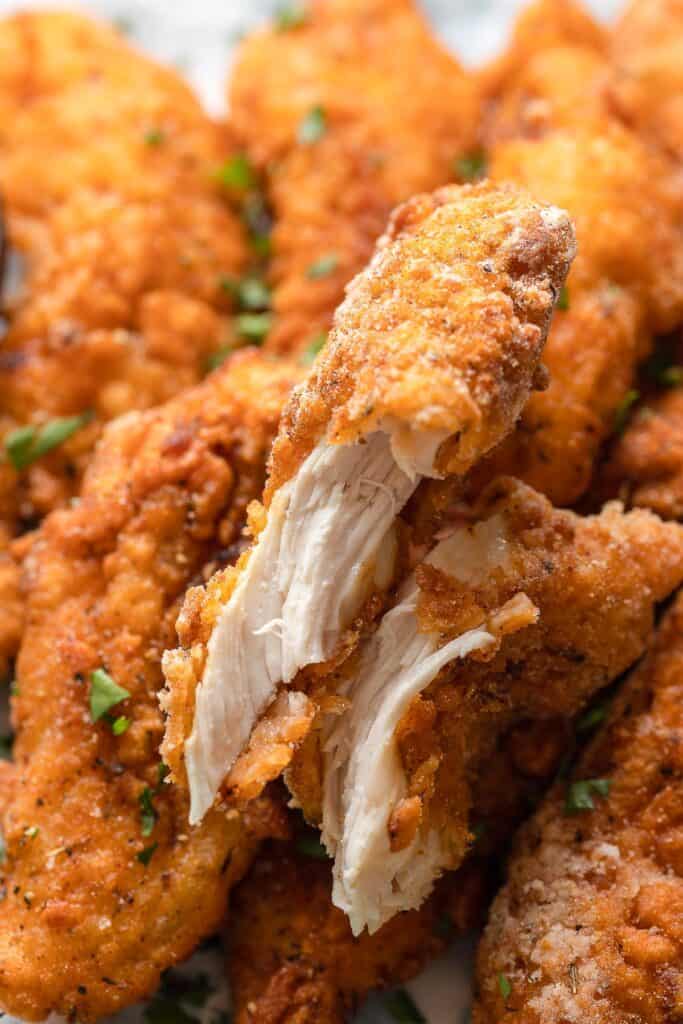
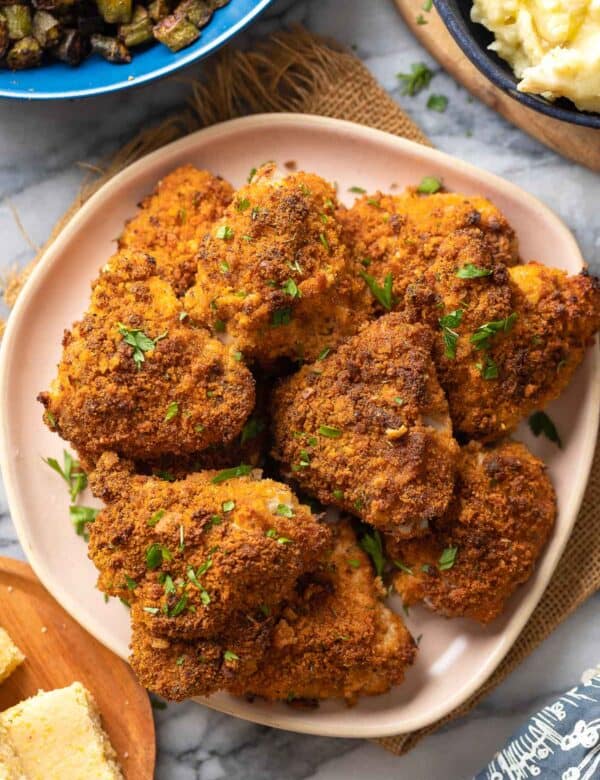
Fill that fast food shaped hole in your life with these Gluten Free Chicken Tenders! They’re crispy and crunchy on the outside, moist and tender on the inside – mouthwatering satisfaction in every bite! Check the recipe notes for baking instructions if you’d prefer a lighter option.
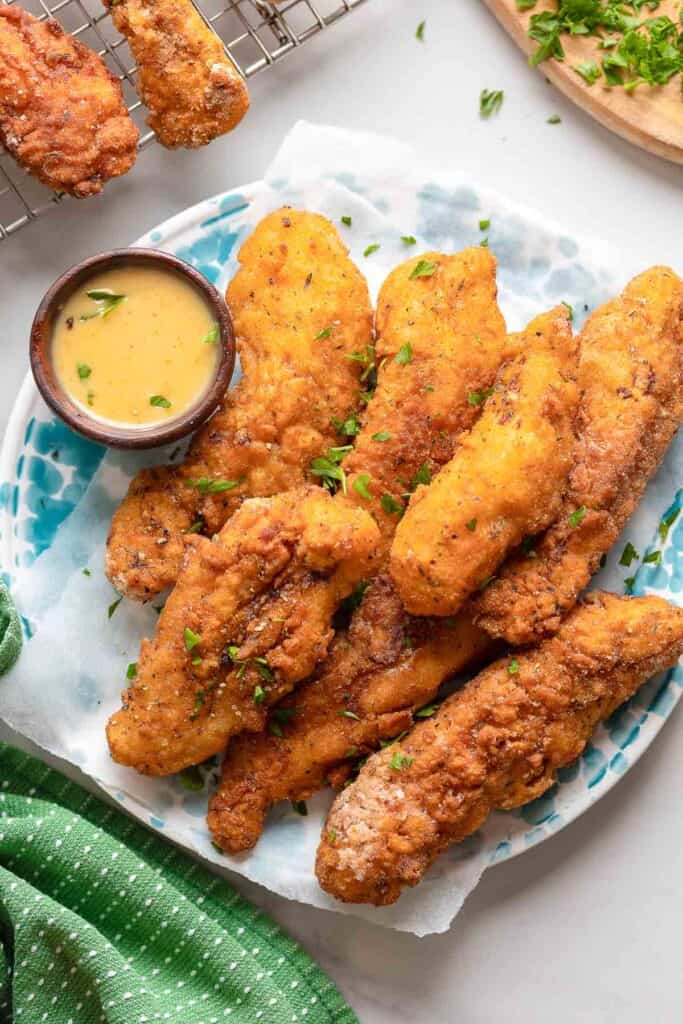
⭐Gluten Free Chicken Tenders⭐
What’s great about this recipe:
- Buttermilk Brine: Infuse extra flavor and moisture into your chicken pieces while the buttermilk marinade tenderizes the meat.
- Simple Ingredients: You likely already have everything in to make this!
- Freezer Friendly: Freeze whatever you don’t finish and reheat from frozen another day. Store bought gluten free chicken tenders are usually quite pricey making this a great, budget-friendly recipe idea!
Bite-Sized Steps
Summed up as simply as possible:
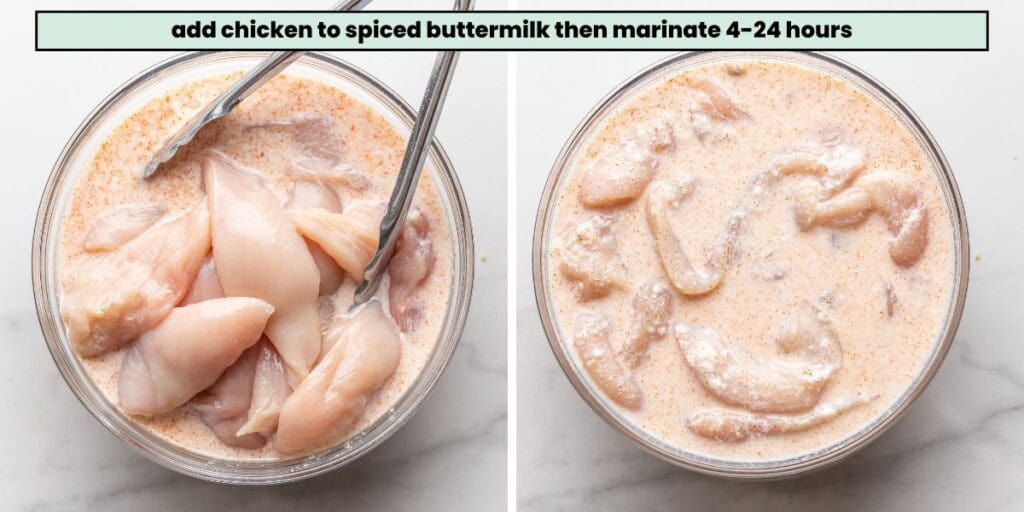
- Marinate: Prep the buttermilk brine then marinate chicken for at least 4 hours.
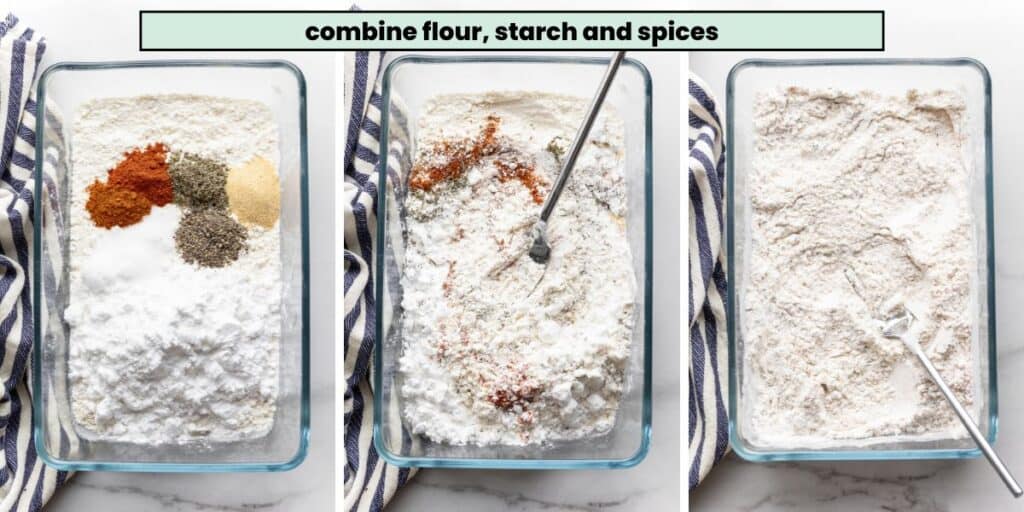
- Flour Mix: Whisk together the spiced flour ingredients.
- Coat Chicken: Flour >> buttermilk >>flour (again) >> rest on baking sheet.
- Fry: Fry in small batches on hot oil then cool and drip dry on a wire rack.
Buttermilk Marinade
Combine buttermilk, salt and spices in a large bowl then add the chicken. Mix together, making sure to fully coat and submerge the chicken, then cover and refrigerate for 4-24 hours.
DIY Buttermilk (Dairy or Dairy Free)
- Just use regular milk or a plain dairy free milk substitute (like almond milk) and add 1 tablespoon lemon juice or vinegar (apple cider, white, rice, sherry vinegar, etc).
Spiced Breading Mixture
Whisk together and set aside until needed.
- Flour: Any basic all purpose gluten-free flour will work. You can also swap all the AP flour out for rice flour. I don’t recommend coconut or almond flour here.
- Starch: Starch adds a bit of stickiness and structure to the batter and lightens up the flour coating. It also reduces the overall oil absorption when frying for a crunchy coating. Use potato starch or corn starch. I don’t recommend tapioca starch.
- Baking Powder: This also helps create an extra crispy coating by creating little air pockets to bubble up when the batter makes contact with the hot oil.
- Herbs & Spices: Feel free to play around with the spices as you see fit. Make it low fodmap by omitting the garlic. Amp up the heat with extra spice. Do what you like!
Before You Start Breading
Gather ingredients and tools to bread the chicken:
- bowl #1: marinated chicken (removed from marinade)
- bowl #2: marinade without the chicken
- bowl #3: spiced flour
- a large baking sheet line with foil or parchment paper

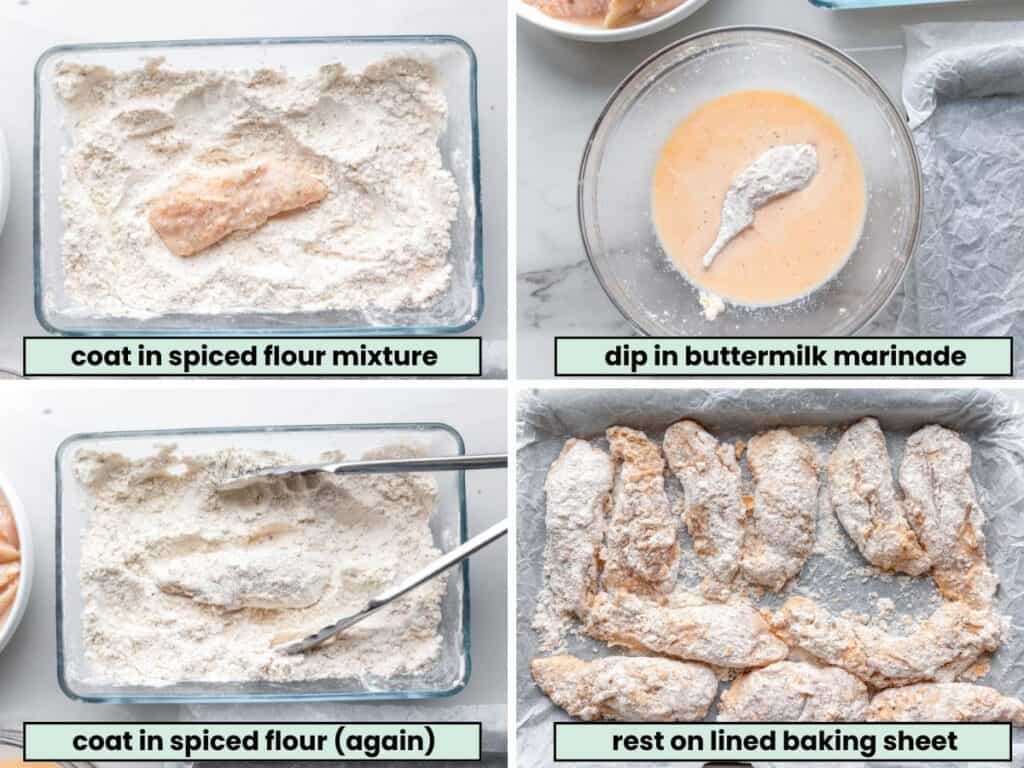
Bread the Chicken
- Toss a few pieces of chicken in the flour mixture.
- Dip the floured chicken in buttermilk.
- Return to the flour mixture and coat again.
- Transfer the battered chicken to the lined baking pan.
- Repeat until each chicken tender is coated is coated.
Tip!
Rest the breaded at room temperature for at least 30 minutes before frying. This will give the chicken time to warm up a bit so it has less impact on the oil temperature. It also give the flour more time to get nice and sticky on the chicken.
Deep Frying Tips
- Oil Temp: Heat the oil to about 375°F (190°C). You need the oil to be hotter to start out with because it will decrease once you add the chicken. Ideally you want the oil to be around 350°F (175°C) while frying. Make sure to use a high smoke point oil. Olive oil is not suitable for deep frying due to the high temp.
- If you don’t own a cooking thermometer: drop a cube of bread into the oil. If it sizzles right away, it’s good. Lower the temp if the bread burns quickly. Raise it up if it doesn’t sizzle on impact.
- Use metal tongs: This will make it easy to gently lower the chicken into the pot without splashing hot oil.
- Skim out crumbs with a metal sieve (Optional): Use a metal sieve or strainer to skim out the floating crumbs in between batches. It’s not totally necessary, but I like to get rid of these bits as they will burn and could end up sticking to your chicken tender strips.

Transfer to a Wire Rack
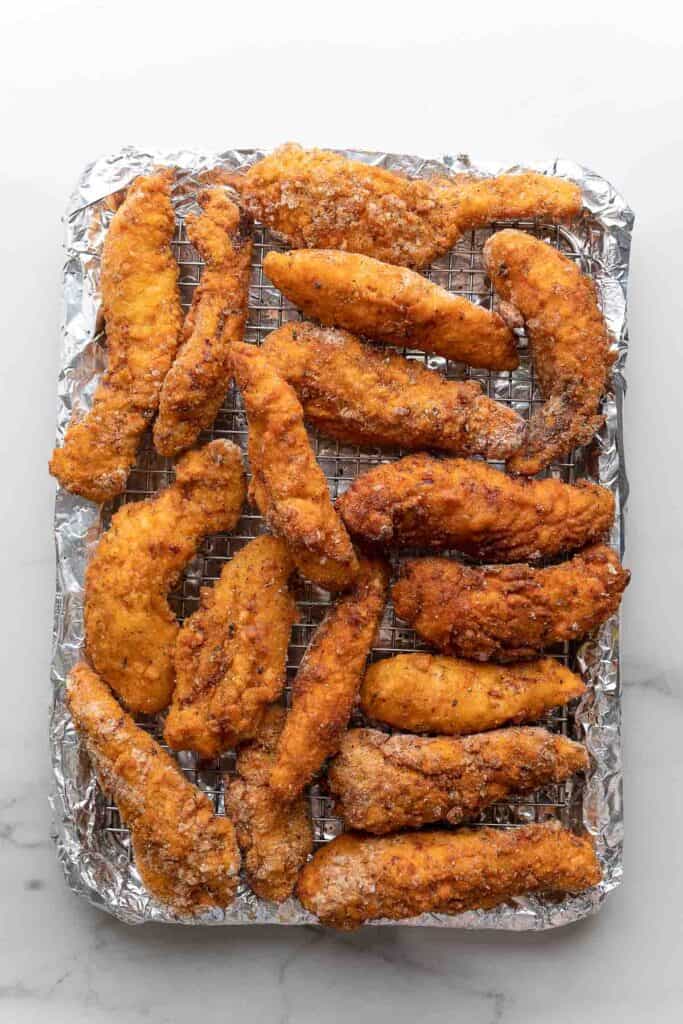
Line a rimmed baking sheet with foil or parchment paper (for easy clean up) and place a wire rack over the top of the pan.
Place chicken pieces on the rack after removing them from the pot. This will allow the excess oil to dip off into the pan below and air flow around the sides ensuring the breading stays nice and crisp.
If you simply pile the tenders on a paper towel line plate, your crispy chicken tenders will end up with soggy as they cool and rest sitting in oil.
Bake It Instead
- Line a large, rimmed baking sheet with foil or baking paper. Place an oven safe wire rack over the top and spray with oil.
- Place the breaded chicken on the rack in a single layer.
- Spray with oil over the top and bake at 400°F (200°C) for 16-20 minutes. Cooking time will vary depending on the size of your tenders.
- Half-way through, flip the chicken over to crisp up the other side.
Serving Suggestions
- Make fried chicken and waffles with hot honey drizzled on top.
- Fulfil your fast food cravings with a side of french fries! Sweet potato fries are always a great option. Since you’ve already got the oil out – why not try it with some chickpea fries?
- Serve with a healthy salad or coleslaw on the side. Better yet, chop it up and toss it into a crisp, green salad.
- Enjoy with your favorite dipping sauce like a honey mustard sauce or Roasted Cilantro Pepita Dressing
Enjoy!
Let me know if you try these gluten-free chicken tenders! Leave a comment and review with your thoughts. I always appreciate the feedback and serving suggestions that you come up with!
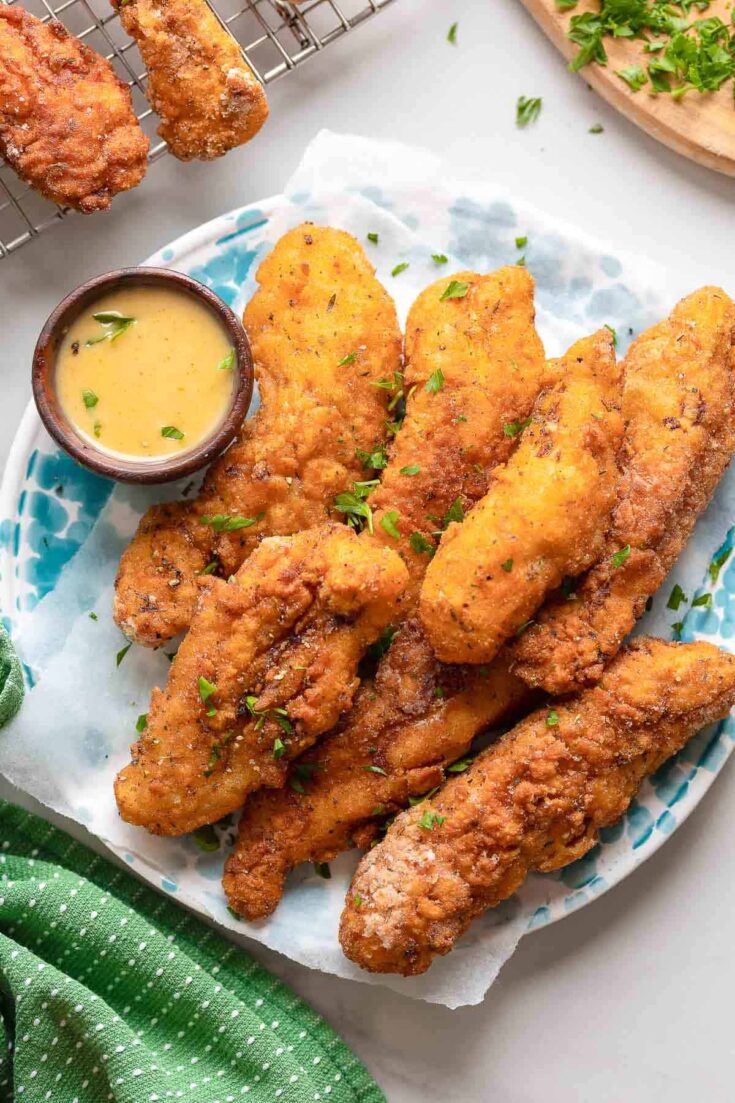
Gluten Free Chicken Tenders
Crispy and crunchy on the outside, moist and tender on the inside – mouthwatering satisfaction in every bite!
Ingredients
Marinade
- 1 cup buttermilk (240ml)
- 1 tsp salt
- 1 tsp paprika
- 1/2 tsp cayenne
- 2 lbs chicken tenderloins or chicken breast cut into thin pieces (like chicken fingers)
Fried Chicken
- 1 1/2 cup gluten free all purpose flour (210g)
- 3/4 cup potato starch (120g) or 1 cup corn starch (100g)
- 1 tsp salt
- 1 tsp baking powder
- 1 tsp black pepper
- 1 tsp dried thyme
- 1 tsp paprika
- 1 tsp garlic powder
- 1/4 tsp cayenne
- 3-4 cups oil for frying
Instructions
- In a large bowl whisk buttermilk, paprika, cayenne and salt. Add chicken tenderloins and fully submerge. Cover and let marinate in the fridge 4-24 hours.
- Whisk flour, starch and spices a shallow dish or bowl until combined. Cover and set aside until needed.
- Remove chicken from buttermilk marinade. Transfer chicken to a different bowl leaving behind the spiced buttermilk - do not dump it out! You'll need the buttermilk for the breading process.
- Line a large baking sheet with parchment paper or foil (for easy cleanup). You'll add the coated chicken to the lined pan to rest after breading. You should also have 3 bowls at this point: buttermilk, chicken and spiced flour.
- Working with a few chicken pieces at a time, add the flour bowl. Toss in flour making sure to coat all the sides. Remove from the flour then dip into the buttermilk bowl to get wet. Return the chicken to the flour mixture one more time. Press the flour into the chicken so it sticks then transfer to the lined baking sheet. Repeat with the remaining chicken pieces. The order goes: flour, buttermilk, flour, lined baking sheet.
- Optional: Let the chicken rest on the baking sheet for 30 minutes. This will give the flour time to hydrate and get really sticky on the chicken.
Fry
- Line another large baking with foil or parchment paper and place a wire rack over the top. Place next to the stove top so you can add the chicken right after frying.
- Add the oil to a large, heavy-bottomed pot or deep skillet until it's about 1-2 inches deep. Warm the oil over a medium-high heat until it reaches about 375°F (190°C).
- Carefully add a few pieces of chicken to the pot - make sure not to crowd the pan. Let cook about 4-5 minutes until golden brown and crispy, then flip over and cook another 4-5 minutes. Times may vary depending on how thick your chicken tenders are. Check the internal temperature with a meat thermometer if needed to assure it's cooked through (165°F/74°C). Transfer the cooked chicken to the wire rack. Check the oil temp and adjust the heat as needed to maintain a steady temperature. Repeat with the remaining chicken and enjoy.
Notes
- Make it Low FODMAP: Omit the garlic powder. Small amounts (under 1 tbsp) of cayenne are technically LF, but you may also want to omit it to tone down the spice.
- Make it Dairy Free: Make your own buttermilk by combining 1 cup dairy free milk and 1 tbsp lemon juice or vinegar.
- Herbs & Spices: Feel free to adjust the spices and seasonings as you like. Pre-made spices like Old Bay, Cajun Seasoning and Italian Herb are great options.
- Bake: Line a large baking sheet with foil and place a an oven safe wire rack. Spray with oil then add the chicken tenders in a single layer. Leave space for air flow in between each piece. Spray the chicken lightly with oil. Bake for 16-20 minutes at 400°F (200°C). Flip the chicken over halfway through cooking.
- Store & Reheat: Store in an airtight container in the fridge 3-4 days. Reheat in the oven at 400°F (200°C) for 10-15 minutes. Spray with cooking oil before baking to keep it from drying out too much.
- Freeze: Cool to room temperature then store in an airtight container or bag and freeze up to 4 months. Reheat from frozen by baking at 400°F (200°C) for 20-25 minutes until cooked through. Spray with oil before baking.


Meryl Markowitz says
Thanks for the precise instructions. These came out amazing. The flour actually stuck to the chicken and didn’t fall off despite not using egg, which is a first for me. Also they were crispy on the outside (and perfectly cooked inside) and tasted SO GOOD! Big win for gluten-free chicken tenders-loving folks!
Sarah Nevins says
Hi Meryl! I’m SO thrilled to hear you enjoyed these and I’m really glad the instructions were actually helpful! Thank you so much for leaving a review. I really appreciate you taking the time to come back and let me know how it went 🙂