Light, crisp, buttery and delicious – these gluten free blueberry waffles are just the thing to spruce up your boring breakfast routine! Make these as a special treat and/or save and freeze the leftovers to enjoy even throughout the week. This recipe has been tested multiple ways to include dairy free, egg free and vegan friendly options. You even have the choice of using a couple different flours here based on what you’ve got!
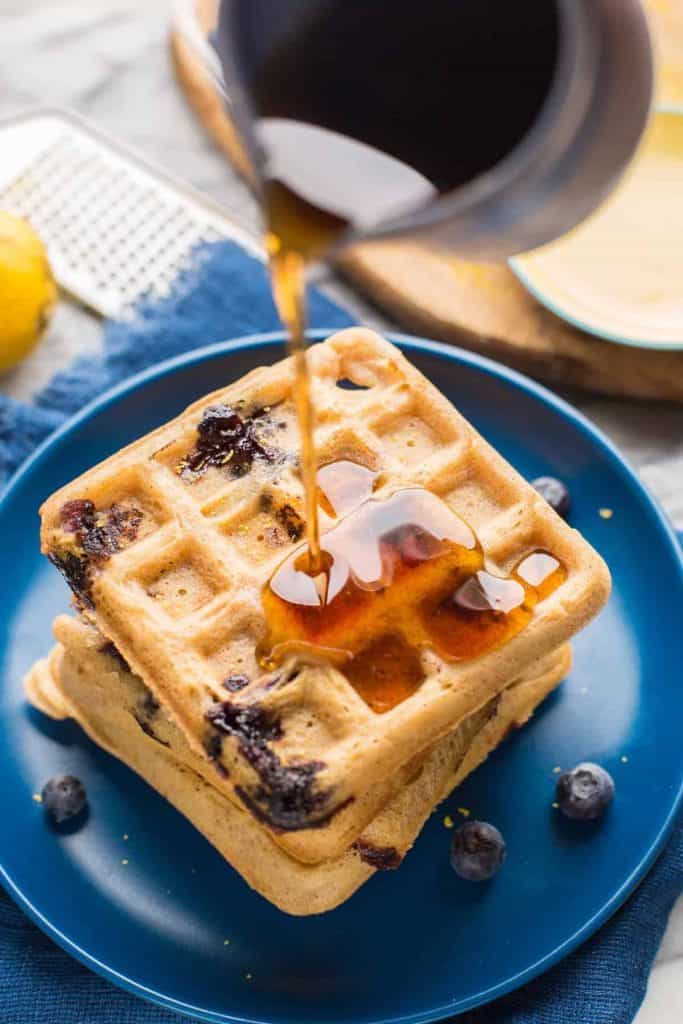
Coming at you today with these light, crispy and zesty gluten free blueberry waffles! They’re a riff off of my basic gluten free waffles recipe with a couple of tweaks to account for the addition of juicy blueberries.
These waffles are a little more involved than my plain waffles, but the extra steps (and dishes) are well worth it in the end as these are even lighter, crispier and more delicious than before!
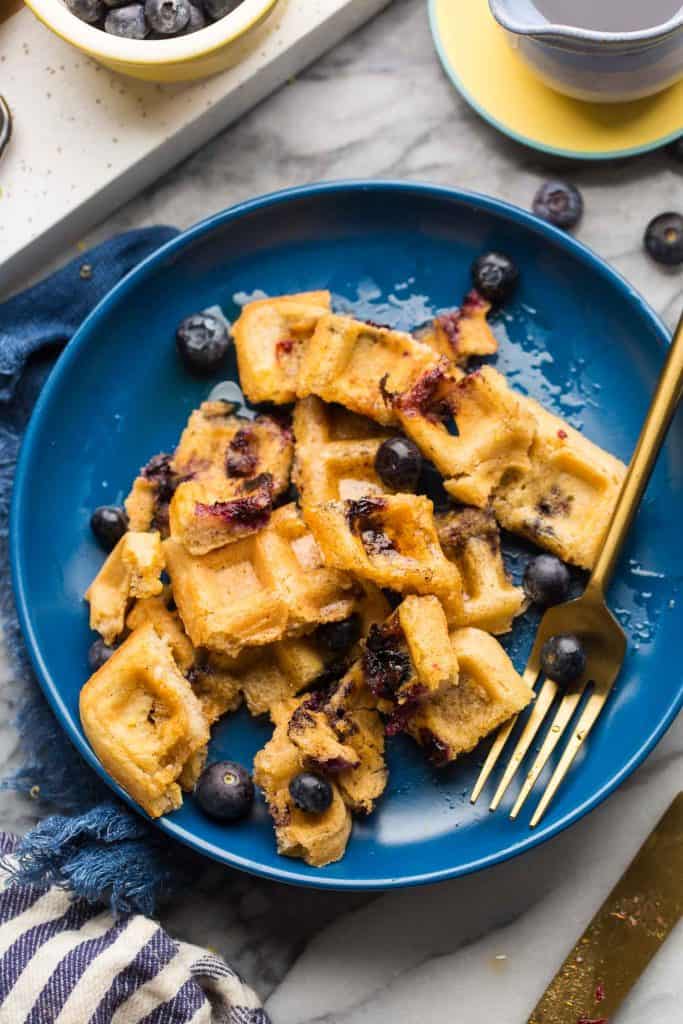
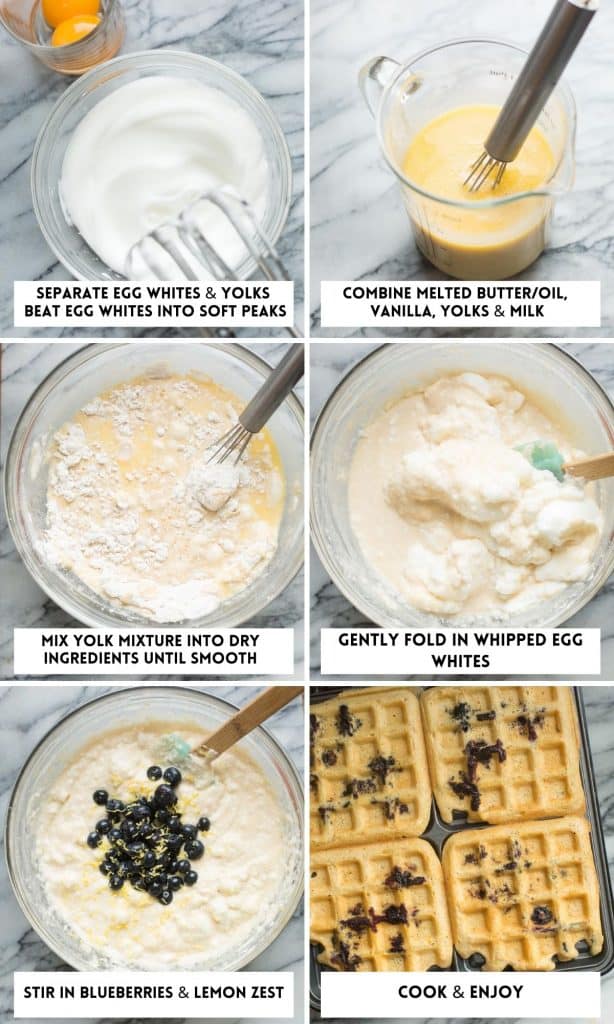
Gluten Free Blueberry Waffles Steps
- Whip the whites. Separate the egg whites from the yolks. Place the whites in clean bowl and whip up with an electric mixer or elbow grease and a whisk. Whip up the whites until soft peaks form, then set aside.
- Combine the remaining wet ingredients. In a jar or bowl, whisk together the melted butter/oil, the egg yolks, vanilla extract and milk until combined. Make sure to use room temperature milk and eggs – you don’t want to cool down your melted butter/oil to the point of it hardening up and create clumps.
- Whisk the wet ingredients into the dry. Pour the yolk mixture into a large bowl containing the combined flour, baking powder, salt and cinnamon. Mix until a thick, smooth batter forms.
- Fold in the whites. Add the whipped egg whites to the batter and use a spoon or spatula to gently fold it into the batter. The idea is to gently mix the whites into the batter in a way that doesn’t fully delated all the air you’ve whipped into the whites. When finished, your batter will look lumpy, but aerated.
- Add the zest & berries. Finally, gently stir in some lemon zest with your blueberries until evenly combined and that’s it – time to cook!
FAQ’s
Fresh berries or frozen berries?
Either will work! Fresh blueberries in the summer when they’re in season are always a treat, but frozen blueberries will let you enjoy these waffles year round.
What does it mean to fold in the egg whites?
In baking, folding an ingredient it refers to the process of mixing together two ingredients of different densities/weights. In this recipe you need to fold in your whipped up egg whites which will be very light and airy with a thick batter. The idea is to add the egg whites without deflating the air that you’ve incorporated by whipping them up.
- Check out this Youtube video: How to Fold Ingredients for Baking for a visual demonstration on how to fold in the egg whites. Skip to 11 seconds into the video to see.
Do I have to whip up the egg whites?
Nope! Whipping the egg whites separately then folding in to the batter will absolutely make for lighter, crisper, airier waffles.
HOWEVER you can still have delicious, gluten free waffles without this extra step. If you’re into a more low maintenance breakfast treat, just mix the whole eggs into your other wet ingredients and you’re good to go.
Can I make these vegan?
Yes! A few swaps to make this vegan:
- use a vegan butter (preferred) or melted coconut oil
- skip the eggs and increase the amount of dairy free milk by 1/4 cup (240 ml total)
- make sure to grease the waffle iron especially well in between batches.
Freeze for Later
- Freeze – Freeze leftovers on a baking sheet. Once frozen, place in a freezer bag and freeze for up to 3 months.
- Oven – Place frozen waffles on a baking sheet and heat at 350°F/180°C for about 15 minutes.
- Microwave – This will vary from microwave to microwave, but you can expect these to heat up in about 40-60 seconds.
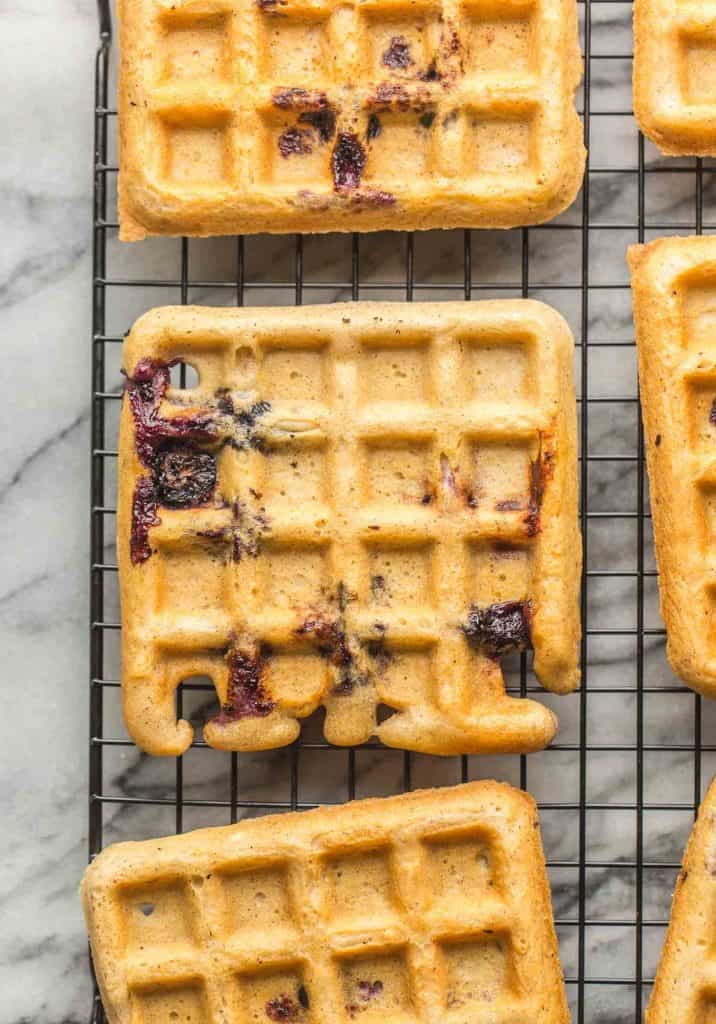
Final Tips
- Make sure your waffle maker is fully heated before adding the batter. If you want crispy waffles you NEED to make sure that the waffler iron is fully heated up before adding any batter. Batter making contact with a hot surface will create a crust that will continue to crisp up as the insides cook.
- When the steam stops your waffles are done. If you don’t have a timer on your waffle maker, look for when there is no more or very little steam coming off of your iron. That usually the best indicator that your waffles are finished.
- Grease your waffle iron in between cooks. This can feel tedious, but when cooking waffles with juicy fillings it is especially important to whip down and grease in between every batch.
- Transfer cooked waffles to a wire cooling rack while you finish cooking the remaining batter. Instead of piling the waffles all on top of each other, let them cool/sit on a wire rack so they continue to get airflow all around. This will prevent them from going soggy too quickly.
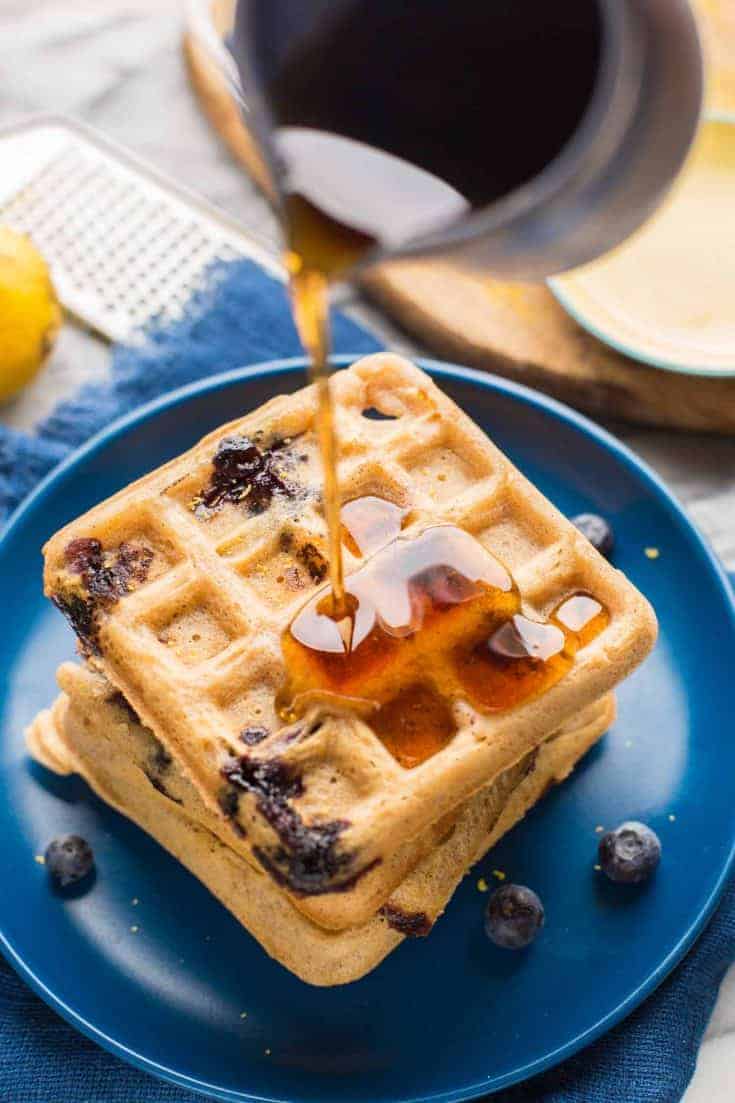
Gluten Free Blueberry Waffles
Make these as a special treat and/or save and freeze the leftovers to enjoy even throughout the week. This recipe has been tested multiple ways to include dairy free, egg free and vegan friendly options. You even have the choice of using a couple different flours here based on what you've got!
Ingredients
- 1 3/4 cup | 245g chickpea flour OR gluten free all purpose flour (with or without gum)
- 1 tablespoon baking powder
- 1/2 teaspoon salt
- 1/2 teaspoon cinnamon, optional
- 2 eggs, separate the yolks from the whites
- 3/4 cup | 180 ml room temperature milk (dairy or non dairy)
- 6 tablespoons | 84 g melted butter (dairy or non dairy)
- 1 teaspoon vanilla extract
- 1 teaspoon lemon zest
- 3/4 cup | 110g fresh or frozen blueberries
Instructions
- Prep your waffle iron according to its individual settings. If your iron allows you to choose the temperature set it to medium-high. Grease the plates well.
- Whisk the flour, baking powder, salt and cinnamon together in a large bowl. Set aside.
- Place the egg whites in a medium sized mixing bowl. With a hand held or stand mixer (or elbow grease a whisk) whip up the whites until soft peaks form. Set aside.
- In a jug or bowl whisk together the melted butter (or oil), milk, vanilla extract and egg yolks until fully combined.
- Pour the egg yolk mixture into the flour mixture and mix until a thick, smooth batter forms.
- Add the whipped up egg whites to the batter and gently fold in to combine. Mix slowly and gently so your egg whites don't completely deflate.
- Add the lemon zest and blueberries and gently mix in to the batter.
- When your ready, stir the batter once more and then scoop out 1/4 cup of batter and then pour onto the centre of your heated waffle iron. Close the lid and let cook until goldened and crispy.
- Transfer the cooked waffles to a wire cooling rack to cool and rest as you finish cooking the rest of your waffles. Make sure you don't stack them on top of each other or they will lose their crispiness.
- Re grease the waffle iron in between batches and repeat with remaining batter. Serve warm with your preferred toppings and enjoy.
Notes
- Make it dairy free: You can use vegan butter in place of dairy butter. You can also use melted coconut oil. Butter/vegan butter make for lighter waffles.
- Make it egg free: Increase the amount of milk 1/4 cup (so 1 cup | 240 ml total) and skip the eggs altogether. This will make your waffles even more crisp. Just make sure you grease the waffle iron especially well.
- Do I have to whip up the egg whites separately? No. Whipping up the egg whites and then gently folding into the batter will make for lighter (and better) waffles, but you can absolutely mix the whole egg in with the butter/oil and milk in one go.


Kimi says
Made these with my kiddos last weekend and they were such a treat! Next time we’ll try them with chickpea flour to see which way we prefer. Thank you!!
Sarah Nevins says
Ooh how fun! So glad you guys enjoyed them!