Perk up your palate with these homemade crispy fried shallots! Fry up thinly sliced shallots until golden and crisp then cool and finish off with a pinch of salt. They’re outrageously delicious, simple to make and will elevate just about any dish! | Gluten Free + Vegan
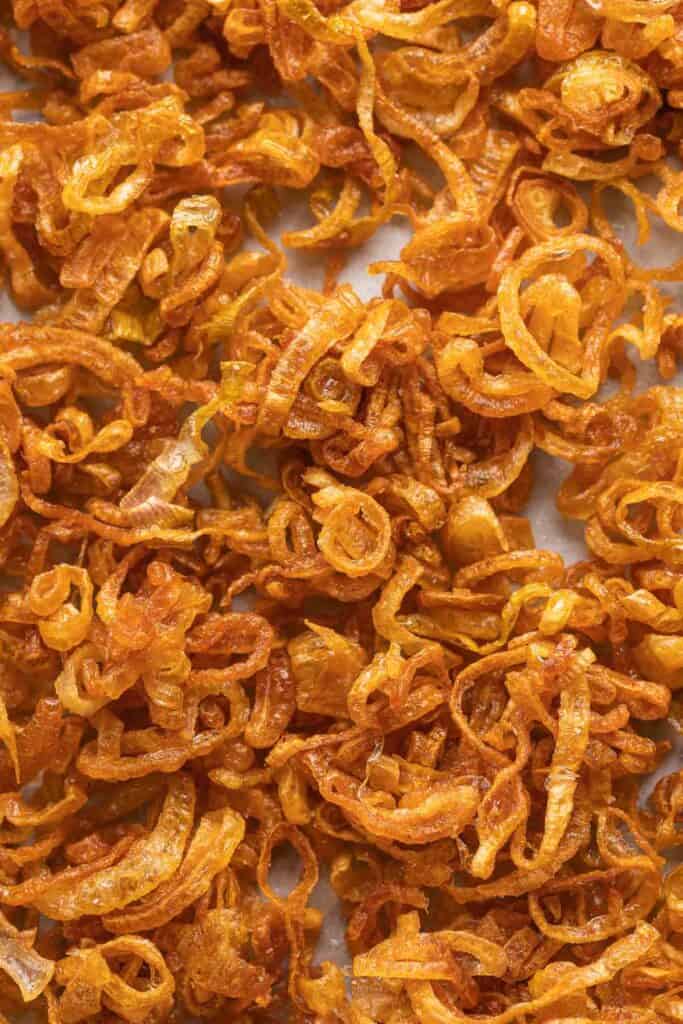
Why Make Crispy Fried Shallots?
A few reasons why you should absolutely make your own homemade crispy shallots:
- Easy to Make: Minimal ingredients needed and a few basic kitchen tools you likely have ready to go. While you do need to babysit the shallots as they fry, the process itself is quite simple.
- Versatile and Delicious: Add to salads, rice dishes, pastas, burgers, etc – they make everything better!
- Enjoy the Reserved Shallot Oil: Save and use the leftover infused oil to make salad dressings, mix into sauces, use as a sauté/frying oil, etc.
Tools & Ingredients
Tools:
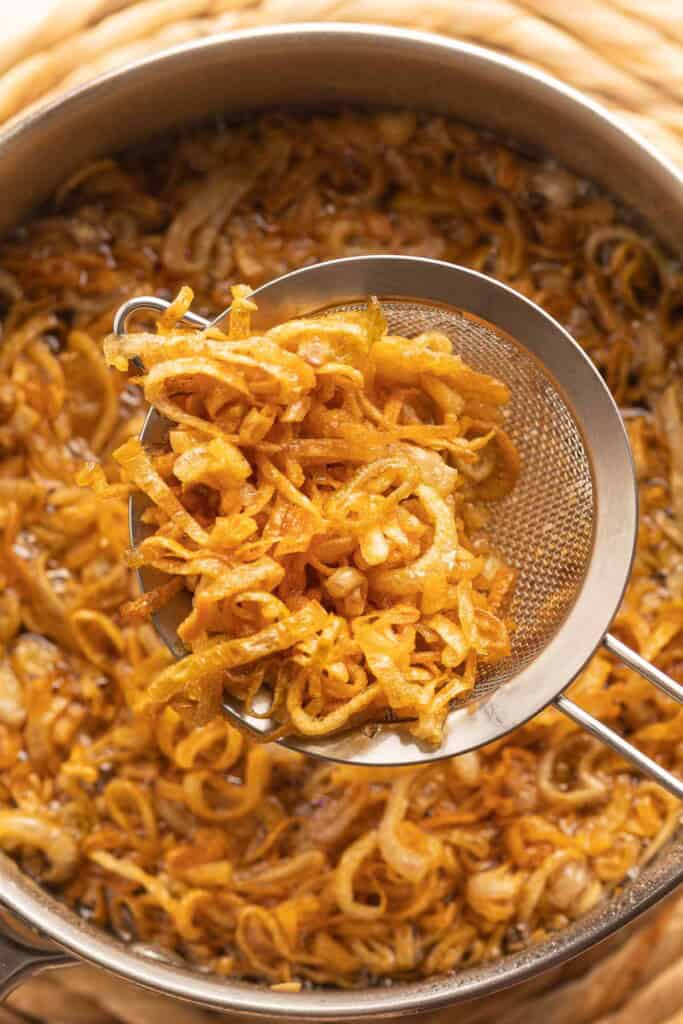
- Medium Saucepan: I like using a saucepan over a more shallow frying pan for the taller sides which results in less oil splatter. Heavy-bottomed pans are ideal as they have better heat distribution (no hot spots).
- Fine-Mesh Strainer: Use this to remove the shallots from the hot oil. If needed you can use a metal slotted spoon.
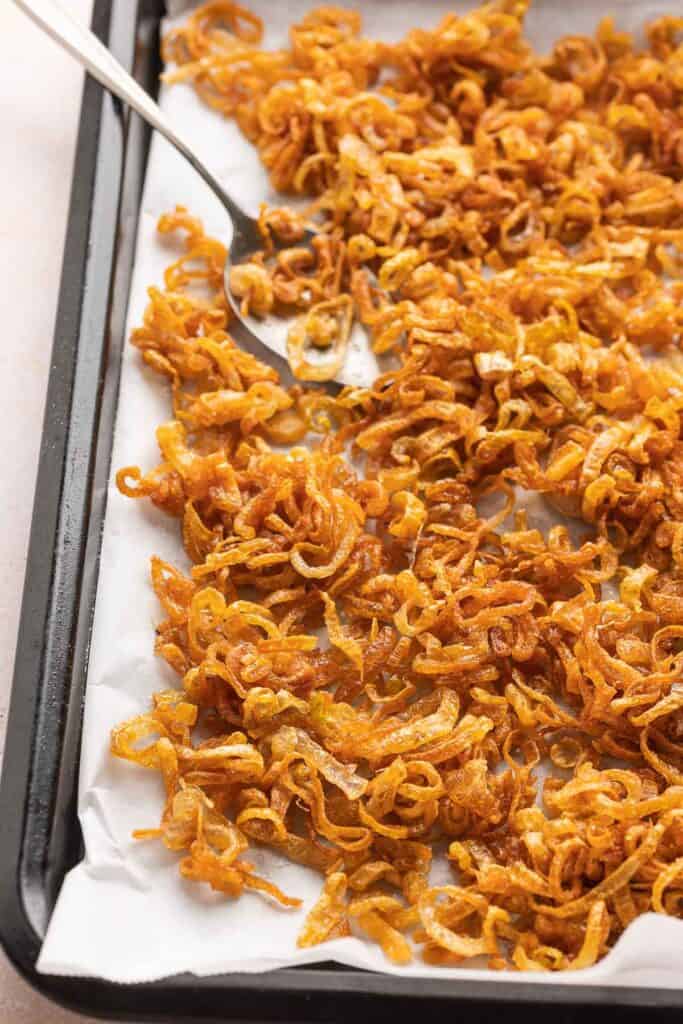
- Large Baking Sheet: Line with paper towels or parchment paper. I forgot to do this while taking my pics for this post, but I also recommend placing a wire cooling rack over the top. This is so the excess oil can drip off the shallots as they cool which will result in even crispier shallots.
- Mandoline or Sharp Knife: Use whichever slicing tool you prefer. Many crispy fried shallot recipes will recommend a mandoline slicer for evenly sliced shallots. I personally find it easier to do it by hand with a good knife.
Ingredients:
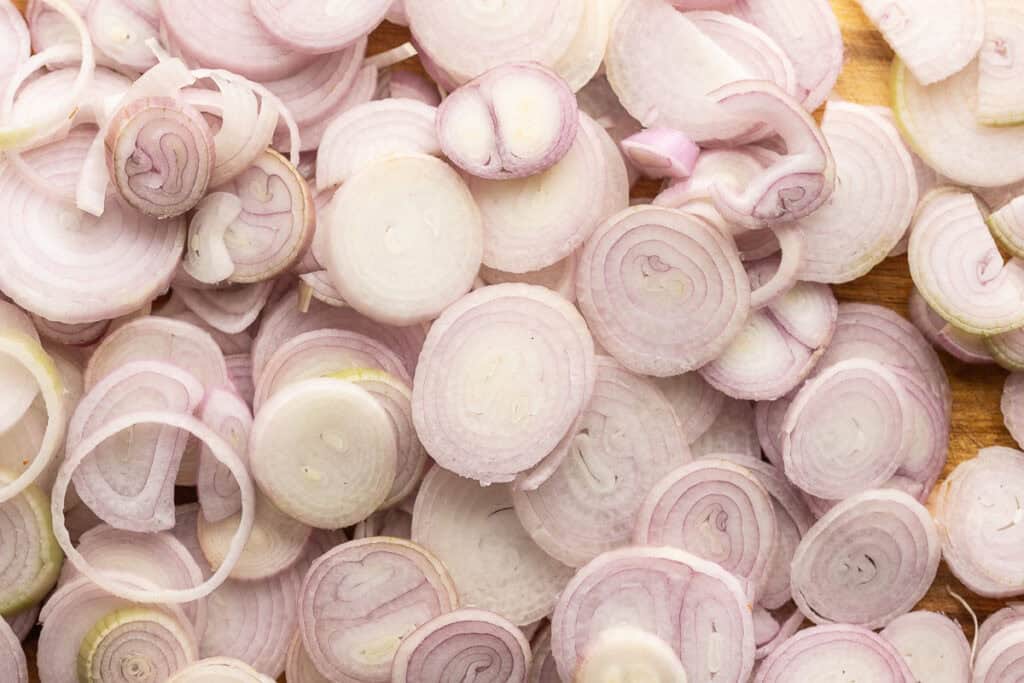
- Shallots: Any shallot variety will do! Just make sure to peel and cut into thin slices. The thinner you slice them, the crispier they will get, but you also run the risk of them burning faster. Aim for about 1/16-inch or the thickness of a dime.
- Frying Oil: Look for a neutral oil with a high smoke point – canola oil, vegetable oil, peanut oil, or avocado oil. Avoid using olive oil and coconut oil.
- Salt: Choose a finishing salt like a flaky kosher salt or sea salt to sprinkle over the shallots as the cool.
How to Make Crispy Fried Shallots
In very basic steps:
- Slice then place shallots in a pan and cover with oil.
- Fry until golden.
- Remove from the oil and cool
Slice Shallots & Cover with Oil
Instead of dropping the shallots into hot oil as you would normally do when frying, start off by placing the shallots in a cold pan in room temperature oil.
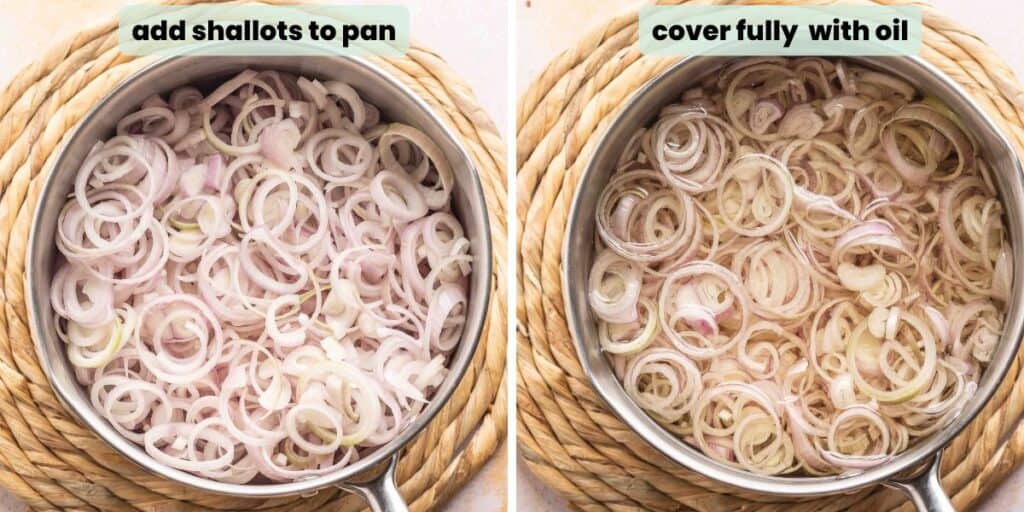
Why start with room temperature oil? Shallots are so thin and delicate, if you drop them straight into hot oil they’ll likely burn as soon as they hit the surface. Starting with cold oil allows the shallots to gradually cook until golden and crispy.
As an added bonus to cooking more slowly at a cooler temperature, you’re left with a more flavorful infused oil at the end.
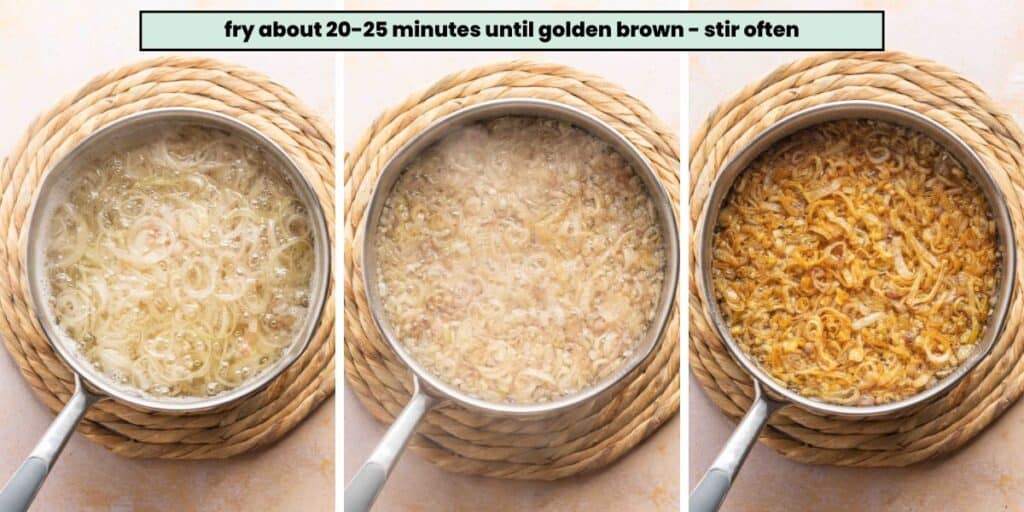
Fry Until Golden
- Stir often to separate the shallots.
- Stay nearby the pan as they cook – especially towards the end.
- Pay attention when you notice some of the shallots start to turn golden. Once they reach a darker golden brown, start scooping out the shallots with the strainer.
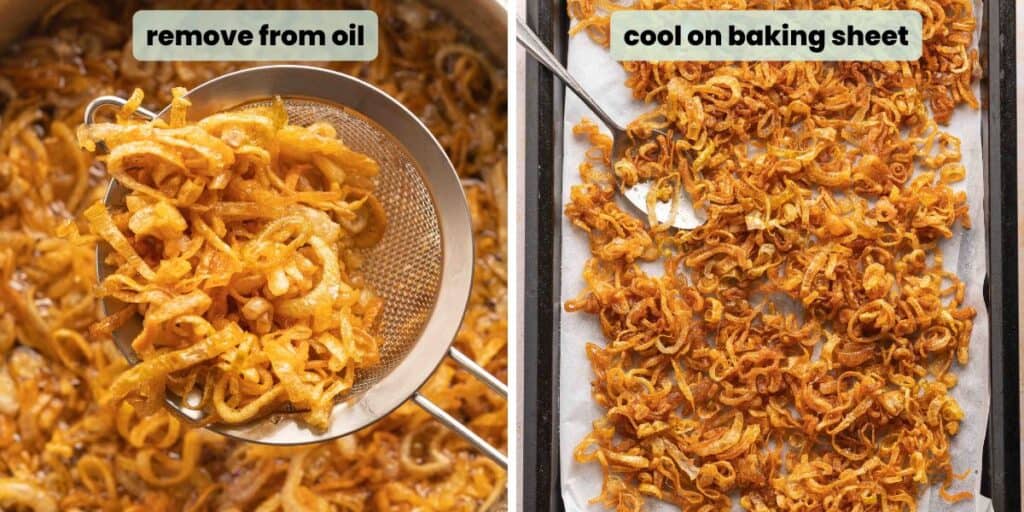
Remove & Cool
- Transfer them out on a large, lined baking sheet. Try to spread the shallots out in an even layer so the excess oil can drip off.
- Sprinkle with a pinch of salt over the top and leave to cool.
What to do with the reserved shallot oil?
- Shallots are exceptionally multipurpose and complimentary to so many different types of foods. Use the leftover oil to make salad dressing and vinaigrettes, sautéd veggies and aromatics, or as a finishing oil on noodles, fried rice and more.
What to do with crispy fried shallots?
Anything and everything!
Fried shallots are super versatile and can be used to upgrade just about any dish and cuisine. Enjoy them in any context that you might also find croutons or as a savory topping to stir fries, burgers and more for the super crispy texture!
A few ideas to get you started:
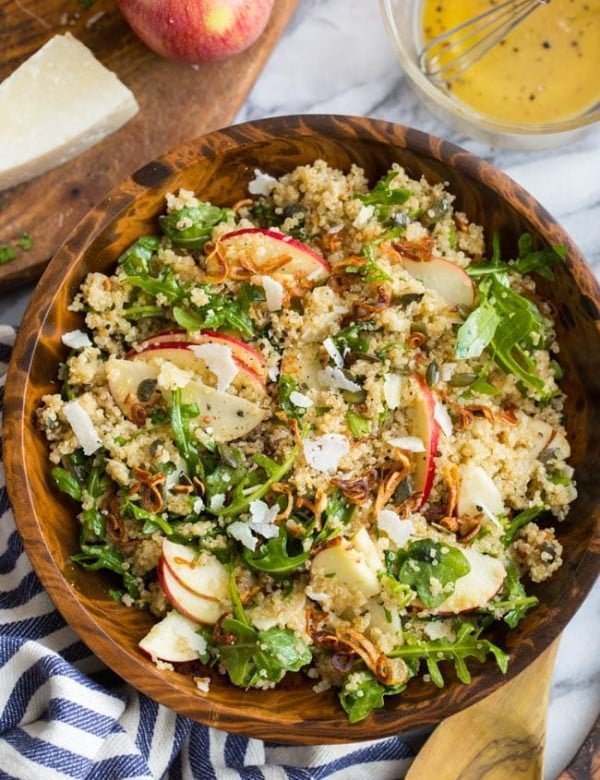
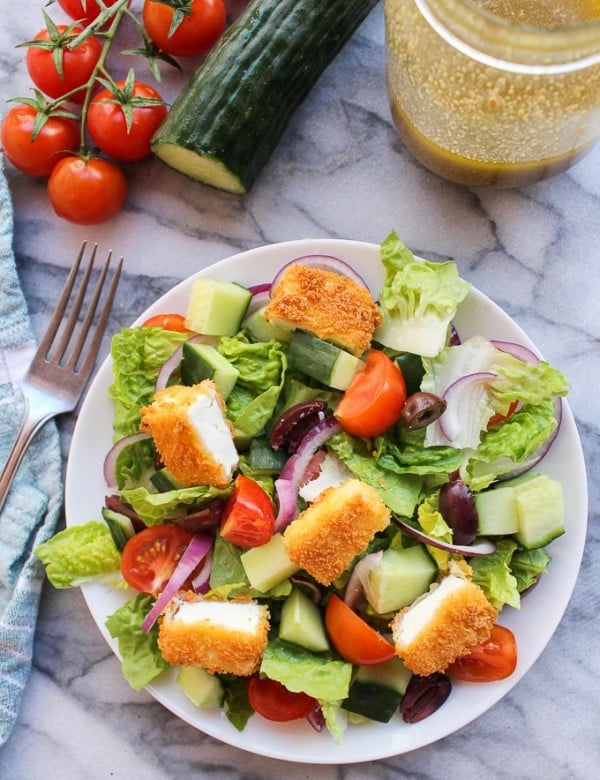
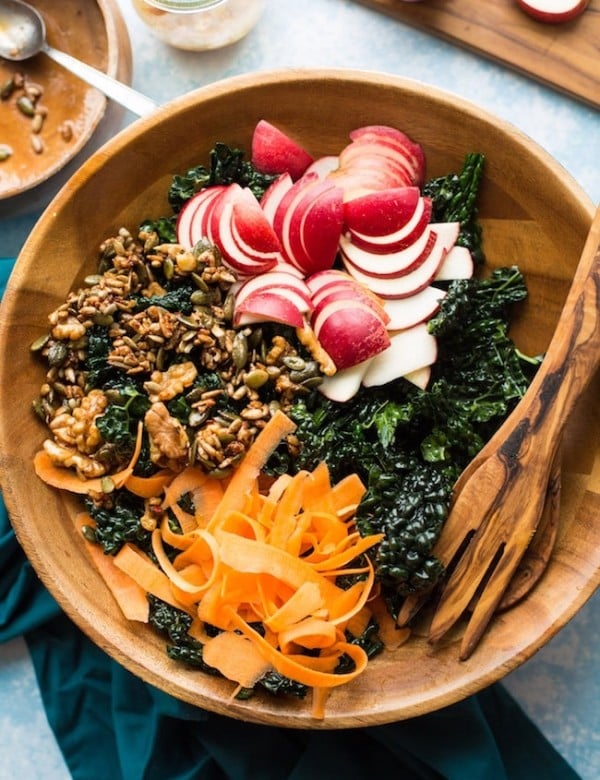
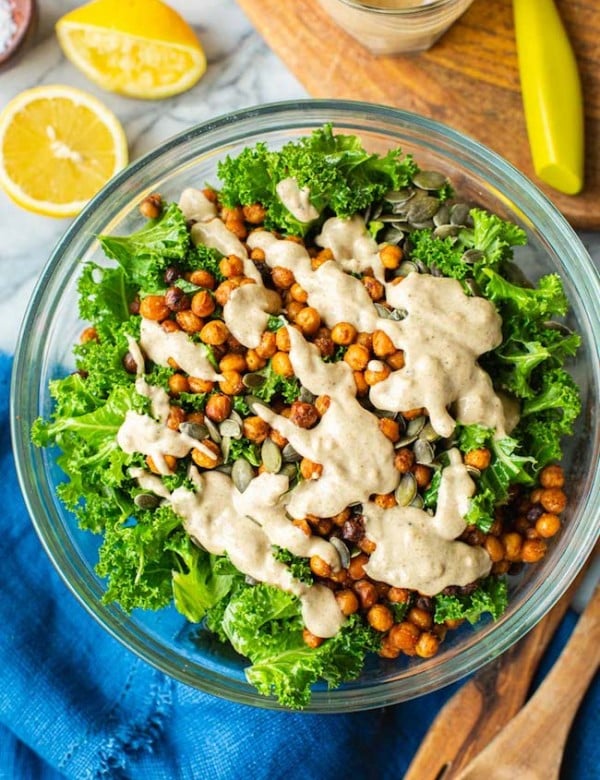
- Soups & Salads:
- Burgers, Sandwiches, Hot Dogs & Wraps:
- Pasta, Casseroles & Stir Fries:
Enjoy!
Let me know if you try this crispy fried shallots recipe! Leave a comment and review with your thoughts. I always appreciate the feedback and serving suggestions that you come up with!
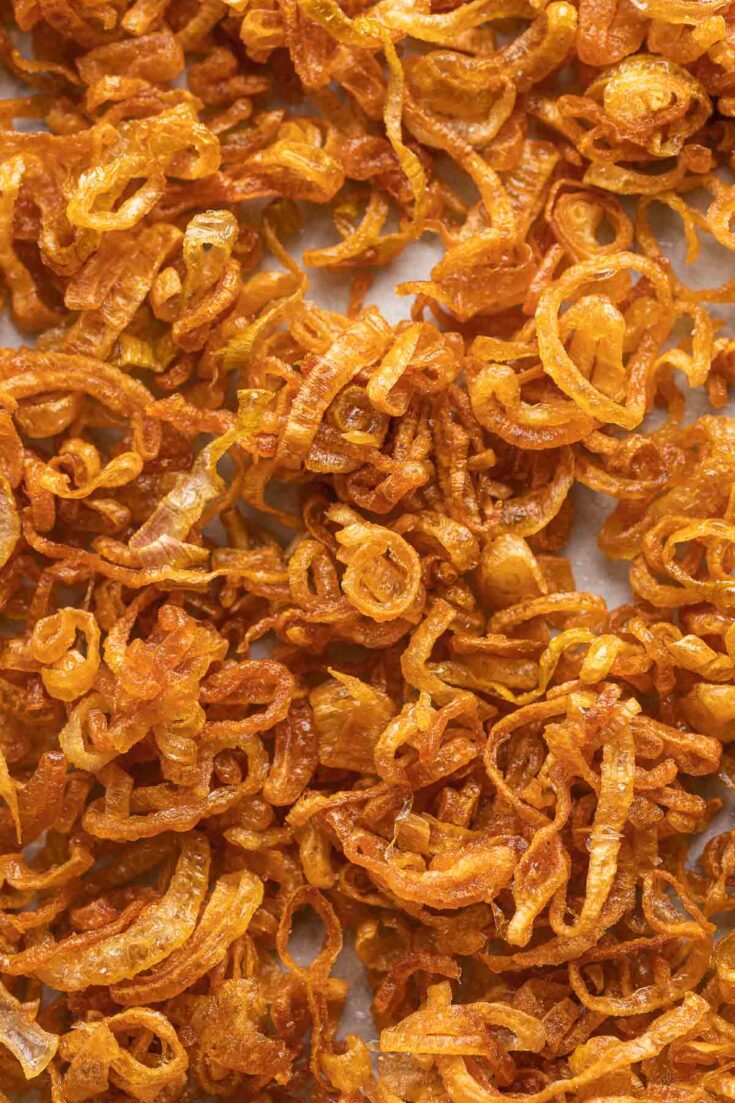
Fried Shallots
Fry up thinly sliced shallots until golden and crisp, then cool and finish off with a pinch of salt.
Ingredients
- 1 lb shallots, peeled and cut into thin slices
- 2-4 cups neutral flavored frying oil - amounts will vary depending on pan size
- 1 tsp flaky salt, or more to taste
Instructions
- Line a large baking sheet with paper towels or parchment paper. Set aside.
- Add the shallots to a medium sauce pan. Add just enough oil to cover them completely (amount of oil depends on the size of your pot). Stir to separate the shallot rings.
- Set over a medium-high heat and bring the oil to a rapid bubble. Cooking time will vary depending in the size of the pot, but expect it take about 15-20 minutes. Stir often.
- Turn down to a medium-low heat and keep cooking/bubbling about 8-10 minutes. Keep an eye on the pot because the shallots will turn golden brown quickly once you've noticed them start to turn darken.
- Once they've turned golden use a fine mesh sieve or slotted spoon to remove the shallots from the oil. Transfer to the lined baking sheet and spread them out into an even layer. Sprinkle with salt and leave them to cool down or use right away.
- Once cooled, transfer to an airtight container. Store at room temperate or in the fridge up to 1 month.
Notes
- Reheat/Re-Crisp: If you find your shallots go a bit stale over time, try toasting them in the oven for about 5-8 minutes at 300°F/150° to crisp them back up.
- Oil: Make sure to use a neutral flavored oil with a high smoke point, suitable for frying.
- Adjust the Amounts: Feel free to adjust the amount of shallots to more or less depending on what you need. Freshly fried shallots are best, but it's more convenient to make a big batch. Keep in mind: the less shallots/oil you work with the faster they will fry and vice versa.



Leave a Review!