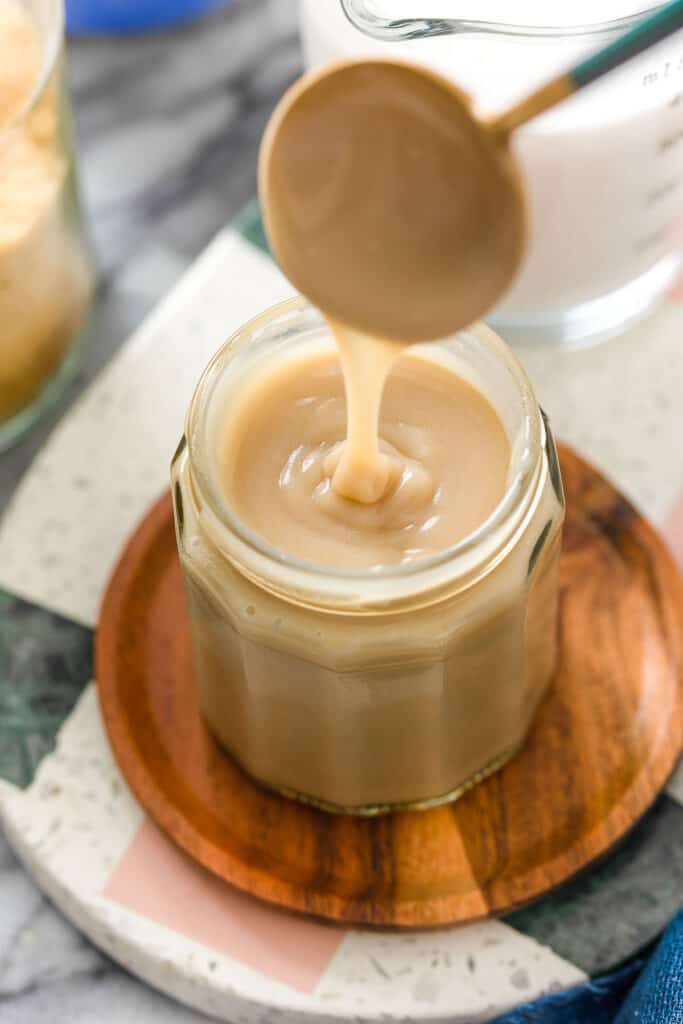
You only need 2 ingredients and a little patience to make this homemade coconut milk condensed milk. Use as a dairy free substitute for traditional sweetened condensed milk in ice coffee, desserts and so much more!
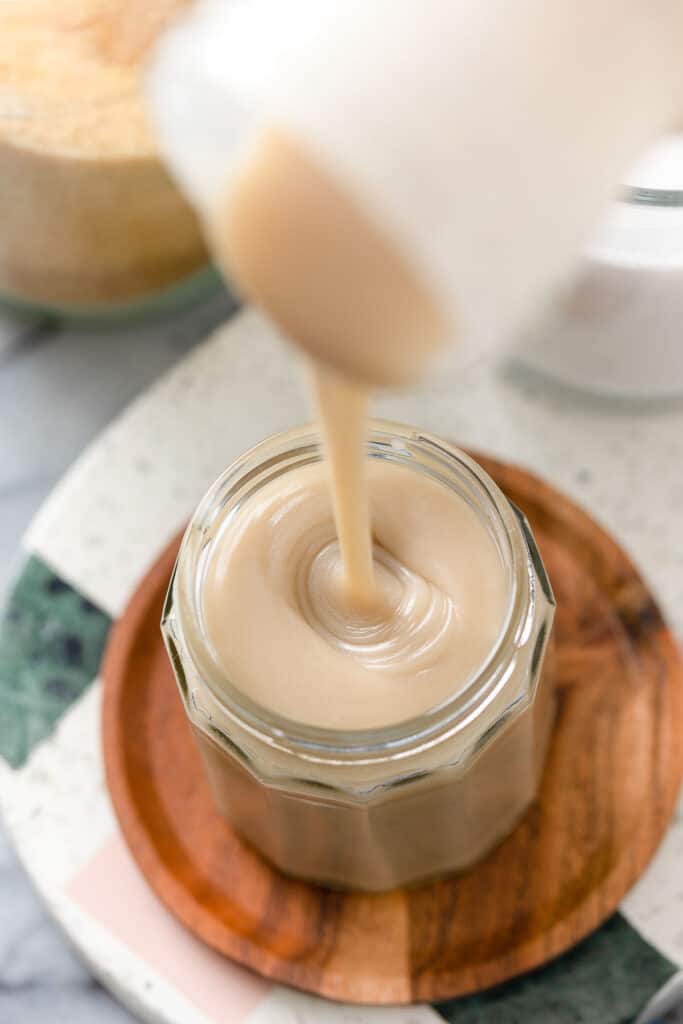
Why Make Coconut Milk Condensed Milk?
- It’s dairy free: You can get the same thick and silky texture of regular condensed milk easily without any dairy milk at all!
- Customisable: Unlike regular sweetened condensed milk you can play around with your homemade version by using different types of sugars or natural sweeteners. You can even reduce the amount of sugar if you’d like.
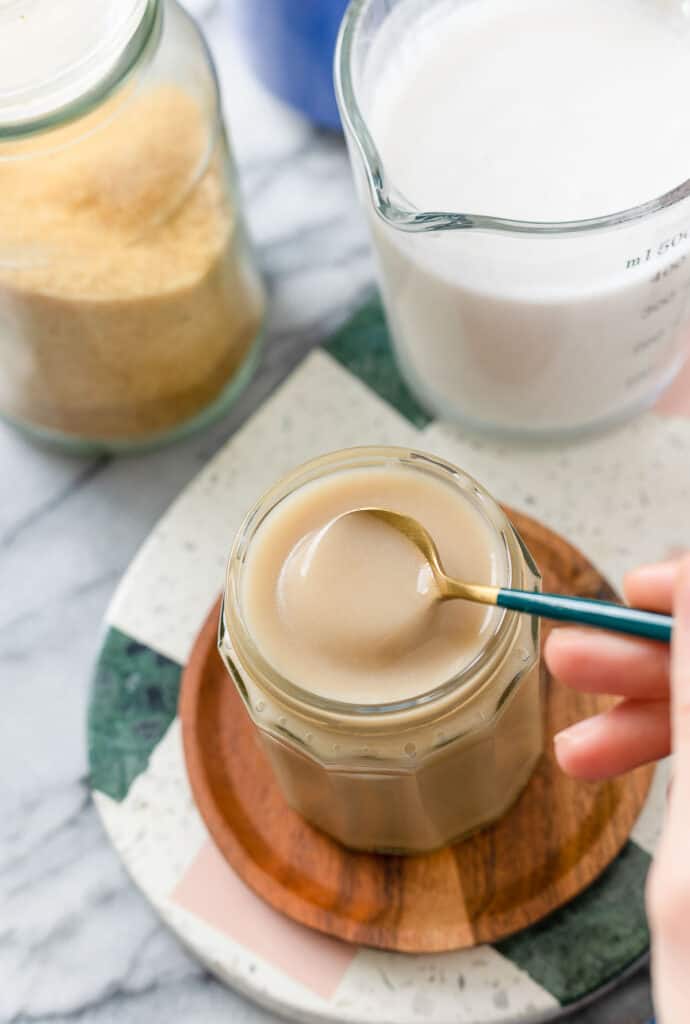
- Saves you a trip to the grocery store: All you need is a can of full-fat coconut milk, sugar and a small sauce pot.
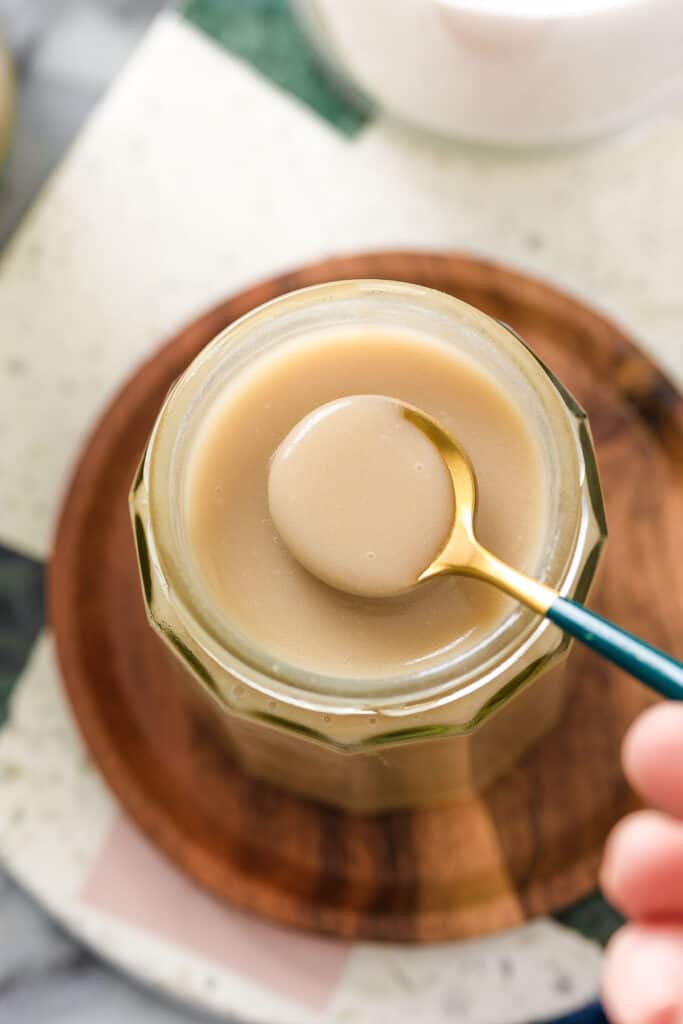
Condensed Milk Vs Evaporated Milk
Both types of milk are made by carefully simmering milk (in this case coconut milk) until reduced by about 60%. Most of the water will evaporate as the milk cooks which creates a thick, rich concentrated milk.
What’s the difference between condensed milk and evaporated milk? Sugar!
- Condensed milk (also called sweetened condensed milk) is evaporated milk with added sugar. It’s best in coffee drinks, ice cream and general sweets.
- Evaporated milk is best used in savory recipes – think mashed potatoes, soup, biscuits, etc.
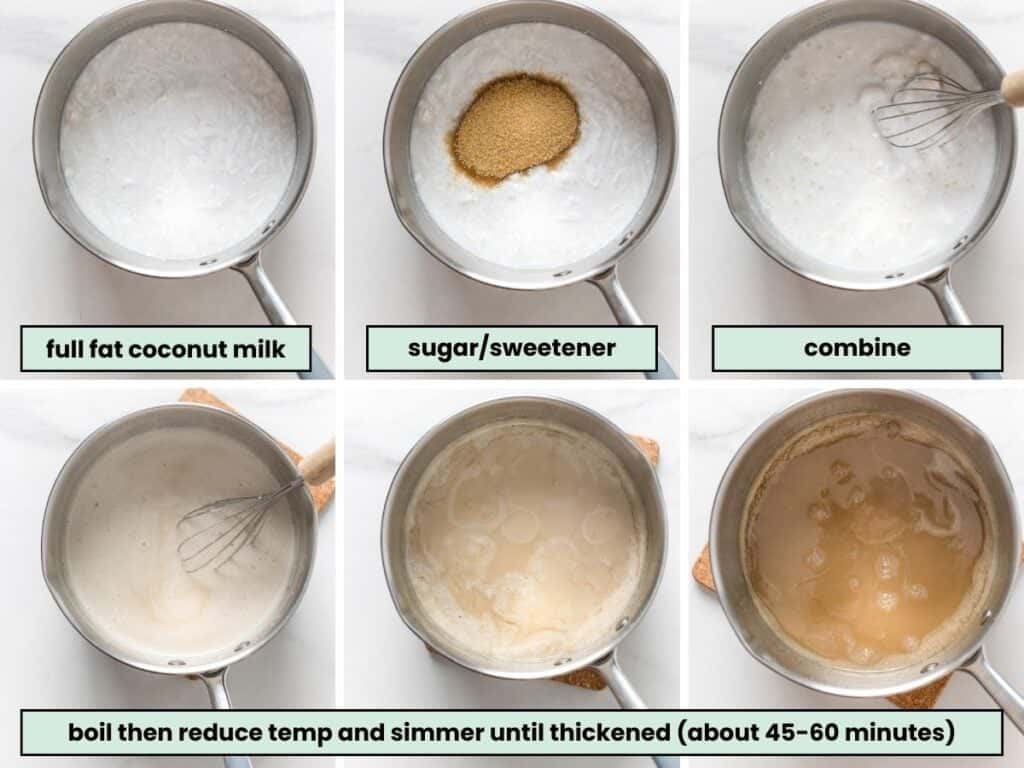
How to Make it: Bite-Sized steps
Altogether this is a fairly easy recipe though it does require a bit of time and attention.
- Combine: coconut milk and sugar in a pot.
- Boil: cook over a medium high about 5 minutes to boil.
- Simmer: Lower the temperature and simmer about 45 minutes or until thick.
- Cool: Remove from the heat and set aside until about room temperature.
- Store: Use right away or transfer to an airtight container. Refrigerate about 5-7 days or freeze up to 3 months.
FAQ’s
Can I use low-fat coconut milk?
No.
The goal of condensed milk is to cook out the water in milk so you end up with concentrated milk fats.
Low/ reduced fat coconut milk has too much water and not enough fat content. You would need to cook your milk much longer and would end up with much less in the end.
What kind of sugar or sweeteners can I use?
- Granulated Sugar: I’ve made this using coconut sugar, brown sugar, white sugar, and cane sugar.
- Keep in mind that dark sugars (like coconut or brown sugar) will result in a darker brown color.
- Liquid Sweeteners: Feel free to use a natural sweetener like honey or maple syrup.
- Honey and maple are naturally sweeter to taste than typical granulated sweetener so you may want to reduce the amount of sweetener by about half.
What about keto sugars?
I don’t have much personal experience with a lot of keto sweeteners as they’re not easy to find where I live.
However, from what I can see in other popular keto recipes it looks like you can make this using powdered keto sugars. I’m assuming it’s because granulated keto sugar doesn’t easily dissolve.
More Coconut Milk Recipes To Try
- Dairy Free Hot Fudge
- Coconut Vanilla Ice Cream – Paleo + Vegan
- Chocolate Coconut Milk Ice Cream
- Toasted Coconut Rice
- Egg Free Coconut Flour Paleo Cake
- Coconut Lime Chicken (Dairy Free)
Enjoy!
Let me know if you try this sweetened condensed coconut milk! Leave a comment and review with your thoughts. I always appreciate the feedback and serving suggestions that you come up with!
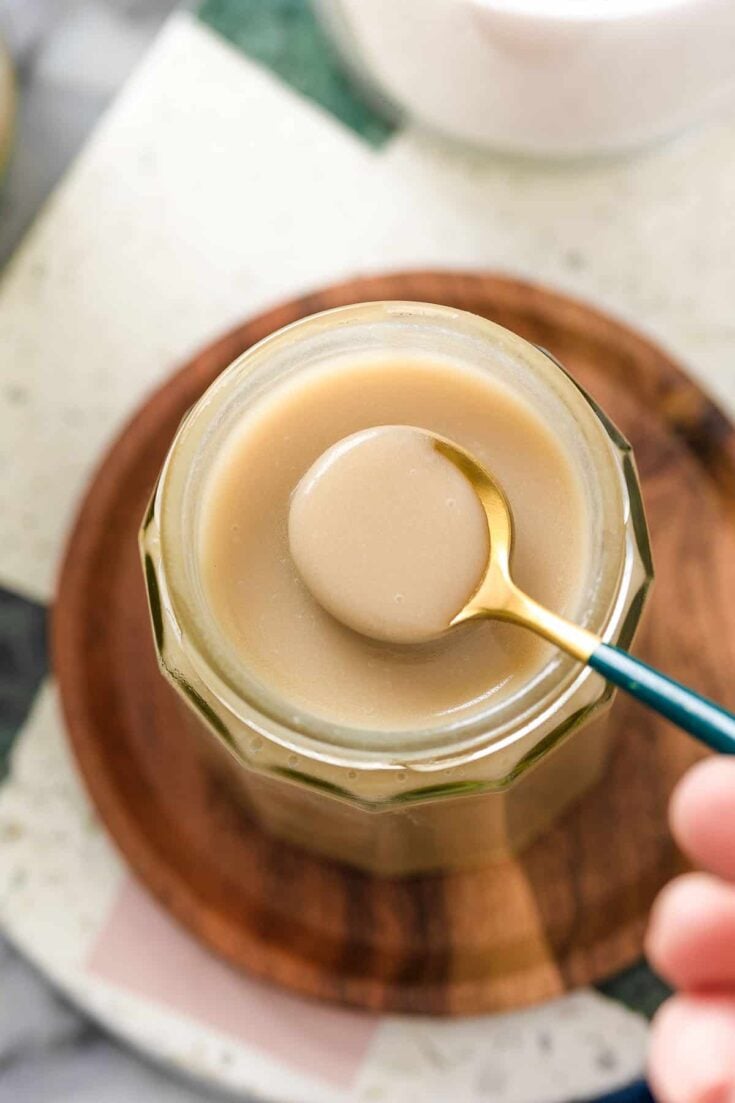
Homemade Coconut Milk Condensed Milk
Use as a dairy free substitute for traditional sweetened condensed milk for drinks, desserts and so much more!
Ingredients
- 2 cans full-fat coconut milk (about 14oz each)
- 1 cup granulated sugar (200g) or 1/2 cup maple syrup or honey (160g)*
Optional
- pinch of salt
- 1 teaspoon vanilla extract
Instructions
- Add coconut milk and sugar (or sweetener) to a sauce pan and whisk to combine.
- Place over a medium-high heat and bring to a boil. Let boil about 5-7 minutes - whisk often until the sugar dissolves.
- Reduce to a medium heat to simmer and let cook about 45 minutes - 1 hour until thickened. You should have about 1 ½- 1 ¾ cups of milk at this point. Make sure to check and stir often to prevent burning.
- Remove from heat and let cool until cool enough to store in an airtight container or jar. Milk will thicken more when chilled.
Notes
- Basic ratio of milk to sugar: Use ½ cup granulated sugar OR ¼ liquid sweetener for every 1 can of coconut milk.
- Overall cook time will vary depending on temperature and amounts. If you're using 2 cans of coconut milk as your starting point you'll need about an hour. If you're only making this with a single can you'll need about 45 minutes.
- You can reduce or increase the amount of sugar if you want a condensed milk that's more or less sweet.
- Store in the fridge for 5-7 days or in the freezer up 3 months.
- Make caramel: Keep stirring and simmering the milk 1 ½-2 hours or until the mixture thickens into a thick, syrupy mixture. Add a ½-1 teaspoon salt and vanilla extract then cool. You now have caramel!





Carole says
Really good stuff. Used it to make a dairy free fudge and came out great. Thanks.
Sarah Nevins says
Thanks, Carole!