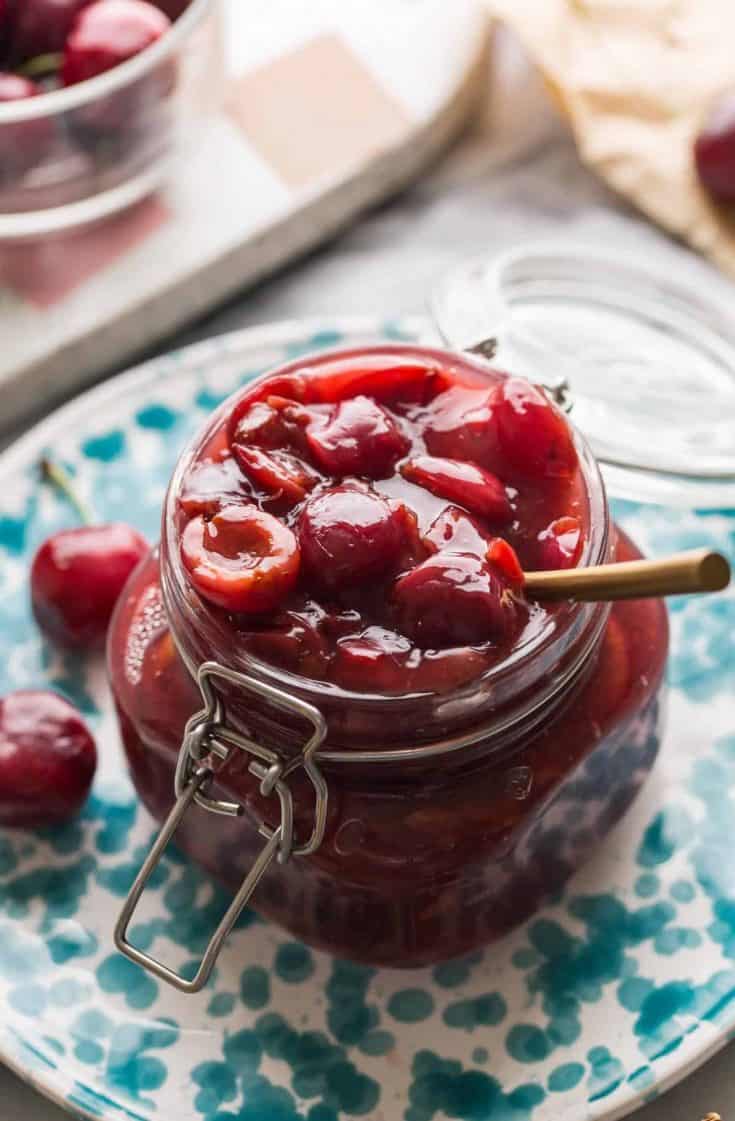
Make the most out of your cherry haul with this simple and delicious homemade cherry pie filling recipe! Whether you’re using fresh or frozen fruit- this filling can be easily made with few ingredients in little time. Make sure to skim through the post for tips on how to adjust the sweetener type and amount, recipe substitutions and how to use it!
If you like this – you may also be interested in checking out my blueberry pie filling as well!
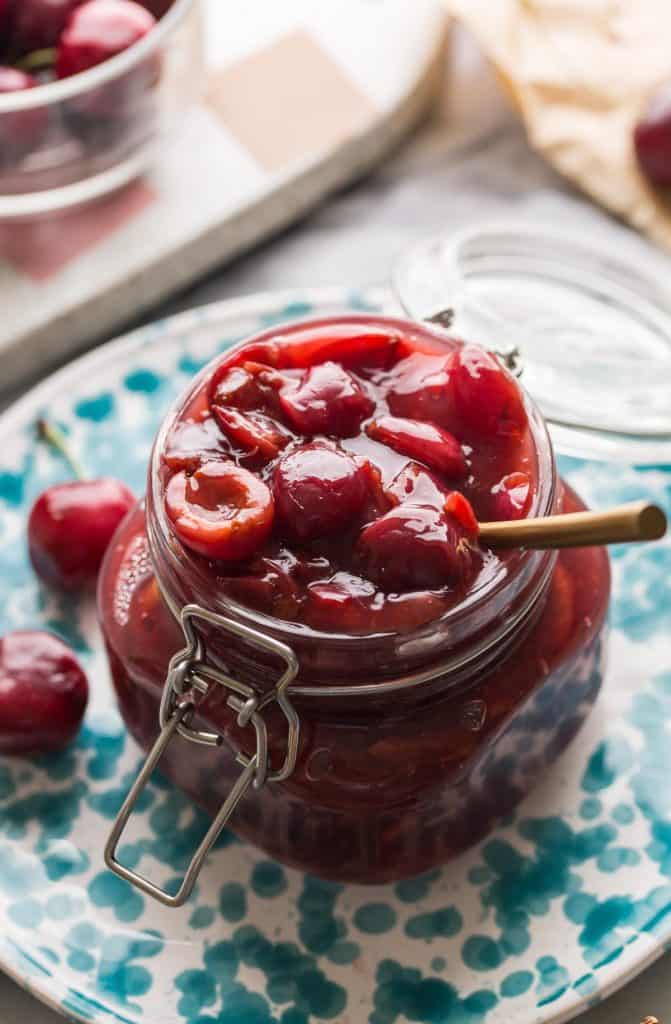
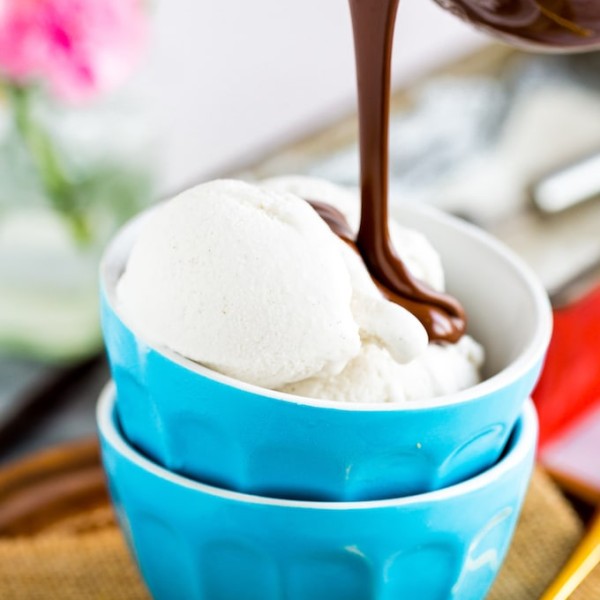
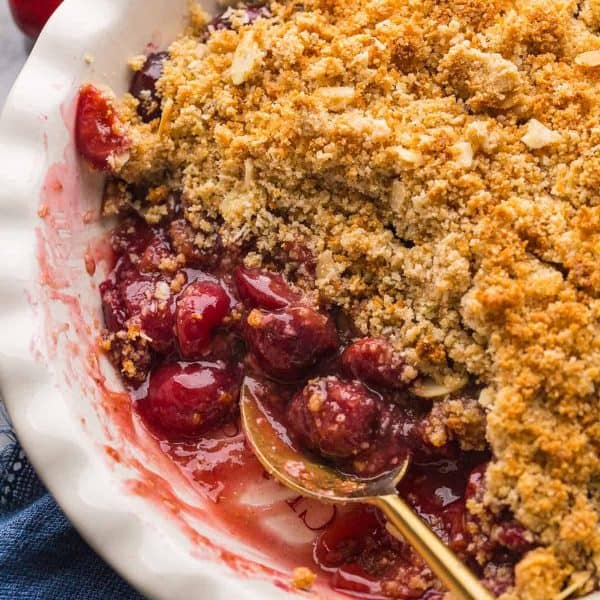
With cherry season in full swing, I can’t think of a better way to kick things off than with this easy homemade cherry pie filling. Bake it into a pie, use it as a cake filling, mixed into yoghurt, in crumbles, topped over a bowl of ice cream or spread over cheesecake. There are so many different delicious ways to enjoy it!
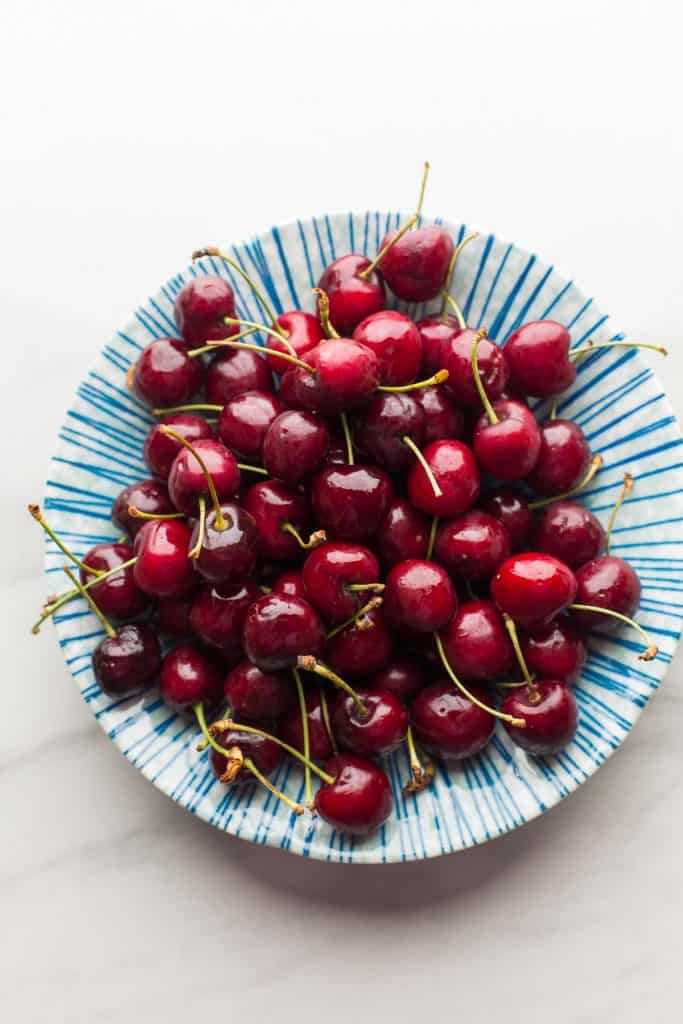
What Type Of Cherries Are Best For Cherry Pie Filling?
For this recipe I recommend either using fresh fruit or frozen cherries – nothing jared, canned or packaged with added sweeteners.
As far as specific types of cherries go – this is mostly up to your and your personal preferences. You can use cherries that are naturally sweet like bing cherries, chelan or sweet dark cherries. You can also use fresh sour cherries like morello or montmorency.
You’ll just need to adjust the amount of lemon juice and sweetener depending on what you use. Sweet cherry fillings will need more lemon juice and less sweetener. Sour cherry pie fillings require less lemon and more sweetener.
How to Make Cherry Pie Filling
Altogether this is a fairly simple and fuss free recipe. The hardest part will be prepping the cherries as it can be a bit tedious to work them one by one. Once that’s done, it’s just a matter of combing the ingredients together in a medium or large pot and simmering until done.
How to Easily Pit Cherries without a Cherry Pitter
Remove the stem. Place a straw or chopstick where the stem was. Push through the cherry to the other side, forcing out the pit.
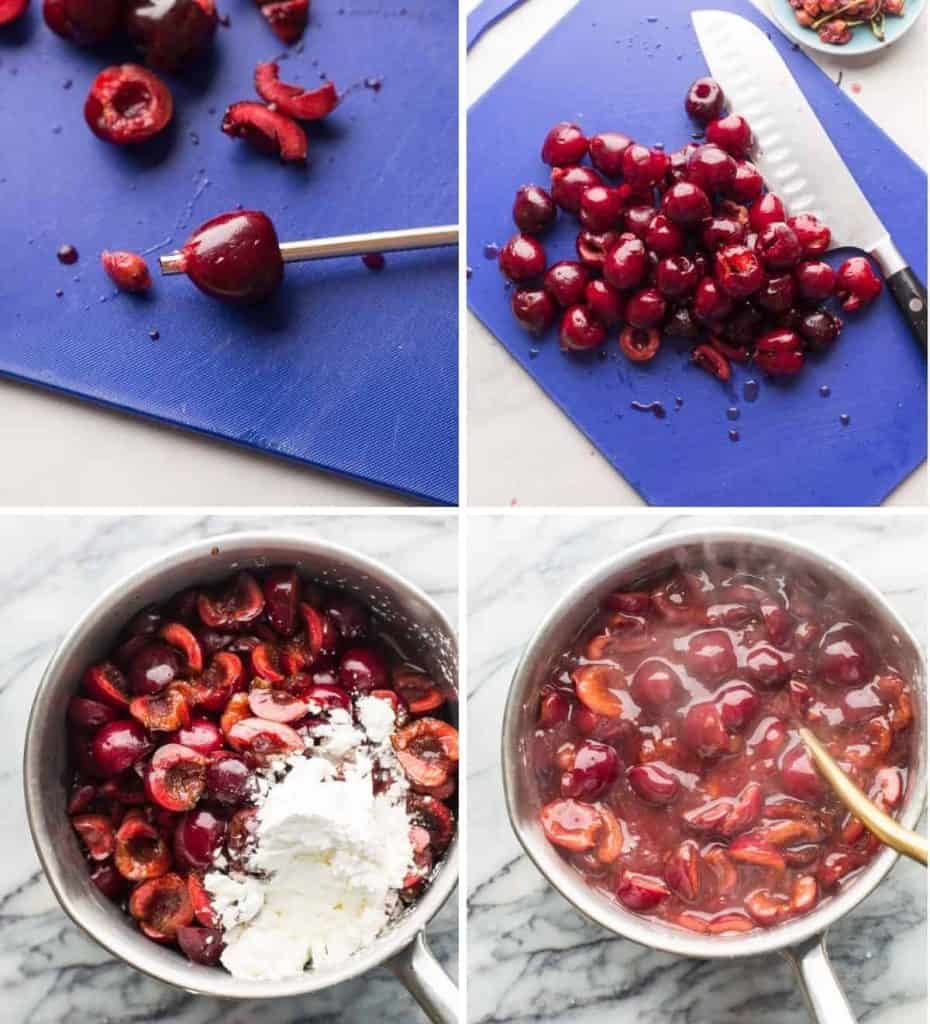
- Prep cherries: remove the stems and pits. You can leave them whole or cut in half. I like a variety of whole and halves cherries.
- Combine: Add the cherries, starch, sweetener, lemon juice, water and extract(s).
- Cook: Bring the mixture to a boil, then reduce the heat down to a gentle simmer. Stir and simmer for about 10-15 minutes until thick and glossy.
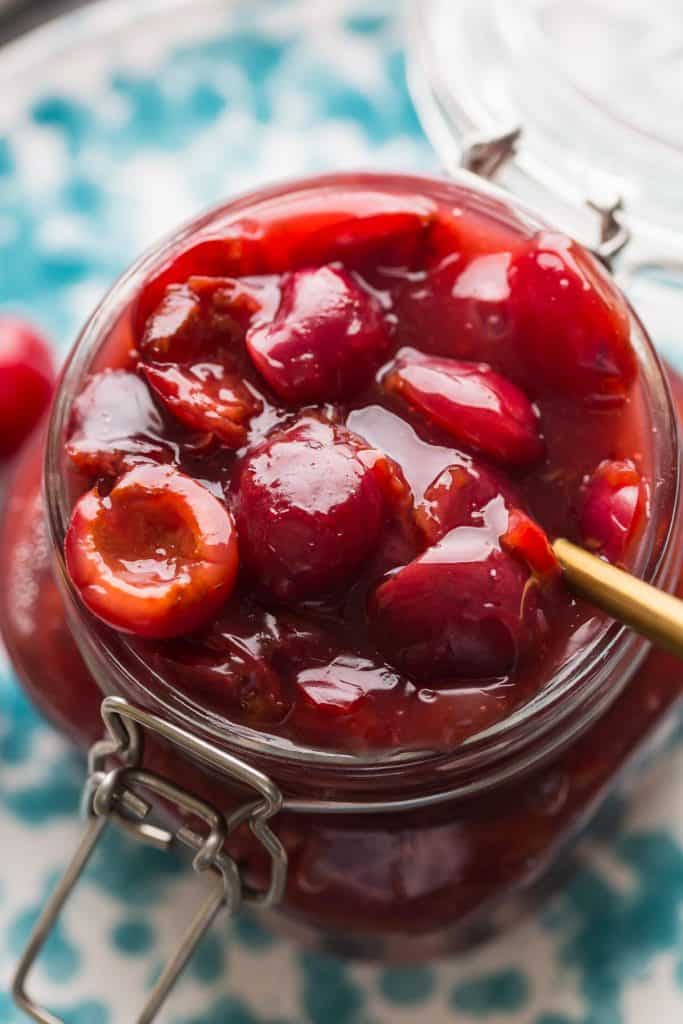
- Cool, store and enjoy: Use it right away baked inside your favorite pie crust recipe, turn it into a crumble or serve it as a fruit topping to yoghurts, ice creams and more.
What type of sweetener is best?
You got a few options here:
- White granulated sugar – this is typically used in cherry pie filling. It’s cheap, reliable and easily available.
- Honey – this is a good option if you’re looking to cut out refined sugars. It’s sweeter to taste than standard white sugar so you’ll need less honey than you would sugar.
- Maple syrup – this is another good, refined sugar free option. Use maple syrup if you need to ensure that this recipe is vegan. You’ll also need less maple syrup than you would honey.
Coconut sugar and brown sugar are not ideal because they’ll turn your filling a dark, dirty brown colour.
Use as a Filling or Topping
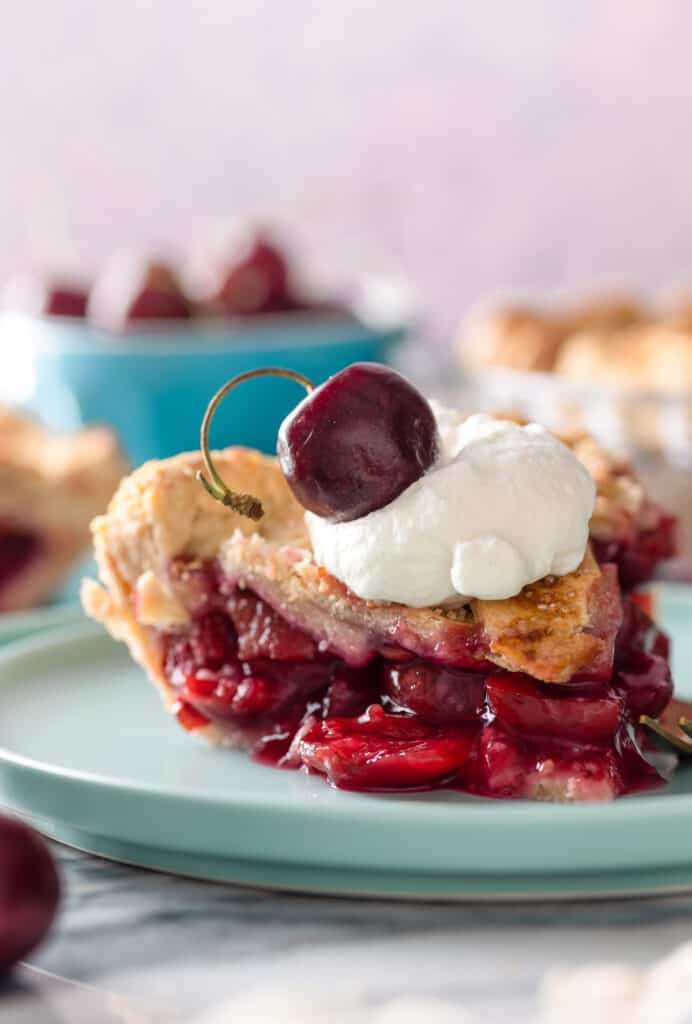
And of course, you can really put this cherry pie filling to the test with a homemade cherry pie!
Cherry Pie Filling
Make the most out of your cherry haul with this simple and delicious homemade cherry pie filling recipe! Whether you're using fresh or frozen fruit- this filling can be easily made with few ingredients in little time.
Ingredients
- 4 1/2 cups | 1.5 lb cherries, pitted
- 1/3 cup | 80 ml water
- 2 tablespoons | 30 ml lemon juice
- 2/3 cup maple syrup (210 g) or honey (226 g) 0R 1 cup white granulated sugar (200 g)
- 1/4 cup | 30 g cornstarch
- 1 teaspoon vanilla extract
- 1/4 teaspoon almond extract (optional)
- pinch of salt
Instructions
- Combine everything in a medium sauce pan. Mix together.
- Bring the mixture to a boil, then reduce the temperature to main a simmer. Let simmer 10-15 minutes, stirring every so often until glossy thickened. Carefully taste and add more sweetener as you see fit.
- Let cool then store in an airtight container for up to a week.
Notes
- Only use 1 tablespoon lemon juice if using sour cherries.
- Make sure to leave out the almond extract if you need this to be nut free.
- To make this with tapioca starch: add 2 extra tablespoons of tapioca starch (6 tablespoons total). When making this with tapioca starch you might notice that the consistency is slightly thinner and 'goopier' but holds well after baking.





Liz says
Thank u it was very good. I added Carmel instead of almond extract turned out Great.
Sarah Nevins says
Ooh that sounds delicious with caramel! So glad you enjoyed it 🙂
Susan says
Hi! Can this cherry filling be frozen after it’s made?
Thanks!
Sarah Nevins says
Hi Susan! Thanks for asking as I should have included that info in the recipe!
You absolutely can freeze the filling. Just let it cool completely then, pack up in an airtight/ freezer-safe container and freeze up to three months. When you’re ready, move it to the fridge to defrost over night and you’re good to go 🙂