This cassava flour pie crust makes for a simple, flaky and delicious gluten free pie crust that you can use in both sweet and savory recipes! The recipe makes enough for two 9-inch pie crusts. | Grain Free + Nut Free
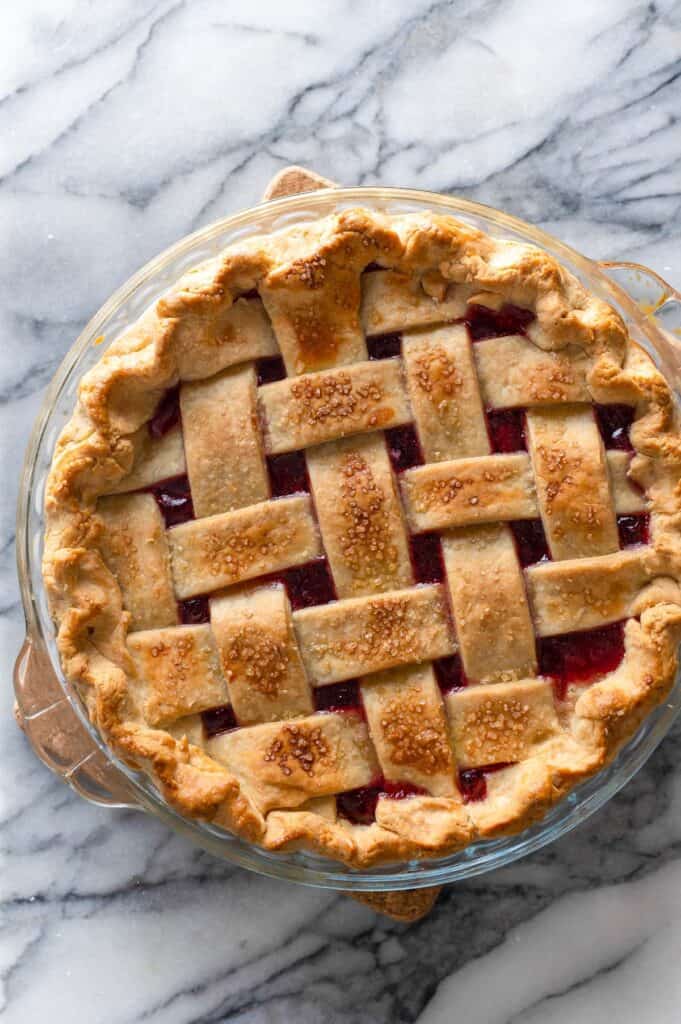
Cassava Flour Pie Crust
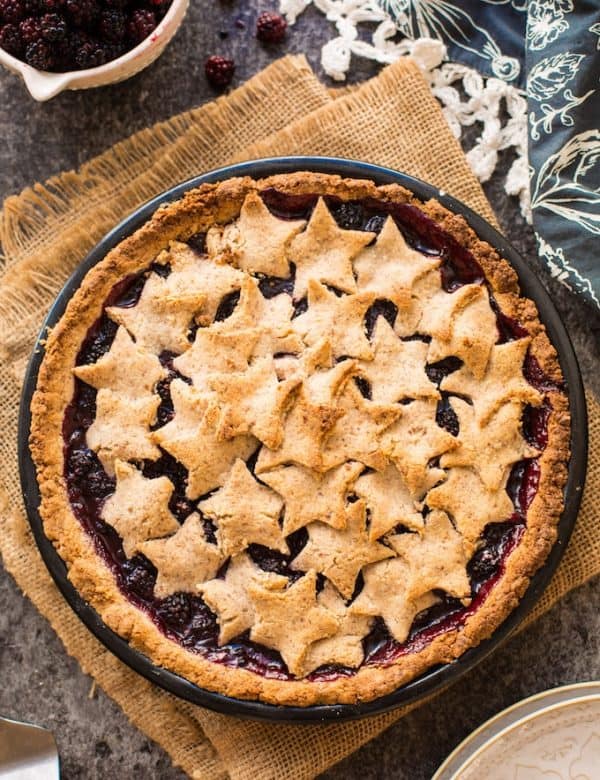
If you’re looking for a new gluten free pie crust recipe to sink your teeth into – this cassava crust is for you! And then go ahead and make my homemade cherry pie (pictured above) to test it all out.
This crust is:
✔️gluten free and grain free
✔️easy to roll, crimp and braid
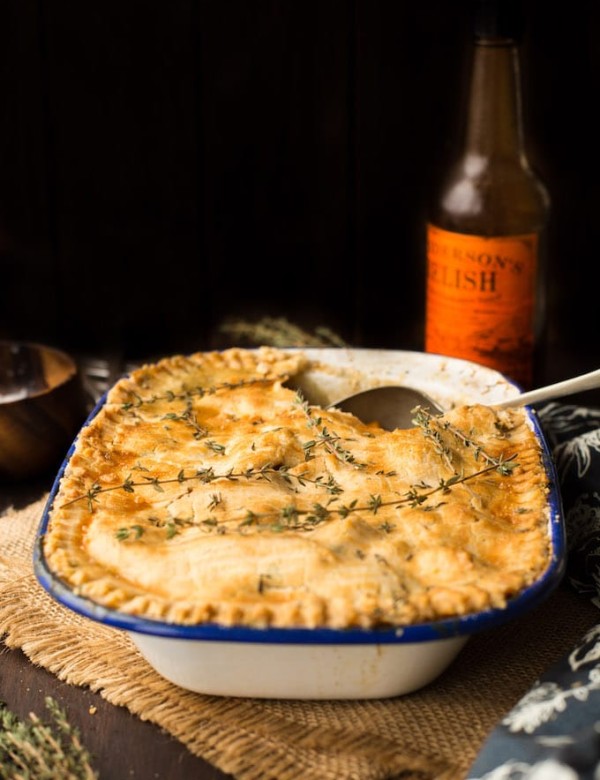
✔️great in both sweet and savory recipes
✔️flaky and delicious!
Ingredients
- Cassava Flour: Make sure to use cassava flour and not tapioca starch. Even though they come from the same thing, tapioca is more processed meaning it has less fiber and structure than cassava which behaves differently in baking.
- Starch: So far I have made this successfully using arrowroot starch and potato starch. Corn starch will likely also work, but I haven’t tested it yet.
- Xanthan Gum: Xanthan gum makes this crust more elastic and easy to roll out. You can make this gluten-free pie crust recipe without it, but your crust will be more crumbly and difficult to roll.
- Fat: Use a mix of butter and vegetable shortening or even lard.
- Eggs: Eggs are essential in this crust as they provide fat and protein which make this easy to roll, stretch and braid.
- Salt: You can omit the added salt if using salted butter.
- Sugar (optional): Only add sugar if you’re planning on make a sweet pie.
Why Use Two Types of Fat?
It’s makes for a super flaky crust! Shortening and lard both have higher steam points than butter which allows it to puff up in the oven as it heats up which results in a flakier texture.
Steps
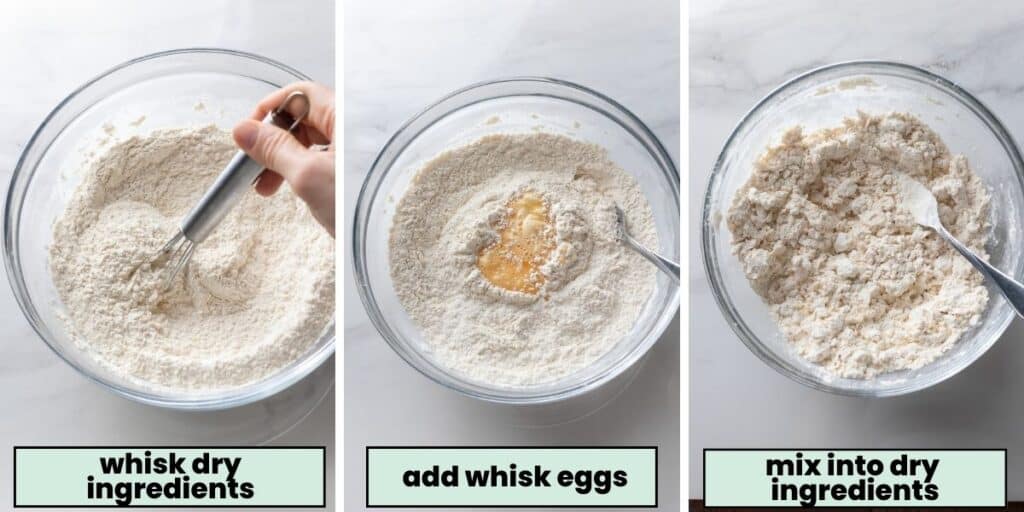
- Whisk together the dry ingredients.
- Stir the eggs (whisk eggs before adding) into the flour mixture.
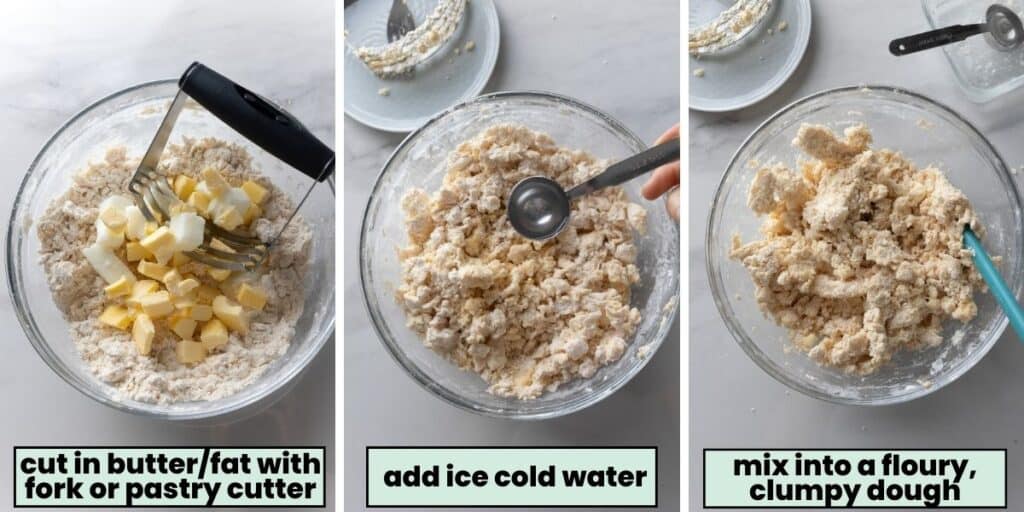
- Add the chilled butter/fat to the bowl. Use a couple of forks or a pastry cutter (AKA pastry blender) to ‘cut’ the butter into flour.
- Add 2-3 tablespoons ice cold water to the dough. Mix and add more water until you end up with a floury, dough that clumps together.
Why ‘cut’ in the butter?
Cutting in the butter allows you to break big chunks butter down into smaller pieces while also mixing and coating it in flour and other dry ingredients. This allows the butter to mix in just enough without fully melting into the other ingredients. You want the butter to melt in the oven as it bakes to create little pockets of steam which makes for a flaky crust.
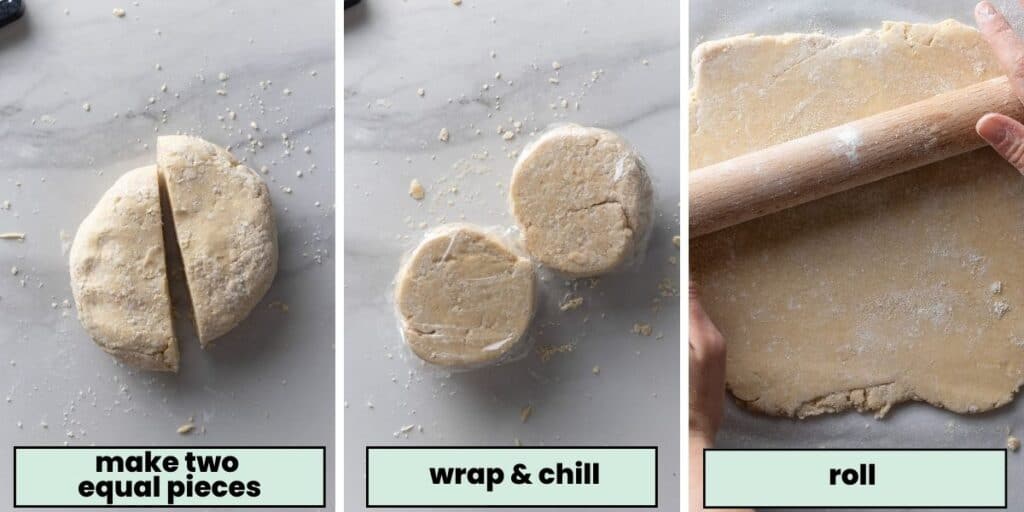
- Gently press and form the dough into one big ball.
- Cut into two equal sized portions of dough then cover and chill in the fridge for about 20-30 minutes.
- Roll out on a large, lightly floured pieces of baking paper or silicone mat then transfer & press into your pie pan.
Tip!
Through a lot of trial and error, I’ve found that the less you handle the dough, the better the crust will be. Excessive needing and roll will melt the butter/fat fully into the pastry which will reduce the overall flakiness of the dough.
When and How to Par Bake
Par baking (also known as blind baking) the crust is when you partially bake the crust before adding a filling. The goal is to ensure that the bottom crust and filling finish baking in time together to prevent a soggy bottom.
Whether or not you should par bake the crust entirely depends on the recipe you’re making. If the pie filling bakes faster than the crust you’ll likely need to par bake it. If the filling cooks in time with the crust, you don’t need to worry about it.
Par Baking Steps
- Preheat oven to 375°F/190°C.
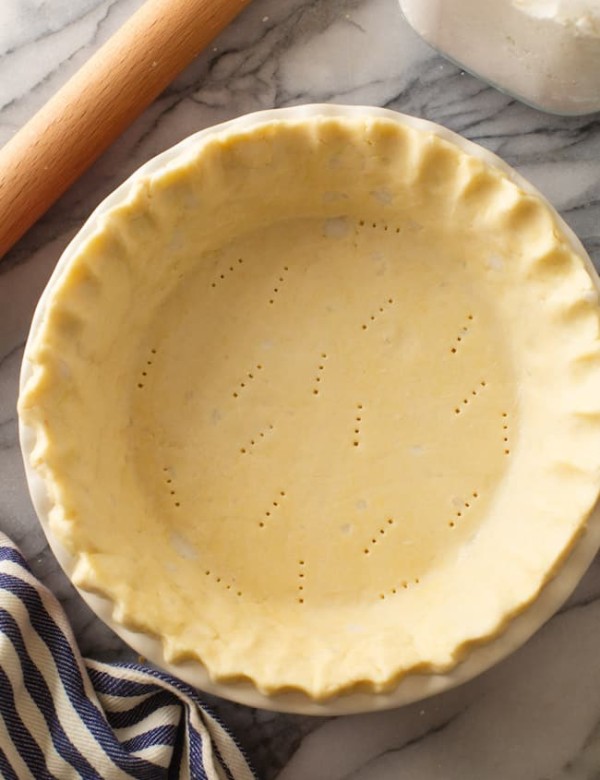
- Roll out and transfer pie dough to pie dish. Press into the bottom and sides of the dish. Flute the edges if desired.
- Scrunch up a piece of parchment paper and place in the center of the unbaked pie crust. Top the paper with about 2 cups of pie weights or dry beans.
- Place in the oven and bake for about 15 minutes. The edges will start to brown.
- Take the pie out of the oven and remove the weights/beans and paper. Prick holes across the bottom crust.
- Return to the oven and bake once more.
- For a fully baked pie crust: Bake another 12-15 minutes until the bottom is golden brown.
- For a par-baked crust: Bake about 7-8 minutes until the bottom crust is just starting to brown.
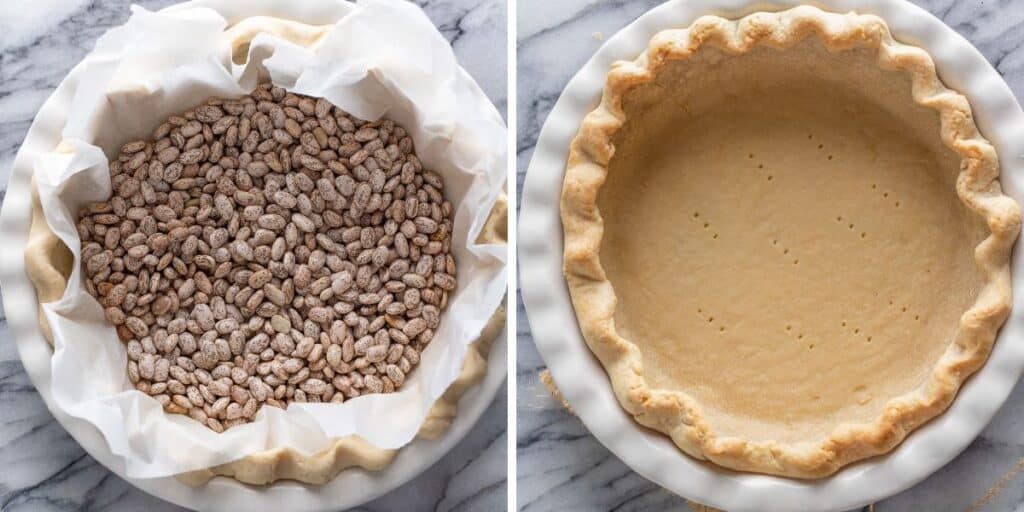
Do I have to use Pie Weights/Beans?
No, but they are useful!
True to the name, pie weights work by weighing down the crust to keep it from puffing up in the middle or shrinking too much as it blind bakes.
You can skip the weights and poke the bottom of the crust all over with a fork before baking. The technical term for this is docking. The idea is to create space for the steam to escape without puffing up too much.
Results for docking can be a bit hit or miss as the crust is more likely to shrink and bubble up. It’s still my go-to method as I don’t mind a messy looking crust. However, if you do want a really pristine looking pie, use weights.
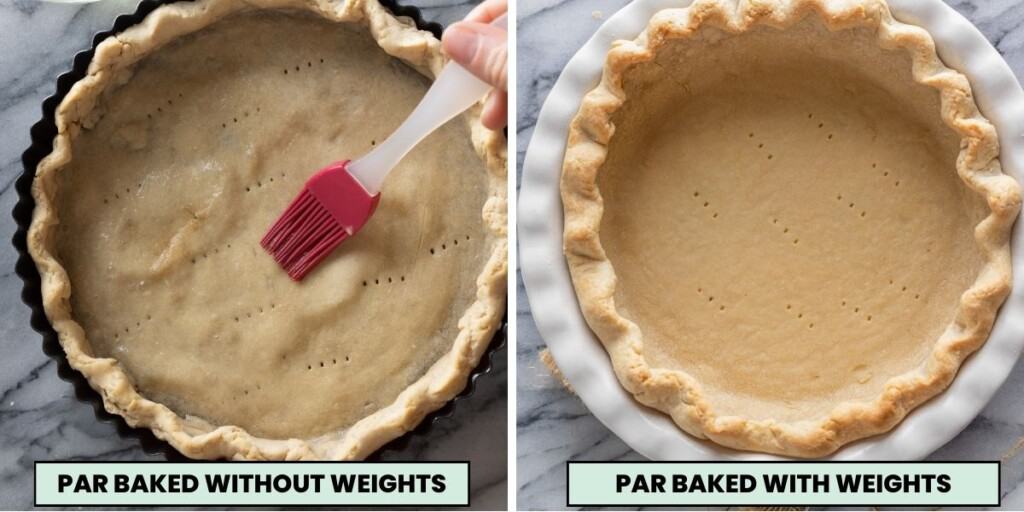
Final Tips for a Flaky Pie Crust
- Make sure to chill the butter/fat first. If possible, prep the butter before you begin. Measure out how much you need, dice or grate then cover and chill in the fridge until you’re ready to go.
- Leave large, visible pieces of butter/fat visible. These specks of fat steam up in the oven which makes for a flaky crust.
- Use a pastry cutter or food processor to mix the dough. These are both fast, easy and efficient ways to work the butter in to the dough without melting the butter with the heat from your hands.
- If using a food processor: Make sure to pulse the dough together in short burst so you don’t over mix the dough.
- Chill before baking. The dough will naturally warm up as you mix and roll. Chill the dough right after mixing and again after you’ve pressed it into your pie dish before baking. You ideally want a cold crust going into a hot oven for a super flaky texture.
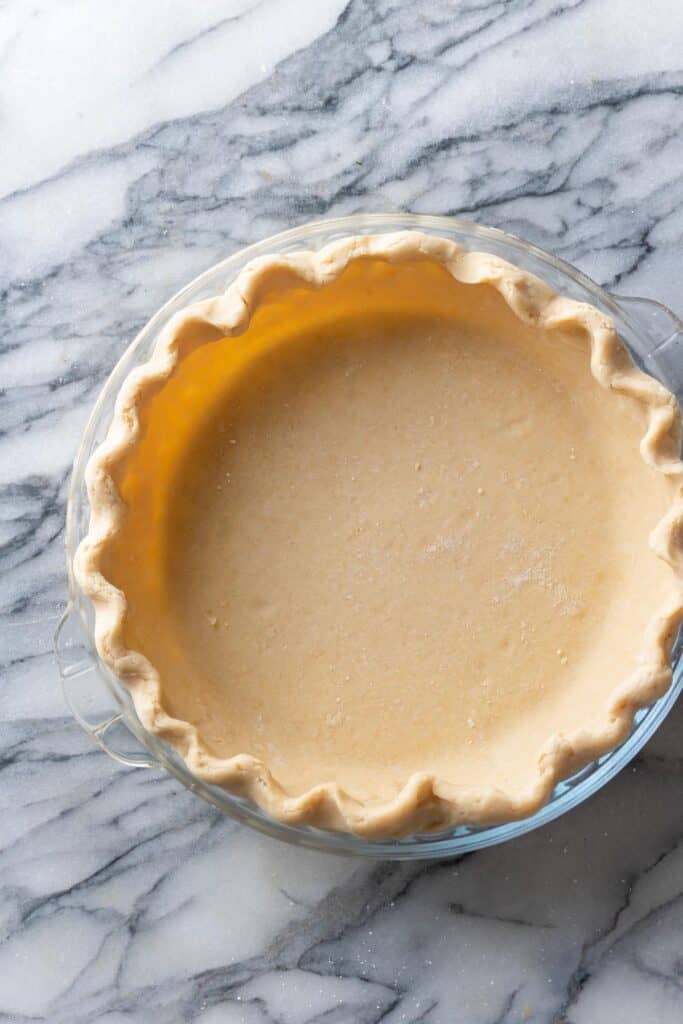
Let me know if you try this Cassava Flour Pie Crust recipe! Leave a comment and review with your thoughts. I always appreciate the feedback and serving suggestions that you come up with!
For more cassava flour recipes check out my Double Chocolate Cassava Muffins, Gluten Free Cherry Pie as well as this Gluten Free Flatbread!
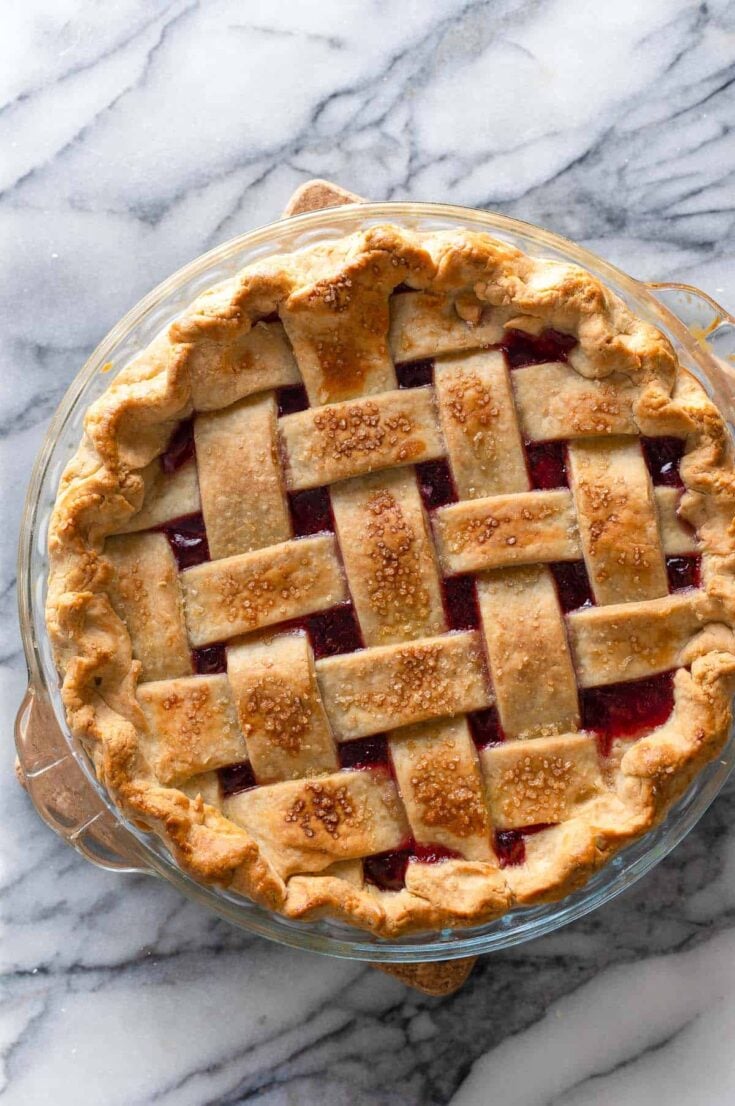
Cassava Flour Pie Crust
The recipe makes enough for two 9-inch pie crusts
Ingredients
- 1 3/4 cup cassava flour (210g)
- 1/2 cup arrowroot starch (65g)
- 1 1/2 teaspoon xanthan gum (optional - see notes)
- 1 teaspoon salt
- 2 eggs, whisked
- 1/3 cup vegetable shortening or lard, chilled and diced* (75g)
- 1/3 cup cold butter, diced (75g)
- 3-5 tablespoons ice cold water
Instructions
Dough
- Whisk cassava flour, arrowroot flour, xanthan gum and salt together in a large mixing bowl.
- Make a small well in the middle of the flour. Pour the whisked eggs in the well then stir into the flour.
- Add the chilled and diced shortening and butter to the flour mixture. Mix into the flour mixture with a couple of forks or pastry cutter a sandy kind of mixture.
- Add the ice cold water, 1 tablespoon at a time. Mix in between each addition of water. Keep adding water and mixing until the dough comes together.
- Divide dough in half (each half weighing about 310g). Form each half into disc shape. Wrap tightly in plastic wrap and refrigerate the dough for at least 20 minutes and up to 5 days.
Roll & Bake
- Lay out a large piece of parchment paper or silicon baking mat. Lightly dust your hands, the work surface and rolling pin with flour.
- Place one half of the dough in the middle and begin rolling it out. Sprinkle over a little more flour as you go if it starts to stick to the rolling pin. Every so often flip the dough over to make sure it's not sticking to the paper. Roll into a circular shape that is at least 12 inches in diameter to easily fit a 9-inch pie plate. It will be about 1/8 inch/ a little over 3 mm thick.
- Use the parchment paper to transfer your dough to the pie dish. Slip one hand under paper to gently lift and flip the dough over into the pan.
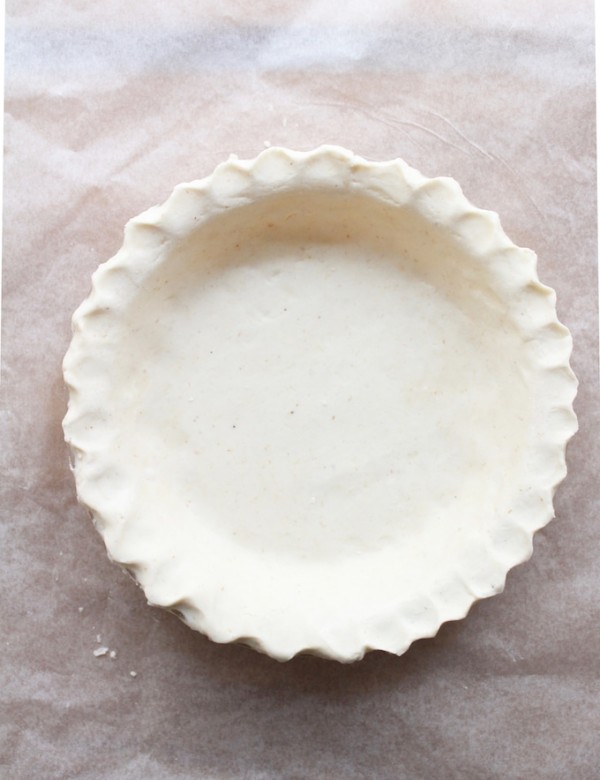
- Peel back the paper and sooth over any cracks or breaking points in the dough. Use the dough hanging over the edges of the pie dish to cover up the holes in the middle. Crimp the edges of the dough as you like.
- Proceed with the pie according to your recipes instructions.
Notes
- Freeze: Wrap up tightly in plastic wrap then seal in an airtight, freezer-safe bag. Freeze up to three months. Defrost overnight in the fridge before use.
- Whisk the eggs in a small cup or bowl before adding to the flour.
- You can use all butter if you don't want to use shortening or lard.
- Make sure to rest the dough and let it warm up a bit so you can easily roll it out if you've chilled it longer than 30 minutes.
- Xanthan Gum: Xanthan adds structure making a stronger, more elastic dough that doesn't crumble as easily while rolling and after baking. However, you can leave it out of the recipe. If you make this without xanthan gum, then I recommend you keep it simple with the top crust (no lattice top crust or intricate braiding).
- Recipe adapted from Ottos Naturals
More Gluten Free Pie Crusts
- Flaky Gluten Free Pie Crust – This is more similar to a traditional pie crust but it’s made with gluten free all purpose flour. It’s best with butter or vegan butter, but you can make it with coconut oil.
- Almond Flour Pie Crust – A paleo pie crust recipe made with almond flour. A great option for to use when you want a grain-free crust. You can use it in both sweet pies (like this pecan pie) and savory pies (like this Spinach Feta Pie).
- The crust in this Homity Pie combines almond flour and gf all purpose flour (instead of wheat flour) with the idea of mimicking a wholemeal-like crust.
- Make the crust found in this Vegan Bakewell Tart for a shortbread-like crust ideal for sweet pies.



Leave a Review!