Light and decadent 3 ingredient Aquafaba Chocolate Mousse – gluten free + vegan
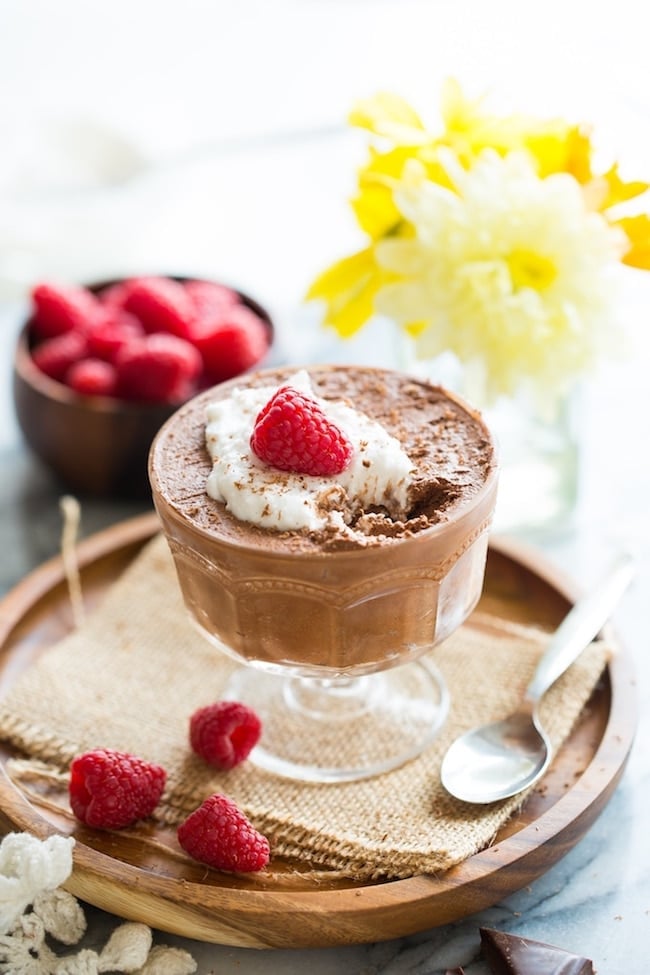
Aquafaba: are you familiar with it yet?!
Basically the gist of it is that aquafaba = bean water. It’s the goopy brine/water you find in cans of beans. So all that weird bean water that you and I once use to pour down the drain actually has the ability to replace eggs in some instances. So yeah…don’t dump it out anymore! Save it, freeze and be in awe of it!
The really cool thing about aquafaba is it’s ability to mimic egg whites. If you beat it up with an electric/stand mixer it will eventually fluff and form stiff peaks much like egg whites do when making meringue. In fact you absolutely can and should make aquafaba meringue!
But first you should make this Aquafaba Chocolate Mousse because it’s straight up magical. It’s
🌟incredibly light
🌟next level, creamy
🌟super easy to make (just need a little bit of patience)
🌟made up of only 3 basic ingredients ingredients
Bonus: It can also be pretty low calorie/low carb depending on the the type of chocolate you use. I’ve calculated the nutrition info here just using a standard 70% dark chocolate bar but you can make this using any type of chocolate sweetened with any of sweetener.
How to Make: Aquafaba Chocolate Mousse
Making this mousse really just comes down to whipping up the aquafaba. It’s not hard but it might require a little patience to get the job done right. A few things to keep in mind when making this:
- Pop your aquafaba & mixing bowl in the fridge for at least 10 minutes before you begin mixing. I’ve found that the aquafaba whips up much easier when everything is cold to begin with.
- Make sure that your chocolate is completely cooled or at room temperature before adding it to your whipped aquafaba otherwise it will end up looking a bit grainy and decrease too much in volume.
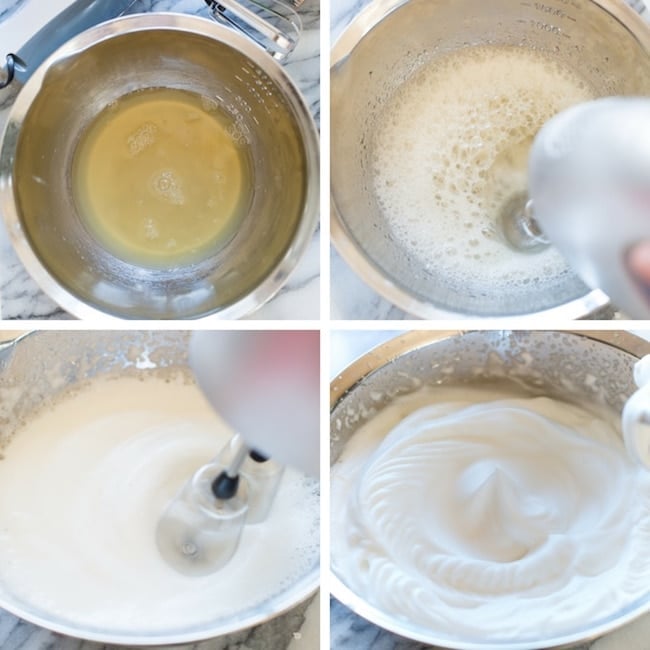
- Mix on HIGH until the aquafaba forms stiff peaks as seen in the bottom right photo just above. You should be able to flip your mixing bowl upside down without the aquafaba falling out. Please be careful if you want to test that though because you don’t want to accidentally dump out your hard work.
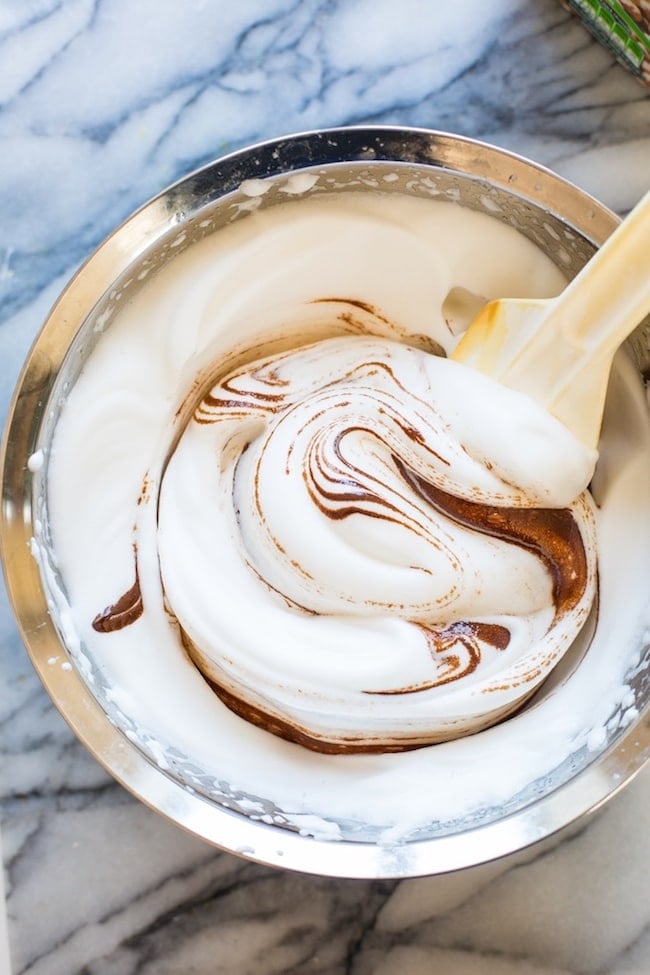
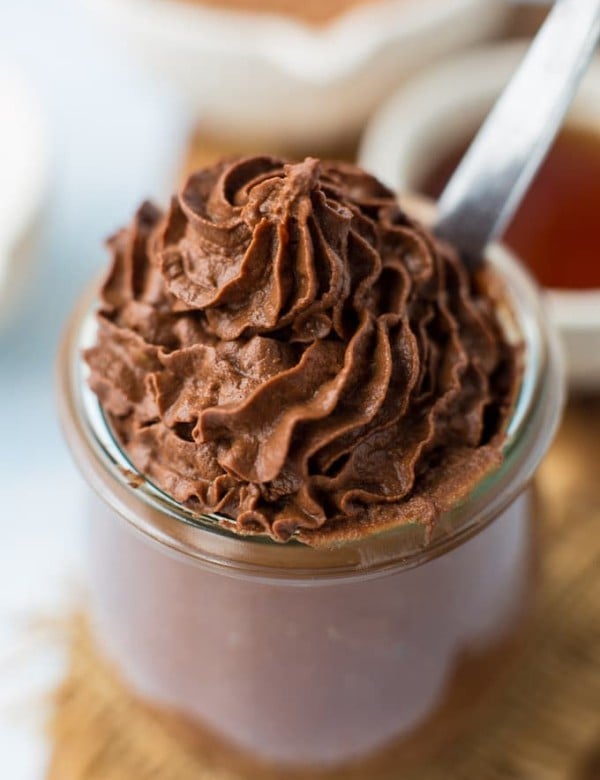
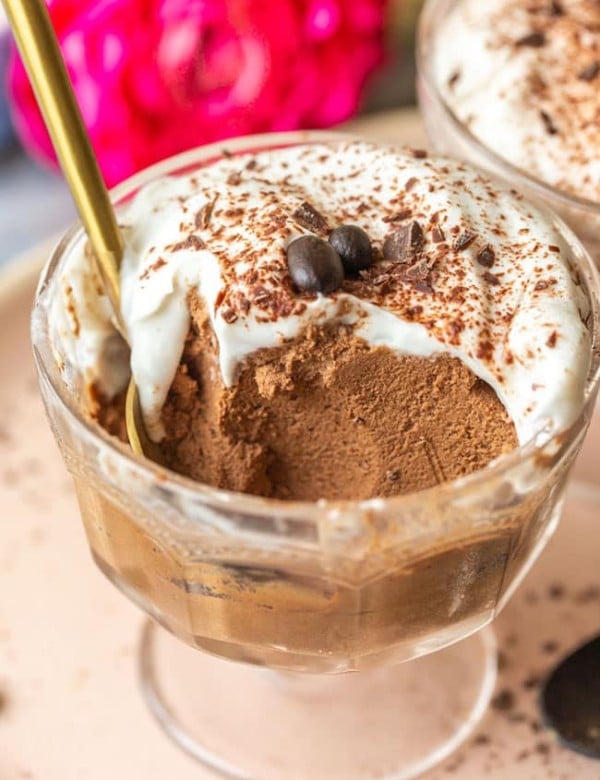
Once your aquafaba fluff is ready you can start mixing in the chocolate. Start with the cooled melted chocolate and mix in and then sift in the cocoa powder. The end result will be a thick, silky looking chocolate. Pour or spoon it out into two little cups or bowls and place in the fridge to set. Depending on how well the aquafaba was whipped before will dictate how long it needs to set in the fridge. At the very least it will probably need about 30 minutes.
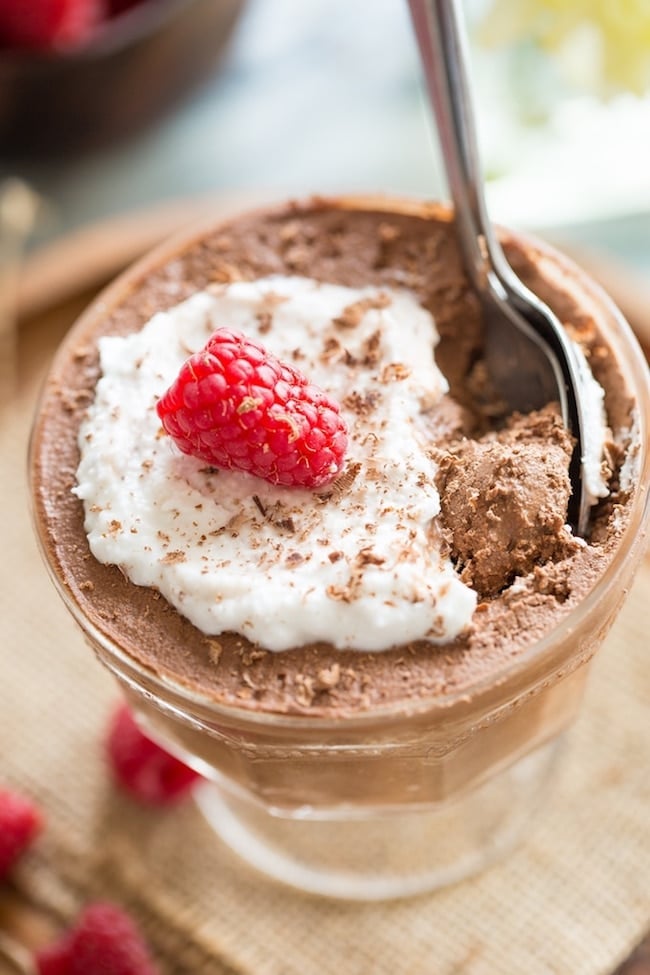
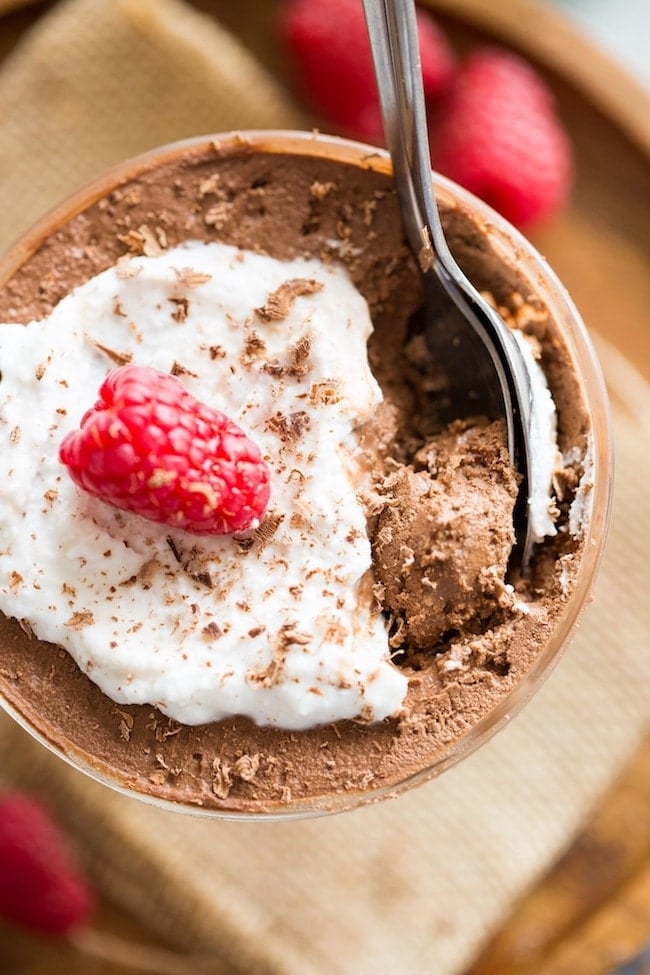
And then you’re all set. Top it off with a dollop of coconut whipped cream, fresh berries and/or a few chocolate shavings for good measure. If you’re looking for an even more decadent dessert you can try making this Chocolate Mouse Pretzel Crust Pie!
This will keep in the fridge well for at least a week – probably longer but they never last longer than that to find out!
Enjoy!
FACEBOOK | INSTAGRAM | PINTEREST
Don’t forget to #asaucykitchen on instagram if you try this Aquafaba Chocolate Mousse. I love seeing what you make! You can also post your pictures to my facebook page!

Aquafaba Chocolate Mousse
Light and decadent 3 ingredient Aquafaba Chocolate Mousse - gluten free + vegan
Ingredients
- 1/2 cup | 120 ml aquafaba, from 1 can unsalted chickpeas
- 100 grams dairy free dark chocolate, chopped or in chips
- 1-2 tablespoons unsweetened cocoa powder , sifted
Instructions
- Place the chocolate in a microwave safe bowl. Melt in 30 second increments whisking after each segment until the chocolate is completely melted and smooth. Once melted set aside to cool completely.
- Add the aquafaba to a large mixing bowl (ideally one that has been chilling in the fridge for at least 10 minutes).
- Use electric beaters or a stand mixer to beat the aquafaba on high until stiff peaks form. This can take anywhere from 10-15 minutes depending on the quality of the aquafaba. Just keep beating and scraping down the sides until the aquafaba has at least tripled in volume and stiff peaks form. Your aquafaba should be beaten and stiffened up so much that if you flip your bowl upside down it stays in place or the aquafaba sticks to the beaters when lifted up.
- Pour the cooled chocolate into the aquafaba mixture as you continue beating the aquafaba. The volume will decrease as you add in the chocolate by about a third.
- Stop beating and sift in the cocoa powder. Continue beating until combined.
- Pour or spoon the mousse into 2 small containers then place in the fridge to full set for about 30 minutes.
Notes
Before you begin: I recommend placing your mixing bowl and the aquafaba in the fridge or freezer for at least 10 minutes before you start. I find that the aquafaba tends to whip up better when your equipment is cold to start with.
I typically use around 70% dark chocolate but this is up to you. Keep in mind if you use really dark chocolate you may want to add a little sweetener to it.
Nutrition Information
What to make with the leftover chickpeas?
- Chickpea Coconut Lime Soup – vegan
- Mediterranean Chickpea Stew with Spinach & Feta
- Mediterranean Stuffed Sweet Potatoes with Marinated Chickpeas – vegan
- Sweet Potato Noodles with Chickpeas & Creamy Avocado Sauce – vegan
- Spicy Chipotle Chickpea & Butternut Squash Kale Salad – vegan
- Avocado Chickpea Pesto Salad – Vegetarian
- Spanish Chickpea Chorizo Stew
- Chickpea Kale Anitpasto Salad




Sandra says
I made it but it a bit salty and it didn’t firm up. It was like soup.
Sarah Nevins says
Hi Sandra! Sorry to hear it didn’t work out for you!
When you were whipping up the chickpea water (before adding the chocolate) – did your aquafaba whip up into stiff peaks? Often when the mousse doesn’t firm up it’s because the aquafaba needed more time to whip. As for the salty flavor, did you make sure to use unsalted chickpeas/beans? Many cans come with added salt/brine for extra flavor, but this is really best when they’re used in savory dishes.
Lauren says
I made this today and it was so yum! It did end up grainy even though my chocolate was room temperature. I think the bowl was still a little too cold and the chocolate cooled to quickly…
BUT I also only had cans of the beans that contained some salt in the brine. Could that have made it grainy?
Sarah Nevins says
Hi Lauren! Great question about the salty brine! I don’t know if that could have made a difference to the texture, but I’m going to play around with that and see. The main reason I recommend unsalted chickpea water is that the salt can sometimes be too overpowering in the mousse. That being said, I think you might be on to something with the bowl temperature. It’s like the sudden change in temperature made the chocolate seize up a bit making it a bit grainy.
Glad you enjoyed it!
Shreta says
Hello Sarah,
I was looking at various recipes to make a chocolate mousse using aquafaba and most of them say to use aquafaba at room temperature. I was wondering if you put your room temperature aquafaba in the fridge for 10 minutes and by the time it whips up it’s at room temperature and does not affect the chocolate?
Thank you.
Sarah Nevins says
Hi Shreta! I like using chilled aqaufaba because it whips up faster and easier, but the motion and time it takes to whip it up should bring it up to temperature enough that it blends in with the chocolate well. It’s also important to make sure that the chocolate has cooled to room temperature as well – I think a lot of people add the chocolate when it’s still a little warm which will almost certainly cause the mixture to look grainy. Does that make sense?
Rebecca Shaw Divin says
I made this last Christmas and it was. Great hit. Planning on making again this year – how far ahead can I make it. Wanting to make it on the 23rd for consumption on the 25th.
Sarah Nevins says
Yay! So glad to hear that! You should be fine making it the 23rd and eating it on the 25th – aquafaba mousse should last in the fridge at least 3 days (up to four).
Lee says
So GOOD!! Thank you for the recipe! After 15-min of whipping, the Aquafaba was still not as stiff as I hope it would be… but I worried that I was over whipping it, so I start adding the chocolate. So yes, mine turned out a bit softer than I would like, but it is super delicious nonetheless.
Question: how much longer can I go after the 15-min mark before It become “over-whipped”?
Thanks again
Sarah Nevins says
Thanks Lee! SO happy you enjoyed it even though it wasn’t as mousse-like as you might have wanted 🙂
When it comes to whipping up aquafaba you won’t really run into the the problem of over whipping it until after it’s reached the ‘stiff peaks’ stage. If you whip for too long after that then you might run into the issue of it deflating again, but not likely before that.
I’ve read that some people will simmer their chickpea brine for 5-10 minutes over a low heat get it thicker. I think the idea is to evaporate some of the water so that they brine is more goopy and easy to whip. That can get a little more tedious though because you have to be careful not to reduce the brine down too much and then wait for it to cool down before using.
An easier possible alternative: It could be worth switching up the brand of chickpeas that you use to see if that makes a difference. I’ve noticed that the more goopy looking chickpea brine in some cans whips up MUCH easier than the more watery brine that I get from other brands.
Hope that helps!
Mvsp says
Sooo tasty! The perfect quarantine dessert, few ingredients and using all of the can of beans. Thank you!
Sarah Nevins says
I agree! So glad you liked it!
Jenny says
Wow, this was so tasty, My husband went looking for more (I didn’t tell him till afterwards what or was made from though)! It took around 20 mins to whisk it to stiff peaks but it was well worth the messing. I used milk choc as I had some out of date that needed using so I’m looking forward to trying dark chocolate next time. Thanks for this recipe 🙂
Sarah Nevins says
Yay! That’s so great to hear! Thanks so much coming back to let me know what you guys thought 🙂