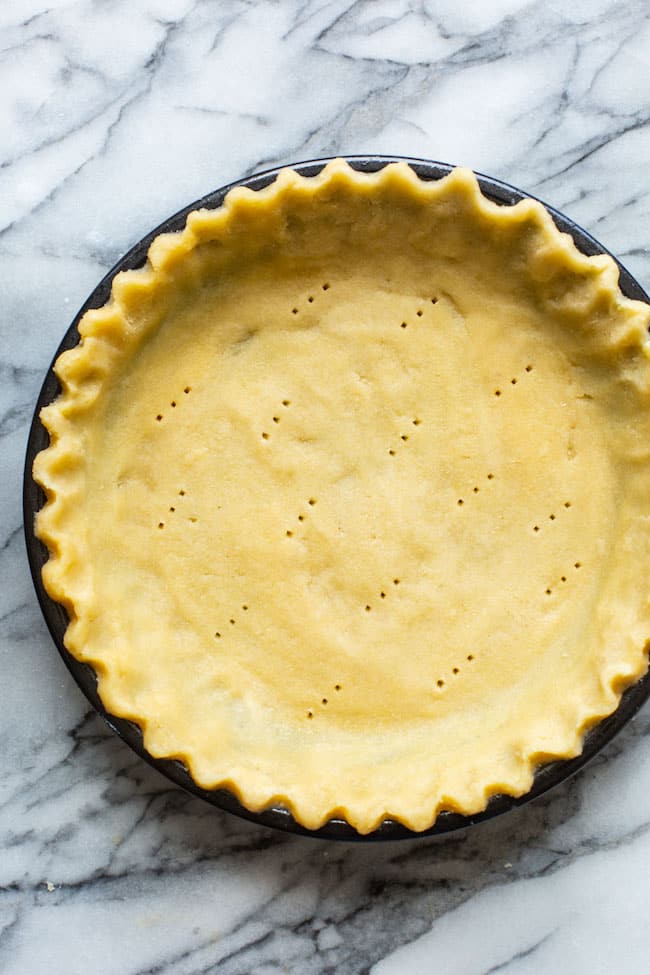
Five ingredient almond flour pie crust – easy to make with dairy free and egg free options! Use in sweet or savoury pies, quiches and more! Gluten Free + Low Carb + Vegan Options
Question:
What’s your favourite type of pie? Do you like a sweet pie? Savory pie? Is it a no bake or maybe fruity?
If you’ve got any requests just let me know! I’ve been testing all kinds of allergy friendly/diet flexible pie crusts these past few weeks.
In addition to this almond flour pie crust recipe I’ve also made a flaky gluten-free pie crust recipe and a coconut flour pie crust to cover all your potential pie needs!
In the mean time I’m excited to finally be able to share this one! It’s:
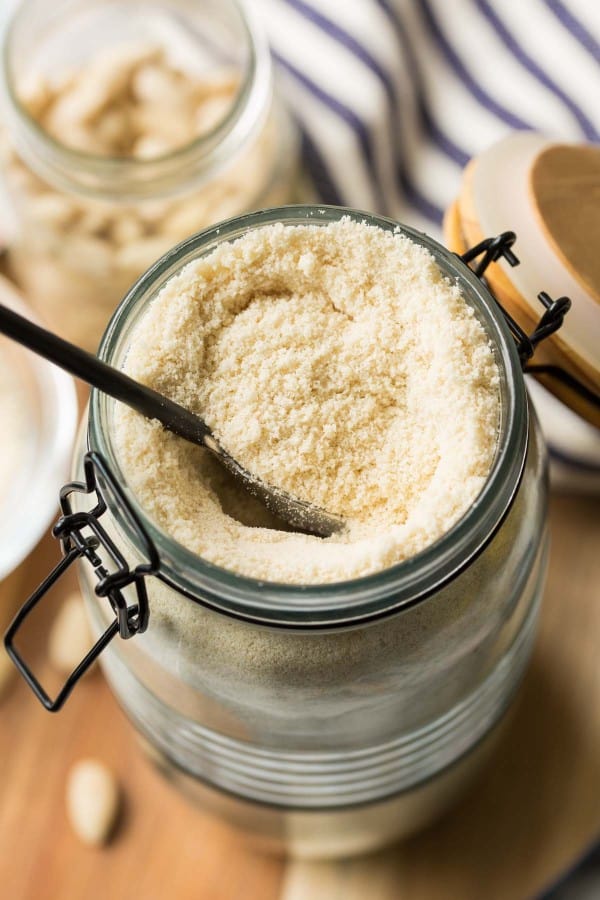
✔️almond flour/almond meal (instead of wheat flour or regular white flour makes this grain free and low carb – suitable for a keto diet)
✔️made with only a handful of ingredients
✔️much easier to make than a traditional pie crust – no pie weights, no food processor, stand mixer, pastry cutter or special equipment needed
✔️is egg free, dairy free & vegan adaptable
So let’s get to it!
How to Make this Almond Flour Pie Crust
Altogether this pie crust is super easy to make. It’s a simple recipe made only made with five simple ingredients that you probably already have stocked in a gluten free or low carb kitchen. You could even argue that it’s easier to make than a regular pie crust for a few reasons.
- No gluten mean no worrying about over mixing or over working the dough (makes for tough crusts).
- This recipe uses melted butter (or melted coconut oil) so you don’t have to wait for the dough to chill or fuss over cold butter.
- Melted butter/oil also makes the mixing SO easy compared to classic pie crust recipes.
What to Make with this Crust
The Steps
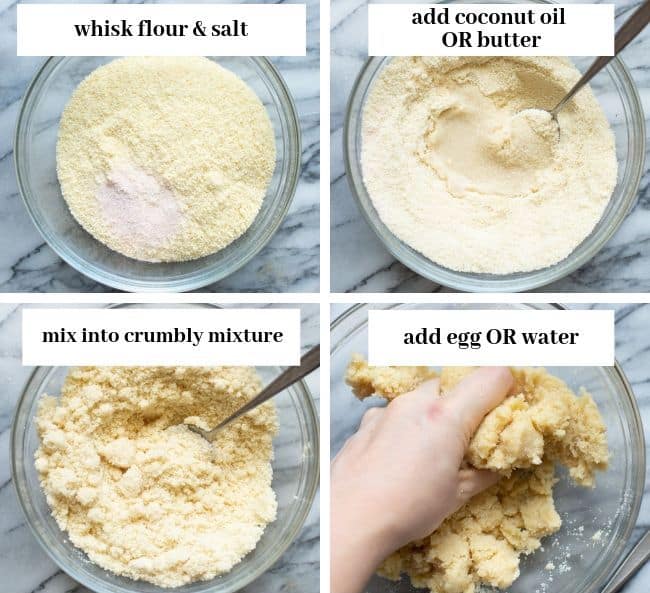
- Whisk together the dry ingredients (flour and salt).
- Mix in the coconut oil or butter. The dough will be soft and crumbly at this point.
- Add the egg. For an egg free alternative add water until a soft dough forms that can be pressed into a ball.
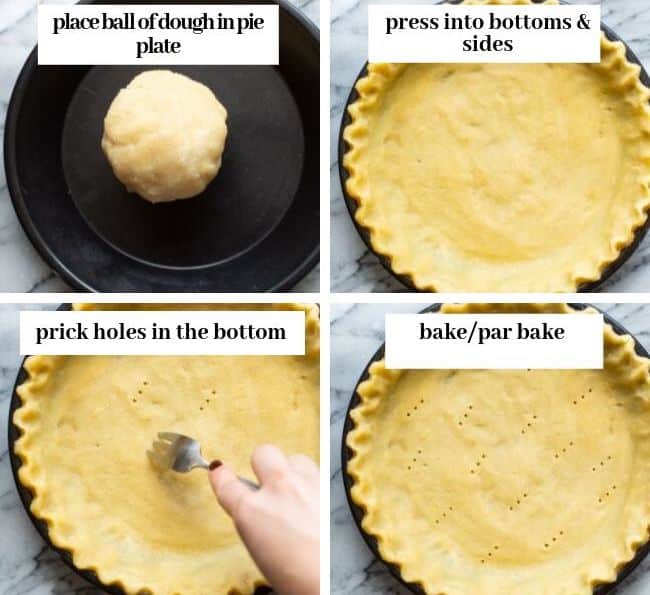
- Press the dough into your prepared baking tin.
- Prick a few holes across the bottom to prevent the crust from bubbling and puffing up as it bakes.
- Bake, par bake or freeze for later!
Tips & Other Things to Keep in Mind
- If you’re using coconut oil make sure you grease your baking dish well before using.
- Ideally you want to use a pie dish or tart pan with a loose bottom that allows you to easily lift the pie out. For some reason that I can’t yet figure out, whenever I make this with coconut oil the crust really wants to stick to the sides. Once it’s out the crust is fine, but getting it out without breaking can be tricky. If you use a loose bottom pan you can just run a knife around the edges and that will take care of the problem.
- The egg free crust will be a little more crumbly without the egg for binding. If you don’t need this to be a low carb crust you can replace 1/2 cup of the almond flour with tapioca flour or arrowroot starch. So that would mean you use 2 cups almond flour and 1/2 cup starch.
- Almond flour crusts tend to brown quickly so I recommend covering your crust with foil or baking paper after 20 minutes baking to prevent it from going too dark.
Freeze for Later
Freeze Un-Baked Raw Crust:
- Wrap the dough up well in plastic wrap or aluminium foil, and store in a freezer safe bag. Make sure to label the bag and note the date. You can save this up to three months in the freezer. To use: let the dough thaw in the fridge overnight and then use as you normally would.
Freeze the Pre-baked Crust
- You can also freeze the dough already pressed into your baking plate. Just make sure you wrap it up well to keep any air from getting to it.
- Make sure to store the dough in the bottom and back of the freezer so less warm air gets to it as the door opens. The more warm air that gets to your crust the more ice crystals will form.
Bake with It:
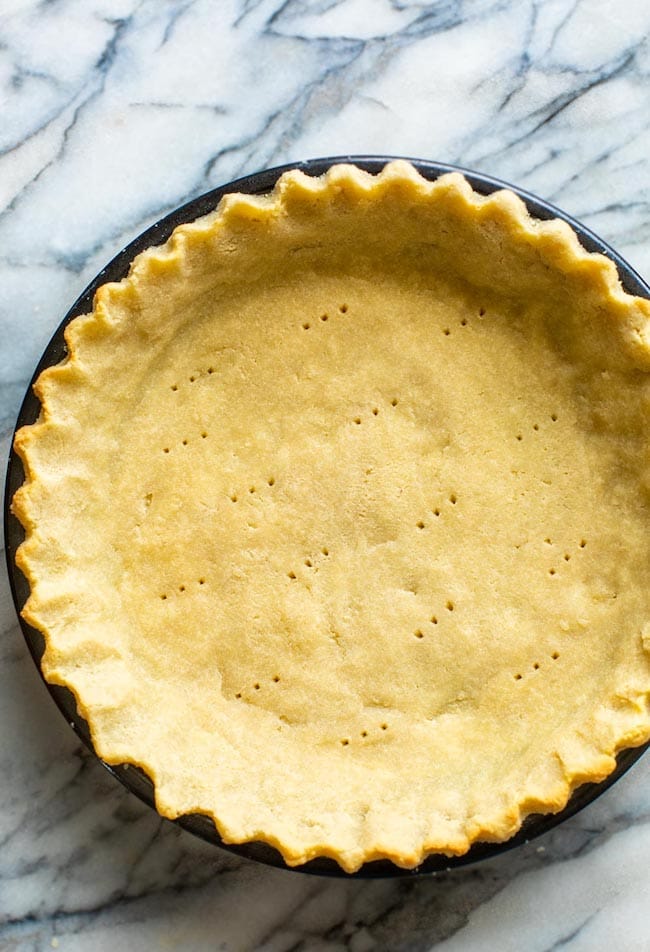
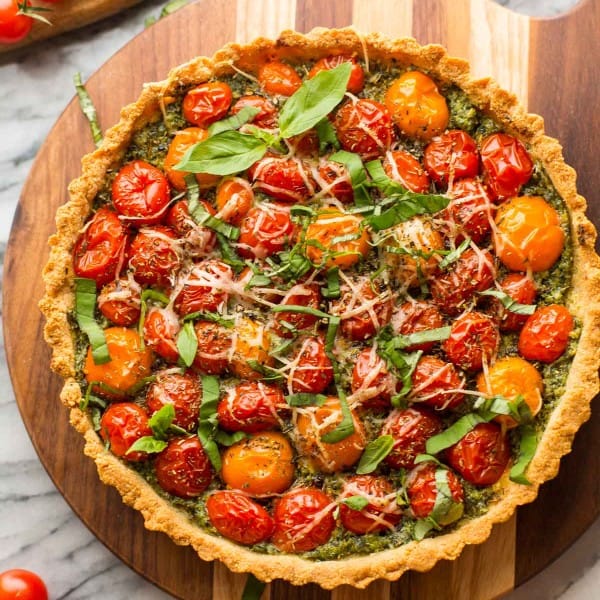
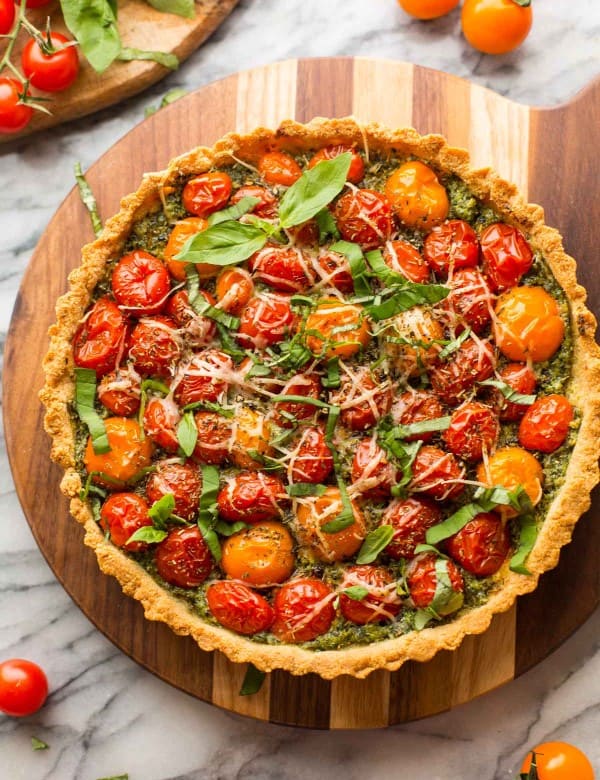
- Almond Flour Tomato Tart
- Bacon & Cheddar Jalapeño Quiche
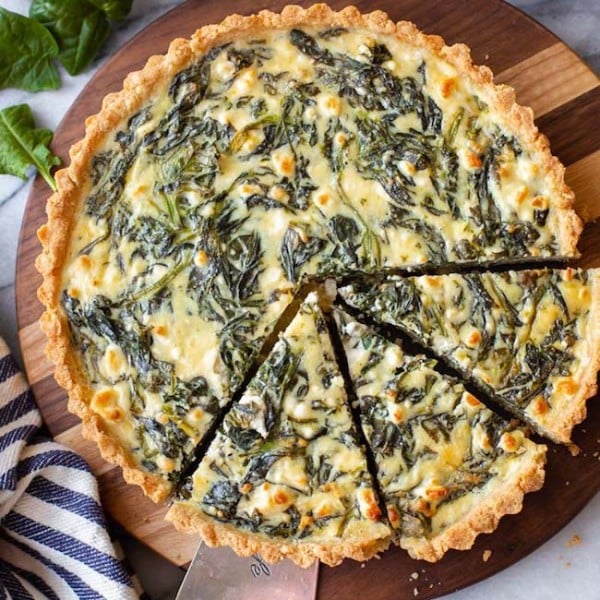
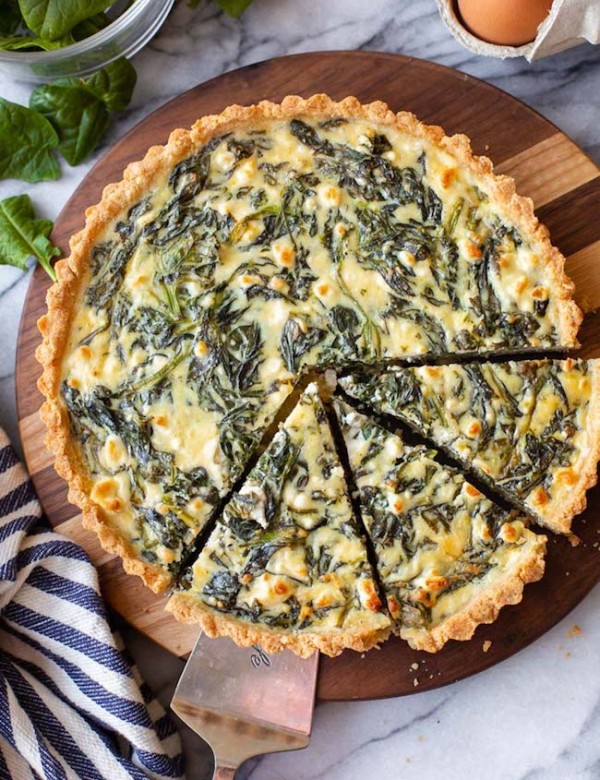
- Spinach Feta Pie With An Almond Flour Crust
If you’re interested trying a nut free and grain free pie crust you might also like my Cassava Flour Pie Crust as well. It’s flaky, easy to roll and great for making a lattice top crust!
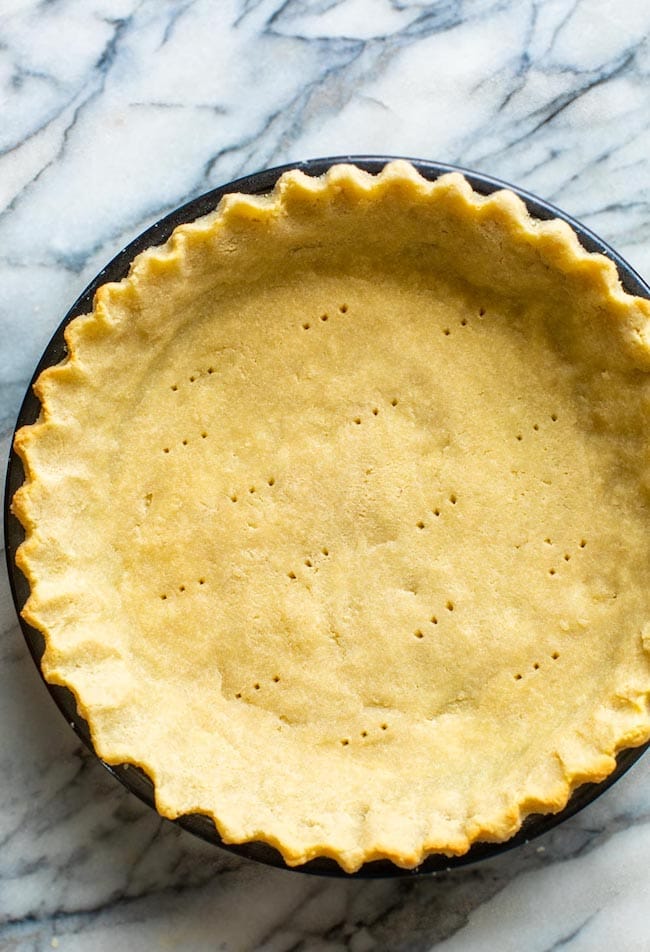
Almond Flour Crust
Five ingredient almond flour pie crust - easy to make with dairy free and egg free options! Use in sweet or savoury pies, quiches and more! Gluten Free + Low Carb + Vegan Options
Ingredients
- 2 1/2 cups almond flour (240 g)
- 1/2 teaspoon salt
- 2 tablespoons maple syrup (leave out if you're making a savoury pie/quiche)
- 3 tablespoons melted or softened coconut oil or butter/vegan butter (see notes for coconut oil)
- 1 egg (see notes for egg free)
Instructions
- Add the almond flour and salt to a large mixing bowl and whisk to combine.
- Stir in the maple syrup (if using) and coconut oil or butter. Mix until you get a soft, sandy-like texture. I find it easy just using my hands here.
- Add the egg and mix until a soft dough comes together. See notes for egg free version.
- Transfer the dough to a 9 inch pie plate. Use your hands to press dough into the pie dish to form your crust. The dough may feel a little oily at this point.
- To par bake the crust: Preheat oven to 350°F/177°C. Bake 10 minutes. To fully bake the crust without any filling bake for 20 minutes.
Notes
- Egg Free Version: Add 2-3 tablespoons of water in place of the egg
- If you use coconut oil: Make sure to grease your pan well - ideally you want to use a loose bottom pan for an easy release.
- The egg free crust will be a little more crumbly without the egg for binding. If you don't need this to be a low carb crust you can replace 1/2 cup of the almond flour with tapioca flour or arrowroot starch. So that would mean you use 2 cups almond flour and 1/2 cup starch.
- Almond flour crust tend to brown quickly so I recommend covering your crust with foil or baking paper after 20 minutes baking to prevent it from going too dark.
- This recipe makes enough for one 9inch pie crust. To make enough for a top and bottom crust, you will need to double the recipe, but add 3 tablespoons arrowroot or tapioca starch to the dough. The starch will help the top crust absorb the steam fro your pie filling which would make it greasy.
Freeze for later:
- Freezing the dough as a ball: Wrap the dough up well in plastic wrap/foil, and store in a freezer safe bag. Make sure to label the bag and note the date. You can save this up to three months in the freezer. To use: Let the dough thaw in the fridge overnight and then use as you normally would.
- Freezing the formed crust: You can also freeze the dough already pressed into your baking plate. Just make sure you wrap it up well to keep any air from getting to it.
- Make sure to store the dough in the bottom and back of the freeze so less air warm air gets to it as the door opens. The more warm air that gets to your crust the more ice crystals will form.



Heather says
Can I cook this in a glass pie plate? Or does it need to be baked in another plate? It will be baked all the way for a french silk pie.
Sarah Nevins says
Hi Heather! You can cook this in a glass pie!
Avery says
Can you keep pie in the fridge after you make it and put filling in it?
Sarah Nevins says
Hi Avery! Yes, you can store your pie as you would with a normal pie crust.
Jan says
A great recipe Realy works,did not add salt or maple syrup,made a great quiche
Sarah Nevins says
Thanks Jan – so glad you enjoyed it!
Connie says
Can I use sugar and how much? Instead of maple syrup?
Thanks for replying,
Connie
Sarah Nevins says
Hi Connie! Absolutely! I recommend adding 3-4 tablespoons sugar to make up for the fact that it’s not quite as sweet as maple
Elisabeth says
So how long do you actual cook the crust for? You say 10 minutes for par baked and then cover after 20 minutes of baking…but never actual say how long to cook for full baked crust.
Sarah Nevins says
Hi Elisabeth! Sorry! I should have been more clear there. If you want to cook just the crust and no filling then about 20 minutes should do it. If you’re using this crust in place of a regular to cook something else in it though (like and apple or pumpkin pie) then just cook the crust as the recipe instructs. Hope that helps!
Claire says
Just to beat a dead horse….so if my pumpkin pie recipe says 58-65 minutes I should NOT prebake and go for that time allowed. Should I cover at a certain point so the edges don’t burn? Thanks!
Sarah Nevins says
Hi Claire!
When it comes to pumpkin pie I do recommend par-baking the crust. I currently have a pumpkin pie in the oven to test everything out and so far par baking seems to be the way to go.
I baked it for about 15 minutes which was enough to start colouring the edges. After adding the filling I covered the edges in foil to keep them from going too dark during the final bake. If you’ve got the time I recommend letting the crust cool before covering the edges in foil as the crust won’t be quite so delicate when cool.
Hope that helps!
Kallie says
I am going to try this with an apple pie. Do you suggest baking the crust prior to adding the filling?
Sarah Nevins says
Hi Kallie! You should be alright baking everything at once – I’ve made an apple pie with this myself recently and didn’t need any additional bake time. Hope you love it!
Chantelle says
Do you reckon I could use cashew flour instead of almond? (can’t eat almonds but everything else sounds perfect)
Sarah Nevins says
Hi Chantelle! I haven’t tried it with cashew but I think it would work out just the same!
Penny Vadnais says
I’m wondering if a little avocado in the egg free version might help with the bind. Perhaps I’ll give it a try and let you know. 🙂
Sarah Nevins says
Ooh yeah – if you try it out let me know how it goes!
BethC says
Do you think this would work as an empanada dough (divided out)?
Sarah Nevins says
Hi Beth! If you use the egg I think you could use this crust as empanada dough. I might also recommend the dough from these homemade pizza rolls as well: https://www.asaucykitchen.com/homemade-pizza-rolls/ – I’ve used that dough to make savoury hand pies with a lot of success
Joanne says
An * in the direction next to the coconut oil would have been nice. I already have the crust smooshed into the pan. 😒
Here’s hoping. 🙏
Sarah Nevins says
Whoops! Sorry Joanne – I thought a note at the end would be enough. I’ve made a comment in the ingredients to look to the notes below. Hope it worked out for you!
Natalie says
I never made a pie crust with just almond flour, but it sure looks and sounds super crispy and delicious! Can’t wait to try this recipe soon!
Sarah Nevins says
Thanks Natalie!
Zeshan (she/her) says
Hi Sarah,
I par baked the crust for ten minutes before adding the filling. I used something called Naturli Vegan Block instead of butter. https://www.naturli-foods.com/products/organic-vegan-block/
But although the bottom of the crust was alright, the top was wet and stodgy.
Wondering if you can suggest if the cause would have been the vegan butter?
I added a spinach filling and ended up baking for an hour! But still, the crust was wet.
Do you think the butter was just too rich?
Thanks!
Sarah Nevins says
Hi Zeshan! It’s interesting that the bottom was fine but the top got soggy. Am I right in assuming that you made a top crust for your pie that went over the spinach filling (as opposed to the edges of the pie surrounding the top)? I actually used that exact vegan block while I was testing this for the vegan version so I don’t think it’s the butter.
I recently made a savoury pie myself using this recipe and noticed that the top crust didn’t fully crisp up the way I wanted it to. I’m almost certain that the problem was that the filling was steaming right into the crust which was holding on to the moisture. As you mentioned – the crust naturally has a lot of fat/richness which makes it hard to crisp up with so much direct moisture.
I haven’t been able to test it yet so it’s hard to give an exact amount, but I think the solution would involve adding a bit of starch to the crust to absorb the extra moisture. I think adding 2-3 tablespoons of starch (arrowroot, tapioca or potato starch would all work) to the dough would make a difference. You might also be able to simple sprinkle a little bit of flour over the top crust as it bakes. I’ll update the recipe though once I get a chance to test this out more!