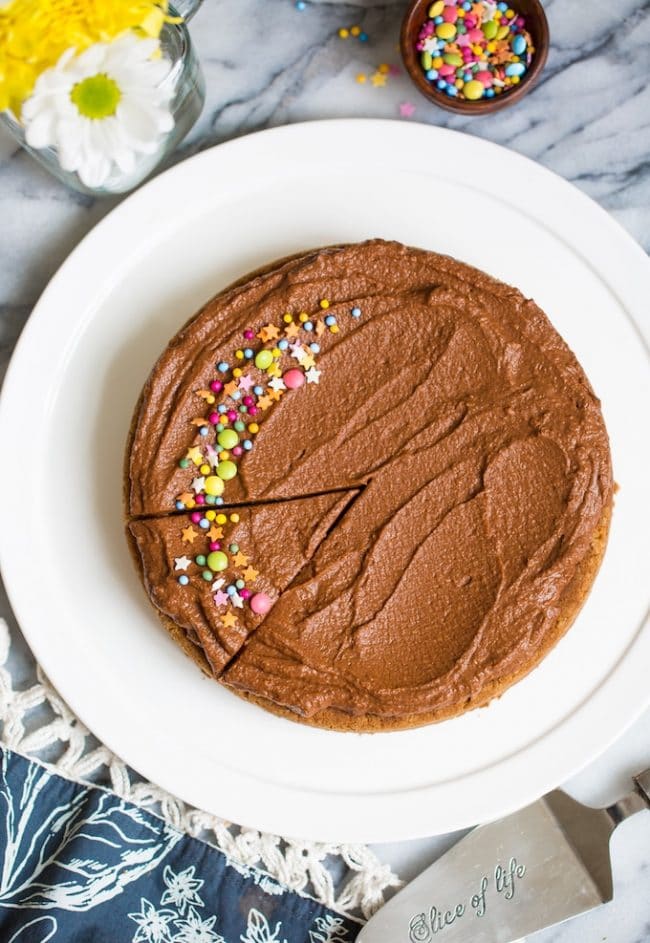
Soft and tender egg free yellow paleo cake made with coconut flour. Only 15 minute prep and about 25 minutes to bake with only 8 ingredients! This cake is dairy, nut, and egg free! Top it off with a paleo chocolate frosting, coconut whipped cream, or enjoy it as is!
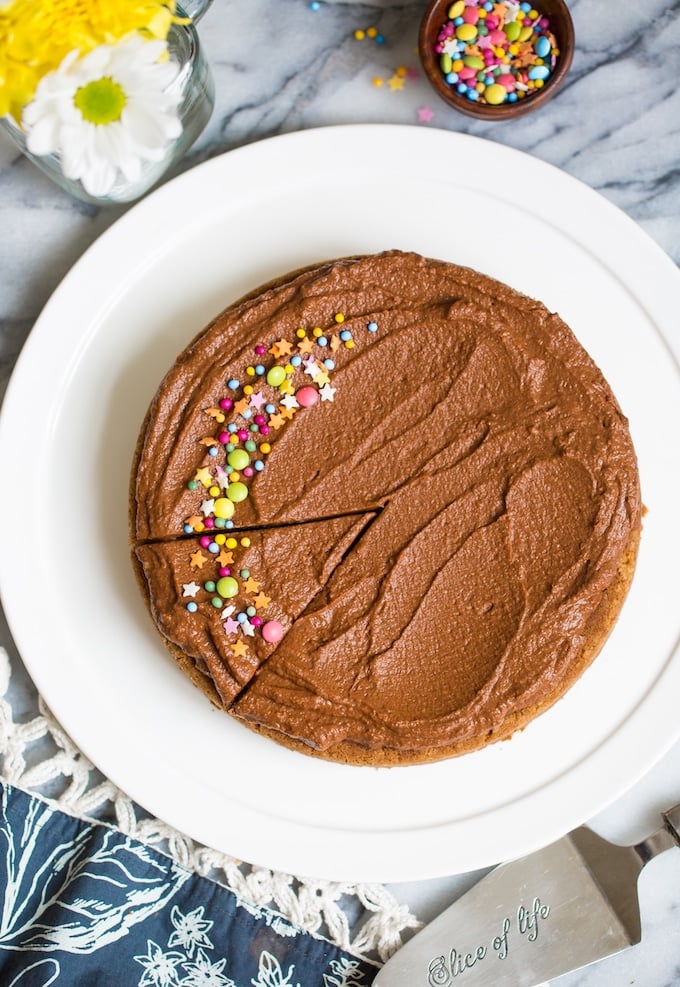
I can’t even tell you how much of an accomplishment it feels like to FINALLY have nailed this egg free + nut free vegan coconut flour cake recipe. No joke.
I’m not even exaggerating when I say that I went through at least 10 different variations of this coconut flour cake before finally getting it right. About halfway through all my testing I had to take a couple weeks off because I was so burnt out on baking cakes.
It’s my holy grail of recipe developing and I am so PUMPED to finally be able to share it with you guys! So let’s get to it…
Baking with Coconut Flour
So here’s the thing about coconut flour: it’s notoriously difficult to work with. I go into more detail about the ins & outs of baking with coconut flour in another post, but the gist of it is that’s just an extremely absorbent flour. You really need a lot of moisture in your ingredients which is why eggs are almost always a key ingredients in many coconut flour baked goods and why it took me so long to deliver on an egg free version of the original cake.
How to Make: Egg Free Paleo Cake with Coconut Flour
The base for this recipe comes from my paleo coconut flour cake that I shared a while back. The core ingredients are the same though the amounts themselves do differ by quite a bit: coconut flour, tapioca flour, coconut oil, vanilla etc with the addition of coconut milk for added moisture to replace the eggs.
Making the cake itself is pretty easy. The prep time should really only take about 15-20 minutes. It’s mostly just a matter of whisking and combining.
A Note about the Batter/Dough
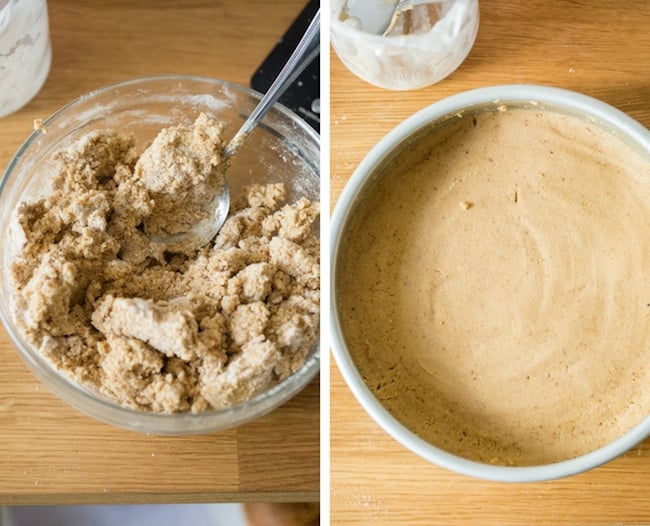
That all being said this cake making process will look and feel very different to what you would normally be used to when it comes to baking cakes. Instead of making a batter, this makes more of a dough. It’s thick and pliable and really needs to be handled differently than typical cakes.
Start out by mixing the wet and dry ingredients together separately: mix the flours and sugar in one bowl and the oil, milk and vanilla in another. To combine, pour the wet into the dry and mix together with a spoon as much as you can. Once your dough/batter resembles the clumpy dough in the picture above start using your hands to finish mixing. Clump the dough together and scrape down the sides mixing it all together.
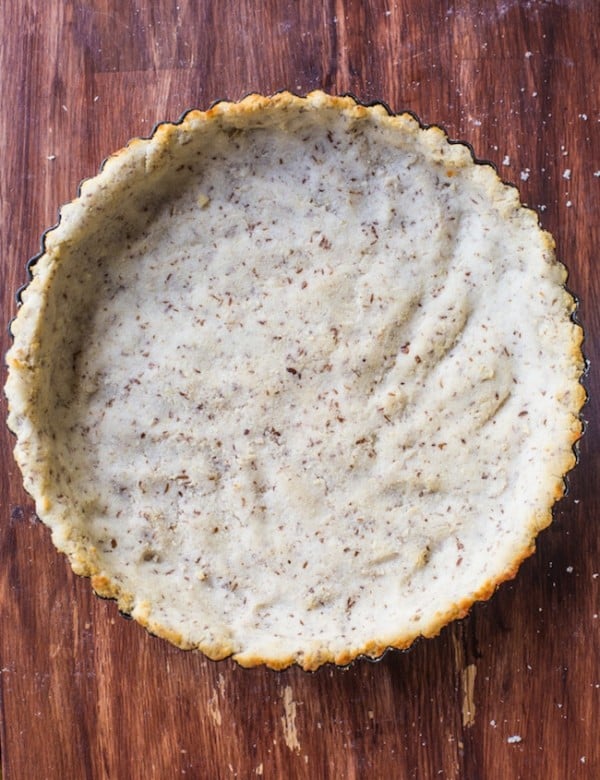
When you’re ready to bake, transfer the dough into your greased cake tin. Since the dough is so thick you’ll need to smooth it out into the pan yourself. It should look and feel very soft at this point like in the second picture just above.
Then just pop it in the oven for about 25ish minutes and that’s it!
Tips for success
- The coconut oil should be melted in a liquid state and cooled to room temperature so that it mixes into the dough easily.
- The coconut milk should also be room temperature.
- Ideally you want to use a full fat coconut milk for the extra moisture. If your coconut milk is one that separates the cream from the water just stir it up or shake the can well before using.
- Don’t be afraid to use your hands to mix the batter/dough together. I personally find it easier than a mixing spoon in this recipe.
The end result
Since baking soda + apple cider vinegar are the only leavening agents here, keep in mind that this isn’t going to rise up very much. That being said this paleo cake is very soft and tender.
If you’re in the need of a good birthday cake you can easily double the recipe to make a couple of layers! This recipe is the perfect treat to make for someone with a lot of food allergies as it’s:
✔️Gluten Free
✔️Dairy Free
✔️Egg Free
✔️Nut Free
✔️Vegan
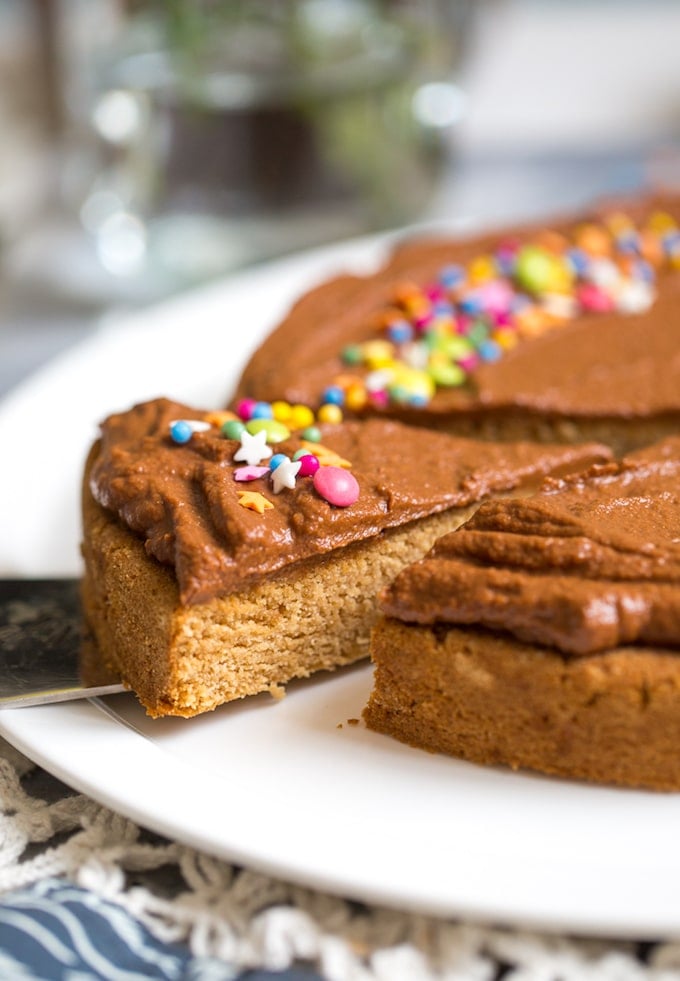
I hope you enjoy this cake as much as we do – if you try it out please let me know what you think!
Egg Free Coconut Flour Paleo Cake
Soft and tender, egg free yellow paleo cake made with coconut flour. Only 15 minute prep and about 25 minutes to bake with only 8 ingredients! This cake is dairy, nut, and egg free! Top it off with a paleo chocolate frosting, coconut whipped cream, or enjoy it as is!
Ingredients
- 1 1/4 cup (300g) full fat coconut milk, stirred from a can
- 1/4 cup (60 ml) coconut oil, melted and cooled
- 1 teaspoon vanilla extract
- 1 teaspoon apple cider vinegar
- 1 cup (112g) coconut flour, lightly packed
- 1/4 cup (28g) tapioca flour
- 3/4 cup (135 g) coconut sugar
- 1 teaspoon baking soda
Instructions
- Preheat oven to 350°C/180°C. Lightly grease an 8inch round cake tin and set aside.
- In a small bowl or mixing cup whisk together the coconut milk, coconut oil, vanilla extract and vinegar until combined. Set aside.
- In a medium sized mixing bowl whisk together the coconut flour, tapioca flour, coconut sugar and baking soda until no lumps remain.
- Pour the wet mixture into the dry and stir to combine. The cake batter will be very thick and look more like dough than typical batter. This is easiest to mix using your hands. Once fully combined transfer the batter/dough to your prepared cake tin. Smooth out the dough to the sides and across the bottom in an even layer.
- Bake for 25-28 minutes. The top will be golden. To check for doneness insert a knife or toothpick into the centre of the cake - if it comes out clean and without any crumbs then it's done.
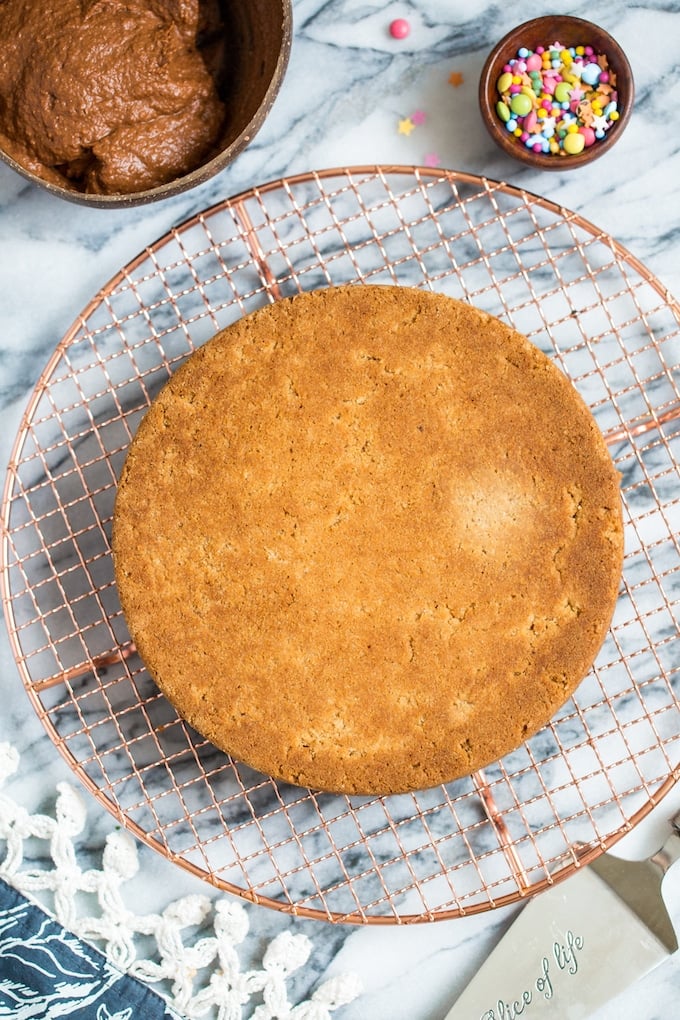
- Transfer the cake onto a wire cooling rack and let cool. Make sure it's completely cooled before frosting.
Notes
Tips
- Coconut milk & coconut oil should be the same temperature so that they mix together easily.
- Ideally you want to use a full fat coconut milk for the extra moisture. If your coconut milk is one that separates the cream from the water just stir it up or shake the can well before using.
- Don't be afraid to use your hands to mix the batter/dough together. I personally find it easier than a mixing spoon in this recipe.
Frosting Ideas
- I used my paleo + vegan sweet potato frosting in these pictures (nut free).
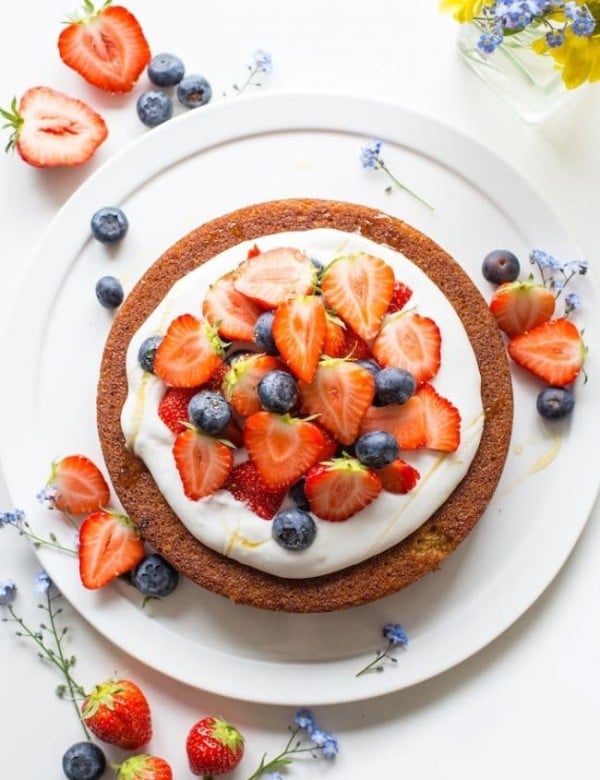
- Coconut whipped cream
- Enjoy as is!
Leftovers
Unfrosted leftovers can be kept at room temperature in an airtight container. This is best eaten within 2-3 days. If frosted, store in the fridge.
Final Note:
I have not tried this cake using any variation of flours/sweeteners so I'm afraid I don't know how to advise on substitutions.


Victoria says
Dear Sarah,
thanks a lot for this great recipe!
If I want to reduce sugar (to 100 g or even 80 g), should I just reduce it without adding anything else instead ?
If I reduce it, are there any other changes to the recipe ?
thanks a lot in advance for your advice!
Sarah Nevins says
Hi Victoria! You should be alright reducing the sugar without needing to change too much else. Maybe reduce the baking soda to about 3/4 tsp – if you reduce too much sugar I worry the baking soda flavor will be too prominent. Other than that though, I don’t think it will be a problem to use less sweetener.
I hope you enjoy it!
Denise S says
Delicious!
Sarah Nevins says
Thanks, Denise!
Mamta says
Dear Sarah, I’ve recently had to adopt the AIP diet and woke up one night craving cake. I found your recipe and have made your cake a few times now. It’s a life-saver for a snack in between meals and is super tasty. My only concern is that the last couple of times that I’ve baked it, it doesn’t seem to hold very well – it’s so delicate that it crumbles into a heap when I try to cut squares and store it. Any idea why this is and how I could get it to hold better? Thank you, and thank you for sharing this recipe – it has brought me joy… not just in eating it but in baking it too. I relish the stage of working with my hands to bring the dough together – it has been therapeutic. Cheers, Mamta
Sarah Nevins says
Hi Mamta, I’m so glad you’ve enjoyed the cake – that makes me really happy to hear!
Was the cake holding together better at some point, or has it always started to fall apart when you cut into it, or is this a new change? Also, how cool was your cake before you cut into it? This cake (and I find this also true with vegan baked goods in general) really needs to be completely cool before moving and/or cutting. Because there are less binding ingredients than you’d normally find in other baked goods (like eggs), the cake tends be quite fragile until it’s fully set.
Another things that could possibly cause this is oven temperature. If the temperature is too hot, it will cook the outside and cause the cake to rise up in the oven faster than it takes to cook the inside. Basically it just makes the cake look like it’s finished when it’s not. The easiest way to test this is to check the cake by poking it with a toothpick or a knife to check for crumbs. If you end up with wet crumbs on the knife/toothpick, it needs more time in the oven. If the outside of the cake looks done, you can cover it with foil before baking it a few minutes longer.
I hope this helps! If you still have trouble with the cake after this please let me know and I can try to help your troubleshoot this some more 🙂
Line says
Hi. I am seriously confused about the cup/gram measurements. I am in a metric using part of the world and i do not understand why the recipe gives imperial volume measurements and weight in metric. Is it the legal cup of 240 ml that is used here? A cup of my coconut flour weighs more than 112grams. Which should I use? The ratios are bound to get wonky if I mix volume and weight. Which do you recommend?
Sarah Nevins says
Hi Line! I totally understand the confusion – this is always the tricky thing I find about baking with coconut flour.
Coconut flour can be even more tricky to weigh than other flours because of how much moisture it absorbs (even moisture from the air).
There can also be a pretty big difference in how much weight a measuring cup can hold depending on how you fill it: Do you spoon the flour in the cup then level off the top or do you scoop the flour in one go and pack it in tight?
Because of how varied the amounts can be, I recommend you use the weight listed over the volume as this will give you the most accurate results/most similar to what I do. I include the cups/volume measurements because I do that with most of my recipes. I like to make them as accessible as I can when I’m able to. I’m an American living in England, so I grew up using cups, but have since adapted to using weights instead. I also find weights are much more accurate when it comes to gluten free baking because of things like this.
To work around this issue, I use the ratio of volume to weight of coconut flour in all my recipes that use it. I get this amount by filling lightly spoon coconut flour into a measuring cup, then levelling off the top. I personally find that coconut flour is better when used in moderation. As I mentioned earlier – it’s a very naturally absorbent flour. Too much in a recipe can make things feel dry and crumbly.
I hope this explanation helped/wasn’t too wordy! If you have any more questions please reach out again and I’ll try to help you trouble shoot things 🙂
Becky says
Absolutely delicious but, my cake is very gooey. I used the ingredients as directed using full fat, coconut milk.
I returned in the oven for at least another 10 to 12 minutes but the center did not dry out.
Sarah Nevins says
Hi Becky! I’m glad to hear you enjoyed it despite the texture!
It sounds like the balance between wet and dry ingredients was slightly off. More specifically I think you may have needed a bit more coconut flour to handle the extra liquids. Coconut flour is such a fussy flour in general which is why I like to use a kitchen scale when baking with it because it. If you did use a kitchen scale and it still came out a bit too moist, then I’m wondering if the oven/temperatures were slightly too low. Oven temps vary quite a bit from kitchen to kitchen. I find I can usually get away with this for a lot of baked goods, but this because more of a problem when I make vegan/grain free things.
I hope this has helped a bit, but please let me know if you need more help trouble shooting!
Nidhi says
Can I use normal cows milk for cake and dairy cream for frosting ?
Sarah Nevins says
Hi Nidhi!
I don’t recommend using regular dairy milk in the cake – the fat, protein and general makeup between the two are too different for the cake to come out the same. Without testing it out myself, I’m afraid I can’t offer up much here as I’d hate to give you bad advice.
Tallulah says
Could you substitute cassava flour for the tapioca flour?
Sarah Nevins says
Hi Tallulah! Though cassava flour and tapioca flour come from the same thing they aren’t typically interchangeable with each other. Cassava flour can often be used as an all purpose flour substitute (usually about 3/4 cup cassava for every 1 cup all purpose flour). Tapioca flour/starch on the other hand is more similar to cornstarch. If you need a tapioca substitute, you would be better off using arrowroot starch (best substitute) or potato starch (not grain free, but works well).
Debbie Reeves says
The batter was very thin, I dont know what I did wrong
Sarah Nevins says
Ooh interesting! Is it possible that something went wrong when measuring the ingredients? It sounds like you may have either had too much coconut milk or oil or too little coconut flour
iya says
Thank you for the recipe. I’ve made it twice & both times it came out really nice. I used tinned coconut milk for the first one & a mix of tinned coconut cream & carton coconut milk for the second one. I warmed up the coconut cream just enough so there were no solid bits left. I increased all ingredients for the second attempt by 50%. Both were baked in an lightly buttered enamel loaf tin (approx 8″x3″, 20cmx9cm), first one for about 50 minutes & second one for about 1 hour 20 mins.
I highly recommend leaving it for 24 hours before consuming, and it’s nice straight from the fridge.
Sarah Nevins says
Hi Iya!
Thank you so much for taking the time to come back and share how it went! That’s really helpful to know how you were able to increase the amounts for a larger cake! I’m sure other readers will also appreciate your efforts 🙂