Sweet, juicy cherries stewed and seasoned with a hint of vanilla tucked into a buttery, flaky pie crust. Serve this gluten free cherry pie with a scoop of vanilla ice cream for the perfect summer-time treat!
By the way – you might also enjoy this made with my blueberry pie filling too!
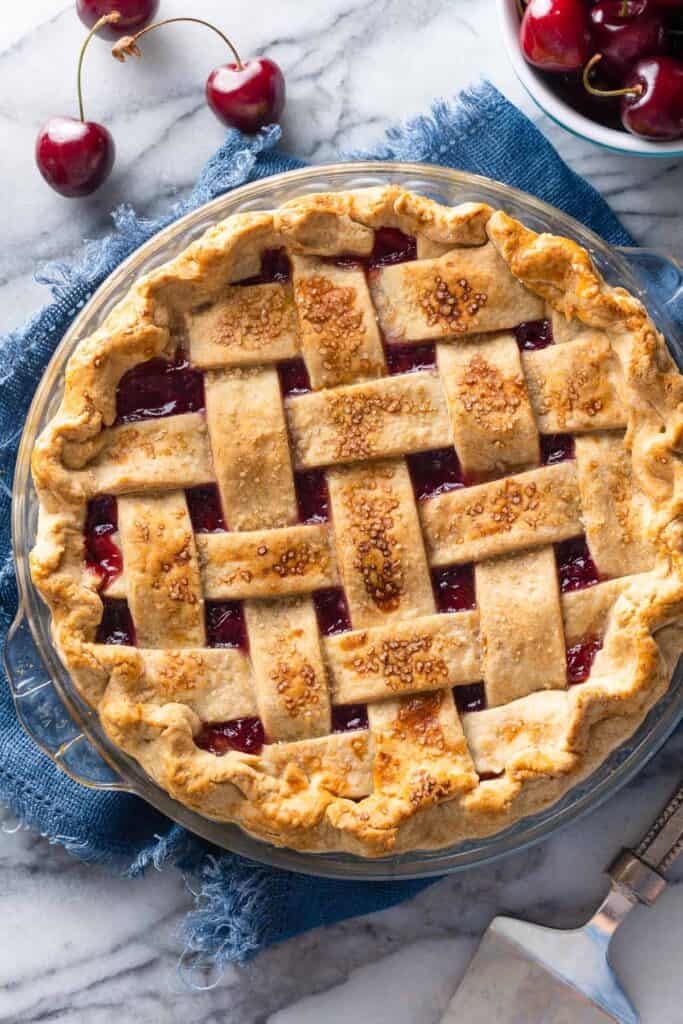
Homemade Gluten Free Cherry Pie
Time to take full advantage of cherry season and make cherry pie! Gluten free cherry pie, of course. So before the season fully passes us by – do yourself a favor and make yourself this pie ASAP.
If you are a bit late for fresh cherries – no worries! You can really make this any time of year as you can use frozen cherries just as easily as fresh.
Now you’ve got no excuse to get baking!
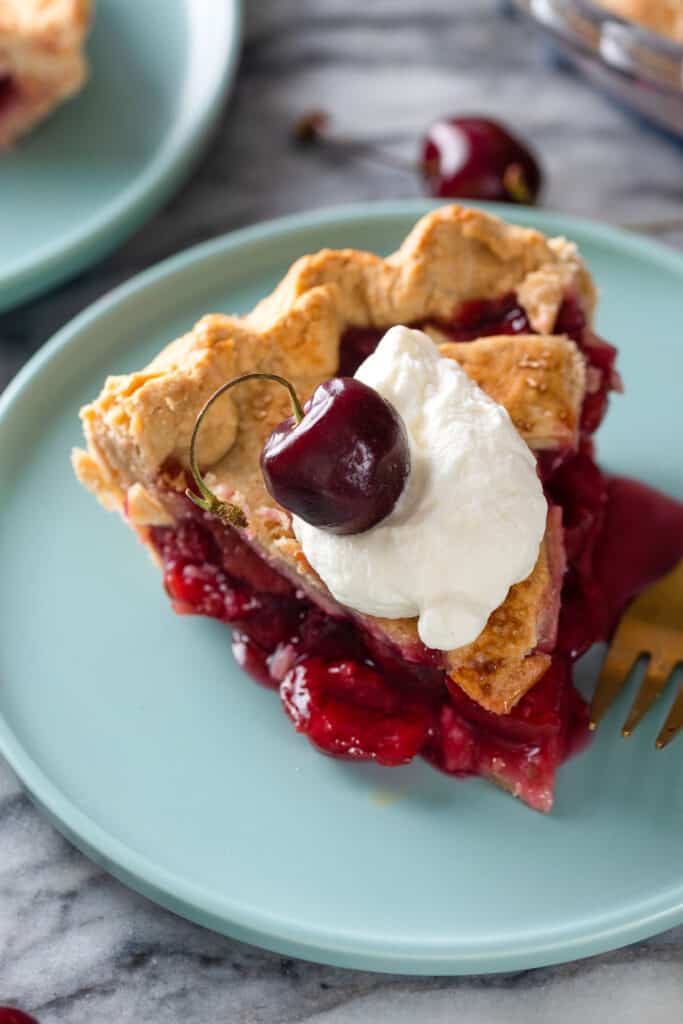
Buttery, Flaky Crust
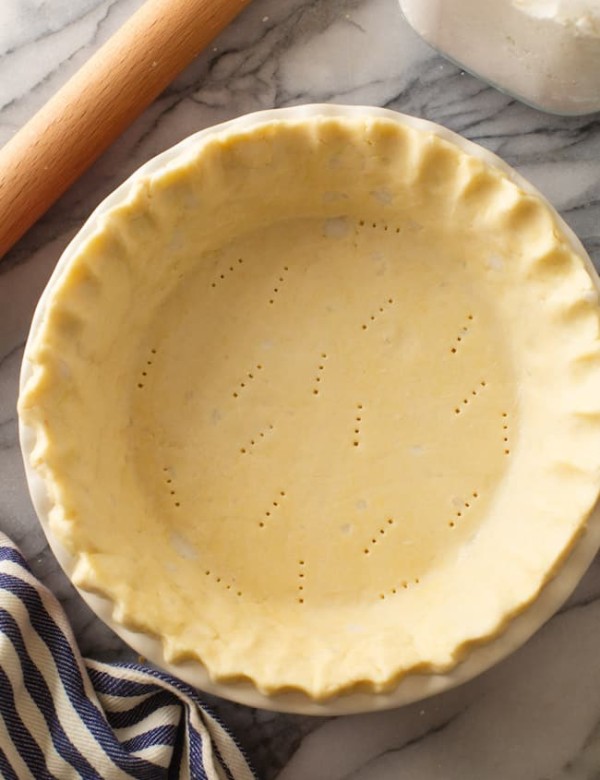
Technically, you can use any gluten free crust here, homemade or store-bought.
That being said, my cassava flour pie crust is perfect for this recipe! Especially if you’re in need of a solid gluten-free pie crust.
If cassava flour isn’t easily available to you, my all-purpose flour gluten free-pie crust recipe is another great option that you can’t go wrong with. It’s made with a basic, all purpose gluten-free flour which should be a more accessible option.
Whatever you choose, just make sure you have enough dough to cover for the top and bottom of the pie.
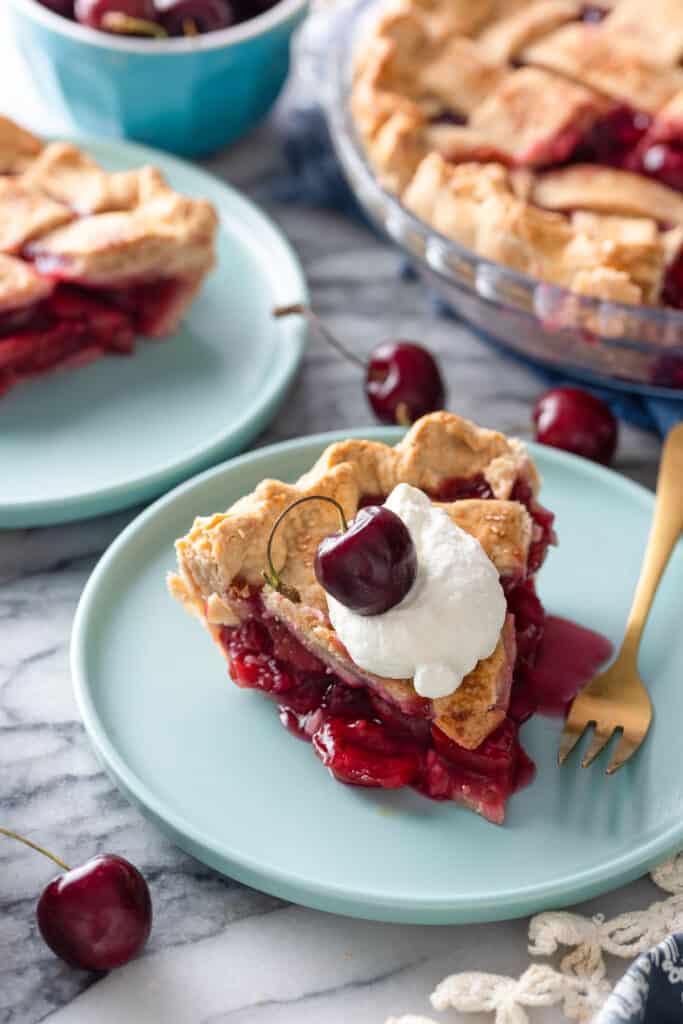
Sweet & Juicy Filling
While there’s certainly something special about a making a homemade fresh fruit pie, you can just as easily use frozen cherries and it’ll work just fine.
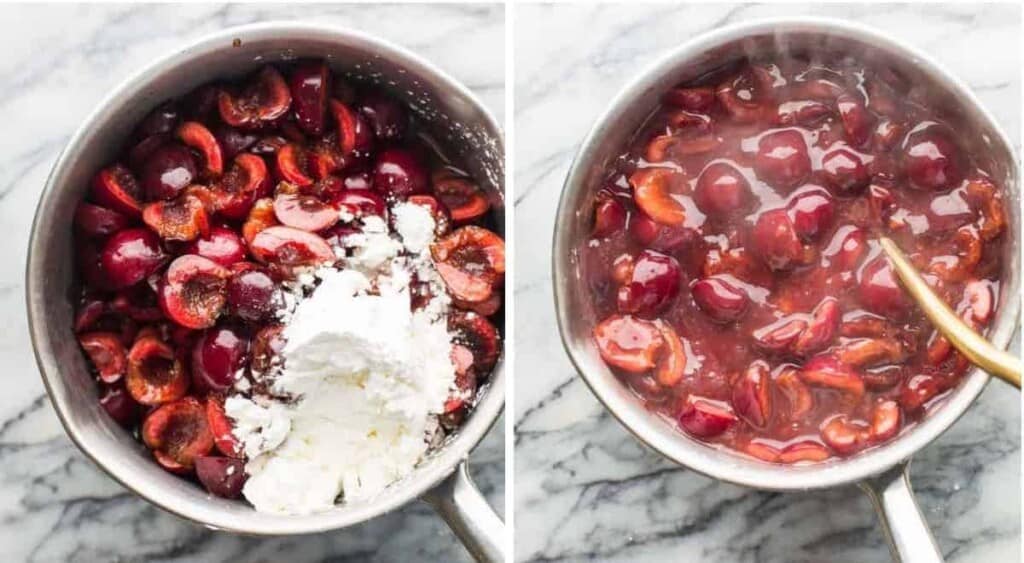
This cherry pie recipe, unlike many others, asks you to simmer your fruit into a thick and juicy mixture before adding it to the crust to bake. By the time you add the filling to the pie, you’d never know if you started with fresh or frozen fruit.
The goal here is to thicken up the cherry juice to ensure it gets nice and thick which ultimately results in a neater pie filling after slicing.
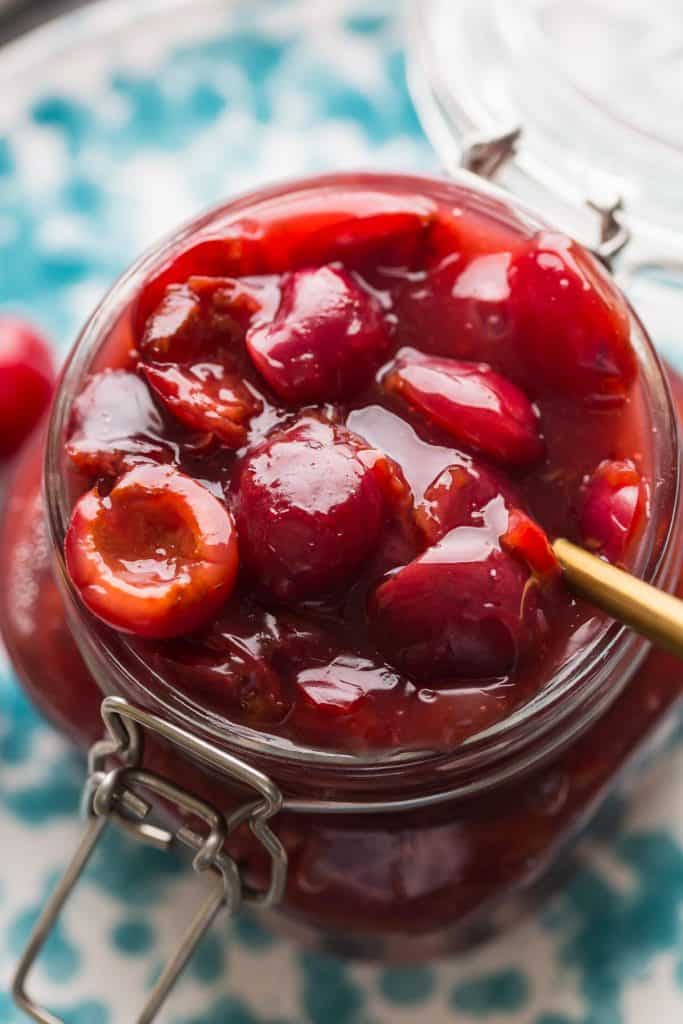
Filling Ingredients
- Cherries – Fresh or frozen. Sweet or tart – if using tart cherries, you only need a tablespoon of lemon juice.
- Water – For an extra saucy filling.
- Lemon Juice – To balance the sweetness of the cherries.
- Sugar – To enhance the flavor of the cherries.
- Cornstarch – To thicken the filling. You can use tapioca but you’ll need to add an extra 2 tablespoons (6tbsp total) and the filling will be thinner. Corn starch is preferred here.
- Vanilla & Salt – Our flavor enhancers.
Filling Tips & Variations
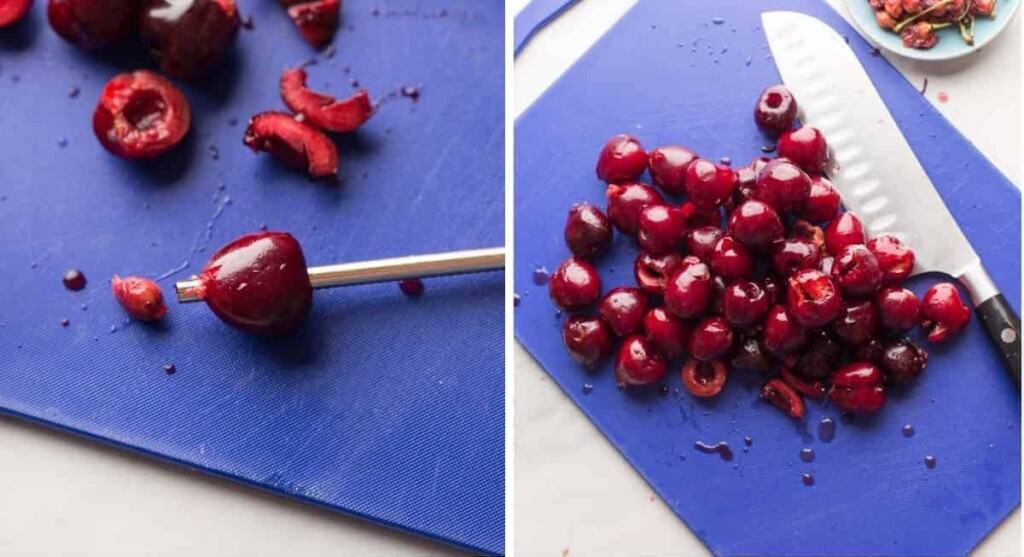
- How to remove seeds without a cherry pitter:
- Remove stem.
- Place a straw where the stem once was.
- Push through the cherry to the other side, forcing out the pit.
- Sugar Substitutes:
- White granulated sugar is cheap and easy, but you can swap it out with an unrefined sugar if you’d prefer. Ideally you want to choose another granulated sugar that typically swaps for white sugar in a 1:1 ratio (like maple sugar or coconut sugar).
- You can also use 2/3 cup maple syrup or honey instead.
- Almond Extract:
- Almond extract can be hit or miss for many, but it’s lovely when paired with cherries. Not really like almonds at all – it adds a strong, fruity somewhat nutty flavor. Just keep in mind that your pie will no longer be nut free in case you’re sharing it with allergy-sensitive friends.
Top Crust Preparation
The type of top crust you prepare for your pie will mostly depend on the pie dough you’re using. Without gluten (glue) many gluten free crusts aren’t suitable for braiding due to how fragile the dough is.
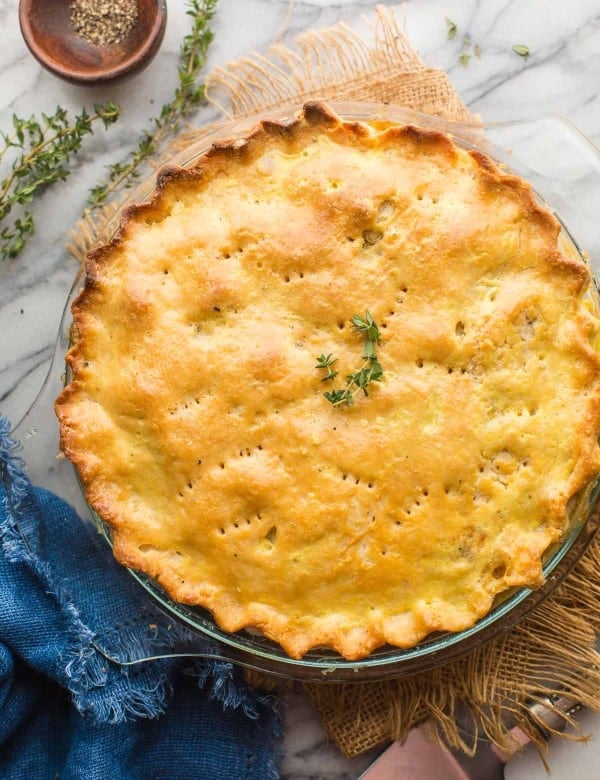
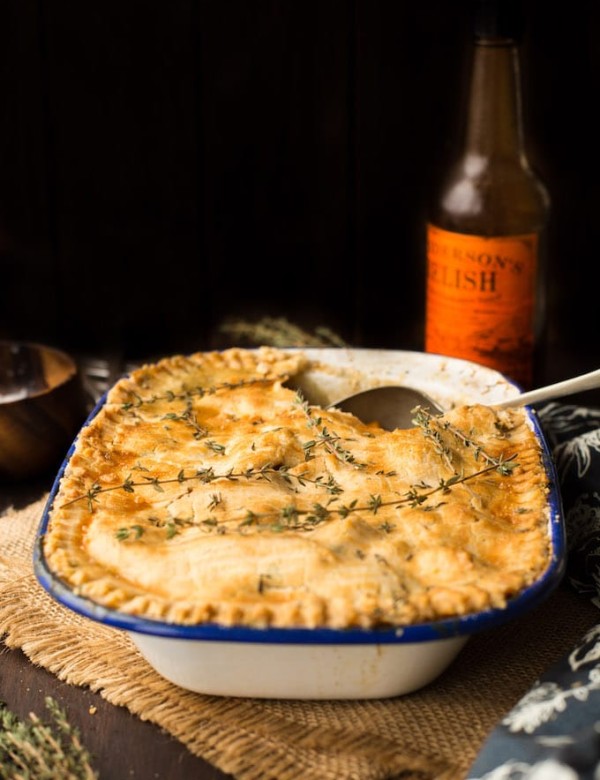
You may also just prefer the ease and simplicity of a basic, rolled out top crust. Just remember to poke a few holes across the top of the crust before baking to let the steam escape. Check out my Chicken Pot Pie if you need a visual example.
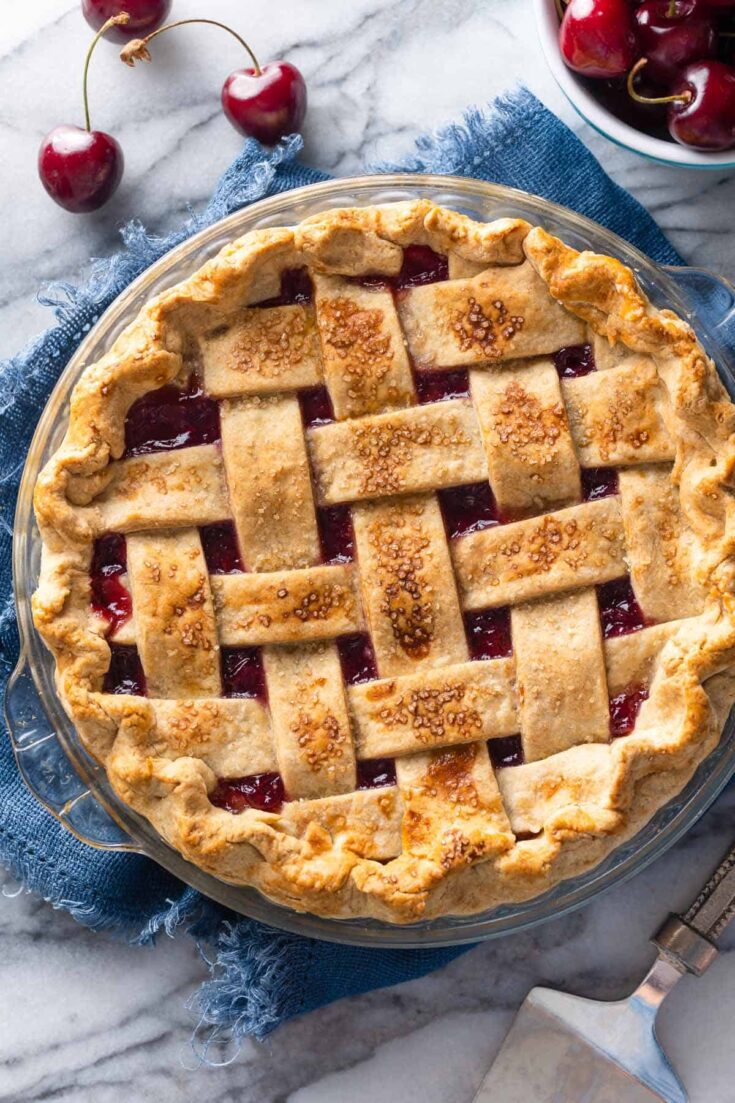
Lattice Top Steps:
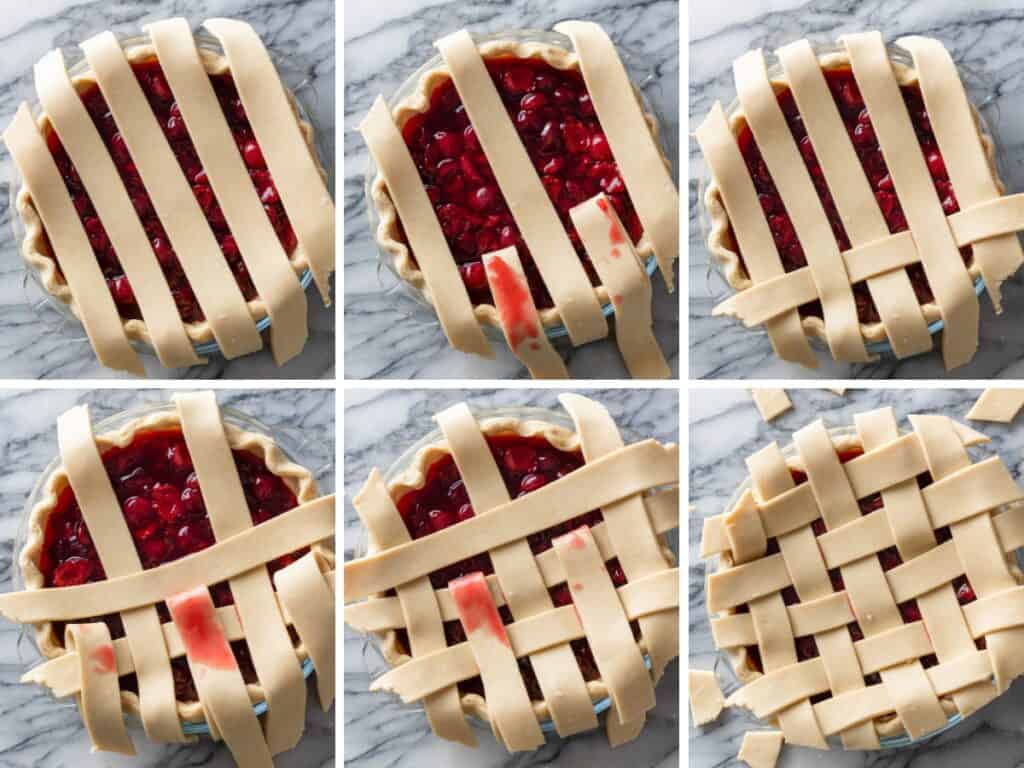
- Roll 1 portion of dough into a 12 inch circular shape.
- Use a knife or pizza cutter to cut the dough into strips (about 1-2 inches wide).
- Lay half of the strips, evenly spread out over the top of the pie. Place longer strips toward the middle and shorter strips around the edges.
- Gently fold back every other strip of dough until it’s barely on the pie. Place one new strip of dough perpendicular over the top then unfold the previously folded dough strips so that they are now covering the perpendicular strip.
- Now gently fold back the other alternate dough pieces and place a new piece of dough over the top.
- Unfold the strips and repeat this process until your entire pie is covered.
- Gently press the strips of top dough into the bottom crust. Flute the edges or crimp the edges as desired.
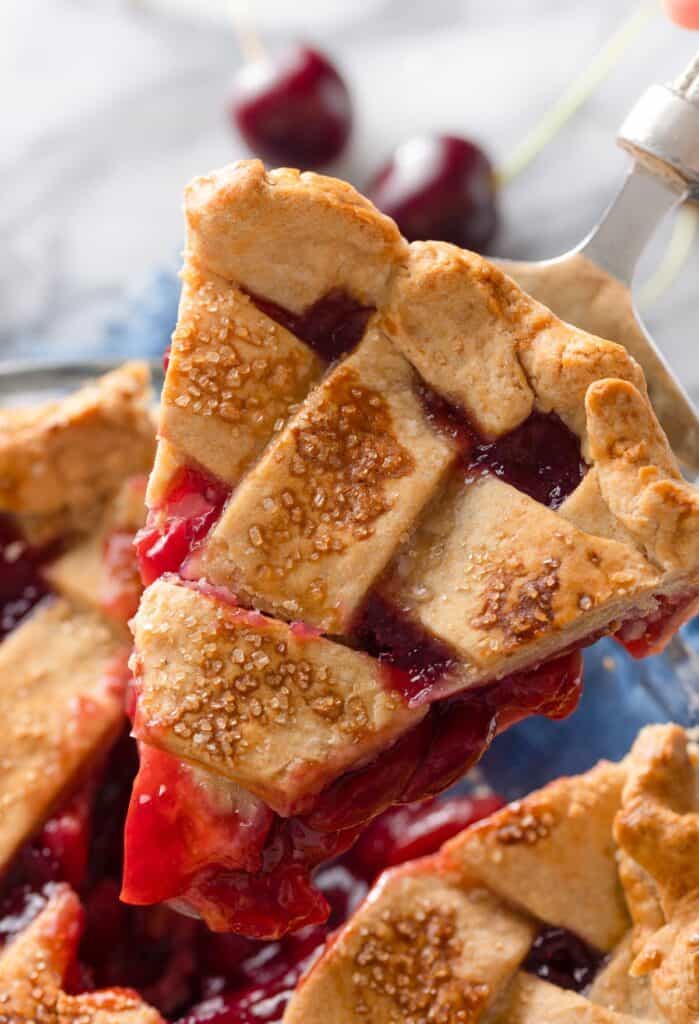
- Brush with an egg + milk wash and sprinkle with a bit of coarse sugar.
- Refrigerate at least 20 minutes before baking.
Or check out this step-by-step video: How to Lattice Pie Crust!
Final Tips Before You Begin
- Room temp filling: Make sure the filling has cooled down before you add it to the dough. If the filling is too hot it will result in a soggy bottomed pie.
- If you want the filling to cool faster, transfer it to a heat safe bowl after taking it off the heat.
- Make ahead: Make the entire pie 1 day in advance – this gives it time to fully cool and set before serving. Both the cherry pie filling and cassava flour dough can keep in the fridge up to 5 days and/or frozen up to 3 months before use.
- Cover pie if needed: If the top of your pie starts to brown with a lot of baking time left, cover with foil or baking paper to keep it from burning.
- Avoid filling when applying egg wash: Try to avoid brushing over the cherry filling so you don’t accidentally spread the filling over the crust. At best it will make a less visually appealing pie and worst it will burn the crust in the areas it spreads.
- Cool after cooking: If possible, let the pie cool fully before slicing and serving so the filling sets properly.
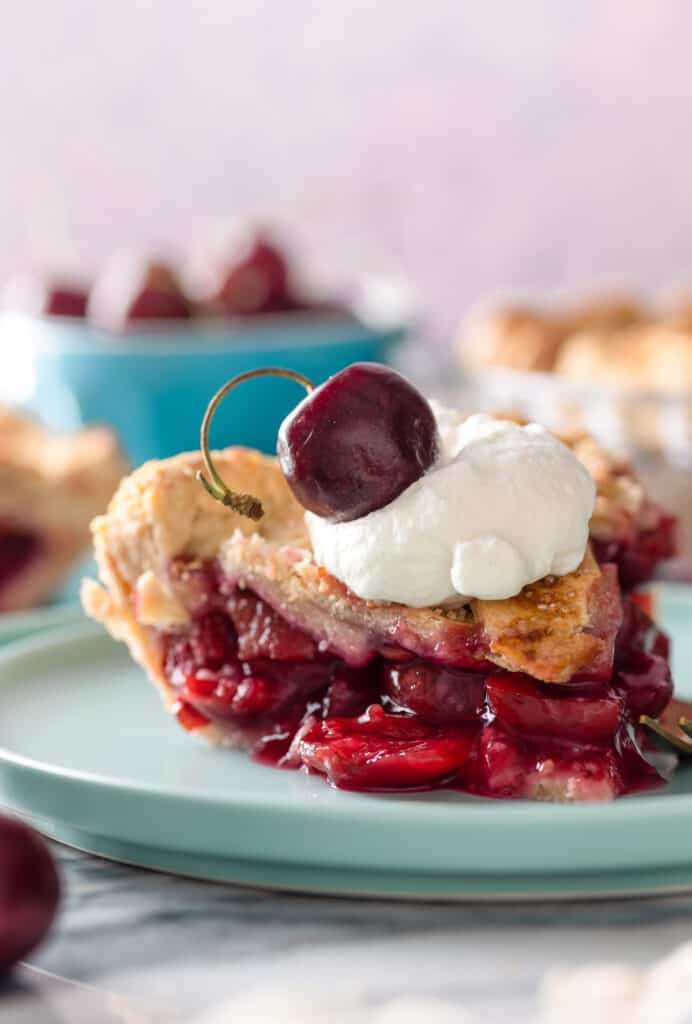
Enjoy!
And with that – I hope you enjoy the pie!
Let me know if you try this Gluten Free Cherry Pie recipe! Leave a comment and review with your thoughts. I always appreciate the feedback and serving suggestions that you come up with!
For more cassava flour recipes check out my Double Chocolate Cassava Muffins and Gluten Free Flatbread as well!
Gluten Free Cherry Pie
Serve this gluten free cherry pie with a scoop of vanilla ice cream for the perfect summer-time treat!
Ingredients
- Cassava Flour Pie Crust or your favorite homemade gluten free pie crust ( use a recipe that make 2 crusts, 1 for bottom and 1 for top)
- 4 cups dark sweet cherries, pitted (1.5lbs)
- 1/4 cup water (60ml)
- 2 tablespoons lemon juice (30 ml)
- 1 cup white granulated sugar (200 g)
- 1/4 cup cornstarch (30g)
- 1 teaspoon vanilla extract
- 1/4 teaspoon salt
- egg wash: 1 egg + 1 tablespoon milk whisked together
- optional: coarse sugar for topping
Instructions
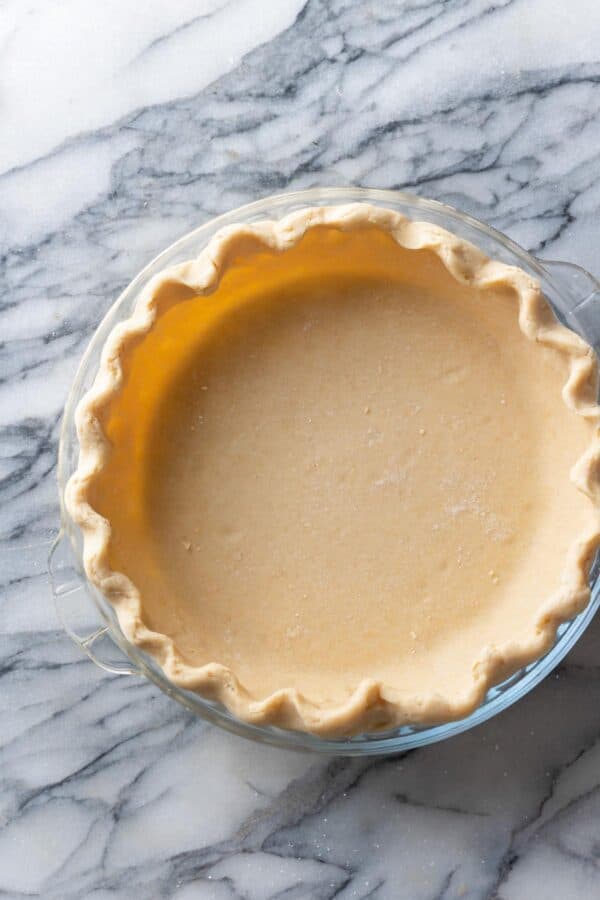
- Crust: prepare either crust recipe through to step 5.
Filling
- Add cherries, water, lemon, sugar, vanilla and salt to a medium saucepan. Mix together.
- Bring the mixture to a boil over a medium-high heat, then reduce the temperature to main a simmer. Let simmer about 5-10 minutes, stirring every so often until glossy thickened.
- Remove from the heat and set aside to cool down to room temperature.
Dough Prep and Assembly
- Roll out one half of the dough on large sheet of parchment paper. Lightly flour your hands, the work surface and rolling pin and begin rolling out the dough until it's at least 12 inches in diameter (about 1/8 inch/3mm thick).
- Carefully transfer the rolled out dough to a 9 inch pie plate. Press into the sides and bottom of the dish. Leave the excess dough hanging over the sides for now. Cover and return to the fridge until the filling has totally cooled.
- Preheat oven to 400°F (205°C).
- Add the filling to the pie dish. Refrigerate uncovered while you prepare the top crust.
- Roll out the second half of the dough into a circular shape (about 12 inches wide). If you plan on making a lattice top crust, use a pizza cutter or sharp knife to cut the dough into strips to make a lattice top crust. See the tips in post for step-by-step guide. Otherwise, leave unsliced.
- Place the top crust over the cherry filling and gently press the top dough into the bottom crust. Poke a few holes or cut some vents into the top if needed. Trim off excess dough then crimp with a fork or flute the edges to seal.
- Egg wash: Brush the top of the crust with an egg wash. Be careful to avoid brushing the filling so it doesn't spread over the crust. Sprinkle with coarse sugar if using.
- Place pie in middle of the oven and bake for 20 minutes at 400̉°F/205°C.
- Reduce oven temperature to 375°F/190°. Bake another 40-45 minutes until the top is golden brown. Check the oven after about 30 minutes - if the top crust is already golden brown, cover with foil to keep from darkening.
- Remove from oven and place on a wire rack to cool. Let cool about 3 hours before slicing. If the pie is still warm when cutting in to it, the filling will be more runny.
Notes
- Only use 1 tablespoon lemon juice if using sour cherries.
- You can make the filling with fresh or frozen cherries.
- Optional: add 1 teaspoon almond extract to the filling.
- My flaky gluten free pie crust is another good crust option made with gluten free all purpose flour.





Leave a Review!