Thick, rich and deliciously creamy – this gluten free sweet potato pie is an excellent dessert to share with friends, family and loved ones this holiday season!
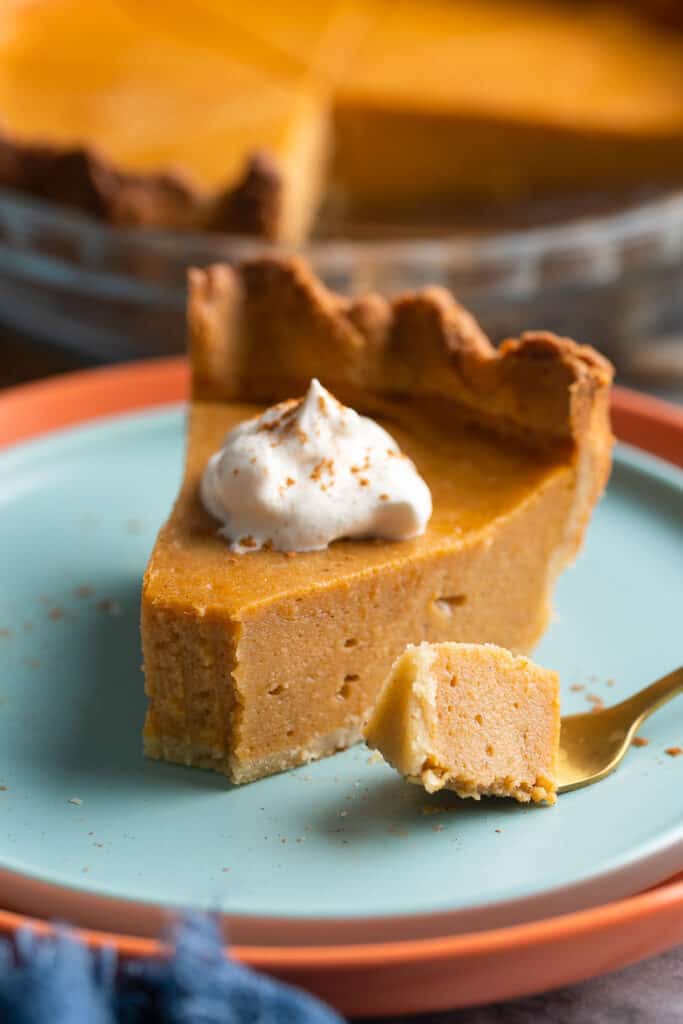
✨Gluten Free Sweet Potato Pie Highlights✨
- Allergy Friendly: This pie is gluten, dairy, grain and refined sugar free! It’s a great option to share with loved ones with food allergies and dietary restrictions. Need it to be nut free? Simply swap out the almond flour crust for your favorite pie crust instead!
- Easy to make: Though you will need a few hours to cook and cool the pie, the actual process is pretty simple and adaptable based on your options and preferences.
- Downright Delicious: Though this pie is free of many common allergens, it’s certainly not free of mouthwatering flavor! Paleo or not – it’s sure to impress just like a traditional sweet potato pie!
More Ways to Bake with Sweet Potato
Sweet Potato Pie Versus Pumpkin Pie
Though they can look nearly identical there are a few key differences between the two – enough to spark a fierce debate over which is better!
How are they different?

- Texture: Pumpkin pie is dense and creamy while sweet potato pie is light and airy and usually has a courser texture (unless you blend the filling to make it smooth like this recipe).
- Freshness: Most homemade sweet potato pie recipes start with fresh sweet potatoes. Pumpkin pie recipes usually go with canned pumpkin puree for convenience.
- Taste: Sweet potatoes are naturally sweeter than pumpkin. Pumpkin has a more mild flavor on its own which is why pumpkin pie usually comes flavored with pumpkin pie spices.
Which is better? You’ll just need to try both and decide for yourself!
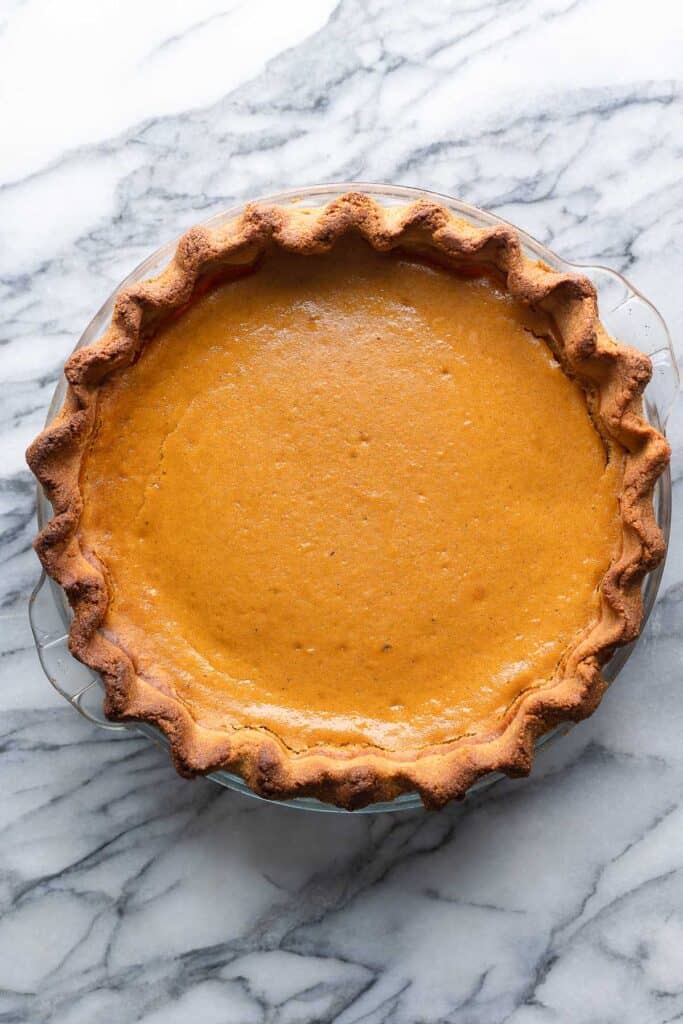
Recipe Steps (Simply Put)
- Potatoes: Bake or boil until soft enough to mash.
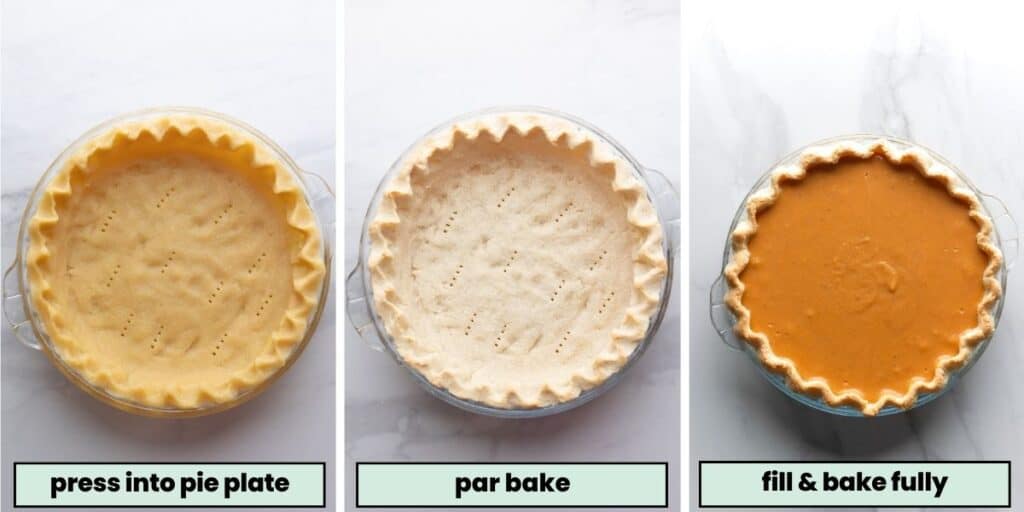
- Crust: mix together and par bake.
- Filling: Mix and mash ingredients – blend for smooth texture if desired.
- Bake: Pour the sweet potato pie filling into crust, then bake until set.
- Cool: Let the pie cool for a few hours then slice, serve and enjoy.

Bake vs Boil: Which is Best?
From a taste standpoint, baked sweet potatoes taste better. The low, slow oven heat breaks down certain enzymes that convert in sugars which ultimately produces a sweeter, nuttier, more caramelised flavor.
However: I have spent the past month testing my sweet potato pie recipe and sharing as much as I could give away to family and friends.
While I do think baked sweet potatoes made a better tasting sweet potato pie, no one really noticed a difference unless eaten side-by-side.
With that in mind, if you’re short on time or want to avoid turning on the oven longer than needed – boil away! You’ll still end up with a super tasty pie in the end!

Final Tips for a Perfect Sweet Potato Pie
- Flavor: Bake your sweet potatoes for a sweeter, nuttier flavor.
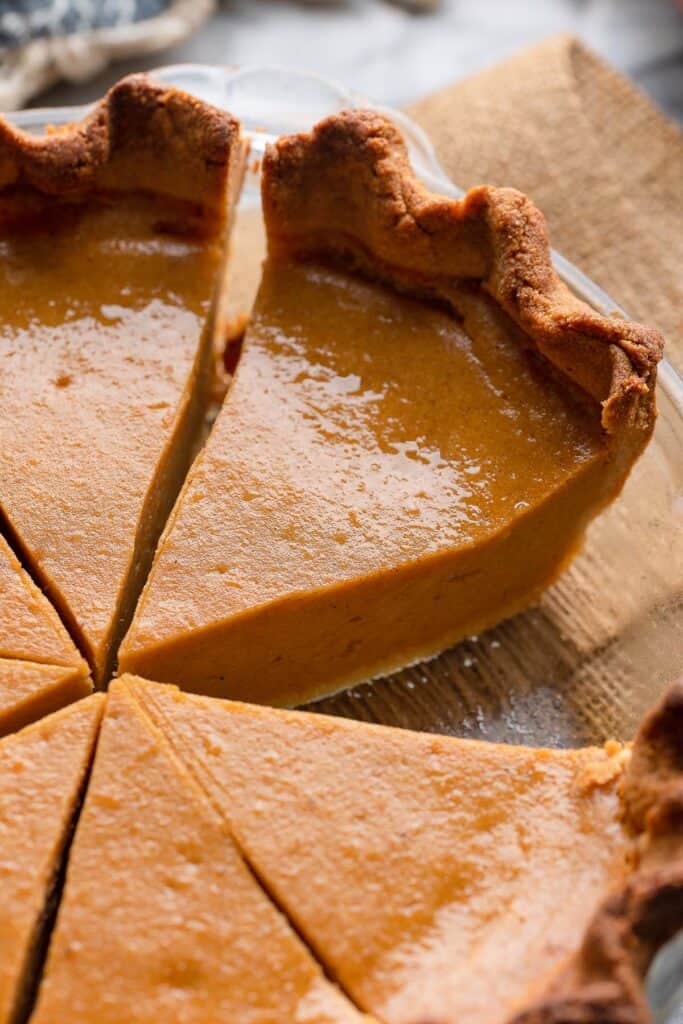
- Crack Prevention: Let the pie cool in the (off) oven with the door cracked open to avoid thermal shock. Pies that change temperature too quickly often end up cracking.
- Cook Time: If you have a meat thermometer you can check the internal temp: 175°/80°C) to avoid overcooking the pie which will also lead to cracks.
- Freeze for Later: After baking, cool then wrap tightly in a few layers of plastic wrap and aluminium foil. Store in the freezer 2-3 months at most. Thaw overnight in the fridge then let it come up to room temperature before slicing and serving.
- Use a Different Crust: Feel free to use a different gluten-free crust in place of the one here!
- Cassava Flour Pie Crust: paleo and nut free
- Gluten Free Flaky Pie Crust: nut free
- Cut down on time and effort with a good store bough crust!
Hungry for More?
Here are a few more delicious desserts and treats you can enjoy this holiday season:
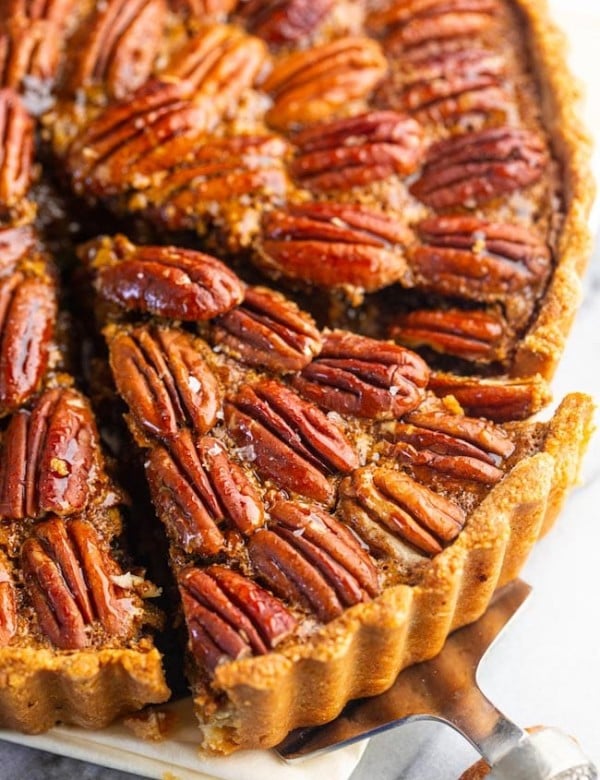
- Gluten Free Pecan Pie (Paleo!)
- Paleo Vegan Pecan Pie Bars
- Burnt Pumpkin Cheesecake with a Pecan Praline Sauce
- Baked Cinnamon Apples
- Gluten Free Pumpkin Roll
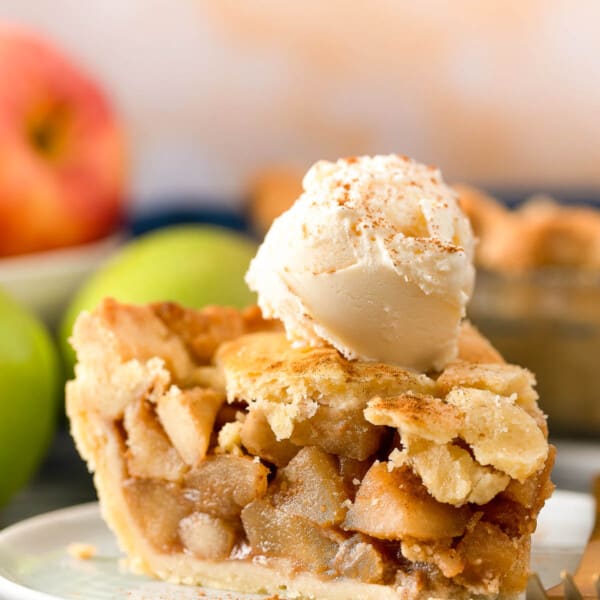
- (Almost) Paleo Apple Pie
Enjoy!
Let me know if you try this Gluten Free Sweet Potato Pie recipe! Leave a comment and review with your thoughts. I always appreciate the feedback and serving suggestions that you come up with!
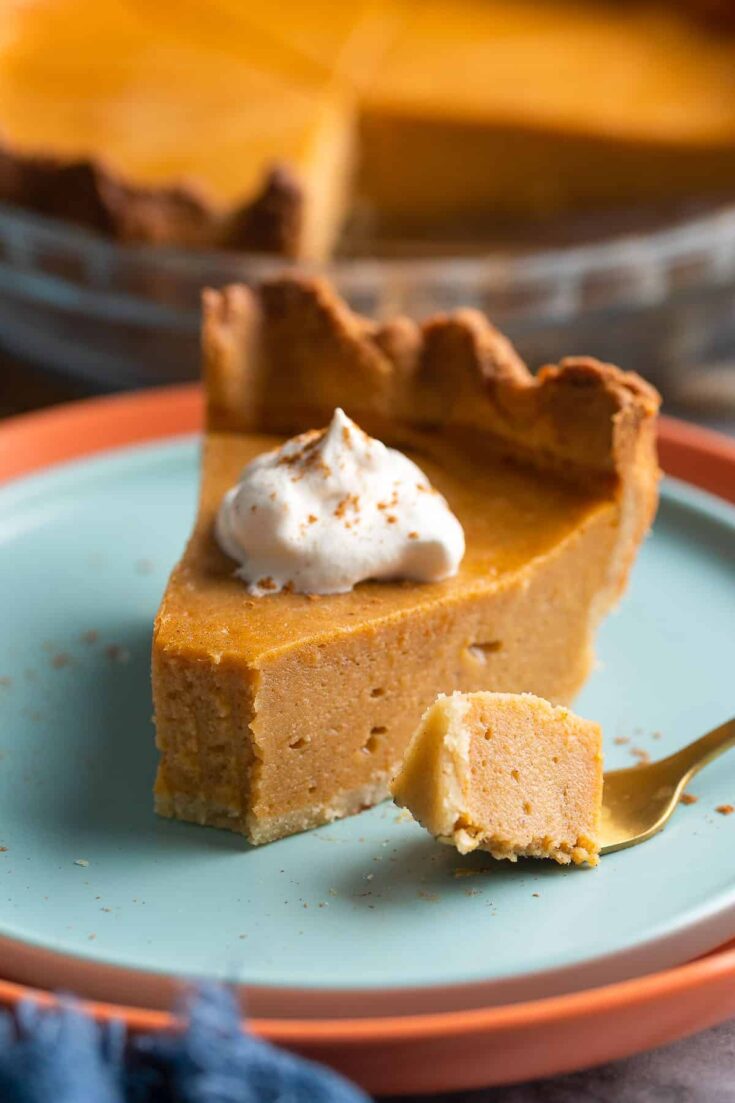
Gluten Free Sweet Potato Pie
A lightened up, dairy and gluten free sweet potato pie - the perfect dessert to share on your holiday table this Thanksgiving!
Ingredients
Filling
- 1.5 lb/ 2 medium sweet potatoes
- 1/2 cup full-fat coconut milk + coconut cream from a can [shake the can before opening] (120 ml)
- 1/2 cup maple syrup (160 g)
- 1 tablespoon vanilla extract
- 1 teaspoon cinnamon
- 1/2 teaspoon ground nutmeg
- 1/2 teaspoon ground ginger
- 1/4 teaspoon salt
- 2 tablespoons arrowroot starch (16 g)
- 2 eggs + 1 egg yolk
Crust
- 2 1/2 cups almond flour (240 g)
- 2 tablespoons arrowroot starch (16 g)
- 1/2 teaspoon salt
- 2 tablespoons maple syrup (40 g)
- 2 tablespoons melted or softened coconut oil (27 g)
- 1 egg
Instructions
Potato Prep: Bake or Boil
- Bake: Preheat oven to 350°F/180°C. Line a baking sheet with parchment paper. Cut the potatoes in half-length wise. Prick each half with a fork all over then place cut-side down on the baking sheet. Bake for about 45-50 minutes or until the potatoes are soft. Let cool about 10 minutes or when they're cool enough to handle then remove the skins.
- Boil: Peel and cut into 1-2 inch chunks. Place in a medium sauce pan and cover with water. Bring to a boil then cover and reduce to a simmer. Let simmer about 15 minutes or until you can easily pierce with a fork. Pour into a colander to drain water then place the colander over the pot and place back on the stove top with the heat off. Let the heat from the pan and burner steam-dry the potatoes at least 10 minutes or until cool enough to handle.
Crust
- Position an oven rack in the bottom of third of your oven. Preheat to 350°F/180°C. Lightly grease a 9 inch pie pan.
- Add the almond flour and salt to a large bowl and whisk to combine.
- Stir in the maple syrup and coconut oil. Mix until you get a soft, sandy-like texture.
- Add the egg and mix until a soft dough comes together.
- Transfer the dough to your pie tin. Use your hands to press the dough into the pie dish to form your crust. The dough may feel a little oily at this point - blot with a paper towel to absorb excess oil.
- Use a fork to poke holes across the bottom of the crust the place in the oven and bake 15 minutes. Remove from oven and set aside.
Filling
- Add the soft sweet potatoes to a large mixing bowl. Use a potato masher to mash until smooth (or mostly smooth).
- Add the remaining ingredients and mix until fully combined.
- Optional: Use a stick blender or pour the filling into a stand blender and blend about 15-30 seconds until totally smooth.
- Pour the sweet potato filling into the prepared pie shell. Place in the lower third of the oven and bake for 50-55 minutes. The filling may look slightly puffed up and a toothpick inserted into the center should come out clean.
- Turn off the oven, crack open the door and leave the pie in the oven to cool until cool enough to handle. Then set aside to cool/rest for at least 4 hours to that the filling has enough time to set for clean slices.
- Once cooled, cover with plastic wrap and keep stored in the fridge up to three days.
Notes
Tips
- Feel free to use your favorite gluten-free pie crust in place of the one here.
- About half way through the bake time for the pie, check the crust. If it's already fairly brown/gold, place a piece of foil over the top to keep it from browning/burning.
- How to avoid cracks after baking? Over baked pies will usually crack as they cool. If you have a meat thermometer you can check the internal temp: 175°/80°C). You also want to let the pie cool in the oven before chilling it. Sudden temperature changes also lead to cracking.
- Freeze for later: After baking, cool then wrap tightly in a few layers of plastic wrap and aluminum foil. Store in the freezer 2-3 months at most. Thaw overnight in the fridge then let it come up to room temperature before slicing and serving.






Sarah says
Do you have a recommendation for how to make this without eggs? (Our guests follow a vegan diet and I’m new to modifying recipes to not use eggs!)
Sarah Nevins says
Hi Sarah! I haven’t tested this yet with flax eggs so I can’t say for sure, but I do think you swap out the eggs for flax seed eggs quite successfully without too much issue. In case you’re not familiar with flax eggs you check out my post on here: https://www.asaucykitchen.com/flax-eggs/
Basically you just need to combine 2 tablespoons ground flax seed with 5 tablespoons water. Mix together then set aside for 5-10 minutes until the mixture thickens up into a gel-like consistency.
Hope this helps!