Gluten Free Chicken Pot Pie – made with a flaky, homemade gluten-free pie crust and filled with a hearty, wholesome and delicious veggie-packed and chicken-filled, creamy gravy. Whether you’re making it to feed your whole family or you simply want to cozy up with a classic – this chicken pot pie is a must make!
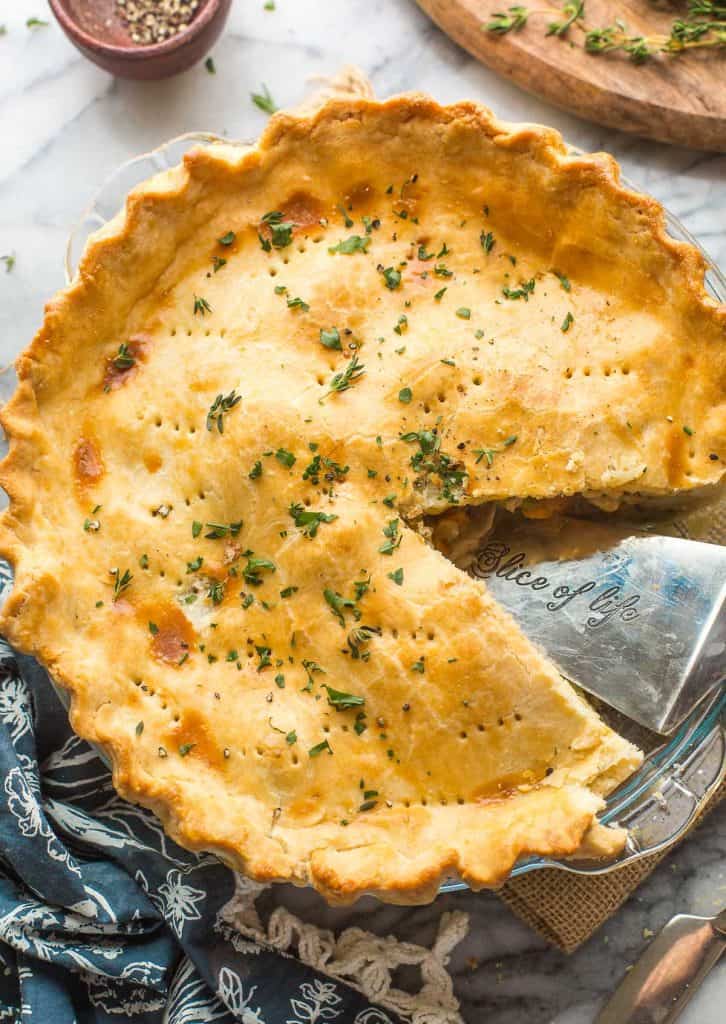
Chicken pot pie is the ultimate comfort food and goodness knows that we could all do with a little extra comfort these days.
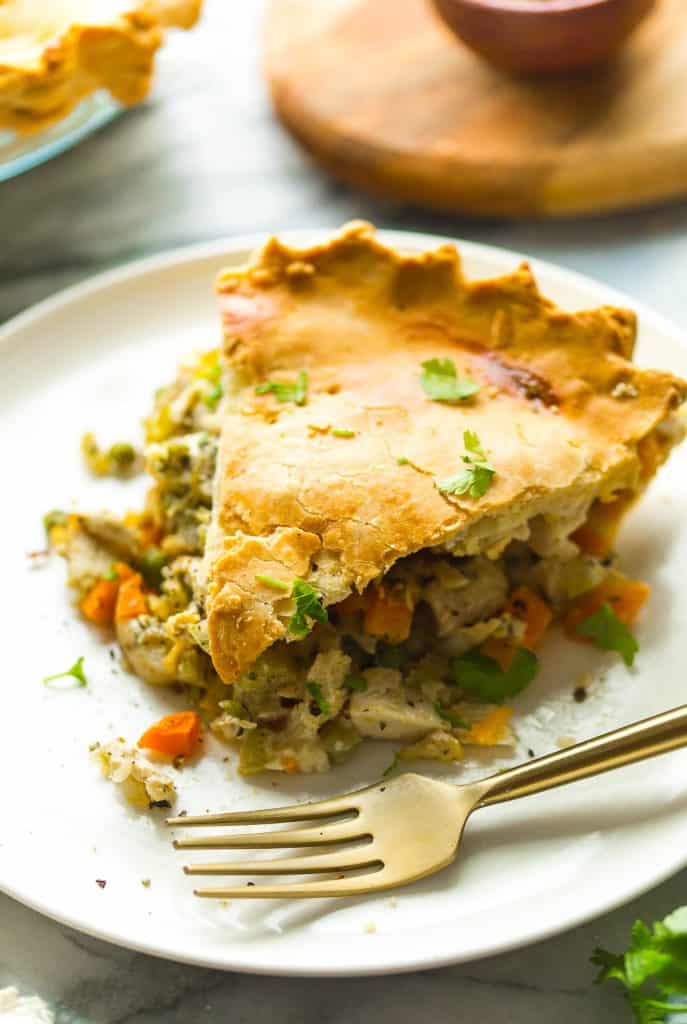
It’s a fully fleshed out meal presented in the form of a humble, savory pie slice. The filling is loaded up with veggies and protein, swimming in thick and creamy filling and nestled inside a flaky crust.
Need a few more reasons to started?
✔️ It freezes beautifully.
✔️ You can make it dairy free with a few simple swaps.
✔️ It’s undetectably gluten free with my homemade gluten free pie crust.
✔️ It’s versatile – Switch up the veggies depending on what’s in season or swap out the chicken for leftover turkey to enjoy around the holidays. See my leftover turkey pot pie!
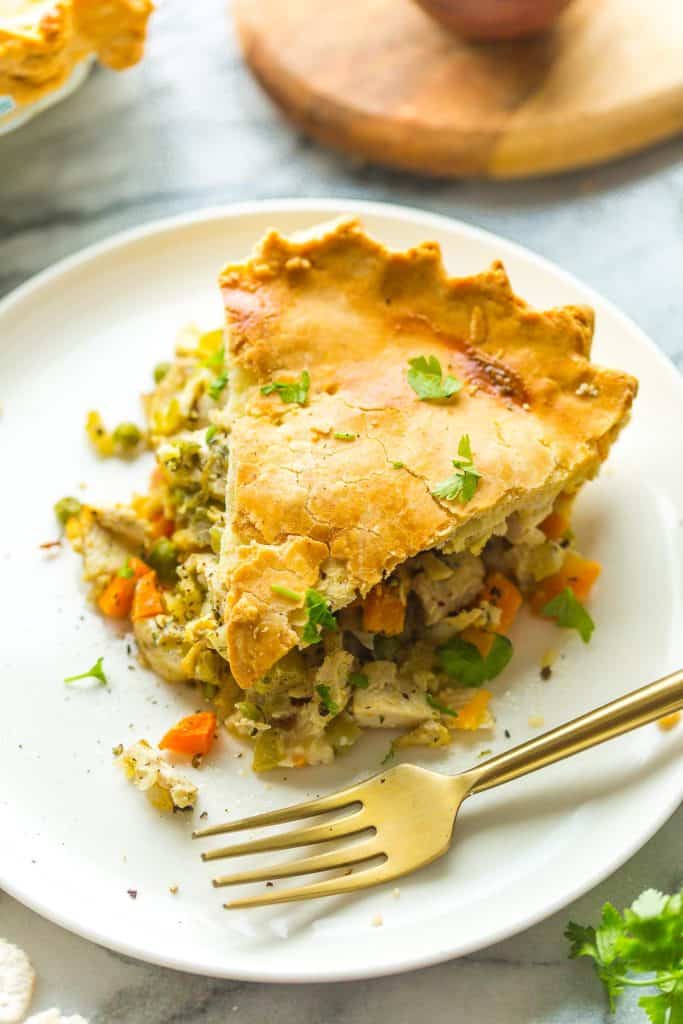
How to Make the best Gluten Free Chicken Pot Pie
Homemade chicken pot pie is a simple enough recipe, but it does take a bit of time to prepare. The prep can easily be broken down into a few mains steps:
- Prepare the pie dough.
- Cook the filling.
- Assemble and cook.
Homemade Gluten-Free Pie Crust
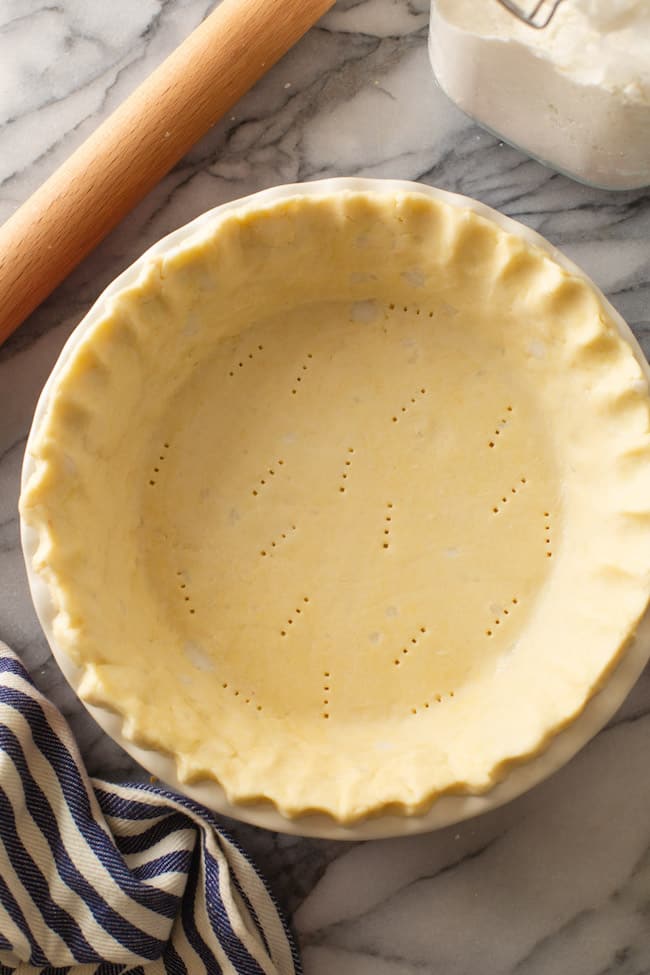
The pie crust used here is my tried and true flaky gluten-free pie crust recipe. It makes enough for a top and bottom pie crust (big enough to fit a 9-inch pie plate). It’s my go to crust whenever I need a basic crust for all things sweet and savory.
If you’d like a more in-depth run down of how to to make this crust along with a few tips you might find handy then I recommend you check out that recipe by clicking on the image below.
Chicken Filling
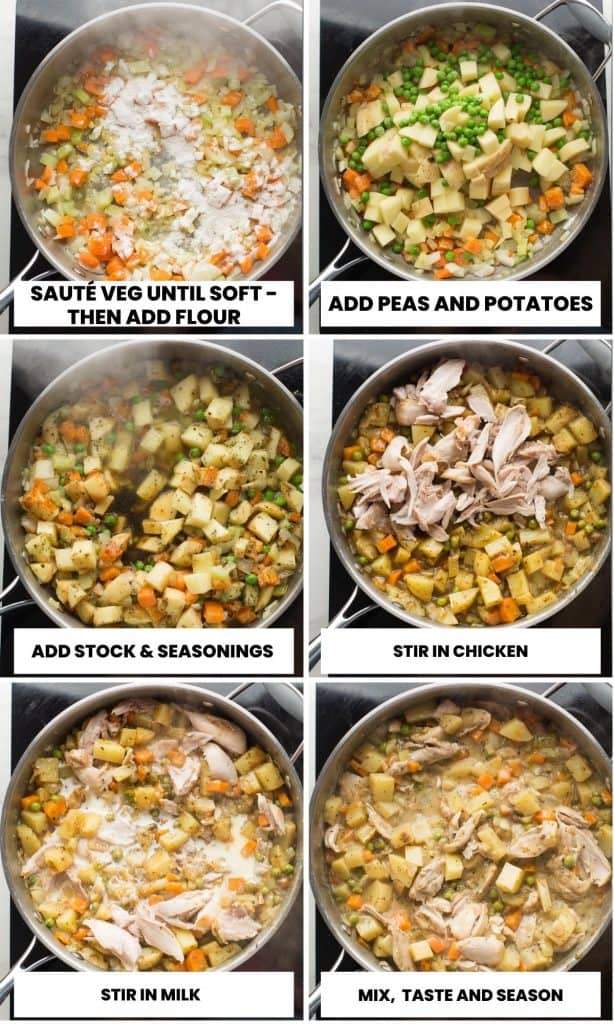
- Sauté the aromatics. First thing first: warm a bit of butter or oil in a large skillet over a medium heat, then add the onion, carrots and celery. Cook about 5 minutes to soften the veg.
- Add the flour: Sprinkle a bit of flour over the veggies and mix in well. The type of flour you add here isn’t too important. I stuck with a generic gluten-free flour blend (the same one used to make the crust) but you can use another gluten free flour if you like. White rice flour is a cheap and easy flour to use. Corn starch (also known as corn flour in the UK) will also work in a pinch.
- Peas and potatoes: Add in the peas and potatoes mixing well in with the other veggies.
- Stock and seasonings and simmer: Stir in the chicken stock, herbs and spices. Cover the pan and let the contents simmer for abut 15 minutes or until the potatoes are fork tender.
- Stir in milk & chicken: Finally, stir in the milk and cooked chicken. Cook the chicken mixture, uncovered a few more minutes and that’s it.
Tip!
At this point, your filling should be thick and hearty. If the sauce looks too runny you can thicken it up with a bit more flour. Add 2 tablespoons flour to a small cup along with 2 tablespoons of milk or chicken stock. Whisk together until no lumps remain, then pour the milky-slurry into the filling. Bring the filling to a simmer and cook 1-2 minutes.
FAQ’s
Can I make this recipe dairy free?
Yes! I have made this pie with dairy free substitutes many times!
- How to make the crust dairy free: Instead of butter you can use coconut oil, palm shortening, lard, vegetable shortening, non-dairy butter or vegan butter.
- How to make the filling dairy free: You can use a non-dairy free milk in place of the dairy milk. Just make sure to use an unsweetened milk. Check out my guide on dairy free milk substitutes if you need a little guidance on how to choose the best milk for you.
Do I need to par bake the crust before adding the filling?
No – at this temperature and cook time your bottom crust should be plenty cooked. No need to add an extra step here.
What type of chicken is best for chicken pot pie?
Best case scenario: use a rotisserie chicken. This way you can get a combination of both white meat chicken breast/wings and dark meat from the thighs.
Chicken pot pie is also a great time to use up whatever pre cooked/ leftover chicken you already have on hand.
Really though, this is totally up to your and your preferences!
Freeze Tips
This pie is my favorite freezer meal. The filling can easily be divided between two pies so I like to prepare an extra pie crust every time I make this. I make one pie to enjoy the day of and another pie to save for a rainy day.
How to freeze the unbaked pie (before cooking it):
Wrap the pie in plate well in foil and place in the freezer until frozen solid, then pop the frozen pie out of its container. I recommend lining your pie plate with baking paper for an easy removal. Once removed from the pie plate, wrap well in plastic wrap and foil and keep in the freezer for up to 3 months.
- When you’re ready to bake you can cook from frozen for about 50-60 minutes or until the internal temperature of the pie is at least 165°F/74°C. You may need to cover the crust in foil as it bakes to keep it from going too dark.
How to freeze a cooked pie:
Cool the pie completely. Once it’s cooled you can follow the same steps above for freezing an unbaked pie. When you’re ready to reheat your pie you can reheat it in the oven for about 35-40 minutes or until the internal temperature of the pie is at least 165°F/74°C.
Tip!
If freezing cooked pie: freeze as individual slices. This way you can unfreeze and cook leftover pie one slice at a time as required.
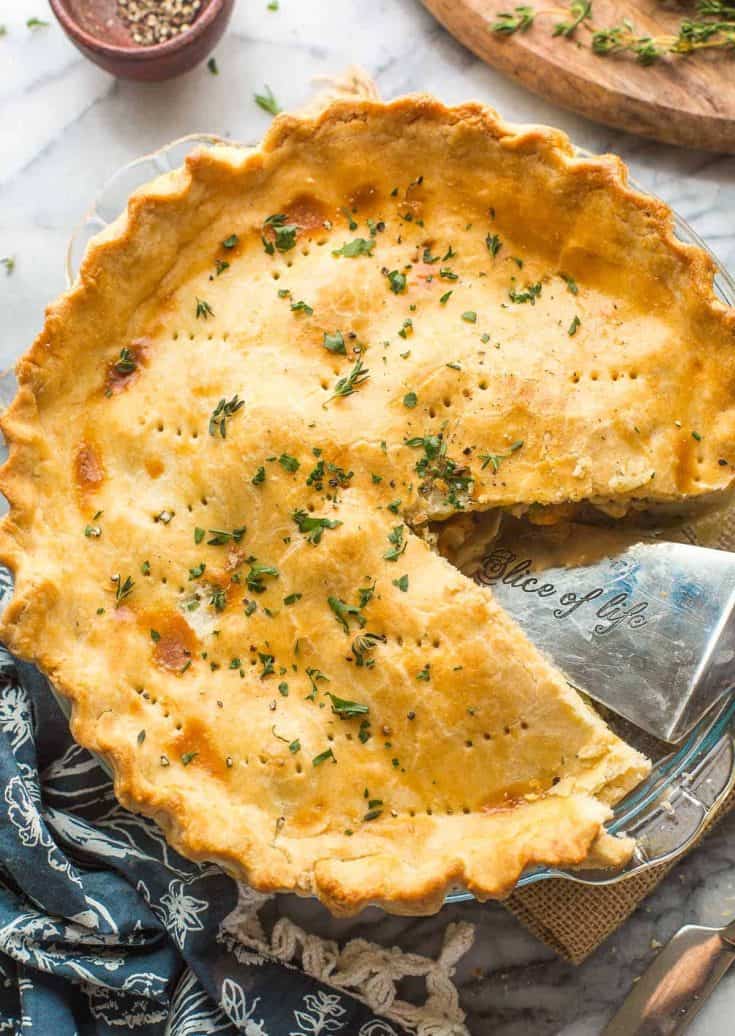
Gluten Free Chicken Pot Pie
Gluten Free Chicken Pot Pie - made with a flaky, homemade gluten-free pie crust and filled with a hearty, wholesome and delicious veggie-packed and chicken-filled creamy gravy.
Ingredients
Pie Crust
- 2 1/2 cup | 350 g gluten free all purpose flour blend
- 1 1/4 teaspoon xanthan gum (omit if your flour blend already contains xanthan)
- 1/2 teaspoon salt
- 1 medium egg
- 2/3 cup |150 g cold butter (vegan butter, shortening, palm shortening or coconut oil all work - see notes), cut into cubes
- 4-5 | 60-75 ml tablespoons ice cold water
Filling
- 2 tablespoons | 28 g butter or oil
- 1 medium white or yellow onion, diced
- 1 medium sized stalk celery, diced
- 1 medium carrot, diced
- 3 tablespoons | 28 g gluten free all purpose flour
- 1 medium or large white potato, peeled and diced
- 1/2 cup | 67 g frozen peas
- 1 cup | 240 ml chicken stock
- 1 tablespoon | 15 ml Henderson's or another Worcestershire sauce (ensure gluten free) optional*
- 1 teaspoon dried parsley
- 1/4 teaspoon cayenne
- 1/2 teaspoon black pepper
- 1/2 cup | 120 ml milk
- 2 cups | 280 g cooked chicken (thighs or breasts) - cubed or shredded
Instructions
Pie Crust
- In a large mixing bowl whisk together the flour, xanthan (if using) and salt.
- Add the cold butter (or butter sub) and mix together with a fork or pastry cutter. Mix until you have a sandy kind of mixture. Stir in the egg.
- Mix in the water 1 tablespoon at a time. Add water until you form a dough that sticks together in a ball.
- Divide dough in half - each half should weigh about 300 grams. Flatten each half into 1-inch thick discs using your hands.
- Wrap tightly in plastic wrap and refrigerate the dough for at least 20 minutes. While the dough chills, make the filling.
Filling
- In a large skillet, warm the butter/oil over a medium heat. Add the onion, celery and carrots along with a pinch of salt. Cook about 5 minutes until the onions begin to soften and turn translucent.
- Sprinkle the flour over the onion mixture and stir to combine. Stir in the peas and potatoes.
- Add the chicken stock, Henderson's or Worcestershire sauce (if using), dried parsley, cayenne and black pepper. Stir everything together. Cover and let simmer about 15 minutes until the potatoes are fork tender.
- Uncover the pan and stir in the milk and chicken. Cook for another 3 -5 minutes. The filling should be thick and somewhat creamy. Turn off the heat and set aside as your prep the crust.
Assembly
- Preheat oven to 425°F/220°C. Set aside a 9 inch pie dish.
- Take the chilled dough out of the fridge. Place one of the dough discs between two lightly floured sheets of parchment paper and roll out to be 1/8-1/4 of an inch thick.
- Peel back the top layer of baking paper. Slip one hand under the bottom layer of parchment paper to gently flip the dough over into the pie dish. Peel back the paper and sooth over any cracks or breaking points in the dough. Leave the dough hanging over the edges alone for now.
- Pour the filling over the bottom crust. Smooth the filling evenly across the dish.
- Roll out the second dough disc as instructed above, then carefully transfer to cover the filling. Seal the top and bottom edges of the pie by crimping the dough together with a fork or your fingers.
- Optional Egg Wash: For a shiny crust, mix 1 tablespoon water with 1 egg yolk then brush that mixture across the top of your pie.
- With a fork, prick holes all across the surface of the crust. Place the pie on a rimmed baking sheet (for easy retrieval) then place in the middle of the oven and bake for 40-45 minutes.
- Let the pie rest at least 10-15 minutes before slicing and serving and enjoy!
Notes
- You can use vegan butter and dairy free (unsweetened) milk to make this recipe dairy free.
- Leftovers can be kept in the fridge for 3-5 days or in the freezer for 3 months.
Pie Crust Tips
- Use 1/3 cup butter AND 1/3 cup lard/shortening (75 g each). While butter has a better flavor, lard and shortening have a much higher melting and steam point. This makes them less likely to melt has your handle the crust and steams up in the oven more (more steam = flaky crust).
- Coconut Oil Notes: Coconut oil has a low melting point so make sure to chill the dough well. After you press the dough into the baking dish make sure to chill the dough again for at least 15 minutes. Your crust will break more easily as your roll it out so just be prepared to smooth over and broken edges.
- Use a food processor. Mix everything together by pulsing it all in a food processor. It’s much easier, faster and cleaner than doing it by hand. Just make sure to pulse the dough in short burst. You don’t want to mix too fast or too long or you’ll end up melting the fats.
More Gluten Free Comfort Food Recipes To Check Out:


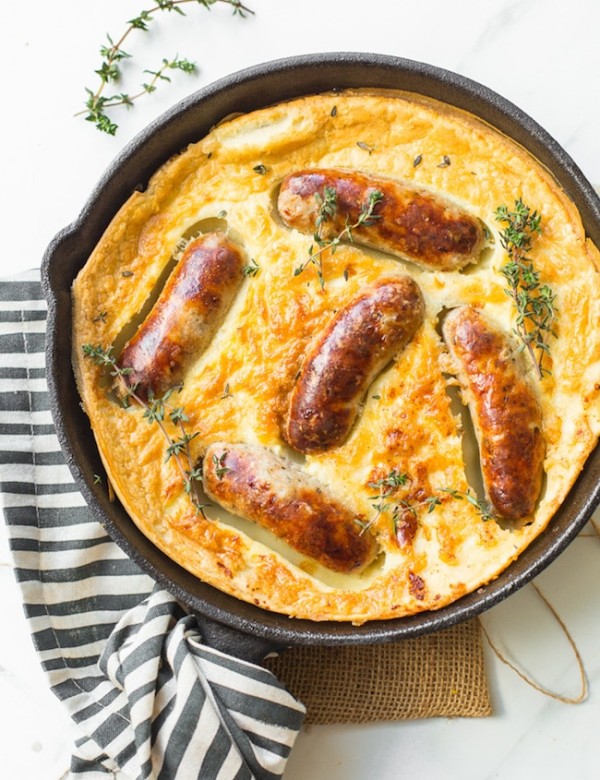
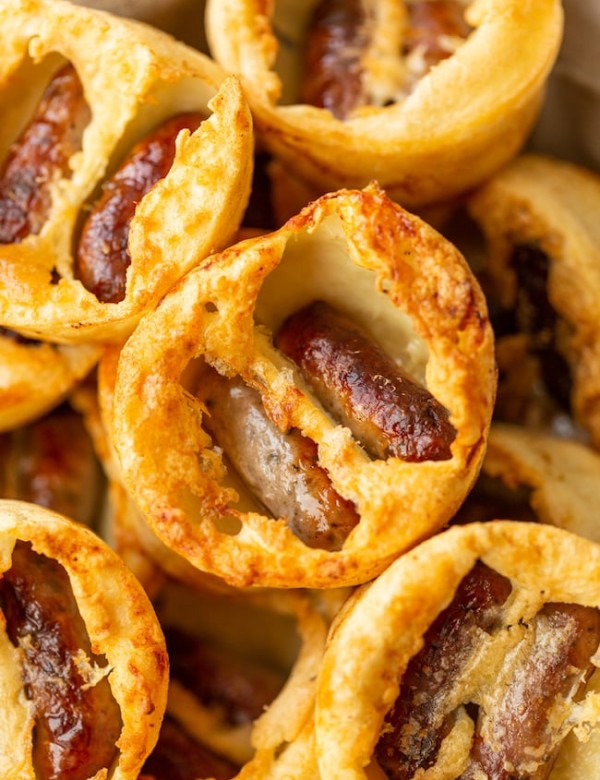

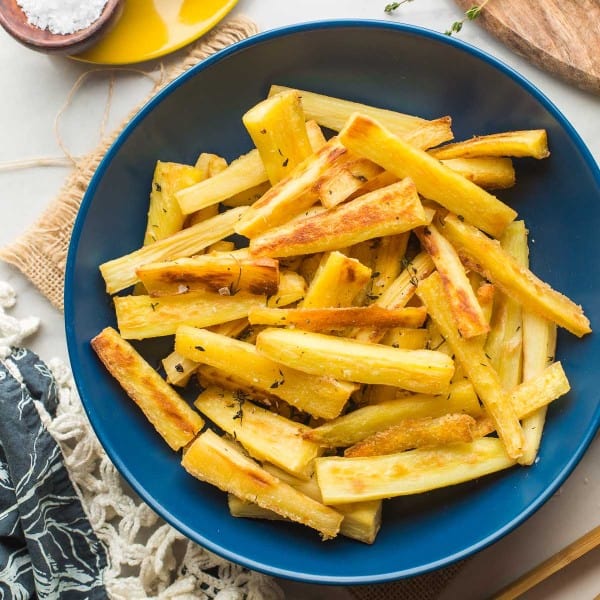
AMY SHAMROCK says
I made this for 7 people by doubling the recipe and putting it in a larger, shallow baking dish. I made two separate batches of crust so it didn’t get too bulky. Both batches of crust were VERY dry. I used 1/3 c butter and 1/3 c Crisco and the max amt of water (and the egg) but had to add water and crisco to make it stay together.
It looked beautiful, though cracked up. We had to heat stock and milk to add moisture. However, the flavor was excellent and everyone thought it was good overall.
Sarah Nevins says
Hi Amy! Thanks for coming back to let me know how it went for you!
One tricky thing about gluten free baking is that different cooks/bakers have to use different all purpose flour blends based on what we can find in store or make ourselves at home. Depending on the recipe, this may not always make too much difference. Unfortunately, sometimes the different flours in the blends can have a more noticeable impact. Some gluten free flours are more absorbent than others and require more moisture. All that to say – I think you did exactly the right thing adding a bit more water/crisco to get a softer pie dough!
I’m really glad to hear it worked out in the end – thanks again for coming back with your review! It’s helpful for me to keep these things in mind when I write recipes 🙂
Chris says
I cooked it for 40 minutes as directed and the entire crust was very hard and crunchy. It was not flaky by any means. To look at it the crust looked perfect but it wasn’t pleasant to eat. I only used butter as I did not have any shortening or lard. Quite disappointing as you sit down to eat your meal.
Sarah Nevins says
Hi Chris!
So sorry to hear the crust didn’t work out. It’s hard to know what exactly could have gone wrong without being there. From personal experience I know I’ve hard similar results with hard crusts when I end up using too much water to get the dough to form. Though or course, this may not have been the case.
Either way, I’m sorry again to hear it didn’t work out. I appreciate the feedback and I’ll take a look at my instructions incase there is something I can explain better.
Angie Cullen says
This was amazing crust thank you
Sarah Nevins says
I’m so glad you enjoyed it – thanks Angie! 🙂