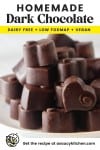
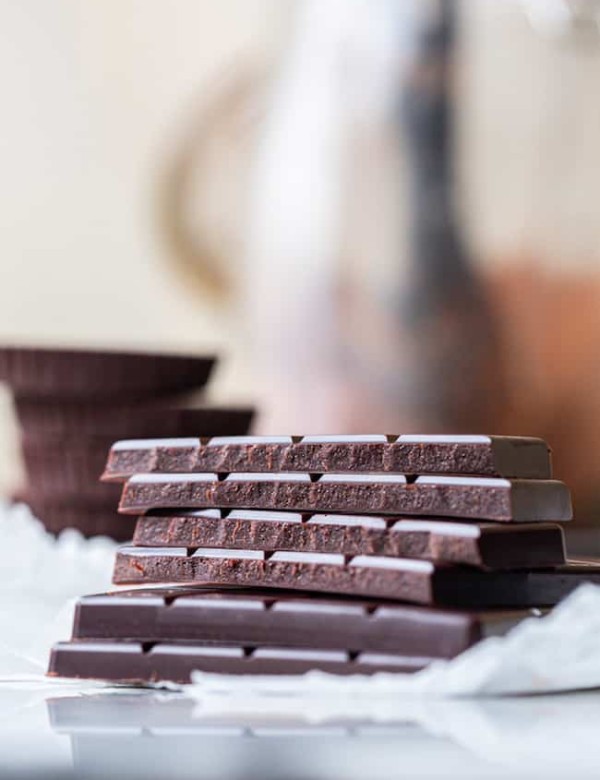
Easy homemade dark chocolate with less than a handful of ingredients!
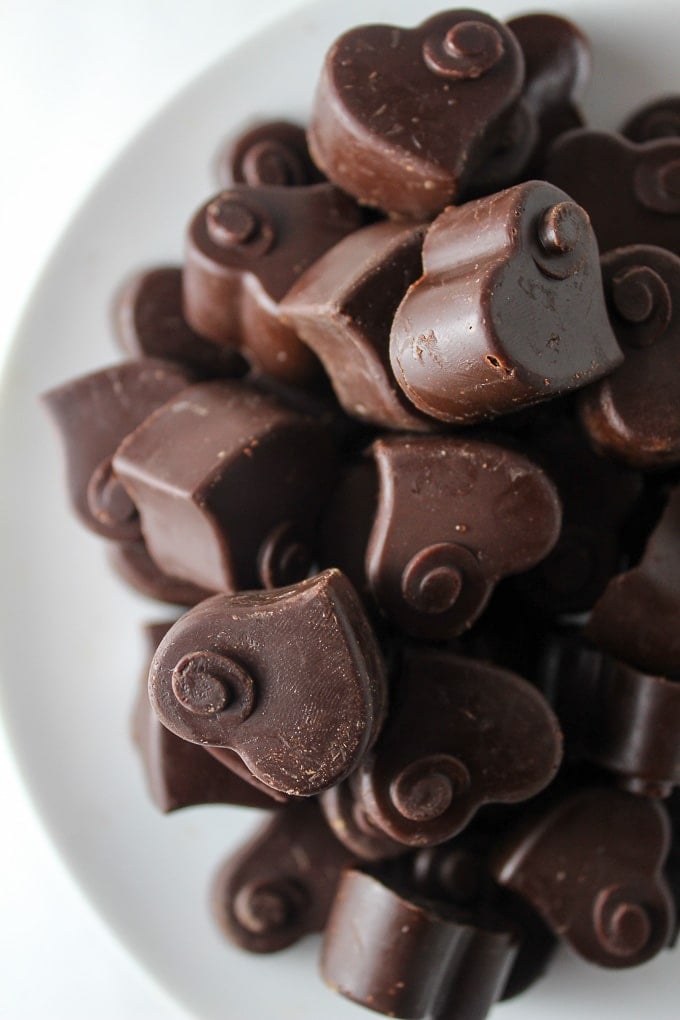
In case anyone actually needs another reason to reach for some chocolate…..
5 Reasons to Eat More Dark Chocolate🍫
You know, for health…
- It’s basically brain food
The cocoa found in chocolate helps increase blood flow to the brain which leads to faster reaction time, better problem solving skills, and improved attention span. Not only that, but increased blood flow to the brain also improves short term memory and decreases mental decline in seniors. - It helps protect against heart disease
The flavonoids in chocolate help increase blood flow to the heart as well which helps to prevent blood clots and hardening of the arteries. Eating a small amount of dark chocolate a few times a week has been shown to lower blood pressure. - Younger looking skin
Quality dark chocolate, not the sugary kind, is full of antioxidants that have anti-aging benefits to the skin. Not only that, but the same flavonoids that increase blood flow to the heart and brain also increase blood flow to the skin giving off a healthy glow. - It’s a “joy stimulant”Cocoa boosts levels of serotonin and endorphins in the brain which leads to improved mood. So when you’re feeling down and you’re craving something sweet it’s likely the boost in serotonin that your body is really craving.
- It helps you stress less
Chocolate is a great source of magnesium which has been dubbed “the original chill pill”. Getting more magnesium through diet leads to better sleep contributing to improved resilience to stress. Another study found: when test subjects who considered themselves to be highly stressed people ate an ounce and a half of dark chocolate a day for two week had a significant drop in stress hormones.
Keep in mind that these health benefits relate to quality dark chocolate – at least more than 70% cocoa. Conventional chocolate bars filled with lots of sugar and additives don’t have the same benefits and are likely to cause more problems than anything else.
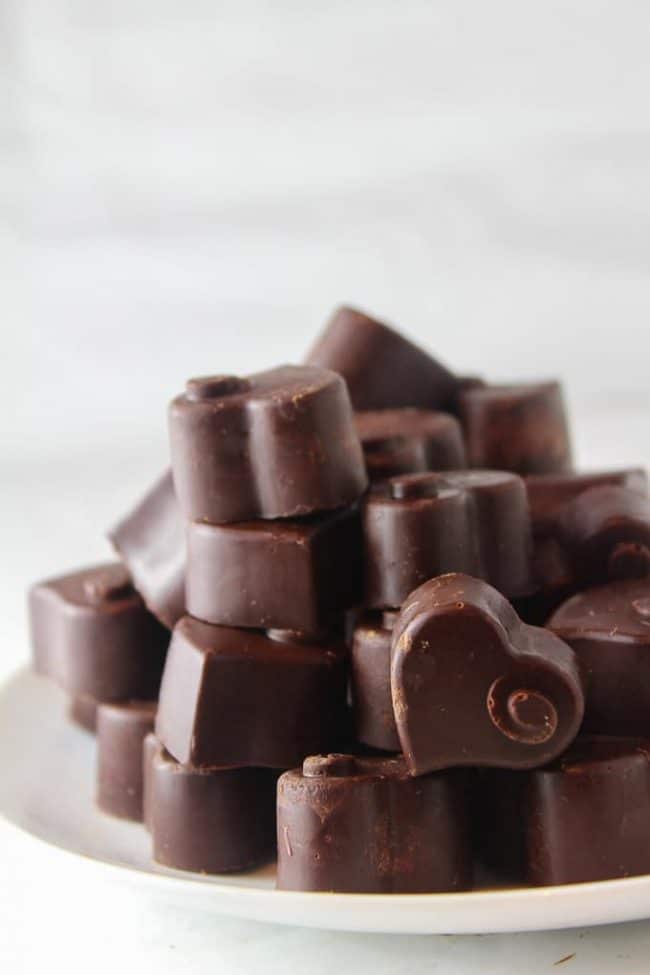
How to make homemade chocolate with Coconut Oil
Making homemade dark chocolate is probably easier than you think. It’s made with only 5 ingredients: cocoa powder (or cacao), coconut oil, honey, and sea salt. All you need is about 5 minutes of melting and whisking plus time to set and you’re good to go.
If you follow this recipe as is you’ll end up with about 72% dark chocolate, but feel free to customise to your taste adding an extra tablespoon or so of honey. I never used to be a fan of dark chocolate but over time I learned to love it as my eating habits changed and I ate less sugar.
Spruce It Up
Don’t be afraid to experiment with the flavours to make your own special chocolate bar. A few ideas to get you started:
- ground ginger
- orange zest or orange extract
- chili flakes
- chopped nuts
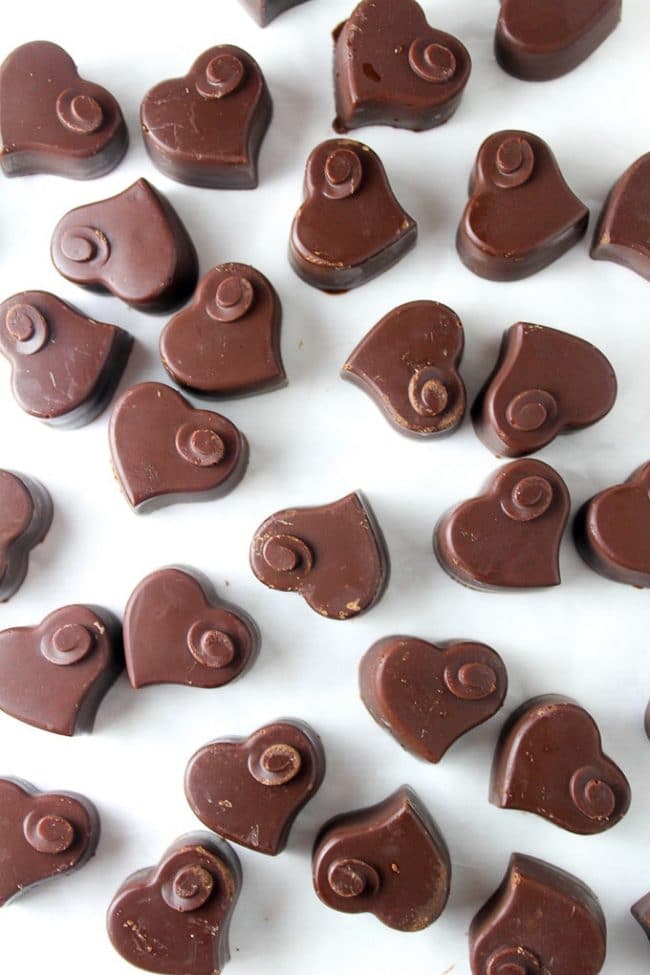
If you enjoy this recipe make sure you check out my recipe for homemade chocolate with cocoa butter!
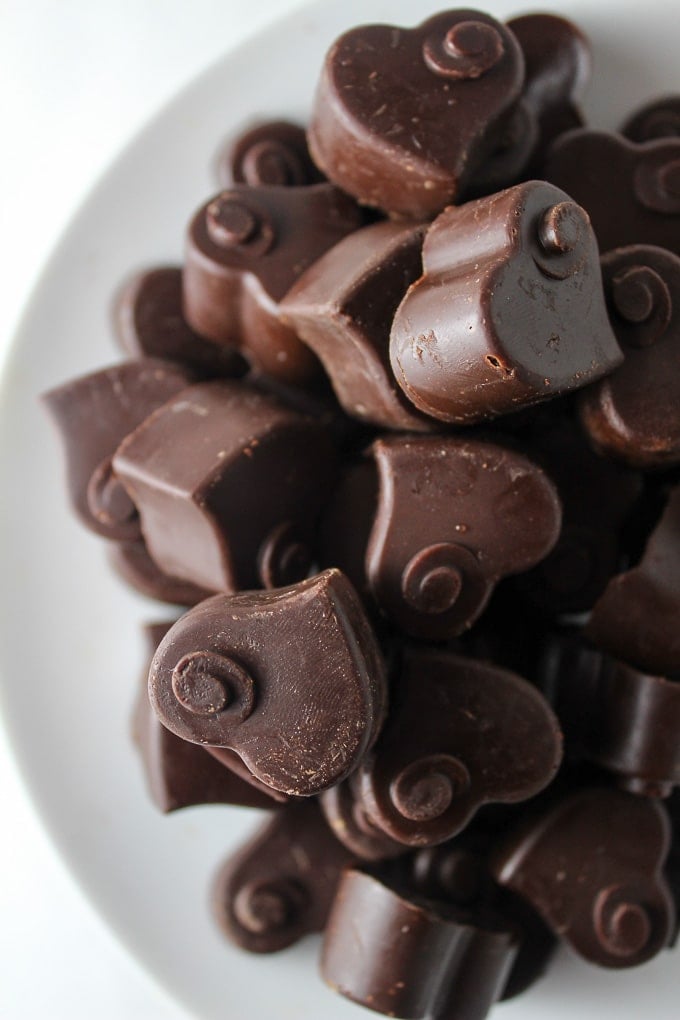
Homemade Dark Chocolate
Easy homemade dark chocolate - only five ingredients!
Ingredients
- 1/2 cup coconut oil (105g)
- 4 tbsp honey or more for taste (85g)
- pinch of sea salt
- 1 cup unprocessed 100% cocoa powder or cacao powder (118g)
Instructions
- In a small pot over a low heat: melt the coconut oil.
- Stir in the honey, and salt.
- Remove the mixture from the heat. Add the cocoa powder and mix until it's dissolved into the chocolate mixture. You should have a smooth, lump free chocolate sauce.
- Pour the chocolate into silicone moulds or a lined baking pan. Leave out at room temperature to cool and fully set. Once they've hardened pop them out of the moulds and enjoy.
Notes
- You can also use cocoa butter in place of the coconut oil for a creamier chocolate.
- Use maple syrup or agave for a vegan friendly chocolate. Use maple syrup for low FODMAP. Just keep in mind that maple syrup contains more water than honey and could leave you slightly grainy chocolate.
- Keep chocolate stored in an airtight container in the fridge.
- Don't pack the cocoa powder into a measuring cup - lightly scoop it into the cup until filled.
- I no longer recommend cooling/setting in the fridge or freezer. Firming up at room temperature will take much longer, but the chocolate is much less likely to melt at room temp/in your hand this way.
Nutrition Information
Serving Size:
30 grams Calories: 143Total Fat: 11gSaturated Fat: 9gSodium: 15mgCarbohydrates: 14gFiber: 4gSugar: 7gProtein: 2gShop this Post
As an Amazon Associate and member of other affiliate programs, I earn from qualifying purchases.



Cheryl Joyce says
I have been making this recipie for years and love it. I often add shredded coconut to it. I did not see the vanilla in this version, I don’t know if that was on purpose or by mistake, the older version had vanilla (sometimes I substitute pepermint oil for the vanilla.)
Sarah Nevins says
Hi Cheryl, I’m so glad to hear you’ve enjoyed the chocolate!
You’re totally right about the vanilla extract. I recently removed it as an ingredient to reduce the likelihood of the chocolate from ‘breaking’ (developing a grainy texture) as it sets because some people were having issues with moisture in their chocolate. I cut it from the ingredients to be extra cautious, but if it never caused you any problem then feel free to keep adding vanilla or whatever extract you were using!
Jay Joyner says
2nd time making this now, tastes amazing both times and I used it for chocolate Lava cake which worked well, but I’m having issues with pouring it after I’m done with the mixture, it quickly turns hard right when I’m about to pour it and I have to spread it with a spatula to cover the whole dish which makes a really uneven chocolate bar that doesn’t look good, it still tastes great but not what I expected from pouring chocolate, am I supposed to pour it immediately after adding the cocoa powder when it’s smooth? If I’m pouring for a while can I put it in a double boiler so it stays like melted chocolate to pour well? Thank you for the great recipe
Sarah Nevins says
Hi Jay, I’m so glad to hear you’ve enjoyed this! That’s so great to hear about the lava cake too! It definitely sounds like the chocolate mixture is cooling down too quickly making it tricky to pour after mixing.
Instead of taking the pot off the heat before you add the cocoa powder I recommend you turn off the heat, but keep the pot on the burner as you mix in the cocoa powder. This way it should stay warm enough to easily pour into container to finish cooling.
If it’s still too thick to pour then keeping it warm in a double broiler like you’ve suggested is a great idea. Hope this helps!
Jay Joyner says
Thank you, I also used it in cookies and it didn’t work, the chocolate did not melt, and might have reacted with the cookie and made it rise because it seemed very leavened compared to when I made them before, do you know why this chocolate didn’t melt in the cookies?
Sarah Nevins says
Ooh, interesting!
When you used them in cookies, do you mean that you used them like chocolate chips/chunks? Or mixed into the cookie dough to make chocolate cookies? If you were trying to make chocolate flavored cookies (not with chocolate chunks) I think the balance of ingredients got thrown off which could have dried out the chocolate.
As for why the cookies might have seemed more leavened with the chocolate: My best guess is that it might have something to do with the cocoa powder from the chocolate reacting to the and baking powder/baking soda likely in your cookie recipe. Cocoa powder reacts with baking soda and/or baking powder to work as a leavener and the excess cocoa powder could have more than the original recipe might have wanted. It’s hard to say for sure though without knowing how you were using the chocolate and what cookie recipe you were working with.
Jay Joyner says
I chopped the chocolate up for chocolate chip cookies
Jay Joyner says
How many oz of chocolate does this make? I want to make fudge but I prefer maple syrup over regular sugar, so I want to make my own chocolate to use in the fudge, it requires a 12 oz bag of chocolate chips but a 12 oz chocolate bar can also be used, I do not have a kitchen scale to weigh it, and if I’m making this to use in the fudge, do I still have to wait for it to harden or can I just put it in the fudge at the sauce stage?
Sarah Nevins says
Hi Jay! Altogether the total weight comes out to about 320 grams which is 11.21 oz. You could very easily get to 12 oz by adding 1 extra tablespoon of maple which a lot of people do anyway to get a slightly sweeter chocolate.
As for using this to make fudge, I’m not really sure. Since you plan on using maple syrup, I wonder if it would be a good idea for your to cook the chocolate mixture here for a longer time on a low temp (keeping on eye on it and stirring often so it doesn’t burn). The idea being that you cook out more of the water in the maple and give the mixture more time to form sugar crystals which will be useful for the fudge. It’s hard to say without knowing the full recipe because there are so many small things that could factor in. I wish I could be more help here, but you’ve given me a new recipe to play around with!
Larry Robinson says
If I want to use maple syrup, what do I use it in place of? The honey; honey and vanilla; or add the maple syrup as another ingredient?
Sarah Nevins says
Hi Larry! That’s a great question – you can swap the maple syrup out for both the honey and vanilla extract. Just use the same a mount of maple as you would honey and just omit the vanilla extract.
Elena M. says
Can you keep these frozen and if so, for how long? I love this recipe. I followed your directions exactly and it came out delicious.
Sarah Nevins says
Hi Elena, I’m so glad you enjoyed it!
You can freeze it but I recommend you refrigerate it first for a day then pack up well in an airtight/freezer safe bag or container to freeze. This is done to avoid temperature shock (sudden, extreme temperature changes) which can effect both taste and texture. When you’re ready to thaw it again, you also want to let it thaw in the fridge for the same reason.
When your chocolate defrosts you may likely notice it ‘sweat’. This is when you get condensation built up (little water droplets) form around the outside of the chocolate. When the water dries/evaporates it will form white streaks. It’s still totally fine to eat – it’s just the result of the changes in temperature and exposure to water and humidity.
Hope this helps 🙂
Lynna Karanutsos says
😍this‼️
Soooooooooo HEALTHY.
JUST what I needed and I did use Coconut Butter🥥
Sarah Nevins says
Thanks Lynna! 🙂
Kim says
Have u ever tried butter instead of c oil?
Sarah Nevins says
Hi Kim! I don’t recommend using butter as a substitute for coconut oil – it has a much high water content than coconut oil (15%-30% depending on the type) while coconut oil has next to none. The water in the butter will cause the chocolate to seize up and develop a grainy texture. Chocolate made with butter also won’t solidify in the same way that coconut oil-chocolate would.
Norman says
I always wanted to make homemade dark chocolate. I found this recipe yesterday, looked simple, and decided to try it. I followed the directions exactly and poured the chocolate mixture into silicone candy bar molds. After sitting in the frig for over an hour I couldn’t wait any longer. Wow! The chocolate came out perfectly and tasted great. It’s not overly sweet which is what I like in a dark chocolate. It was VERY easy to make. The candy will literally melt in your mouth even being cold from the frig.
Tips: Make sure you melt the coconut oil completely. As suggested by a poster, I used unrefined coconut oil, but I’m not sure if that really made a difference. When mixing in the honey make sure the mixture doesn’t get too hot or tries to boil. Don’t pack down the cacao powder into the cup. The sauce will have the consistency of chocolate sauce. Final tip. Don’t leave the bar of chocolate out in front of you. You will eat the entire bar in one sitting. 🙂
Sarah Nevins says
Thank you so much, Norman – I’m so thrilled to hear you enjoyed the chocolate! I also very much appreciate the tips. I’ve even added your note about not packing in the cocoa powder when measuring as I think that’s something a lot of people accidentally do. I also agree with your final tip – too relatable 🙂
James says
If I want to make it milk chocolate, how much powdered milk would I add?
Sarah Nevins says
Hi James! It depends on how much sweetener you plan on using, but I’d recommend at least adding 1/2 cup (65 grams) of milk powder to get a milk chocolate. The way to figure out the percentage is to add up the weight of the cocoa powder and cocoa butter by the total weight of all ingredients.
(cocoa powder + coco butter) ÷ (total weight of all ingredients) = .xxxx or x%
So let’s say you use 1/4 cup maple syrup (79g) – you’ll probably use more than this.
Cocoa powder + cocoa butter = 338g
combined ingredients = 482g
338 ÷ 482 = .7012 or 70%
70% and below is usually considered milk chocolate. As long as you use more than 1/4 cup maple or honey or add an extra tablespoon or so of milk powder you should end up with a milk chocolate.
I hope this makes sense and is helpful!