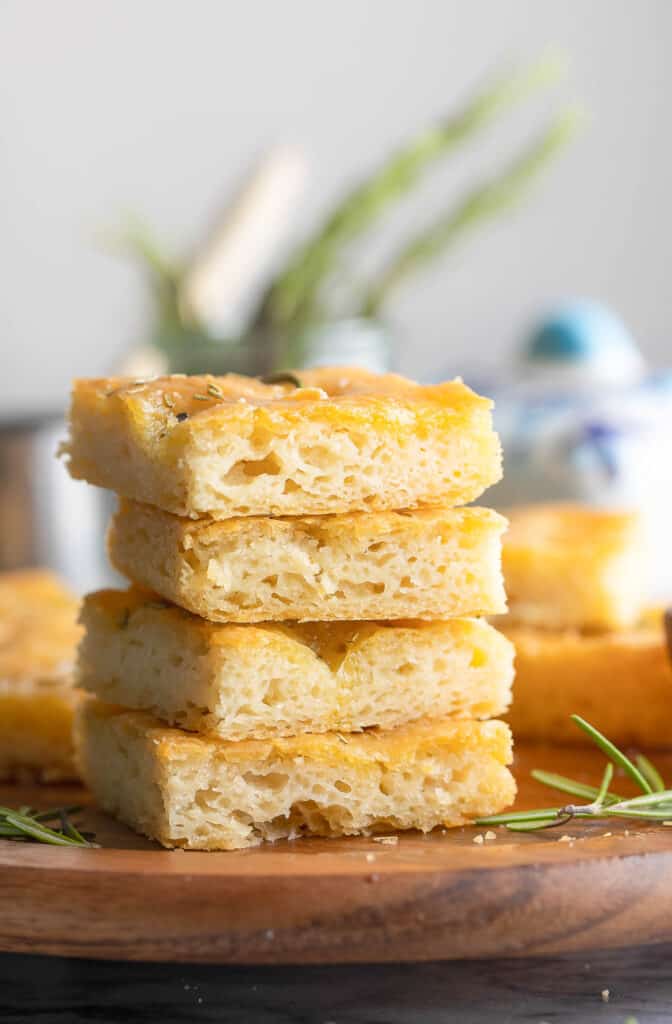
This gluten free focaccia bread is simple, straight forward and super satisfying! Fresh out of the oven it has a mouthwatering, crispy golden exterior with a soft and chewy interior. Enjoy as a thick crust pizza base, sandwich bread or on its own as a delicious side – ideally with a dipping sauce within reach!
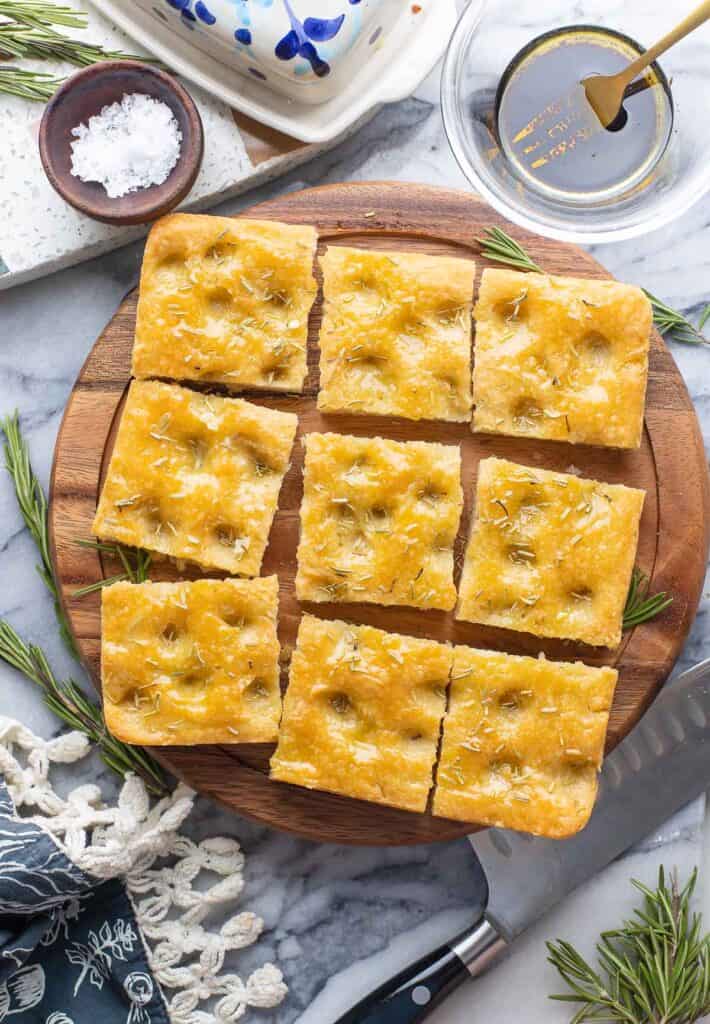
Simple. Timeless. Mouthwateringly Delicious.
What more could you want out of a recipe – let alone a gluten free bread?
This gluten free focaccia is all that and then some!
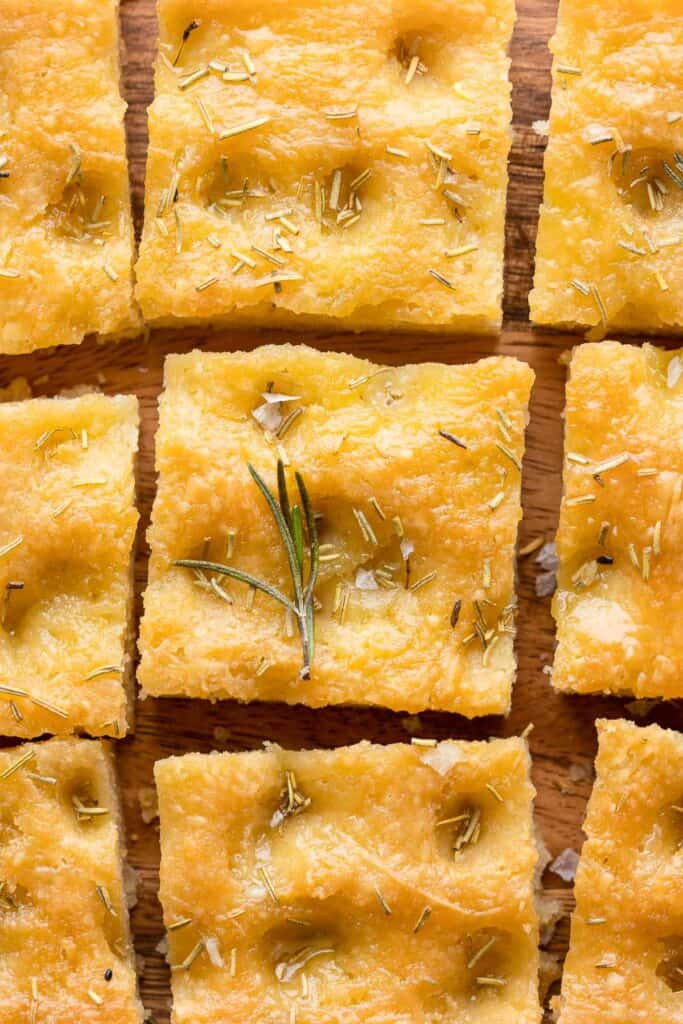
Gluten Free Focaccia Ingredients
- Gluten Free Yeast – This is the main leavener in this gluten-free focaccia recipe. Without the yeast, you get a quick bread (like soda bread). Still tasty, but different vibe!
- Live yeast will feed off of the sugars and starches in the flour to create carbon dioxide bubbles. These bubbles allow the dough/bread to leaven (rise) making for a softer, lighter texture.
- Sugar – You need a small amount of sugar to help active ‘proof’ the yeast to ensure that’s it’s alive.
- Honey, maple syrup, coconut sugar, white sugar and brown sugar all work.
- Sugar-free substitutes won’t work.
- Gluten-Free Flour Blend – Most gluten free all purpose flour blends here.
- I tested this recipe using my homemade gluten-free flour blend and Doves Freee Gluten Free Plain White Flour with consistent results.
- I don’t have access to it here in the UK but I have great results whenever I can play around with cup4cup gluten-free flour and Bob’s Red Mill 1:1 all purpose flour blend.
- I also tested my gluten free focaccia with a quick gf flour blend similar to the ones I use in my Manakish recipe. It contained: 1 cup (140g) white rice flour, 1 cup (113 g) tapioca starch and 1/4 cup (45 g) potato starch. It wasn’t as good as the focaccia bread made with the pre made flours, but good enough that I would make it again if I didn’t have my pre made blends available.
- Xanthan Gum – Xanthan gum helps bind and retain moisture.
- If you are using a flour blend that already contains xanthan you don’t need to add any here.
- I tried making this without and I noticed the bread felt a bit dryer in the end so I do think it’s worth adding it if you can.
- Baking Powder – Not a traditional focaccia ingredient, but baking powder provides additional lift to our bread. Extra lift = less dense + lighter texture.
- Salt – A small amount for the bread dough and a sprinkling of flaky sea salt on top for good measure.
- Extra Virgin Olive Oil – A few tablespoons of olive oil for the dough and a couple more to brush before and after baking.
- Apple Cider Vinegar – Again, not a typical focaccia ingredient, but it makes for an improved, softer crumb.
- Use lemon juice or white vinegar instead of apple cider vinegar if needed.
- Rosemary – Dried or fresh rosemary work! Sprinkle over the top before and/or after baking for a fresh, herby punch.
Steps
Altogether the process is quite easy and can be summed up in a few simple steps:
- Proof the yeast.
- Whisk the dry ingredients.
- Stir the proofed yeast mixture into the flour mixture.
- Mix in the oil and vinegar until a thick, smooth batter-like dough forms.
- Pour and spread into a well-greased baking pan, cover and let rise.
- Top with oil-brine, herbs and bake until golden.
- Enjoy!
Activate Yeast
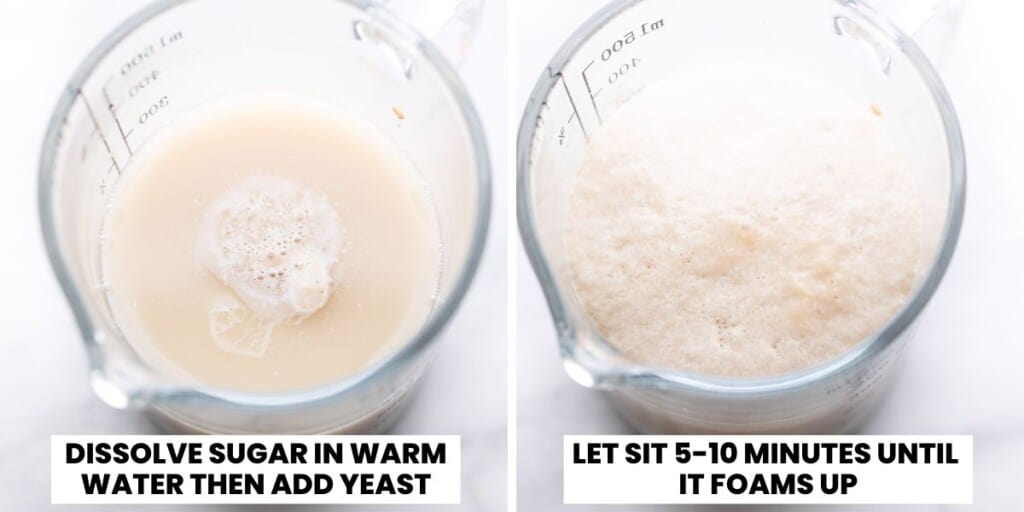
You can use quick, instant yeast or active dry yeast.
Unlike active dry yeast, instant yeast technically does not need to be activate (aka ‘proofed’). You can usually mix it right into the dry ingredients with good results.
That being said, I still like to complete this step whether I use active or instant yeast in my gluten free bread making. It’s a small, simple, but incredibly informative step step that can highlight potential problems with the rising process. If the yeast doesn’t foam up after about 5-10 minutes, it’s probably dead and won’t properly leaven the focaccia.
Tip!
Your water should be within the range of 105°F-115°F (45°C-46°C). Water that’s too cold won’t activate the yeast quick enough and water too hot will kill it.
Combine Wet and Dry Ingredients
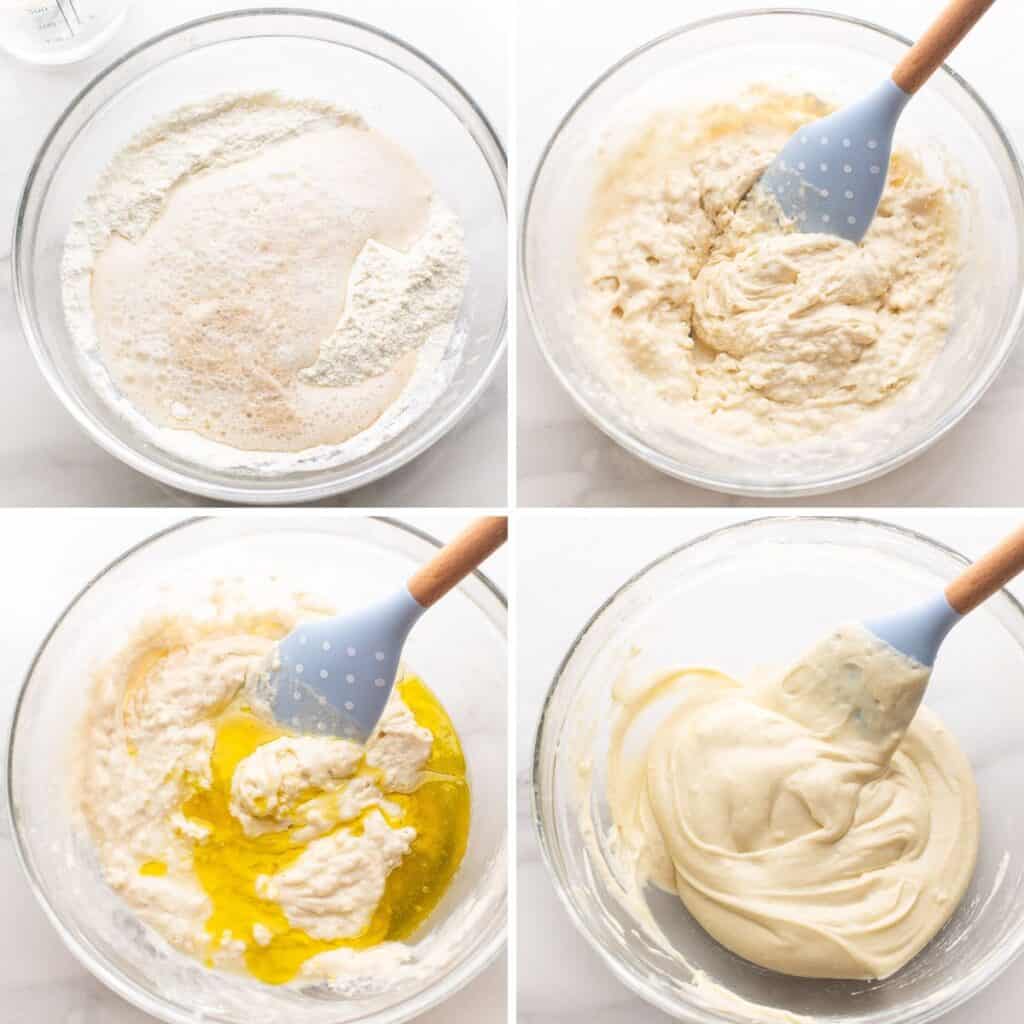
While the yeast mixture is activating, whisk together the dry ingredients in a large bowl until combined.
After the yeast has foamed up, pour into the flour mixture and mix together until well combined. You can mix this together in a stand mixer with a paddle attachment, or simply in a regular bowl with a wooden spoon or sturdy spatula. Next, add the olive oil and vinegar.
Gluten Free Focaccia Dough Expectations
Without the gluten in wheat flour, the dough doesn’t have the same structure and proteins to keep it together making it look more wet than you might expect. Gluten free focaccia (and gluten free bread in general) also needs more hydration than regular bread recipes.
The end result will be a thick, smooth dough that looks more like a batter than a traditional dough.
Rise and Bake
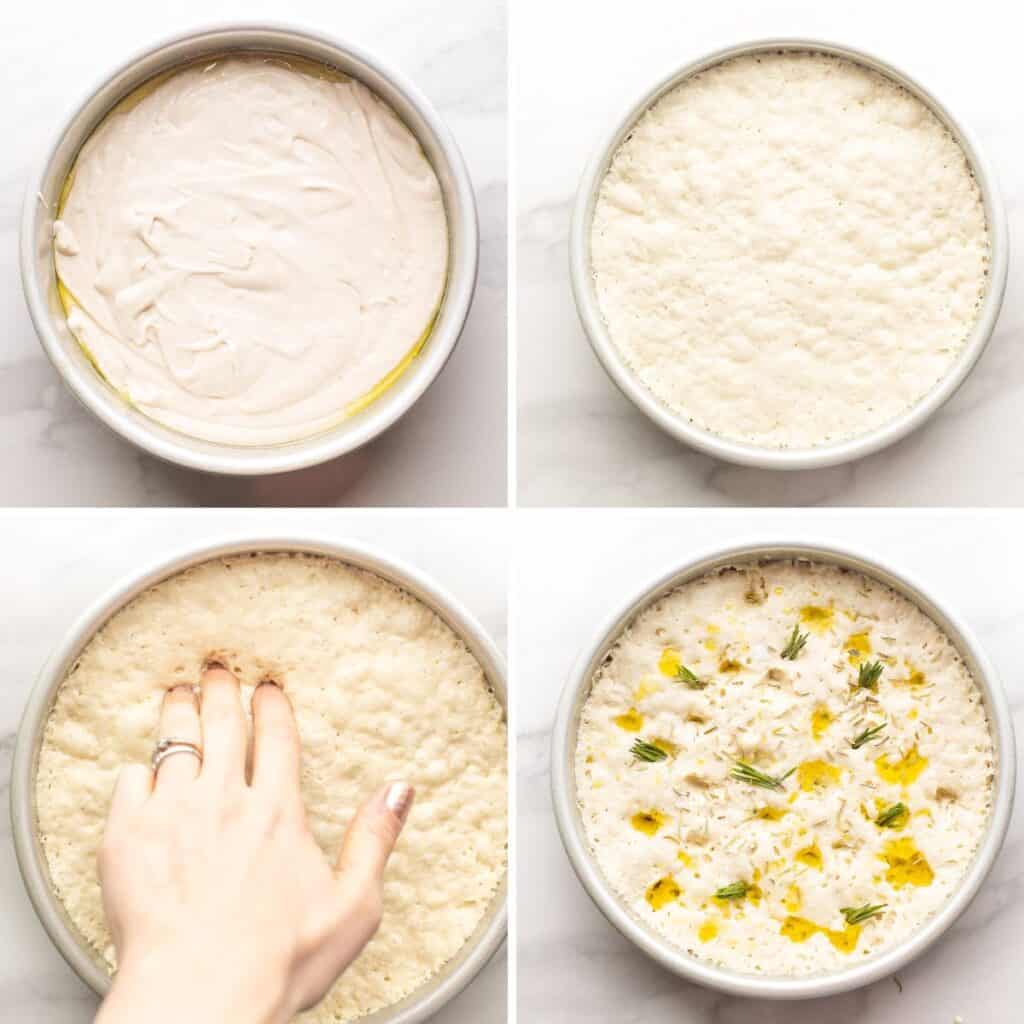
When you’re ready, pour the dough into a well greased baking pan. Use an 8 inch pan for a thicker bread and a 9 inch pan for a thinner one. You can line the pan with parchment paper as well for easy clean up later, just make sure to grease the paper as well.
Loosely cover the dough and place in a warm, draft free environment to rise for at least an hour. Active dry yeast can be left over night but quick yeast will need to bake within about 4 hours.
Tip!
Fill up an oven safe dish or pan with water and place on a lower rack. Heat up your oven on the lowest setting for about 5 minutes then turn off. Let your dough rise in the gently heated oven with the water dish inside. The heat will speed up the rise and the water will create a humid environment which will keep the top of the dough from drying out and forming a crust.
Before You Bake
After the dough has risen for at least an hour, preheat your oven (make sure to take the bread out of the oven if it’s proving inside!).
Use your fingers to poke holes all across the top of the dough to create little indentations for the oil to settle in. This gluten free focaccia dough is quite sticky so make sure to grease your fingers with oil before hand.
Use a pastry brush to brush the dough with a salty oil and water mixture, or drizzle over the top. Sprinkle with rosemary or other herbs and toppings of your choice and that’s it.
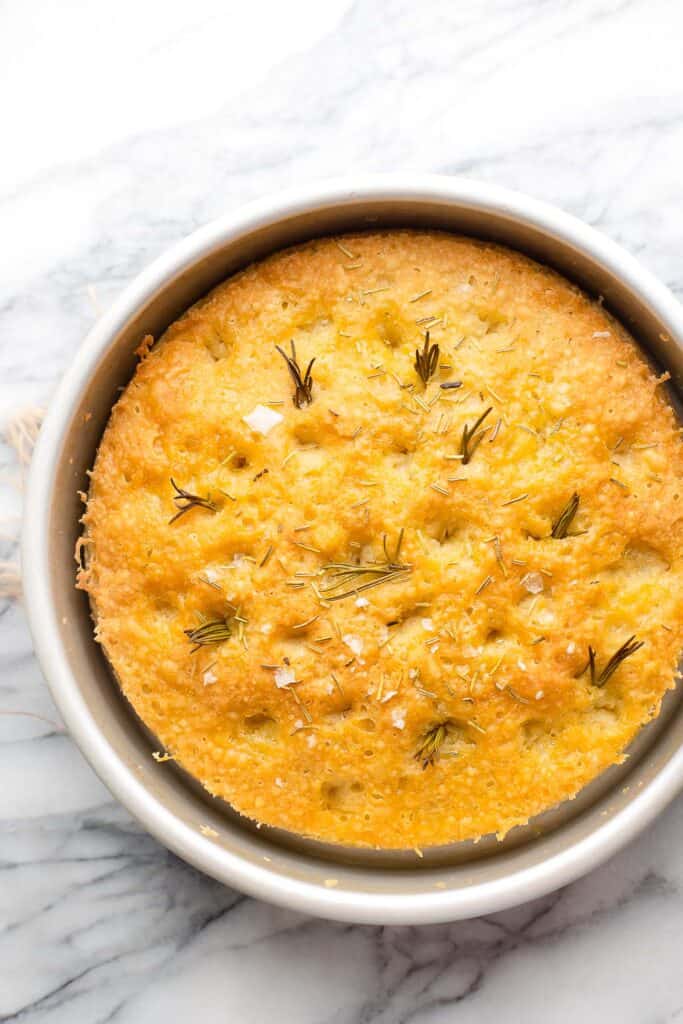
Bake for about 25 minutes until the top is golden brown then remove and cool on a wire rack for about 5-10 minutes before slicing and serving.
Serving Suggestions & Storage
You absolutely cannot go wrong by tearing off a piece and eating this as is. That being said, there are so many ways to enjoy this gluten free focaccia:
- Brush it with melted garlic butter while it’s still hot for garlic bread.
- Use it as a pizza base.
- Serve it with a balsamic vinegar and olive oil in a little bowl to dip.
- Slice it in half and use as a sandwich bread (best done while the bread is till warm).
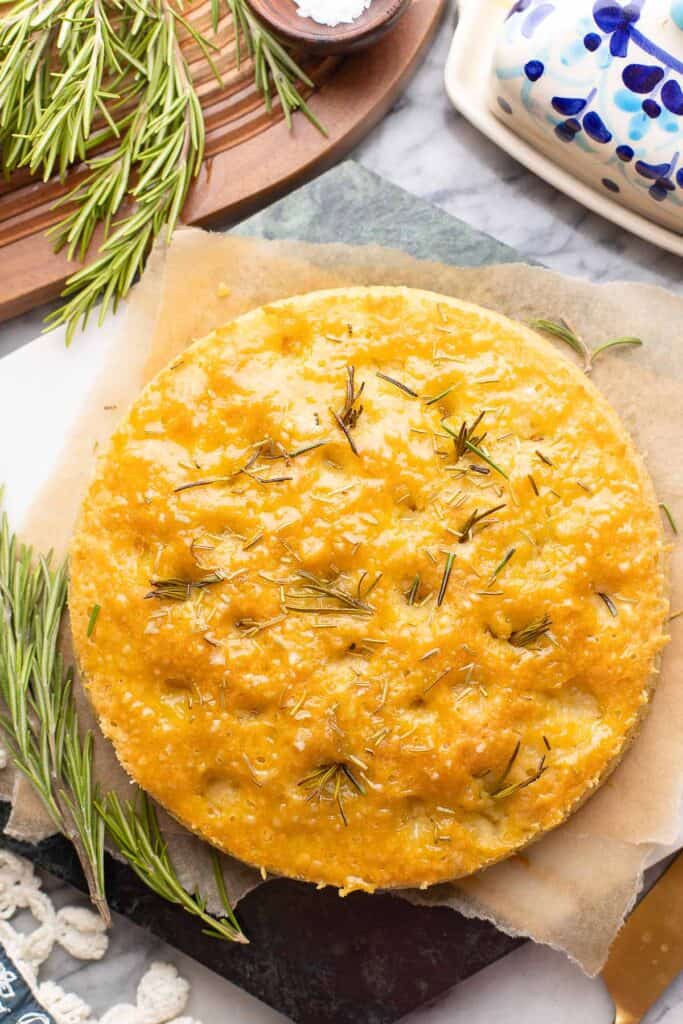
This, like most gluten free bread and focaccia in general, this is best fresh when it’s the softest.
Leftovers can be kept for about three days if kept wrapped up tight. I find it’s best to wrap up the bread while it’s still a little warm.
You can soften the bread up again by sprinkling it with water and reheating in the microwave for about 30-45 seconds.
That all being said, you’ll probably have a hard time not finishing your focaccia ASAP – we certainly did!
More Gluten Free Bread Recipes:
- Gluten Free Manakish Za’atar
- Mashed Potato Biscuits (Vegan Option)
- Easy Gluten Free Bread Recipe (Dairy Free)
- Gluten Free Flatbread (Cassava Flour)
- Gluten Free Cornbread (Vegan Option)
- Cheesy Chive Gluten Free Biscuits
- Cheesy Gluten Free Sausage Focaccia
Enjoy!
Let me know if you try this keyword recipe! Leave a comment and review with your thoughts. I always appreciate the feedback and serving suggestions that you come up with!
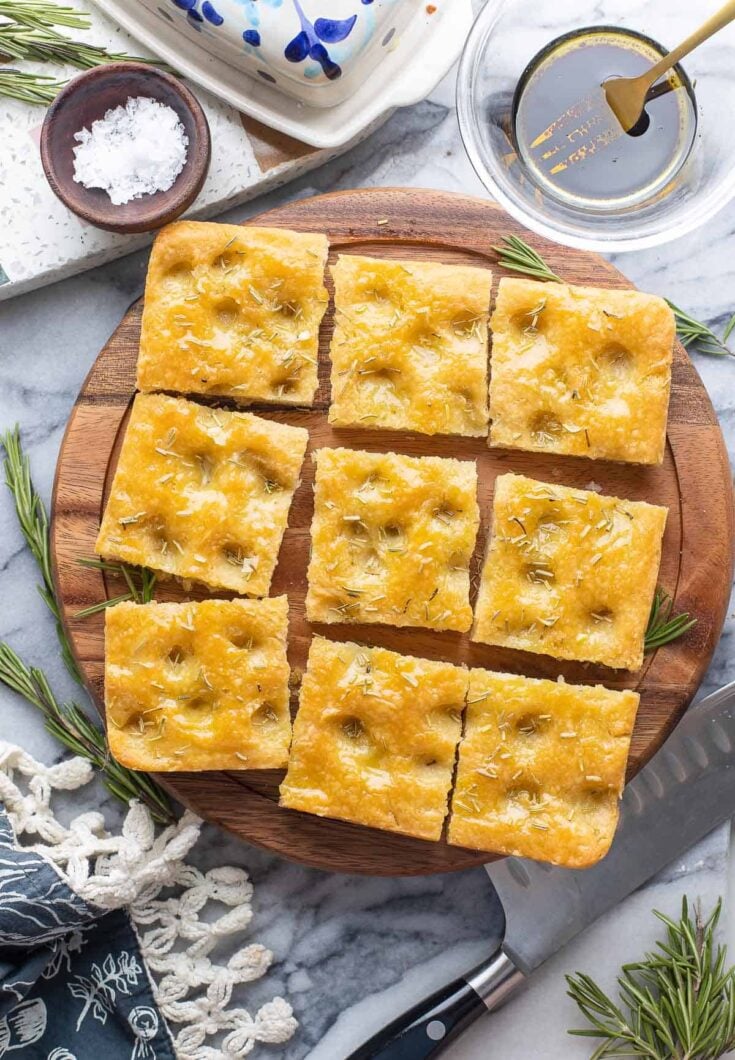
Gluten Free Focaccia
This gluten free focaccia bread is simple, straight forward and super satisfying! Enjoy as a thick crust pizza base, fresh out of the oven as sandwich bread or on its own as a delicious side - ideally with a dipping sauce within reach!
Ingredients
Dough
- 2 teaspoons quick or active dry yeast (6g) - ensure gluten free
- 1 tablespoon sugar (14g)
- 1 cup warm water, about 110°F/43°C (240ml)
- 1 3/4 cup gluten-free all purpose flour (245g)
- 2 teaspoons baking powder (8g)
- 1/2 teaspoon xanthan gum (leave out if your flour blend already contains it)
- 1/4 teaspoon sea salt
- 3 tablespoons extra virgin olive oil, plus extra for greasing (45ml)
- 2 tablespoons vinegar (30ml)
Topping
- 1 teaspoons dried rosemary or a couple fresh sprigs
- 1 tablespoon olive oil + 1 tablespoon water for top
- pinch of sea salt
Instructions
- Prep an 8 or 9-inch square baking dish. Grease well and/or line with parchment paper. Set aside.
- In a large measuring jug or medium sized mixing bowl: whisk the sugar in the warm water. Once dissolved, whisk in the yeast until fully combined. Set aside the yeast-water mixture for about 10 minutes until the yeast has foamed up.
- In a large mixing bowl whisk together the flour, xanthan gum, baking powder and salt.
- Pour the foamed up yeast-mixture into the dry ingredients. Mix into a thick batter.
- Add the olive oil and vinegar. Use a large spoon to mix everything together until a thick, sticky batter-like dough forms. Scrape down the sides and make sure no flour pockets remain.
- Pour the dough into the prepared baking dish. Smooth the dough over out in an even layer. Cover with plastic wrap or a kitchen towel and place in a warm, draft-free environment for about 1-2 hours.
- Preheat oven to 425°F/220°C.
- In a small cup, mix together the oil, water and salt.
- Grease your fingers with a bit of oil then press into the dough to create little dimples across the top. Drizzle the oil and water mixture over top and sprinkle with rosemary.
- Bake for 22-25 minutes until the top is golden.
- Optional* Brush the bread with a bit more olive oil or melted butter if desired.
- Let cool a few minutes then lift and transfer the focaccia to a wire cooling rack until cool enough to enjoy. Slice and serve - this is best enjoyed fresh!
Notes
Tips
- An 8 inch round or square baking pan will make a thicker, slightly taller focaccia than a 9-inch pan. Choose your pan based on your own personal preference.
- Fill an oven safe dish with water and place on a low oven rack. Warm your oven on its lowest setting for about five minutes then turn off. Let the covered dough rise in the warm, humid oven. The humidity will keep the bread moist and the heat will speed up the rising.
- Leave the water dish in the oven while the bread bakes.
- This is best enjoyed fresh but you can keep the bread for about 3 days before it goes too stale. Wrap up the leftovers tightly in plastic wrap or foil - ideally wrap the bread while it's still warm.
- Reheat to soften the bread: sprinkle with water and warm in the microwave for about 30-45 seconds until heated through.




Adam says
This recipe is always a success and I love its versatility. It’s become my go-to recipe for whenever I’m baking for someone GF; I couldn’t recommend it highly enough!
Sarah Nevins says
Thanks so much, Adan! I’m really glad you’ve enjoyed it so much 🙂
Kris Dunlop says
Noticed this recipe had no written reviews, which is criminal 😉
What a fantastic GF focaccia recipe. I was prepping myself for likely disappointment (as GF breads are always like doughy-cakes). Willing it give it a shot, I followed the recipe to the letter, using Bobs 1-2-1 flour and happy to say I am floored by it! I used a square 9×9 pan which yielded a thinner crust, but suggest this as I could see it being a bit too moist otherwise. No joke, I took it out of the oven less than an hour ago and I have single handedly eaten half of it already. Can’t wait to try more recipes from a Saucy Kitchen ❤️
Sarah Nevins says
Thank you so much for taking the time to come back and leave the first written review! I’m SO thrilled to hear how much you enjoyed the focaccia – it really does make my day 🙂
Kris Dunlop says
🥰🥰🥰
Pat says
I like to read comments made by others before I try a recipe. I cannot find the five reviews listed on the blog headlines.
Sarah Nevins says
Hi Pat! I totally understand – I like to do that myself whenever I try a new recipe!
The tricky thing here is that some people prefer just leaving star ratings instead of writing a review which is exactly what’s happened here. So unfortunately, as of now, there aren’t any other comments to read through first!