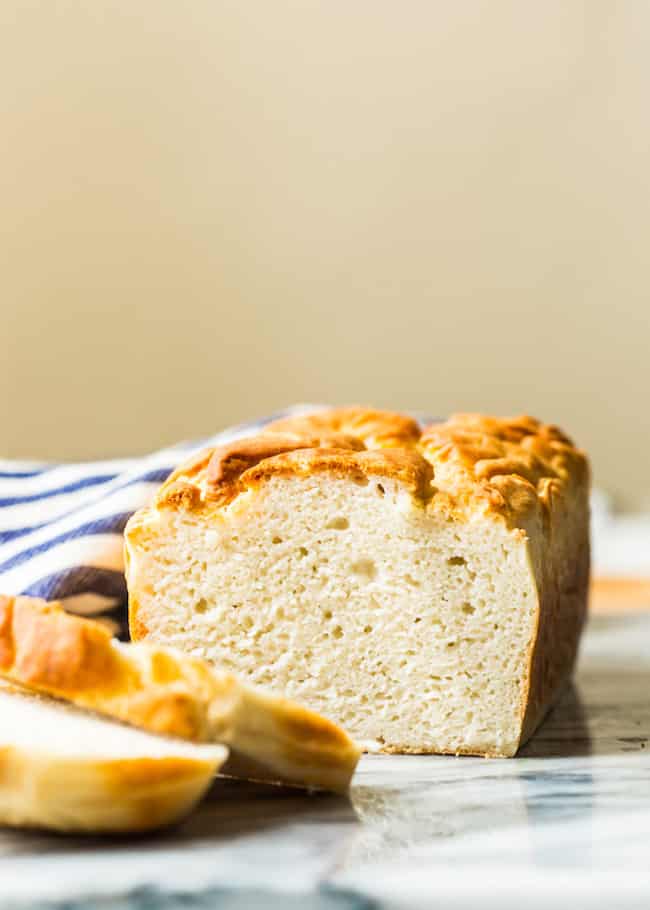
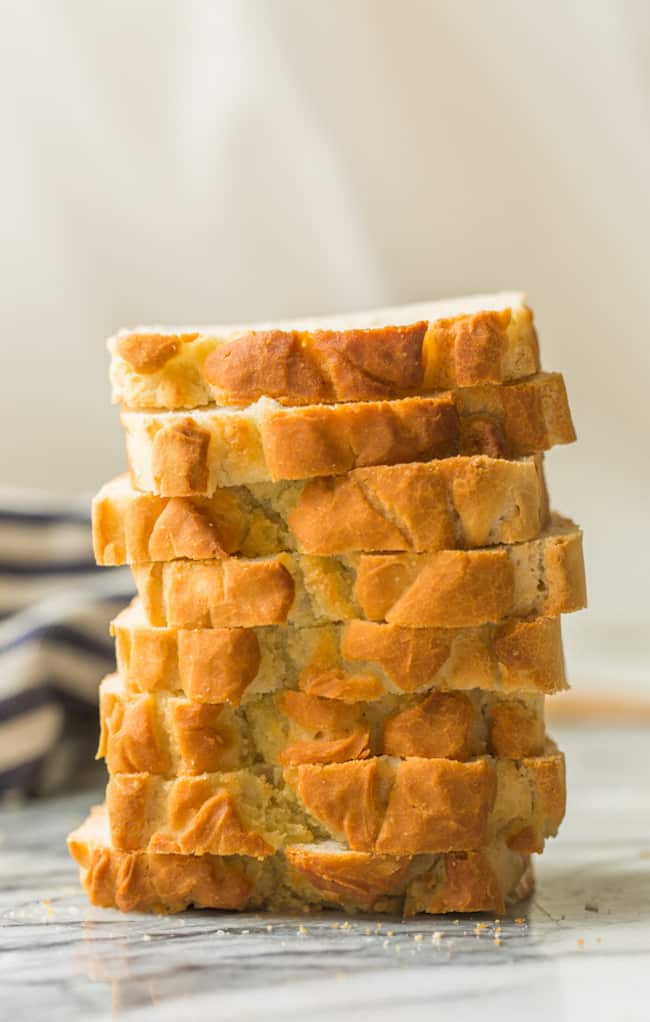
Learn how to make this soft and chewy gluten free bread recipe! It’s easy to make without too many ingredients and too many complicated steps. If you’ve been missing bread in your gluten free diet then look no further with this recipe!
Bread
Who doesn’t love it? Fresh out of the oven, crusty, artisan bread slathered with butter, or drizzled with olive oil? Gimme all the bread.
It’s the perfect accompaniment to pretty much any main dish while also being just as satisfying on its own.
It’s also the destroyer of diets with its carb filled goodness and an actual source of pain for the millions of people who are afflicted with Coeliac Disease or gluten intolerances. Historically, gluten free breads have been…well…sad. Dry, crumbly, tasteless, not to mention expensive. Thankfully, as time goes on and the demand for gluten free products increases we’re getting better at making do sans gluten without compromising taste and texture.
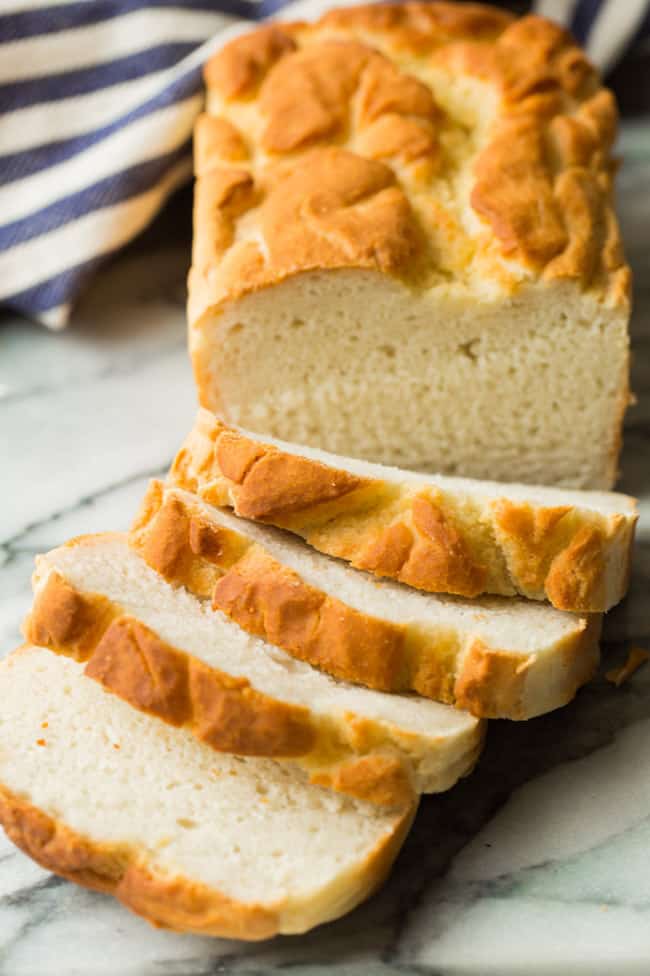
Homemade Gluten Free Bread Recipe
Altogether this bread is made up of about 10, fairly basic ingredients without too much effort.
Unlike a lot of really great gluten free recipes this bread only requires two different types of flours: rice and tapioca. Since I first made this bread years ago rice & tapioca flour have become one of my favourite combos whenever I’m looking for an easy GF flour blend (like in these Yorkshire Pudding).
Yeast Prep Steps
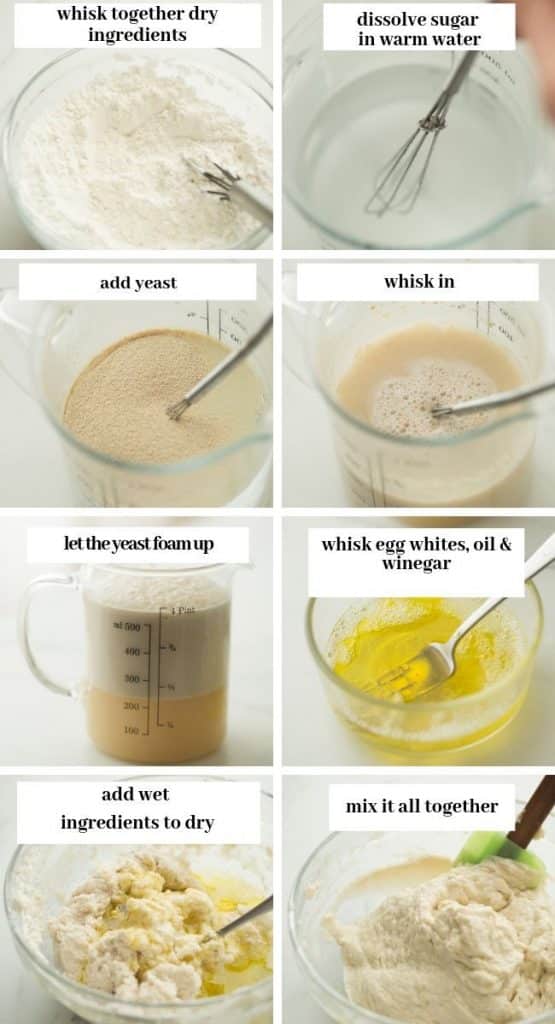
- Whisk together most of your dry ingredients: flours, salt, xanthan gum and baking powder. Set that bowl aside.
- Dissolve the sugar in warm water.
- You want your water to be warm to the touch, but not hot. Too hot and the heat will kill the yeast which will prevent the bread from rising.
- Stir in the yeast and then let the mixture sit aside for about 5-10 minutes as the yeast foams up.
Dough Steps
- Whisk the eggs, oil and vinegar in another small cup or bowl. You don’t need to mix too much, just enough to get the egg whites slightly foamy.
- Add the yeast-mixture and the oil-mixture to the flour mixture and combine.
- The dough is going to look very wet and very unusual. As long as you mix until no lumps of flour remain you’re alright.
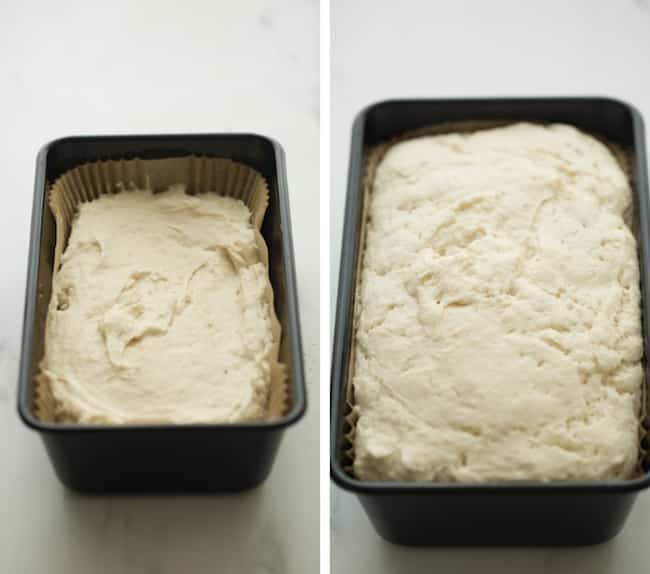
- Spoon the batter into a prepared loaf pan, cover and set aside in a warm place. Let rise at least 30 minutes. The bread should have risen by at least 30%.
- Place in the preheated oven and bake for 35-40 minutes. Let cool for at least 15 minutes and then enjoy!
Tips
- Since there is no gluten to over work, don’t be afraid of mixing this bad boy up. If you have a stand mixer, that’s perfect. If you don’t have a stand mixer, give yourself a good arm workout and put some elbow grease into it. I tried this out with an electric handheld mixer, and while it did eventually work, I wouldn’t use it again because my dough kept getting stuck.
- The fully mixed dough will look very wet. The first time I made a gluten free dough, I was concerned I had messed up somewhere along the lines because my dough was sticky, wet, and needed to be spooned into my bread pans.
- I find this to be true with baking in general, but especially when working with yeast please make sure to use room temperature ingredients so that the yeast has the opportunity to rise properly.
Can I Make this Egg Free?
Yes! I have a Gluten Free Vegan French Bread recipe you can make! Instead of egg whites, that recipe uses aquafaba (the goopy liquid found in cans of beans). Weird, but it works!
Can I use different flours?
- You can use brown or white rice or a combination of the two.
- You can use arrowroot starch in place of tapioca flour.
- Beyond those changes I haven’t played around much with other types of flours. I do think you could probably use potato starch as well in place of the tapioca but I can’t say for sure yet. I am currently working on a grain free/paleo bread so stay tuned if you’re interested in something like that. (Update: Everything Bagel Almond Flour Bread)
Do I have to use xanthan gum?
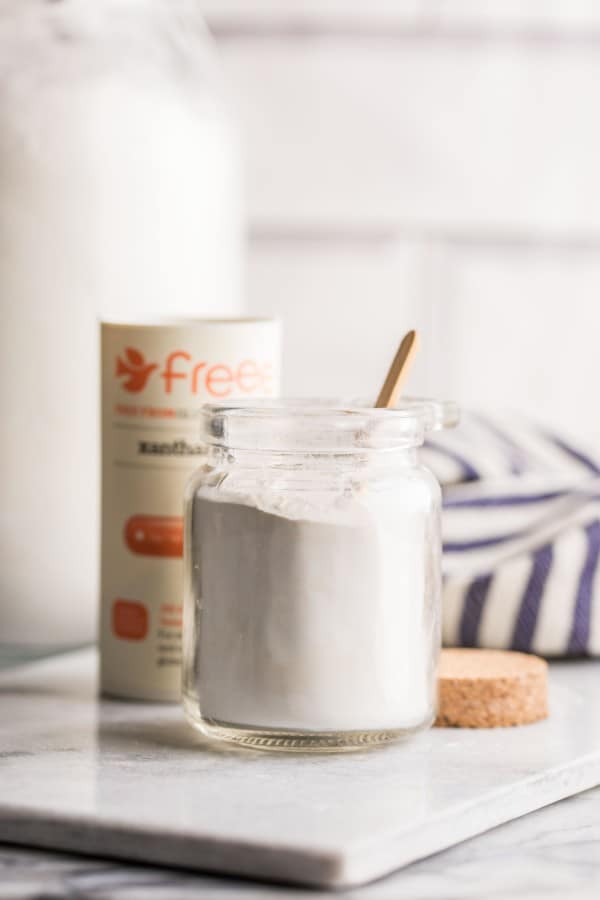
Xanthan gum does a couple of things in this recipe: it helps hold on to moisture (something gluten free goods are often desperate for) and provides added structure which is something that gluten would normally provide. Without xanthan or some kind of binder gluten free goods can be dry & crumbly.
If you can’t buy or use xanthan you can use guar gum instead. Both of these can usually be found in the baking or gluten free section of major grocery stores. If all else fails you can always find these on Amazon.
Why didn’t my yeast mixture foam up?
Your water was too hot or too cold. Too hot will kill the yeast and too cold it won’t fully activate.
Your yeast is already dead. Yeast has a shelf life of about 4 months. It can last longer than that but there’s no guarantee. If it’s been awhile since you last used it you may need to buy more.
Can I use sugar substitutes or leave out the sugar all together?
The sugar helps us to see that the yeast is working as it’s what makes it foam up. It’s not actually 100% necessary for the bread, though a little sugar does help with the flavour. If for whatever reason you can have or don’t want to use sugar just leave it out.
- Sugar subs like erythritol & swerve won’t work for the yeast.
- Honey, maple and coconut sugar all work.
If you have any more questions please let me know in the comments below!

Easy Gluten Free French Bread
Learn how to make this soft and chewy gluten free bread! It's easy to make without too many ingredients and too many complicated steps. If you've been missing bread in your gluten free diet then look no further with this recipe!
Ingredients
- 2 cups rice flour (white or brown) (280g)
- 1 cup tapioca flour (100g)
- 2 teaspoons xanthan gum*
- 1 tablespoon gluten free baking powder
- 1 teaspoon salt
- 1 1/2 cups lukewarm water, (360ml) between 105-110 degrees F, 40-43C
- 1 tablespoons gluten free quick rise yeasts
- 2 tablespoons sugar
- 2 tablespoons olive oil
- 3 egg whites, lightly beaten
- 1 teaspoon apple cider vinegar (you can substitute for another vinegar if you don't have ACV
Instructions
- Whisk together your flours, xanthan gum, salt and baking powder.
- In another bowl or jug mix together hot water and sugar. Stir until your sugar dissolves then add the yeast. Let the yeast foam up for a few minutes.
- While the yeast is foaming up, beat together your three egg whites slightly. Mix in the oil and vinegar.
- Pour the yeast mixture to the flour mixture along with the eggs and mix it all together. Make sure to mix everything until no lumps remain.
- Grease or line 2 (8x4 inch) loaf tin or one french bread pan and spoon your batter into each tin. Cover and stash in a warm place for at least 30 minutes. I like to stow my dough in the microwave or a warmed but off oven for rising process because it keeps my dough free from drafts and disturbances.
- After your dough has risen by about 30% (about 30 minutes) preheat your oven to 400°F/ 200°C. Place in the middle and bake for 35-40 minutes, turning the dough about half way through for an even bake.
- Remove from the pan and cool on a wire rack for at least 15 minutes until you're ready to slice and serve.
Notes
Recipe lightly adapted from Food.com
Can I make it egg free?
- Yes! You can find the egg free/vegan version of this bread by clicking through to the link here.
Can I use different flours?
- You can use brown or white rice or a combination of the two.
- You can use arrowroot starch in place of tapioca flour.
- Beyond those changes I haven't played around much with other types of flours. I do think you could probably use potato starch as well in place of the tapioca but I can't say for sure.
Can I use sugar substitutes or leave out the sugar all together?
- The sugar helps us to see that the yeast is working as it's what makes it foam up. It's not actually 100% necessary for the bread, though a little sugar does help with the flavour.
- If for whatever reason you can have or don't want to use sugar just leave it out. Sugar subs like erythritol & swerve won't work for the yeast.
- Honey, maple and coconut sugar all work.
Do I have to use xanthan gum?
- Xanthan gum does a couple of things in this recipe: it helps hold on to moisture (something gluten free goods are often desperate for) and provides added structure which is something that gluten would normally provide. Without xanthan or some kind of binder gluten free goods can be dry & crumbly.
- If you can't buy or use xanthan you can use guar gum instead. Both of these can usually be found in the baking or gluten free section of major grocery stores. If all else fails you can always find these on Amazon.
Nutrition Information
Serving Size:
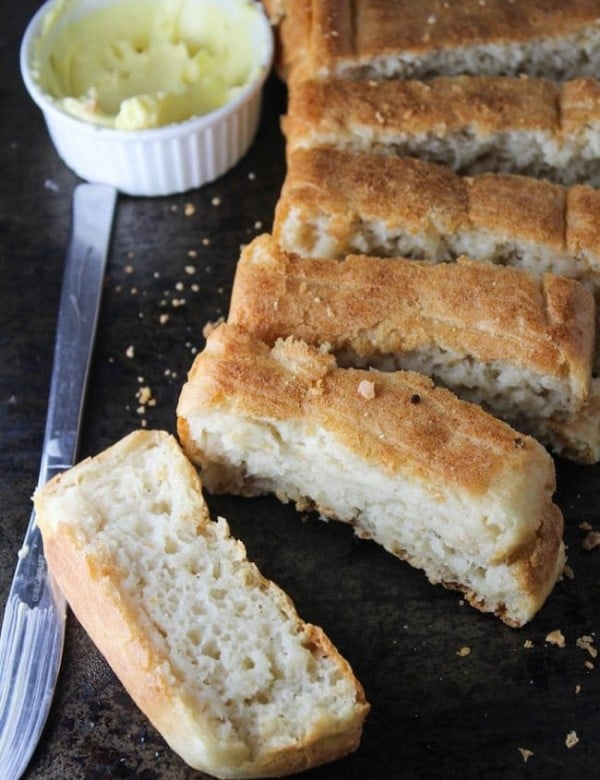
1 Calories: 115Total Fat: 2gSaturated Fat: 0gTrans Fat: 0gUnsaturated Fat: 2gCholesterol: 0mgSodium: 174mgCarbohydrates: 22gFiber: 1gSugar: 2gProtein: 2gMore gluten free bread recipes you might enjoy:


Amanda Heinzen says
Hello! I’m new to GF baking, but I’m trying to make sure my brother has some of the things he used to enjoy at holidays (baked stuffing, in this case). I usually cut up a regular french loaf into cubes, toast them to get them a bit crispy, then coat them with melted butter, herbs, and a bit of chicken broth. I tried to make one for him with gluten free cornbread, and he said it was good, but I would like it to be a bit closer to the original. Cornbread has a definitive texture and flavor which I’m not convinced paired too well with the other stuff. Would this bread work in place of french bread for stuffing baked in a pan? Would it crisp if toasted or get too mushy with some broth?
Sarah Nevins says
Hi Amanda, what a great sister 🙂
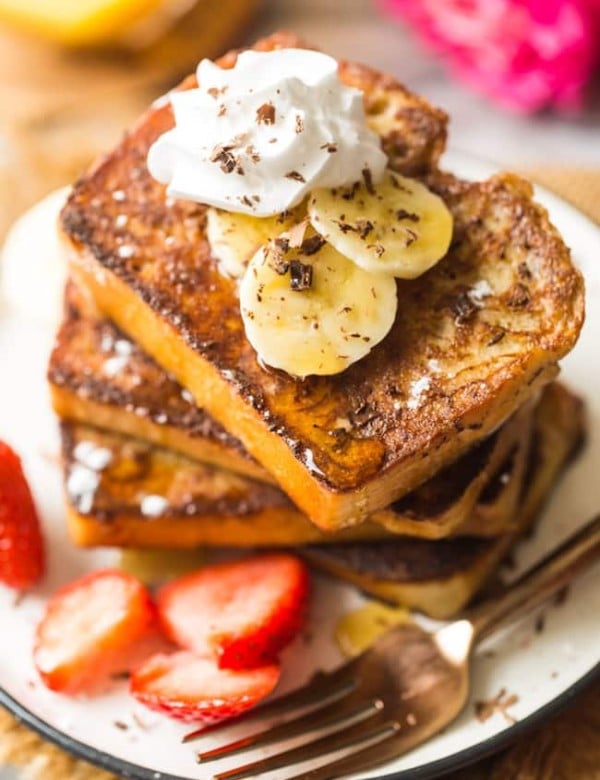
This bread is actually pretty ideal for adding to stuffing – especially if you bake it a day or two in advance so it has time to dry up a bit. I’ve used it before to make croutons and they get really nice and crunchy. It really shouldn’t get too soggy either so long as you’re not using an excessive amount of broth. I imagine whatever amount of broth you normally use to make stuffing should be fine here. I’ve also used this bread to make french toast which does involve soaking the bread slices in an eggy-milk mixture and it was totally fine texture wise.
I hope this helps! Any more questions, please let me know 🙂
In case it’s helpful, here are the croutons + french bread recipes to see what I’ve made with this.
https://www.asaucykitchen.com/gluten-free-croutons/
https://www.asaucykitchen.com/gluten-free-french-toast/
Melissa says
Hello! I wanted to confirm before making. If you don’t have a french loaf pan this dough needs to be divided into 2 loaf pans? Is that correct?
Sarah Nevins says
Yes, that’s right! This makes enough to fill two 8inch x 4inch loaf pans. The pans won’t look very full until after they have time to rise.
Sarah Z. says
Hi! Could this recipe be changed to be made in a bread machine instead? I have the worst luck with baking GF bread, especially in the oven 🙁 Thanks!
Sarah Nevins says
Hi Sarah! I wish I could be more help here but I don’t have any experience using a bread machine so I’m not really sure how to change the recipe for it.
I totally understand if you’d prefer to find another recipe that is good in a bread machine, but if you’re up for it maybe you can let me know where you notice things usually going wrong and I might be able to help you troubleshoot some of the main problems you run into when baking gluten free bread?
Lisa says
Turned out looking good. It’s cooling now
Sarah Nevins says
Glad to hear it! Hope it tastes as good as it looks 🙂
Teresa Fantz says
Thank you for this recipe. Gluten free bread is so hard to figure out, and I have tried so many recipes that are ok, but my goal is to find bread that I can honestly say I prefer to regular bread and this is it. It is a little smaller but the flavor and texture are great!
Sarah Nevins says
I understand the struggle of finding good gluten free bread so I’m so glad you enjoyed it!
Svetlana says
Do you have a bread recipe that doesn’t require yeast? I avoid yeast
Sarah Nevins says
Hi Svetlana!
I’ve got a soda bread recipe – it’s a bit more dense and rustic than something like this, but it does toast up well. https://www.asaucykitchen.com/gluten-free-soda-bread/
I also have an Everything Bagel Almond Flour bread, but it’s has more flavourings, nuts and seeds mixed into the dough which might not be the type of recipe you’re looking for. https://www.asaucykitchen.com/almond-flour-bread/
These are the only savory bread recipes that I have that don’t have any yeast.
I do have a lot of sweetened loaf breads and some biscuit recipes that don’t use yeast that might be similar to something you’re looking for. You can find all the bread type recipes here: https://www.asaucykitchen.com/category/category/breadswraps/
Thank you for your question – it’s give me some new recipe ideas to consider as I know quite a lot of people do like avoiding yeast when possible!
Joanna says
I have gluten free flour and it says to use it as if I were using flour that it trades straight across. Can I use this instead of the combinations of flours you suggest for this recipe?
Sarah Nevins says
Hi Joanna! I’ve tried this in the past using gluten free all purpose flour and it does work, but the results aren’t exactly the same with the texture ultimately depending on the flour blend. So with that in mind, it can be hit and miss when made with all purpose flour blends.
One more thing to keep in mind is that you’ll want to use an equal amount in weight rather than cups. So instead of using 3 cups gf all purpose flour (420g) you’ll want to use 2 2/3 cup (373g).
Hope that helps!
Margaret says
Do you turn the dough halfway thru the baking process by removing it from the pan and flipping it over, or do you just turn the baking pan ?
Sarah Nevins says
Hi Margaret! Just turn/rotate the baking pan position in the oven – no need to remove the loaf from the pan 🙂
Pamela says
I have been using your recipe for many years and it has always turned out nicely (and very tasty). I did notice that you had added the baking powder to your recipe. I typically double the recipe and freeze one loaf. The first time I used baking powder it turned out excellent, the best it ever has! The last time I used it my dough overflowed the pans. This had never happened before. What am I doing wrong. I still ate it because I did not want to waste. But I would prefer not to have to clean up the mess from the overflow in the oven 🙂
Sarah Nevins says
Hi Pamela! I decided to add baking powder to help give the loaves a little extra help when it comes to the rise since some people were still struggling in that area. Gluten free baked goods usually benefit with a little extra baking powder in recipes that otherwise wouldn’t need it.
When you doubled the recipe, did you also double the amount of baking powder? If so, then I’m almost certain this is what caused the dough to overflow. Certain ingredients like baking powder/baking soda don’t always when doubled – especially in such large amounts. If you were to try making this again you can always leave out the baking powder like you did in the old recipe, or just keep the amount of baking powder to 1 tablespoon max. Even if everything else gets doubled – don’t double the baking powder.
Hope that helps!
Rachel says
Hook, line, and sinker! 😍 I whipped up a batch last night and another this morning, after getting fed up with the price of good quality GF bread. We have one girl and three boys, so most food disappears almost as fast as I can buy it!
This bread turned out awesome! I swapped the 2 tsp xanthan gum for 4 tsp psyllium husk for personal preference. Next I’m planning to experiment with making slightly taller loaves, since both batches so far came out about 2 inches tall. 😉
Sarah Nevins says
Hi Rachel! Thank you so much for the kind works; I’m so thrilled to hear how much you all have enjoyed it! Thanks for sharing about the psyllium husk too, by the way! It’s always super helpful to me to hear what works for others and I’m sure other blog readers going through the comments will find it just as helpful 🙂